Page 161 of 655

Heated Seats — If Equipped
On some models, the front driver and passenger seats
may be equipped with heaters in both the seat cushions
and seatbacks.
There are two heated seat switches that allow the driver
and passenger to operate the seats independently. The
controls for each seat are located on a switch bank near
the bottom center of the instrument panel.
You can choose from HIGH, LOW or OFF heat settings.
Amber indicator lights in each switch indicate the level of
heat in use. Two indicator lights will illuminate for
HIGH, one for LOW and none for OFF.
Press the switch once to select HIGH-level
heating. Press the switch a second time to select
LOW-level heating. Press the switch a third
time to shut the heating elements OFF. When the HIGH-level setting is selected, the heater will
provide a boosted heat level during the first four minutes
of operation. Then, the heat output will drop to the
normal HIGH-level. If the HIGH-level setting is selected,
the system will automatically switch to LOW-level after
approximately 30 minutes of continuous operation. At
that time, the number of illuminated LEDs changes
from two to one, indicating the change. The LOW-level
setting will turn OFF automatically after approximately
30 minutes.
NOTE: When a heat setting is selected, heat will be felt
within two to five minutes.
3 UNDERSTANDING THE FEATURES OF YOUR VEHICLE 159
Page 169 of 655
LIGHTS
Multifunction Lever
The multifunction lever controls the operation of the
parking lights, headlights, headlight beam selection,
passing light, fog lights, instrument panel light dimming
and turn signals. The multifunction lever is located on
the left side of the steering column. Headlights And Parking Lights
Turn the end of the multifunction lever to the first detent
for parking light operation. Turn to the second detent for
headlight operation.
Multifunction Lever Headlight Switch
3 UNDERSTANDING THE FEATURES OF YOUR VEHICLE 167
Page 172 of 655

Lights-On Reminder
If the headlights or parking lights are left on after the
ignition is turned OFF, a chime will sound to alert the
driver when the driver’s door is opened.
High/Low Beam Switch
Push the multifunction lever away from you to switch
the headlights to high beam. Pull the lever toward you, to
switch the headlights back to low beam.
Flash-To-Pass
You can signal another vehicle with your headlights by
lightly pulling the multifunction lever toward you. This
will turn on the high beams headlights until the lever is
released. Front Fog Lights
The front fog light switch is located on the multi-
function lever. To activate the front fog lights, turn
on the parking or low beam headlights and pull out the
end of the lever.
NOTE: The fog lights will only operate with the parking
lights or the headlights on low beam. Selecting high
beam headlights will turn off the fog lights.
Instrument Panel Dimmer
Rotate the center portion of the lever to the extreme
bottom position to fully dim the instrument panel lights
and prevent the interior lights from illuminating when a
door is opened.
Rotate the center portion of the lever up to increase the
brightness of the instrument panel lights when the park-
ing lights or headlights are on.170 UNDERSTANDING THE FEATURES OF YOUR VEHICLE
Page 186 of 655
WARNING!To avoid serious injury or death:
• Only devices designed for use in this type of outlet
should be inserted into any 12 Volt outlet.
• Do not touch with wet hands.
• Close the lid when not in use and while driving the
vehicle.
• If this outlet is mishandled, it may cause an electric
shock and failure.Power Outlet Fuse Locations1 — M36 Fuse 20 A Yellow Power Outlet Console Bin
2 — M6 Fuse 20 A Yellow Cigar Lighter Instrument Panel
3— M7 Fuse 20 A Yellow Power Outlet Rear with Sub Woofer (Opt.)184 UNDERSTANDING THE FEATURES OF YOUR VEHICLE
Page 189 of 655

inverter should automatically reset. If the power rating
exceeds approximately 170 Watts, the power inverter
may have to be reset manually. To reset the inverter
manually press the power inverter button OFF and ON.
To avoid overloading the circuit, check the power ratings
on electrical devices prior to using the inverter.
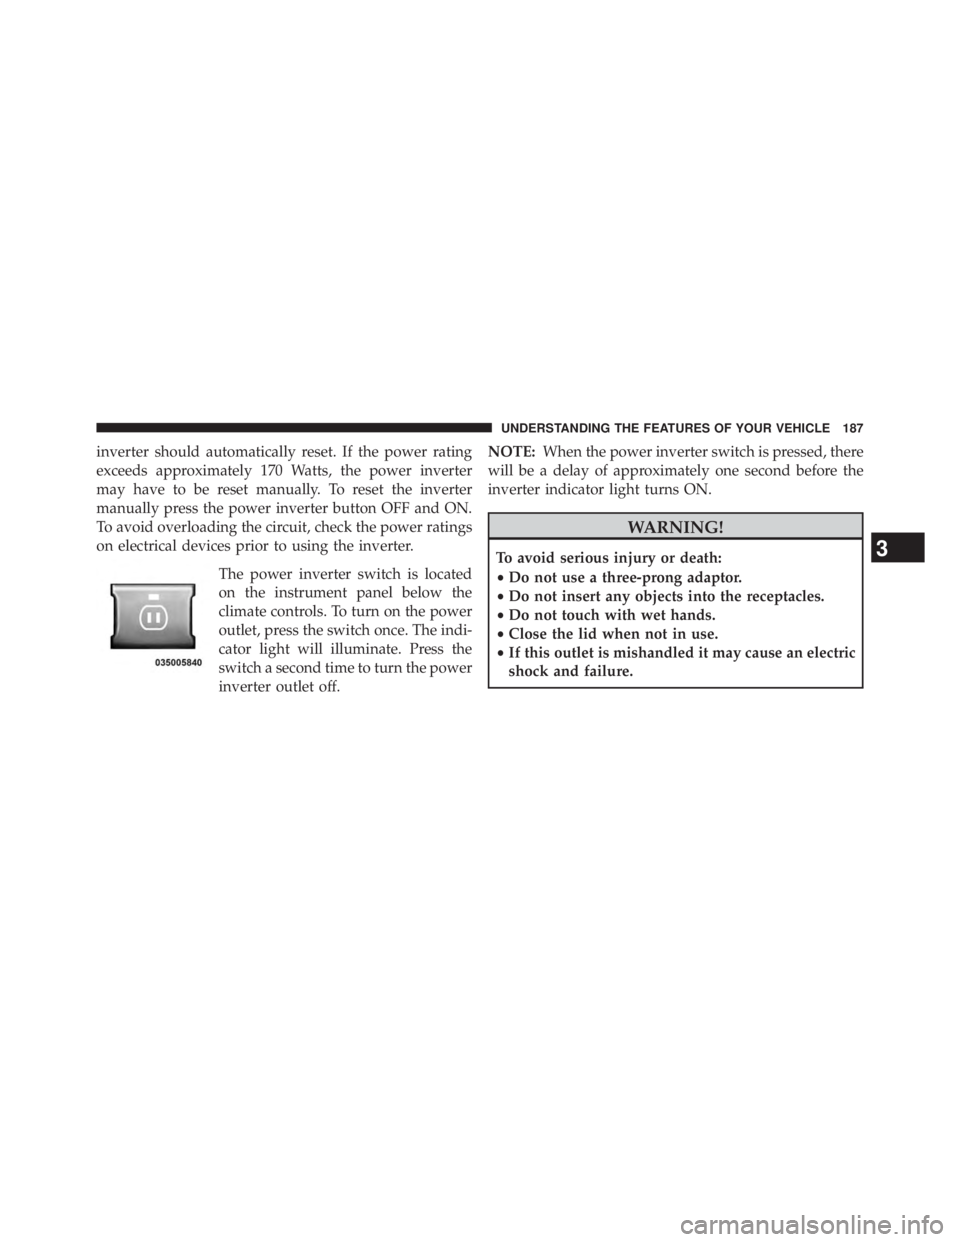
The power inverter switch is located
on the instrument panel below the
climate controls. To turn on the power
outlet, press the switch once. The indi-
cator light will illuminate. Press the
switch a second time to turn the power
inverter outlet off. NOTE: When the power inverter switch is pressed, there
will be a delay of approximately one second before the
inverter indicator light turns ON.
WARNING!To avoid serious injury or death:
• Do not use a three-prong adaptor.
• Do not insert any objects into the receptacles.
• Do not touch with wet hands.
• Close the lid when not in use.
• If this outlet is mishandled it may cause an electric
shock and failure.
3 UNDERSTANDING THE FEATURES OF YOUR VEHICLE 187
Page 191 of 655
STORAGE
Glovebox Storage
The lockable glovebox storage compartment is located on
the passenger side of the lower instrument panel. Pull
outward on the handle/latch to open the compartment.
Console Storage Compartment
To lock or unlock the storage compartment, insert the
ignition key and turn. To open the storage compartment,
press the latch and lift the cover. Center Console
3 UNDERSTANDING THE FEATURES OF YOUR VEHICLE 189
Page 297 of 655
UNDERSTANDING YOUR INSTRUMENT PANELCONTENTS � INSTRUMENT PANEL FEATURES ......... .298
� INSTRUMENT CLUSTER ................ .299
� INSTRUMENT CLUSTER DESCRIPTIONS .... .300
� COMPASS AND TRIP COMPUTER — IF
EQUIPPED .......................... .315
▫ Control Buttons ...................... .316
▫ Compass/Temperature Display ........... .317
▫ Trip Conditions ...................... .320
� ELECTRONIC VEHICLE INFORMATION
CENTER (EVIC) — IF EQUIPPED .......... .321 ▫ Electronic Vehicle Information Center (EVIC)
Displays ........................... .324
▫ Oil Change Required ................. .325
▫ EVIC Main Menu .................... .326
▫ Compass Display / ECO (Fuel Saver Mode)
— If Equipped ...................... .326
▫ Average Fuel Economy ................. .329
▫ Distance To Empty (DTE) ............... .330
▫ Elapsed Time ....................... .330
▫ EVIC Units Selection (UNITS IN Display) . . . .330 4
Page 298 of 655

▫ System Status ....................... .331
▫ Personal Settings (Customer-Programmable
Features) .......................... .331
� MEDIA CENTER 230 (REQ) — AM/FM STEREO
RADIO AND 6–DISC CD/DVD CHANGER
(MP3/WMA AUX JACK) ................ .335
▫ Operating Instructions - Radio Mode ....... .335
▫ Operation Instructions - (DISC MODE for CD
and MP3/WMA Audio Play, DVD-VIDEO) . . .344
▫ Notes On Playing MP3/WMA Files ........ .346
▫ LIST Button (DISC Mode for MP3/WMA Play) . .348
▫ INFO Button (DISC Mode for MP3/WMA Play) . .349
▫ Uconnect™ Multimedia (Satellite Radio) — If
Equipped .......................... .377 � MEDIA CENTER 730N/430/430N (RHR/RER/
RBZ/RHB) CD/DVD/HDD/NAV
— IF EQUIPPED ...................... .355
▫ Operating Instructions (Voice Command System)
— If Equipped ...................... .355
▫ Operating Instructions (Uconnect™ Phone)
— If Equipped ...................... .355
� MEDIA CENTER 130 (SALES CODE RES) .... .356
▫ Operating Instructions — Radio Mode ...... .356
▫ Operation Instructions — CD MODE For
CD And MP3 Audio Play ............... .359
▫ Notes on Playing MP3 Files ............. .362
▫ Operation Instructions - Auxiliary Mode .... .364
� MEDIA CENTER 130 WITH SATELLITE
RADIO (SALES CODE RES+RSC) .......... .365296 UNDERSTANDING YOUR INSTRUMENT PANEL