Page 6 of 655

INTRODUCTION
Congratulations on selecting your new Chrysler Group
LLC vehicle. Be assured that it represents precision
workmanship, distinctive styling, and high quality - all
essentials that are traditional to our vehicles.
This is a specialized utility vehicle. It can go places and
perform tasks that conventional passenger cars are not
intended. It handles and maneuvers differently from
many passenger cars both on-road and off-road, so take
time to become familiar with your vehicle.
The two-wheel drive version of this vehicle was designed
for on-road use only. It is not intended for off-road
driving or use in other severe conditions suited for a
four-wheel drive vehicle. Before you start to drive this vehicle, read the Owner’s
Manual. Be sure you are familiar with all vehicle controls,
particularly those used for braking, steering, transmis-
sion, and transfer case shifting. Learn how your vehicle
handles on different road surfaces. Your driving skills
will improve with experience. When driving off-road or
working the vehicle, don’t overload the vehicle or expect
the vehicle to overcome the natural laws of physics.
Always observe federal, state, provincial and local laws
wherever you drive.
As with other vehicles of this type, failure to operate this
vehicle correctly may result in loss of control or a
collision. Refer to “On-Road/Off-Road Driving Tips” in
“Starting And Operating” for further information.4 INTRODUCTION
Page 308 of 655
look under the hood yourself, see “Maintaining Your
Vehicle”. Follow the warnings under the Cooling
System Pressure Cap paragraph.
19. Cruise Indicator
This indicator shows whe")
WARNING! (Continued)look under the hood yourself, see “Maintaining Your
Vehicle”. Follow the warnings under the Cooling
System Pressure Cap paragraph.
19. Cruise Indicator
This indicator shows when the electronic speed
control system is turned on.
20. 4WD Indicator Light — If Equipped
This light alerts the driver that the vehicle is in
the four-wheel drive mode, and the front and
rear driveshafts are mechanically locked to-
gether forcing the front and rear wheels to
rotate at the same speed. 21. Odometer/Trip Odometer/ECO (Fuel Saver Indica-
tor) Button
Press this button to change the display from odometer to
either of the two trip odometer settings or the “ECO”
display. Trip A or Trip B will appear when in the trip
odometer mode. Press and hold the button for two
seconds to reset the trip odometer to 0 miles or kilome-
ters. The odometer must be in trip mode to reset.
22. Shift Lever Indicator
The Shift Lever Indicator is self-contained within the
instrument cluster. It displays the gear position of the
automatic transmission.
23. Tire Pressure Monitoring Telltale Light
Each tire, including the spare (if provided),
should be checked monthly when cold and in-
flated to the inflation pressure recommended by306 UNDERSTANDING YOUR INSTRUMENT PANEL
Page 408 of 655
 . . . .428
▫ Operating Instructions/Precautions ....... .428
▫ Shift Positions ....................... .430
▫ Shifting Procedure")
� FOUR–WHEEL DRIVE OPERATION
(COMMAND-TRAC I � OR ROCK-TRAC � ) . . . .428
▫ Operating Instructions/Precautions ....... .428
▫ Shift Positions ....................... .430
▫ Shifting Procedure .................... .431
� TRAC-LOK � REAR AXLE — IF EQUIPPED . . . .432
� AXLE LOCK (TRU–LOK � ) — RUBICON
MODELS ........................... .433
� ELECTRONIC SWAY BAR DISCONNECT — IF
EQUIPPED .......................... .434
� ON-ROAD DRIVING TIPS ............... .436
� OFF-ROAD DRIVING TIPS ............... .437
▫ Side Step Removal – If Equipped ......... .437
▫ The Basics Of Off-Road Driving .......... .438 ▫ When To Use 4L (Low) Range ............ .438
▫ Simultaneous Brake And Throttle Operation. . .439
▫ Driving In Snow, Mud And Sand ......... .439
▫ Crossing Obstacles (Rocks And Other High
Points) ............................ .441
▫ Hill Climbing ....................... .443
▫ Driving Through Water ................ .446
▫ After Driving Off-Road ................ .449
� POWER STEERING .................... .450
▫ Power Steering Fluid Check ............. .451
� PARKING BRAKE ..................... .452
� ANTI-LOCK BRAKE SYSTEM ............ .455
� ELECTRONIC BRAKE CONTROL SYSTEM . . . .456406 STARTING AND OPERATING
Page 411 of 655
� TRAILER TOWING .................... .515
▫ Common Towing Definitions ............ .515
▫ Trailer Hitch Classification .............. .518
▫ Trailer Towing Weights (Maximum Trailer
Weight Ratings) ..................... .519
▫ Trailer And Tongue Weight ............. .524
▫ Towing Requirements ................. .525
▫ Towing Tips ........................ .530 � RECREATIONAL TOWING (BEHIND
MOTORHOME, ETC.) .................. .532
▫ Towing This Vehicle Behind Another Vehicle . .532
▫ Recreational Towing – Four-Wheel Drive
Models ............................ .533
5 STARTING AND OPERATING 409
Page 412 of 655

STARTING PROCEDURES
Before starting your vehicle, adjust your seat, adjust both
inside and outside mirrors, and fasten your seat belts.
WARNING!• When leaving the vehicle, always remove the key
fob from the ignition and lock your vehicle.
• Never leave children alone in a vehicle, or with
access to an unlocked vehicle. Allowing children to
be in a vehicle unattended is dangerous for a
number of reasons. A child or others could be
seriously or fatally injured. Children should be
warned not to touch the parking brake, brake pedal
or the shift lever. Manual Transmission – If Equipped
Apply the parking brake, place the shift lever in NEU-
TRAL, and press the clutch pedal before starting the
vehicle. This vehicle is equipped with a clutch interlock-
ing ignition system. It will not start unless the clutch
pedal is pressed to the floor.
Four-Wheel Drive Models Only
In 4L mode, this vehicle will start regardless of whether
or not the clutch pedal is pressed to the floor. This feature
enhances off-road performance by allowing the vehicle to
start when in 4L without having to press the clutch pedal.
The “4WD Indicator Light” will illuminate when the
transfer case has been shifted into this mode.
Automatic Transmission – If Equipped
Start the vehicle with the shift lever in the PARK position
(vehicle can also be started in NEUTRAL). Apply the
brake before shifting to any driving range.410 STARTING AND OPERATING
Page 430 of 655
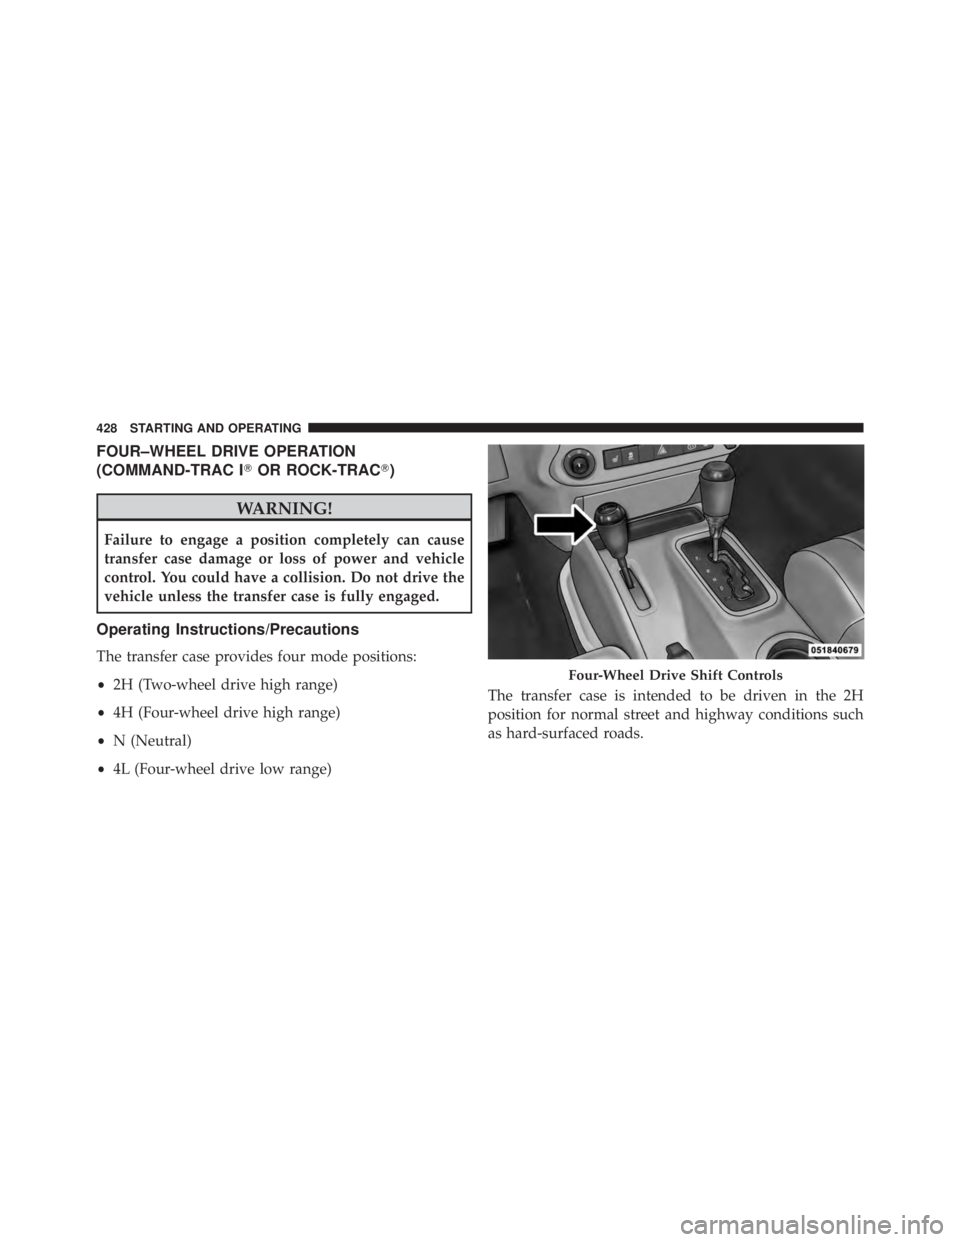
FOUR–WHEEL DRIVE OPERATION
(COMMAND-TRAC I � OR ROCK-TRAC � )
WARNING!Failure to engage a position completely can cause
transfer case damage or loss of power and vehicle
control. You could have a collision. Do not drive the
vehicle unless the transfer case is fully engaged.
Operating Instructions/Precautions
The transfer case provides four mode positions:
• 2H (Two-wheel drive high range)
• 4H (Four-wheel drive high range)
• N (Neutral)
• 4L (Four-wheel drive low range) The transfer case is intended to be driven in the 2H
position for normal street and highway conditions such
as hard-surfaced roads. Four-Wheel Drive Shift Controls428 STARTING AND OPERATING
Page 431 of 655

In the event that additional traction is required, the
transfer case 4H and 4L positions can be used to lock the
front and rear driveshafts together, forcing the front and
rear wheels to rotate at the same speed. This is accom-
plished by simply moving the shift lever to one of these
positions. The 4H and 4L positions are intended for loose,
slippery road surfaces only and not intended for normal
driving. Driving in the 4H and 4L positions on hard-
surfaced roads will cause increased tire wear and damage
to the driveline components.
The “4WD Indicator Light” (located in the instrument
cluster) alerts the driver that the vehicle is in four-wheel
drive, and the front and rear driveshafts are locked
together. The light will illuminate when the transfer case
is shifted into the 4H position.
NOTE: Do not attempt to shift when only the front or
rear wheels are spinning. The transfer case is not
equipped with a synchronizer, and the front and rear driveshaft speeds must be equal for a shift to take place.
Shifting while only the front or rear wheels are spinning
can cause damage to the transfer case.
When operating your vehicle in 4L, the engine speed will
be approximately three times (four times for Rubicon
models) that of the 2H or 4H positions at a given road
speed. Take care not to overspeed the engine.
Proper operation of four-wheel drive vehicles depends
on tires of equal size, type, and circumference on each
wheel. Any difference will adversely affect shifting and
cause damage to the transfer case.
Because four-wheel drive provides improved traction,
there is a tendency to exceed safe turning and stopping
speeds. Do not go faster than road conditions permit.
5 STARTING AND OPERATING 429
Page 437 of 655
; you may lose")
sway bar should remain in on-road mode during normal
driving conditions.
WARNING!Do not disconnect the stabilizer bar and drive on
hard-surfaced roads or at speeds above 18 mph
(29 km/h); you may lose control of the vehicle, which
could result in serious injury. The front stabilizer bar
enhances vehicle stability and is necessary for main-
taining control of the vehicle. The system monitors
vehicle speed and will attempt to reconnect the
stabilizer bar at speeds over 18 mph (29 km/h). This is
indicated by a flashing or solid “Sway Bar Indicator
Light.” Once vehicle speed is reduced below 14 mph
(22 km/h), the system will once again attempt to
return to off-road mode. To disconnect the stabilizer/sway bar, shift to either 4H
or 4L and press the SWAY BAR switch to obtain the
off-road position. Refer to “Four-Wheel Drive Operation”
in “Starting and Operating” for further information. The
“Sway Bar Indicator Light” will flash until the stabilizer/
sway bar has been fully disconnected.
NOTE: The stabilizer/sway bar may be torque locked
due to left and right suspension height differences. This
condition is due to driving surface differences or vehicle
loading. In order for the stabilizer/sway bar to
disconnect/reconnect, the right and left halves of the bar
must be aligned. This alignment may require that the
vehicle be driven onto level ground or rocked from side
to side.
5 STARTING AND OPERATING 435