Page 531 of 637

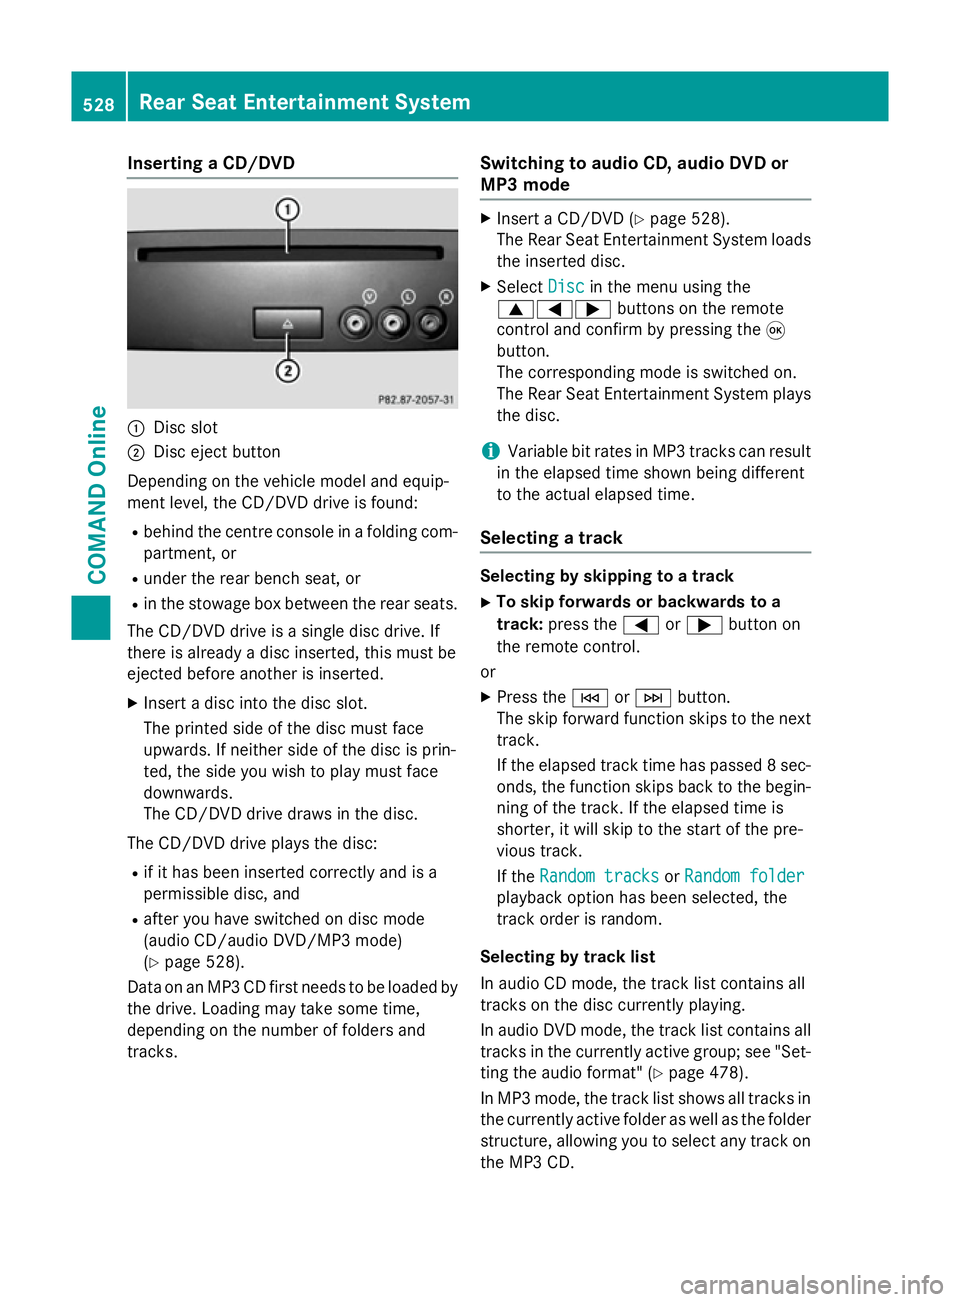
Inserting a CD/DVD
:
Disc slot
; Disc eject button
Depending on the vehicle model and equip-
ment level, the CD/DVD drive is found:
R behind the centre console in a folding com-
partment, or
R under the rear bench seat, or
R in the stowage box between the rear seats.
The CD/DVD drive is a single disc drive. If
there is already a disc inserted, this must be
ejected before another is inserted.
X Insert a disc into the disc slot.
The printed side of the disc must face
upwards. If neither side of the disc is prin-
ted, the side you wish to play must face
downwards.
The CD/DVD drive draws in the disc.
The CD/DVD drive plays the disc:
R if it has been inserted correctly and is a
permissible disc, and
R after you have switched on disc mode
(audio CD/audio DVD/MP3 mode)
(Y page 528).
Data on an MP3 CD first needs to be loaded by
the drive. Loading may take some time,
depending on the number of folders and
tracks. Switching to audio CD, audio DVD or
MP3 mode X
Insert a CD/DVD (Y page 528).
The Rear Seat Entertainment System loads
the inserted disc.
X Select Disc Discin the menu using the
9=; buttons on the remote
control and confirm by pressing the 9
button.
The corresponding mode is switched on.
The Rear Seat Entertainment System plays
the disc.
i Variable bit rates in MP3 tracks can result
in the elapsed time shown being different
to the actual elapsed time.
Selecting a track Selecting by skipping to a track
X To skip forwards or backwards to a
track: press the =or; button on
the remote control.
or X Press the EorF button.
The skip forward function skips to the next track.
If the elapsed track time has passed 8 sec- onds, the function skips back to the begin-
ning of the track. If the elapsed time is
shorter, it will skip to the start of the pre-
vious track.
If the Random tracks Random tracks orRandom folder
Random folder
playback option has been selected, the
track order is random.
Selecting by track list
In audio CD mode, the track list contains all
tracks on the disc currently playing.
In audio DVD mode, the track list contains all
tracks in the currently active group; see "Set-
ting the audio format" (Y page 478).
In MP3 mode, the track list shows all tracks in
the currently active folder as well as the folder
structure, allowing you to select any track on
the MP3 CD. 528
Rear Seat Entertainment SystemCOMAND Online
Page 580 of 637

Fire extinguisher
G
WARNING
When you brake heavily or change direction
suddenly, the fire extinguisher can be thrown around the vehicle interior if the roller box is
left open. There is a risk of accident and injury
to you or the passenger. Keep the shutter of
the roller box closed whilst the vehicle is in
motion. :
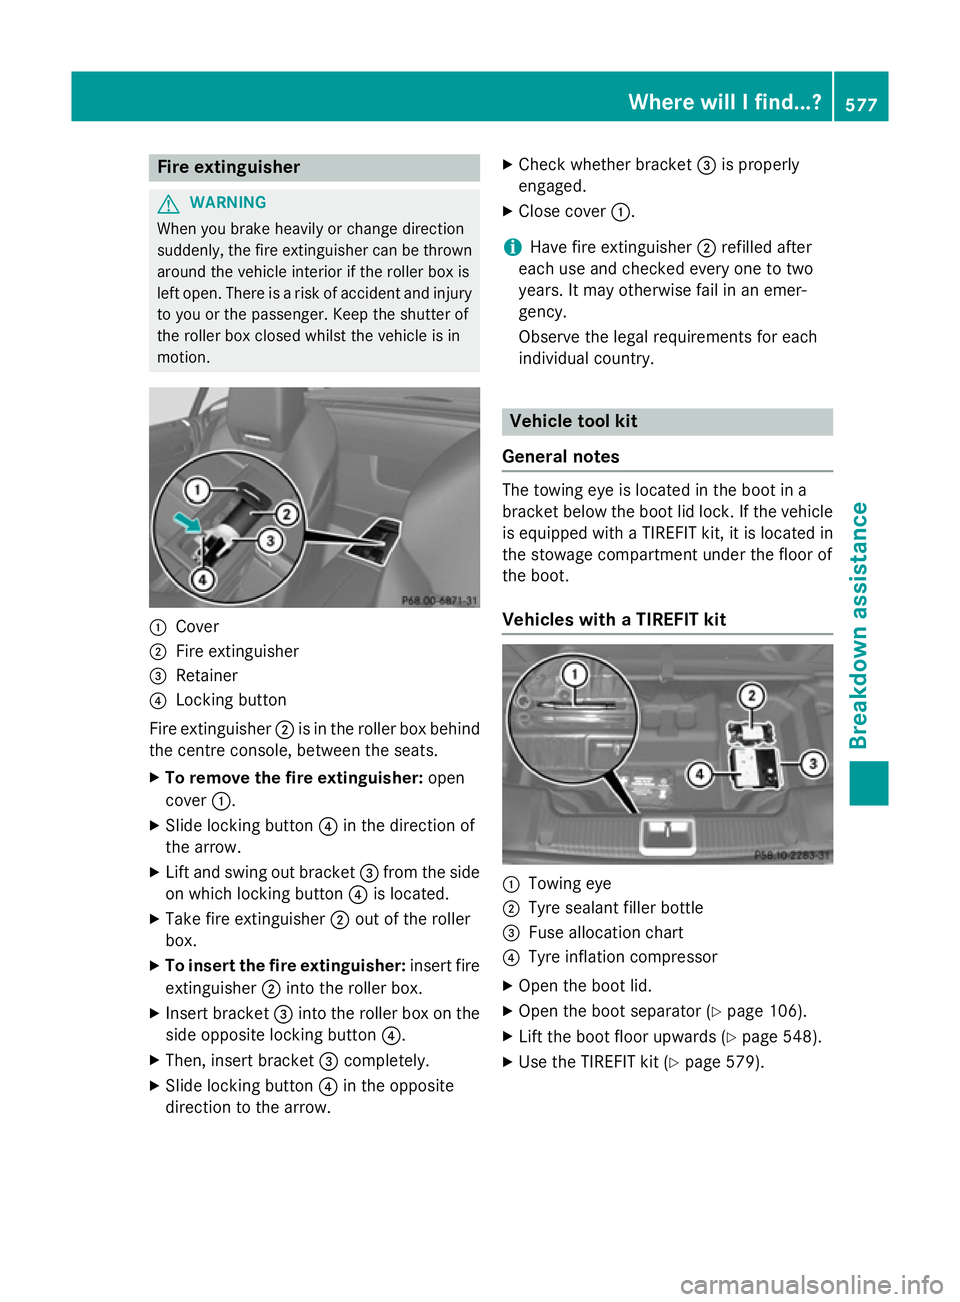
Cover
; Fire extinguisher
= Retainer
? Locking button
Fire extinguisher ;is in the roller box behind
the centre console, between the seats.
X To remove the fire extinguisher: open
cover :.
X Slide locking button ?in the direction of
the arrow.
X Lift and swing out bracket =from the side
on which locking button ?is located.
X Take fire extinguisher ;out of the roller
box.
X To insert the fire extinguisher: insert fire
extinguisher ;into the roller box.
X Insert bracket =into the roller box on the
side opposite locking button ?.
X Then, insert bracket =completely.
X Slide locking button ?in the opposite
direction to the arrow. X
Check whether bracket =is properly
engaged.
X Close cover :.
i Have fire extinguisher
;refilled after
each use and checked every one to two
years. It may otherwise fail in an emer-
gency.
Observe the legal requirements for each
individual country. Vehicle tool kit
General notes The towing eye is located in the boot in a
bracket below the boot lid lock. If the vehicle
is equipped with a TIREFIT kit, it is located in
the stowage compartment under the floor of
the boot.
Vehicles with a TIREFIT kit :
Towing eye
; Tyre sealant filler bottle
= Fuse allocation chart
? Tyre inflation compressor
X Open the boot lid.
X Open the boot separator (Y page 106).
X Lift the boot floor upwards (Y page 548).
X Use the TIREFIT kit (Y page 579). Where will I find...?
577Breakdown assistance Z
Page 603 of 637

Tyre pressure
Tyre pressure specifications
G
WARNING
Underinflated or overinflated tyres pose the
following risks:
R the tyres may burst, especially as the load
and vehicle speed increase.
R the tyres may wear excessively and/or
unevenly, which may greatly impair tyre
traction.
R the driving characteristics, as well as steer-
ing and braking, may be greatly impaired.
There is a risk of an accident.
Observe the recommended tyre pressure and check the tyre pressure of all the tyres includ-
ing the spare wheel:
R at least every two weeks
R when the load changes
R before embarking on a longer journey
R for changed operating conditions, e.g. off-
road driving
If necessary, correct the tyre pressure. G
WARNING
If you fit unsuitable accessories onto tyre
valves, the tyre valves may be overloaded and malfunction, which can cause tyre pressure
loss. Due to their design, retrofitted tyre pres-
sure monitors keep the tyre valve open. This
can also result in tyre pressure loss. There is a risk of accident.
Only screw standard valve caps or valve caps
specifically provided by Mercedes-Benz for
your vehicle onto the tyre valve. G
WARNING
If the tyre pressure drops repeatedly, the
wheel, valve or tyre may be damaged. Tyre
pressure that is too low may result in a tyre
blow-out. There is a risk of accident.
R Check the tyre for foreign objects.
R Check whether the wheel is losing air or the
valve is leaking. If you are unable to rectify the damage, con-
tact a qualified specialist workshop.
H
Environmental note
Check the tyre pressure regularly, at least
every 14 days.
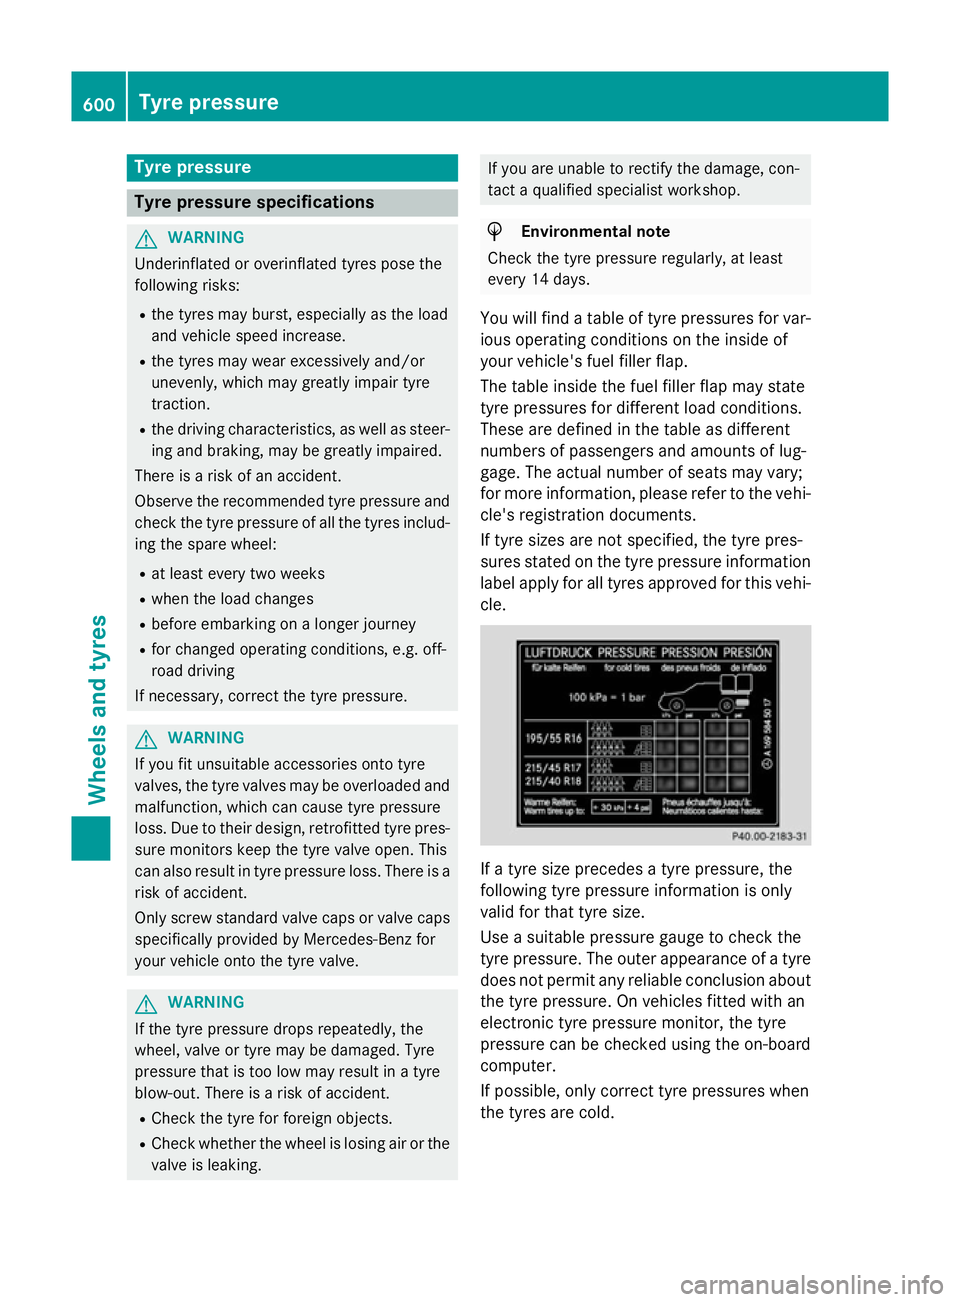
You will find a table of tyre pressures for var- ious operating conditions on the inside of
your vehicle's fuel filler flap.
The table inside the fuel filler flap may state
tyre pressures for different load conditions.
These are defined in the table as different
numbers of passengers and amounts of lug-
gage. The actual number of seats may vary;
for more information, please refer to the vehi-
cle's registration documents.
If tyre sizes are not specified, the tyre pres-
sures stated on the tyre pressure information
label apply for all tyres approved for this vehi- cle. If a tyre size precedes a tyre pressure, the
following tyre pressure information is only
valid for that tyre size.
Use a suitable pressure gauge to check the
tyre pressure. The outer appearance of a tyre
does not permit any reliable conclusion aboutthe tyre pressure. On vehicles fitted with an
electronic tyre pressure monitor, the tyre
pressure can be checked using the on-board
computer.
If possible, only correct tyre pressures when
the tyres are cold. 600
Tyre pressureWheels and tyres