2012 MERCEDES-BENZ G-CLASS SUV steering
[x] Cancel search: steeringPage 218 of 357
R
Service menu (Y
page 220)
R Settings menu (Y
page 221)
R AMG menu in AMG vehicles (Y
page 225)
The Audio ,
Navi and
Tel menus differ slightly
in vehicles with an audio system and in vehi-
cles with COMAND Online. The examples
given in this Owner's Manual apply to vehicles
equipped with COMAND Online. Trip menu
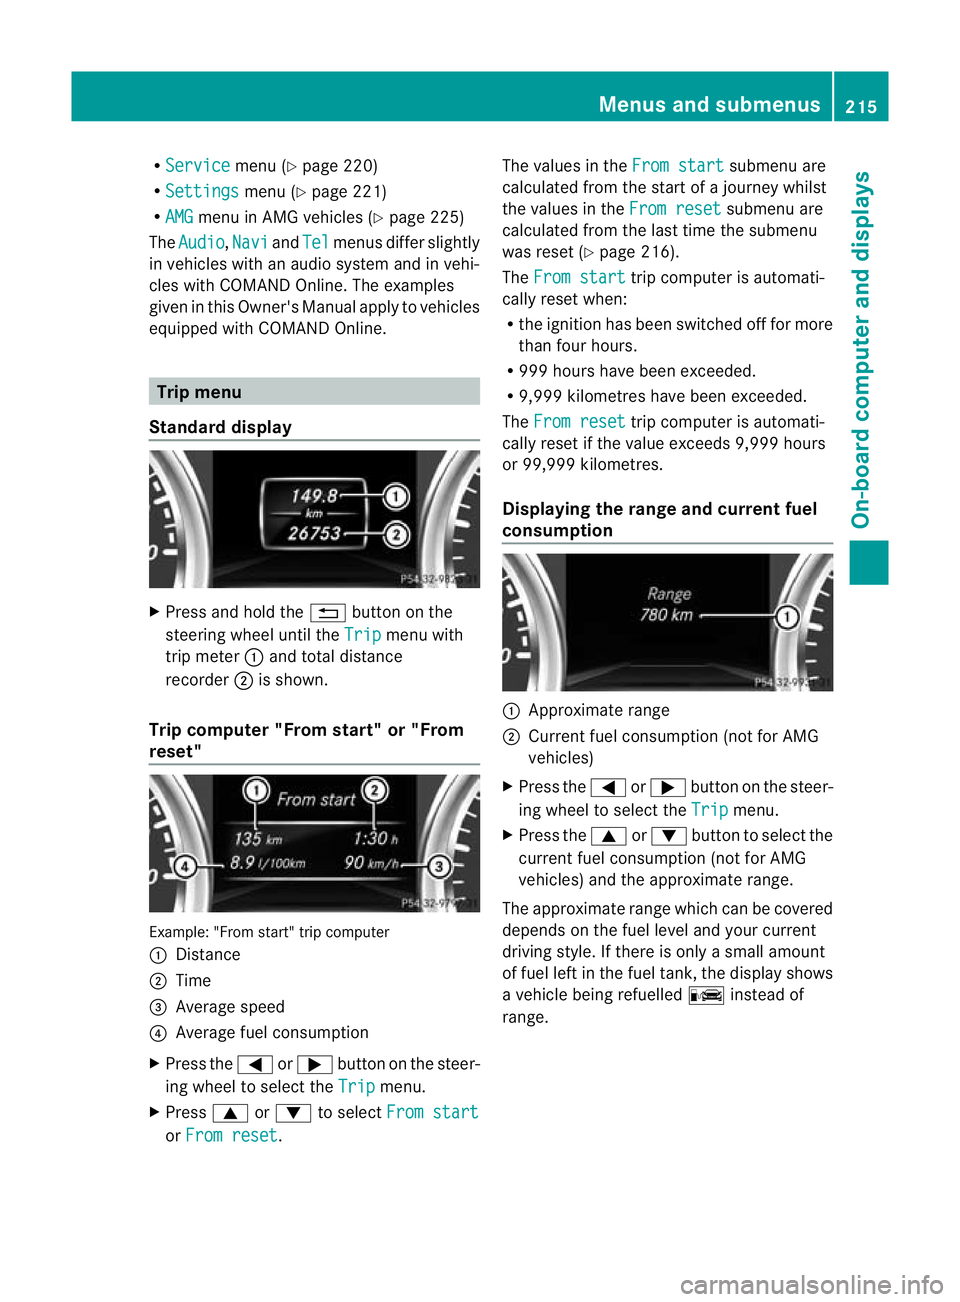
Standard display X
Press and hold the %button on the
steering wheel until the Trip menu with
trip meter :and total distance
recorder ;is shown.
Trip computer "From start" or "From
reset" Example: "From start" trip computer
:
Distance
; Time
= Average speed
? Average fuel consumption
X Press the =or; button on the steer-
ing wheel to select the Trip menu.
X Press 9or: to select From start or
From reset .The values in the
From start submenu are
calculated from the start of a journey whilst
the values in the From reset submenu are
calculated from the last time the submenu
was reset (Y page 216).
The From start trip computer is automati-
cally reset when:
R the ignition has been switched off for more
than four hours.
R 999 hours have been exceeded.
R 9,999 kilometres have been exceeded.
The From reset trip computer is automati-
cally reset if the value exceeds 9,999 hours
or 99,999 kilometres.
Displaying the range and current fuel
consumption :
Approximate range
; Current fuel consumption (not for AMG
vehicles)
X Press the =or; button on the steer-
ing wheel to select the Trip menu.
X Press the 9or: button to select the
current fuel consumption (not for AMG
vehicles) and the approximate range.
The approximate range which can be covered
depends on the fuel level and your current
driving style. If there is only a small amount
of fuel left in the fuel tank, the display shows
a vehicle being refuelled Cinstead of
range. Menus and submenus
215On-board computer and displays Z
Page 222 of 357

the traffic conditions, cause an accident and
injure yourself and others.
X Switch on the mobile phone (see the sep-
arate operating instructions).
X Switch on the audio system or COMAND
Online, see the separate operating instruc-
tions.
X Insert the mobile phone into the bracket
(Y page 279).
or
X Establish a Bluetooth ®
connection to the
audio system or COMAND Online, see the
separate operating instructions.
X Press the =or; button on the steer-
ing wheel to select the Tel menu.
You will see one of the following display mes-
sages in the multifunctio ndisplay:
R Please enter PIN :t
he mobile phone has
been placed in the mobile phone bracket
and the PIN has not been entered.
When you enter your PIN via the mobile
phone, LINGUATRONIC, the audio system
or COMAND Online, the mobile phone
searches for a network.
R Telephone ready or the name of the net-
work provider: the mobile phone has found
a network and is ready to receive.
R Telephone No service : there is no net-
work available or the mobile phone is
searching for a network.
i You can obtain further information about
suitable mobile phones and connecting
mobile phones via Bluetooth ®
:
R in any Mercedes Benz Service Centre
R on the Internet at http://
www.mercedes-benz.com/connect Accepting
acall Example: incoming call
If someone calls you whe
nyou are in the
Tel menu, a display message appears in the
multifunction display.
X Press the 6button on the steering
wheel to accept an incoming call.
You can accept a call even if you are not in
the Tel menu.
Rejecting or ending acall X
Press the ~button on the steering
wheel.
You can end or reject a call even if you are not
in the Tel menu.
Dialling anumber from the phone book X
Press the =or; button on the steer-
ing wheel to select the Tel menu.
X Press the 9,:ora button to
switch to the phone book.
X Press the 9or: button to select the
desired name.
or
X To begin rapid scrolling: press and hold
the 9 or: button for longer than
one second.
Rapid scrolling stops whe nyou release the
button or reach the end of the list.
X If only one telephone number is stored
for a name: press the6ora button
to start dialling.
or
X If there is more than one number for a
particular name: press the6ora
button to display the numbers. Menus and submenus
219On-board computer and displays Z
Page 223 of 357
X
Press the 9or: button to select the
number you want to dial.
X Press the 6ora button to start dial-
ling.
or
X To exit the telephone book: press the
~ or% button.
Redialling The on-board computer saves the last names
or numbers dialled in the redial memory.
X
Press the =or; button on the steer-
ing wheel to select the Tel menu.
X Press the 6button to switch to the
redial memory.
X Press the 9or: button to select the
desired name or number.
X Press the 6ora button to start dial-
ling.
or
X To exit the redial memory: press the
~ or% button. Assistance menu
Introduction In the
Assist. menu, you have the following
options:
R Show the distance display (Y page 220).
R Activate/deactivate Blind Spot Assist or
Active Blind Spot Assist (Y page 220).Showing the distance display X
Press =or; on the steering wheel
to select the Assist. menu.
X Press the 9or: button to select
Distance display .
X Press the abutton.
The DISTRONIC PLUS distance display
appears in the multifunction display
(Y page 187).
Activating/deactivating Blind Spot
Assist X
Press =or; on the steering wheel
to select the Assist. menu.
X Press the 9or: button to select
Blind Spot Asst. .
X Press the abutton.
The curren tselection is displayed.
X To activate/deactivate: press thea
button again.
For further information about Blind Spot
Assist, see (Y page 190).
For further information about Active Blind
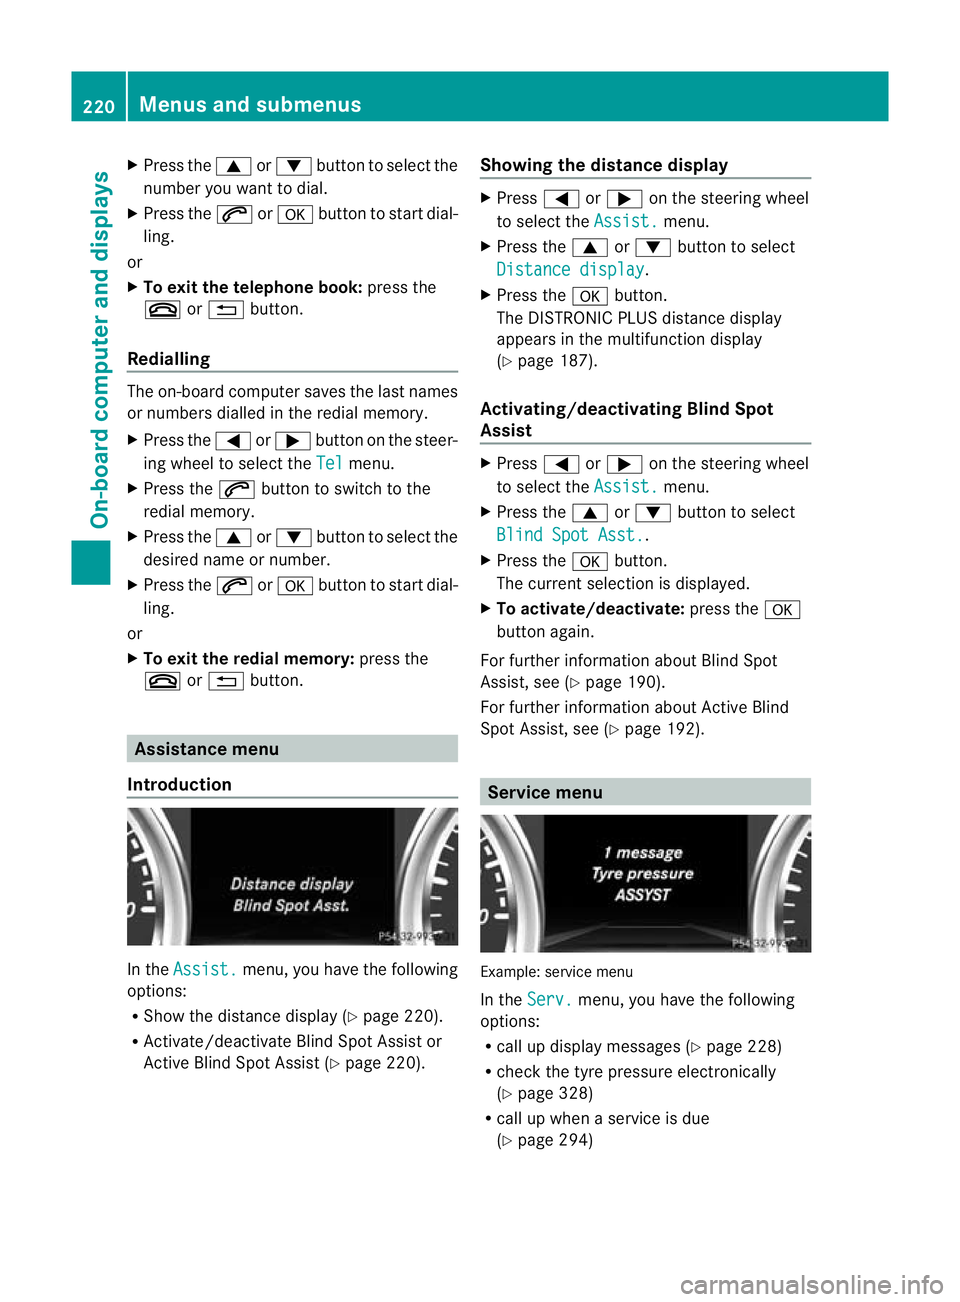
Spot Assist, see (Y page 192). Service menu
Example: service menu
In the
Serv. menu, you have the following
options:
R call up display messages ( Ypage 228)
R chec kthe tyre pressure electronically
(Y page 328)
R call up when a service is due
(Y page 294) 220
Menus and submenusOn-board computer and displays
Page 227 of 357
maximum of two times, drive for a longer
distance.
This function is only available on vehicles with
auxiliary heating (Y page 126).
In the Heating submenu, you can select a
stored departure time or change a departure
time.
The auxiliary heating timer function calcu-
lates the switch-on time according to the out-
side temperature so that the vehicle is pre-
heated by the departure time. When the
departure time is reached, the auxiliary heat-
ing continues to heat for a further five
minutes and then switches off. The auxiliary
heating adopts the THERMATIC temperature
setting.
You can switch off the auxiliary heating by
using the remote control or the &auxiliary
heating button on the centre console.
Selecting the departure time or deactivat-
ing a selected departure time
X Press the =or; button on the steer-
ing wheel to select the Settings menu.
X Press the :or9 button to select the
Heating submenu.
X Press ato confirm.
You will see the selected setting.
X Press ato confirm.
X Press the :or9 button to select
one of the three departure times or Timeroff (no timer active).
X Press ato confirm.
If a departure time is selected, the yellow
indicator lamp lights up on the &auxil-
iary heating button.
Changing the departure time
X Press the =or; button on the steer-
ing wheel to select the Settings menu.
X Press the :or9 button to select the
Heating submenu.
X Press ato confirm.
You will see the selected setting. X
Press ato confirm.
X Press the :or9 button to select
Change A ,
B or
C .
X Press ato confirm.
You can now change the departure time.
X Press the =or; button to select the
display to be changed :hours, minutes.
X Press the :or9 button to set the
selected display.
X Press the abutton to store the entry.
The yellow indicator lamp on the &aux-
iliary heating button lights up.
Convenience Activating/deactivating the EASY-
ENTRY/EXIT feature
G
WARNING
The steering wheel moves when the EASY-
ENTRY/EXIT feature is active. There is a risk
of occupants becoming trapped. Before acti-
vating the EASY-ENTRY/EXIT feature, make
sure that nobody can become trapped.
Do not leave children unsupervised in the
vehicle, even if they are secured in a child
restraint system. The children could open the
driver's door and thereby unintentionally acti-
vate the EASY-ENTRY/EXIT feature and
become trapped.
X Press the =or; button on the steer-
ing wheel to select the Settings menu.
X Press the :or9 button to select the
CONVENIENCE submenu.
X Press ato confirm.
X Press :or9 to select the Easy Entry/Exit: function.
If the Easy Entry/Exit function is activa-
ted, the vehicle steering wheel is displayed
in red in the multifunction display.
X Press the abutton to save the setting.
Further information on the EASY-ENTRY/EXIT
feature (Y page 98). 224
Menus and submenusOn-board computer and displays
Page 228 of 357

Switching the fold-in mirrors when lock-
ing function on/off
When you activate the
Auto. fold in mir‐
rors function, the exterior mirrors are folded
in when the vehicle is locked. When you
unlock the vehicle and then open a door, the
exterior mirrors fold out again.
X Press the =or; button on the steer-
ing wheel to select the Settings menu.
X Press the :or9 button to select the
CONVENIENCE submenu.
X Press ato confirm.
X Press :or9 to select the Auto. fold in mirrors function.
If the Auto. fold in mirrors function is
activated, the vehicle's exterior mirror is
displayed in red in the multifunction dis-
play.
X Press the abutton to save the setting. :
To fold the exterior mirrors in or out
If you have switched the Auto. fold-infunction on and you fold the exterior mirrors
in using button :, they will not fold out auto-
matically (Y page 99).
You can then only fold out the exterior mirrors
using button :. Resetting to factory settings
X Press the =or; button on the steer-
ing wheel to select the Settings menu.
X Press the :or9 button to select the
Factory settings submenu.X
Press ato confirm.
The Reset all settings? message
appears.
X Press the :or9 button to select
No or
Yes .
X Press the abutton to confirm the selec-
tion.
If you have selected Yes , the multifunction
display shows a confirmation message.
For safety reasons, not all functions are reset:
the Limit speed (winter tyres) function
in permanent SPEEDTRONIC can only be set
in the Vehicle submenu. If you want to reset
the Daytime driving lights in the
Light submenu, you must turn the key to position
1(Y
page 143) in the ignition lock. AMG menu in AMG vehicles
AMG displays :
Digital speedometer
; Gear indicator
= Upshift indicator
? Engine oil temperature
A Coolant temperature
B Status indicator for ECO start/stop func-
tion (Y page 145)
X Press =or; on the steering wheel
to select the AMG menu.
Upshift indicator UP =
indicates that the
engine has reached the overrevving range
when in the manual gearshift program.
Upshift indicator UP =
fades out other mes-
sages until you have shifted up.
If the engine oil temperature is below 80 †,
the oil temperature is shown in blue. Avoid Menus and submenus
225On-board computer and displays Z
Page 229 of 357
using the full output of the engine during this
time.
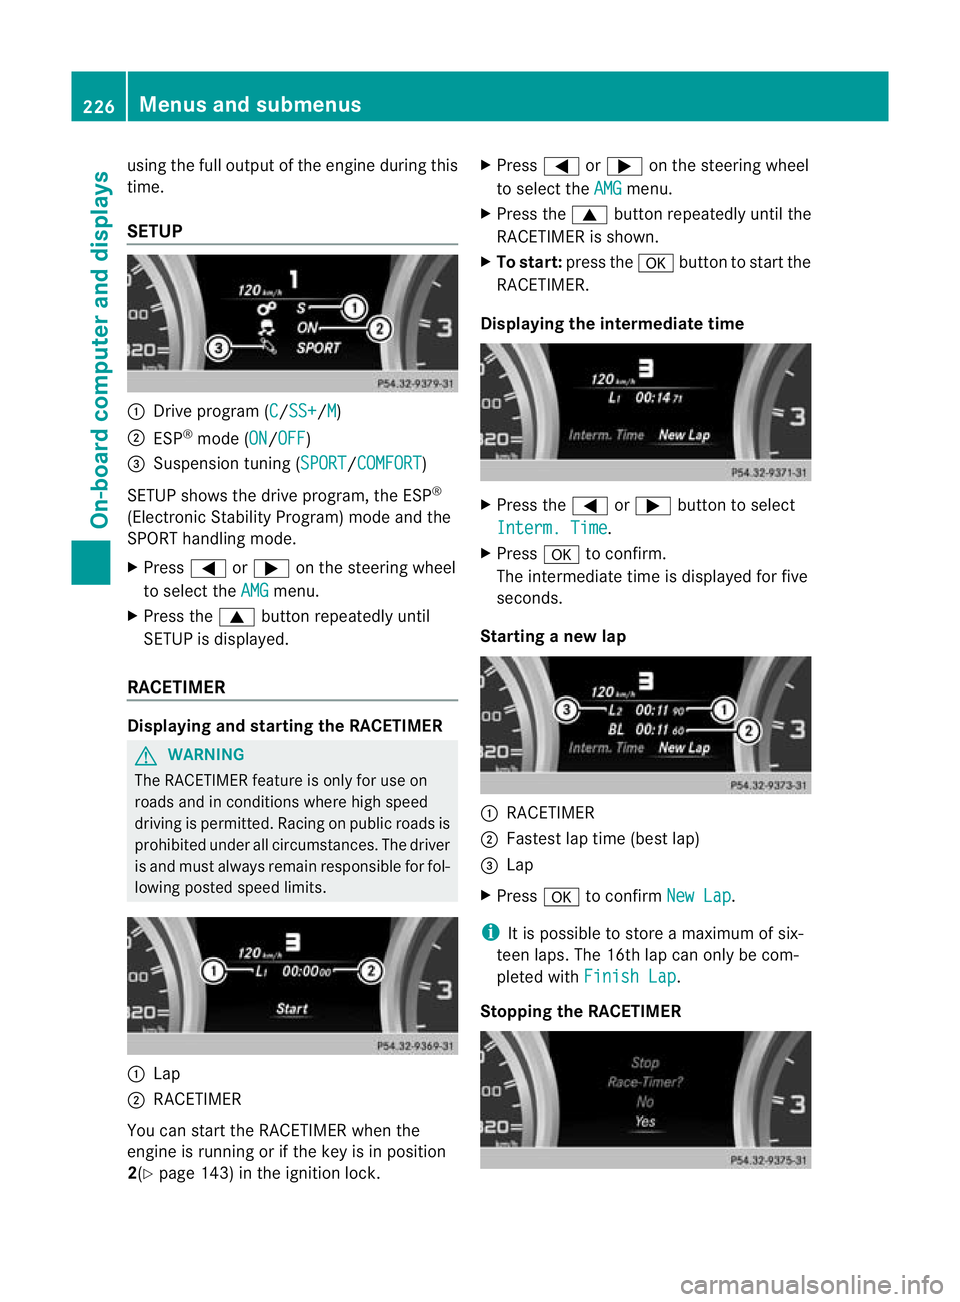
SETUP
:
Drive program (C /SS+ /M )
; ESP ®
mode (ON /OFF )
= Suspension tuning (SPORT /COMFORT )
SETUP shows the drive program, the ESP ®
(Electronic Stability Program) mode and the
SPORT handling mode.
X Press =or; on the steering wheel
to select the AMG menu.
X Press the 9buttonrepeatedly until
SETUP is displayed.
RACETIMER Displaying and starting the RACETIMER
G
WARNING
The RACETIMER feature is only for use on
roads and in conditions where high speed
driving is permitted. Racing on public roads is
prohibited under all circumstances. The driver
is and must always remain responsible for fol-
lowing posted speed limits. :
Lap
; RACETIMER
You can start the RACETIMER when the
engine is running or if the key is in position
2(Y page 143) in the ignition lock. X
Press =or; on the steering wheel
to select the AMG menu.
X Press the 9button repeatedly until the
RACETIMER is shown.
X To start: press the abutton to start the
RACETIMER.
Displaying the intermediate time X
Press the =or; button to select
Interm. Time .
X Press ato confirm.
The intermediate time is displayed for five
seconds.
Starting a new lap :
RACETIMER
; Fastes tlap time (bes tlap)
= Lap
X Press ato confirm New Lap .
i It is possible to store a maximum of six-
teen laps. The 16th lap can only be com-
pleted with Finish Lap .
Stopping the RACETIMER 226
Menus and submenusOn-board computer and displays
Page 230 of 357
X
Press the %button on the steering
wheel.
X Press ato confirm Yes .
The RACETIMER is interrupted if you stop the
vehicle and turn the key to position
1(Y page 143) in the ignition lock. If you turn
the key to position 2or 3(Y page 143) and
then press ato confirm Start , timing is
continued.
Resetting the current lap
X Stop the RACETIMER (Y page 226).
X Press =or; to select Reset Lap .
X Press ato reset the lap time to "0".
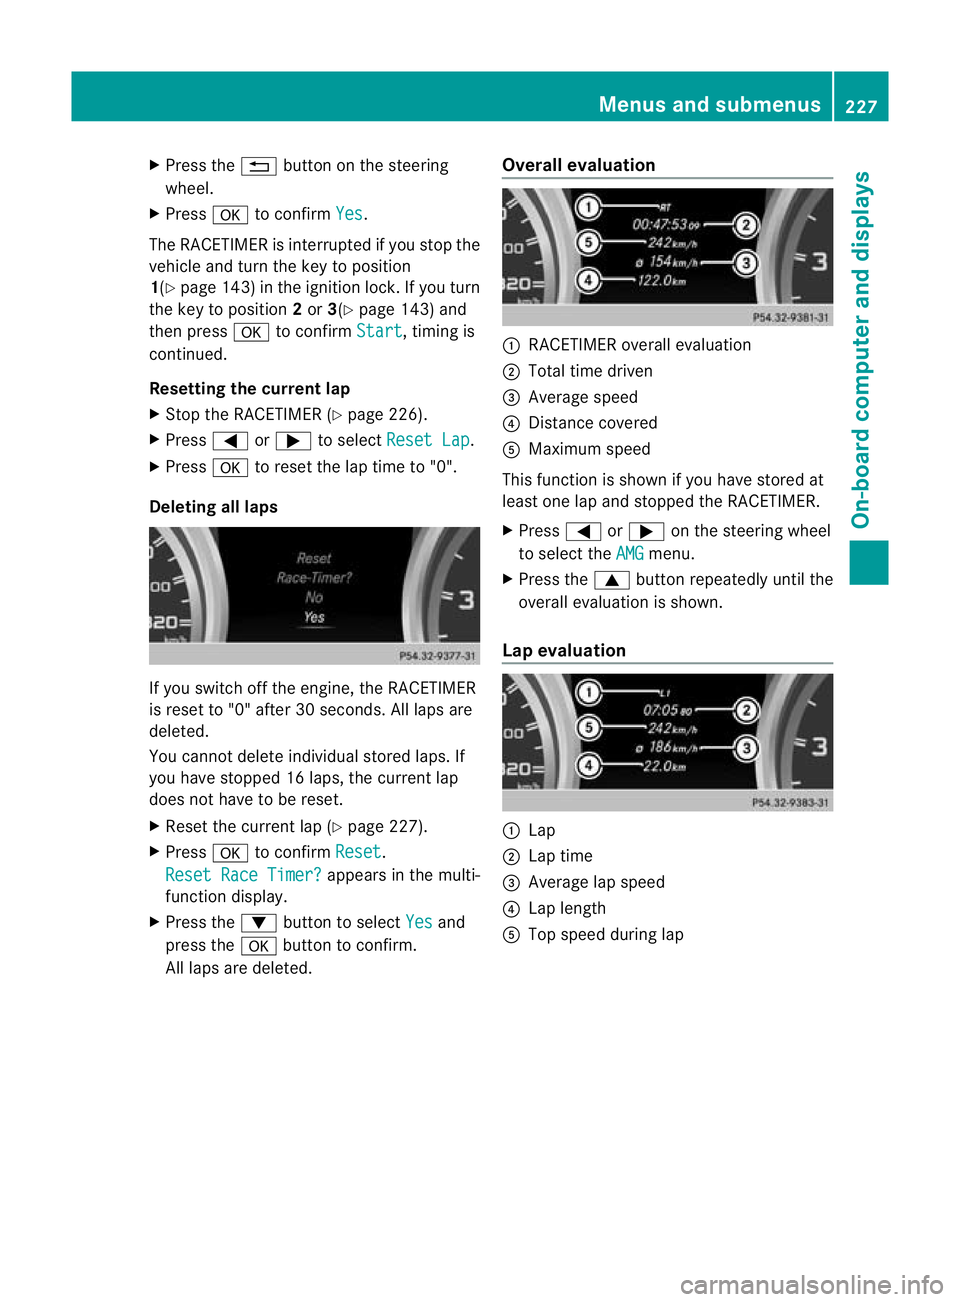
Deleting all laps If you switch off the engine, the RACETIMER
is reset to "0" after 30 seconds. All laps are
deleted.
You cannot delete individual stored laps. If
you have stopped 16 laps, the curren tlap
does no thave to be reset.
X Reset the curren tlap (Y page 227).
X Press ato confirm Reset .
Reset Race Timer? appears in the multi-
function display.
X Press the :button to select Yes and
press the abutton to confirm.
All laps are deleted. Overall evaluation :
RACETIMER overall evaluation
; Total time driven
= Average speed
? Distance covered
A Maximum speed
This function is shown if you have stored at
least one lap and stopped th eRACETIMER.
X Press =or; on the steering wheel
to select the AMG menu.
X Press the 9button repeatedly until the
overall evaluation is shown.
Lap evaluation :
Lap
; Lap time
= Average lap speed
? Lap length
A Top speed during lap Menus and submenus
227On-board computer and displays Z
Page 231 of 357
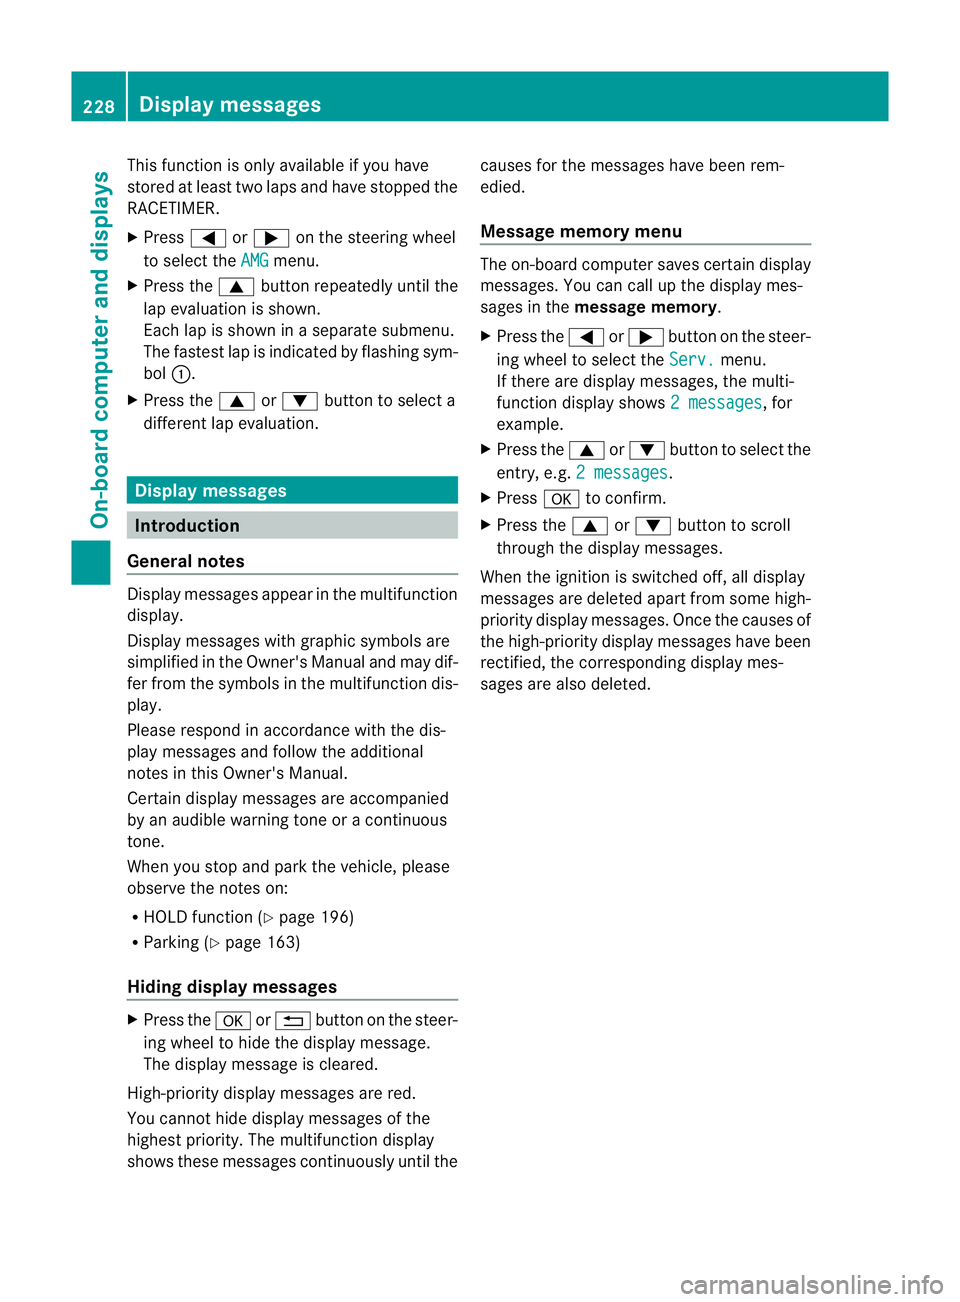
This function is only available if you have
stored at least two laps and have stopped the
RACETIMER.
X
Press =or; on the steering wheel
to select the AMG menu.
X Press the 9button repeatedly until the
lap evaluation is shown.
Each lap is shown in a separate submenu.
The fastest lap is indicated by flashing sym-
bol :.
X Press the 9or: button to select a
different lap evaluation. Display messages
Introduction
General notes Display messages appear in the multifunction
display.
Display messages with graphic symbols are
simplified in the Owner's Manual and may dif-
fer from the symbols in the multifunction dis-
play.
Please respond in accordance with the dis-
play messages and follow the additional
notes in this Owner's Manual.
Certain display messages are accompanied
by an audible warning tone or a continuous
tone.
When you stop and park the vehicle, please
observe the notes on:
R
HOLD function (Y page 196)
R Parking (Y page 163)
Hiding display messages X
Press the aor% button on the steer-
ing wheel to hide the display message.
The display message is cleared.
High-priority display messages are red.
You cannot hide display messages of the
highest priority. The multifunction display
shows these messages continuously until the causes for the messages have been rem-
edied.
Message memor
ymenu The on-board compute
rsaves certain display
messages .You can call up the display mes-
sages in the message memory.
X Press the =or; button on the steer-
ing wheel to select the Serv. menu.
If there are display messages, the multi-
function display shows 2 messages , for
example.
X Press the 9or: button to select the
entry, e.g. 2 messages .
X Press ato confirm.
X Press the 9or: button to scroll
through the display messages.
When the ignition is switched off, all display
messages are deleted apart from some high-
priority display messages. Once the causes of
the high-priority display messages have been
rectified, the corresponding display mes-
sages are also deleted. 228
Display messagesOn-board computer and displays