Page 187 of 436
187
1. TELEPHONE OPERATION
4
TELEPHONE
CT200h_Navi_OM76078E_(EE)
14.02.06 12:30
1Select “Messages”.
When “Message transfer” is set to
“Off”, a confirmation screen will be
displayed. Select “Yes”. (See page
211.)
2Select the “SMS/MMS” tab and then
select the desired received message
from the list.
The tab display may vary depending on
the type of cellular phone.
3Select or press the switch
on the steering wheel.
CALLING USING AN SMS/
MMS MESSAGE
Calls can be made to an SMS (Short
Message Service)/MMS (Multime-
dia Messaging Service) message
sender’s telephone number.
BY POI CALL
A call can be made by selecting
when it is displayed on the
screen from the navigation system.
(See “TO SEE INFORMATION
ABOUT THE ICON WHERE THE
CURSOR IS SET” on page 50.)
Page 190 of 436

190
1. TELEPHONE OPERATION
CT200h_Navi_OM76078E_(EE)
14.02.06 12:30
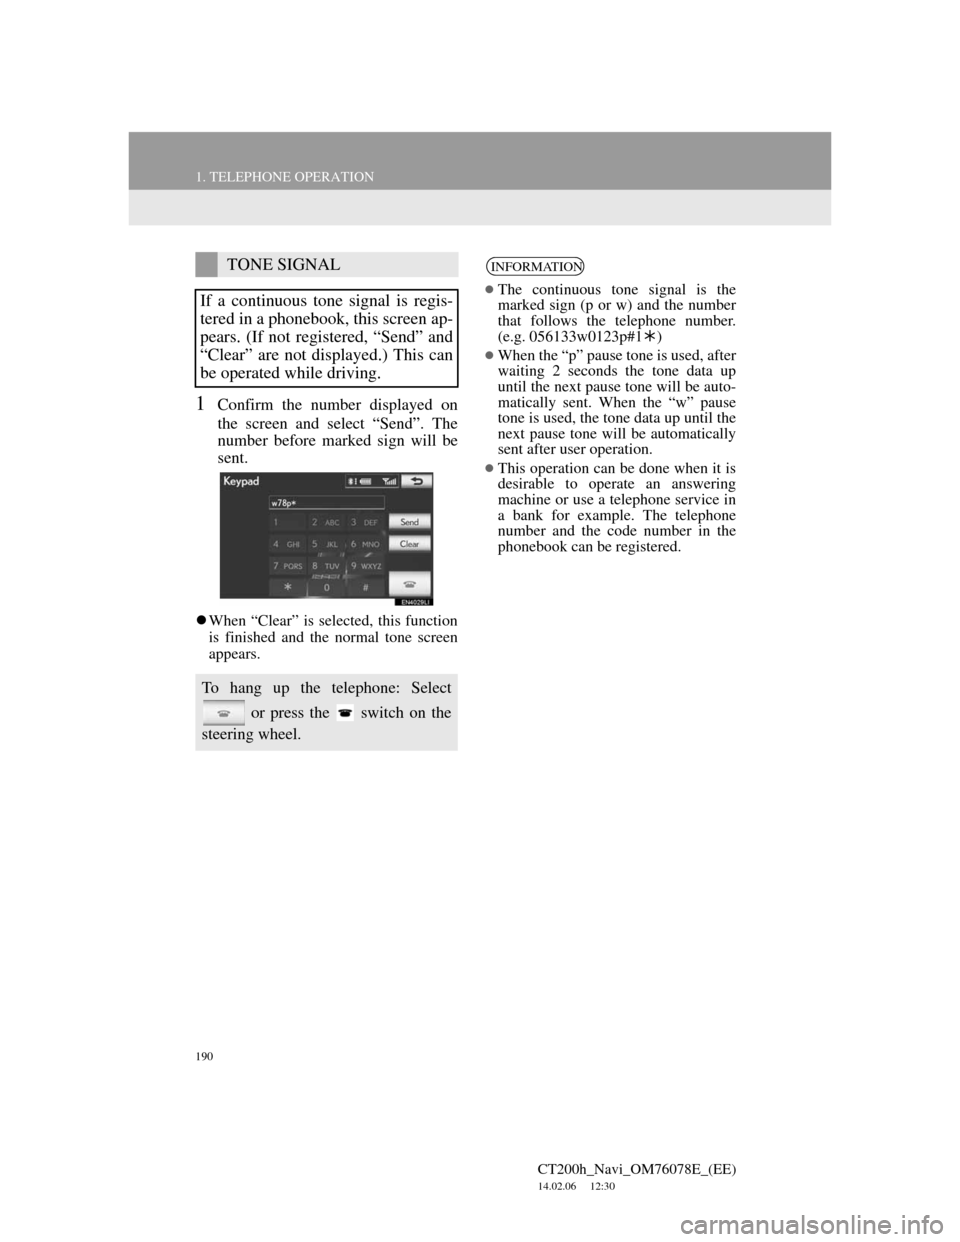
1Confirm the number displayed on
the screen and select “Send”. The
number before marked sign will be
sent.
When “Clear” is selected, this function
is finished and the normal tone screen
appears.
TONE SIGNAL
If a continuous tone signal is regis-
tered in a phonebook, this screen ap-
pears. (If not registered, “Send” and
“Clear” are not displayed.) This can
be operated while driving.
To hang up the telephone: Select
or press the switch on the
steering wheel.
INFORMATION
The continuous tone signal is the
marked sign (p or w) and the number
that follows the telephone number.
(e.g. 056133w0123p#1)
When the “p” pause tone is used, after
waiting 2 seconds the tone data up
until the next pause tone will be auto-
matically sent. When the “w” pause
tone is used, the tone data up until the
next pause tone will be automatically
sent after user operation.
This operation can be done when it is
desirable to operate an answering
machine or use a telephone service in
a bank for example. The telephone
number and the code number in the
phonebook can be registered.
Page 242 of 436

242
1. AUDIO/VIDEO SYSTEM OPERATION
CT200h_Navi_OM76078E_(EE)
14.02.06 12:30
WHEN RECEIVING FMRDS (RADIO DATA
SYSTEM)
Depending on the availability of
RDS infrastructure, the service may
not function properly.
AF (ALTERNATIVE
FREQUENCY) FUNCTION
A station providing good reception is
automatically selected if current re-
ception worsens.
TA (TRAFFIC
ANNOUNCEMENT)
FUNCTION
The tuner will automatically seek a
station that regularly broadcasts traf-
fic information and the station broad-
casts when the traffic information
program starts.
“TP” will appear on the screen.
INFORMATION
When TA is set to “On”, the radio will
begin seeking a TP station. If the
radio seeks out a TP station, the pro-
gram name will appear on the screen.
If a TA (Traffic Announcement) sta-
tion is received, the radio will be
switched to the traffic information
program automatically. When the pro-
gram ends, the initial operation
resumes. Also, when in AF mode, the
radio will seek a TP station by using
the AF list.
EON (Enhanced Other Network) sys-
tem: If the RDS station (with EON
data) currently being listened to is not
broadcasting a traffic information
program in TA (Traffic Announce-
ment) mode, the radio will be
switched to the traffic information
program automatically by using the
EON AF list. After the traffic infor-
mation ends, the radio will return to
the initial program automatically.
Page 244 of 436

244
1. AUDIO/VIDEO SYSTEM OPERATION
CT200h_Navi_OM76078E_(EE)
14.02.06 12:30
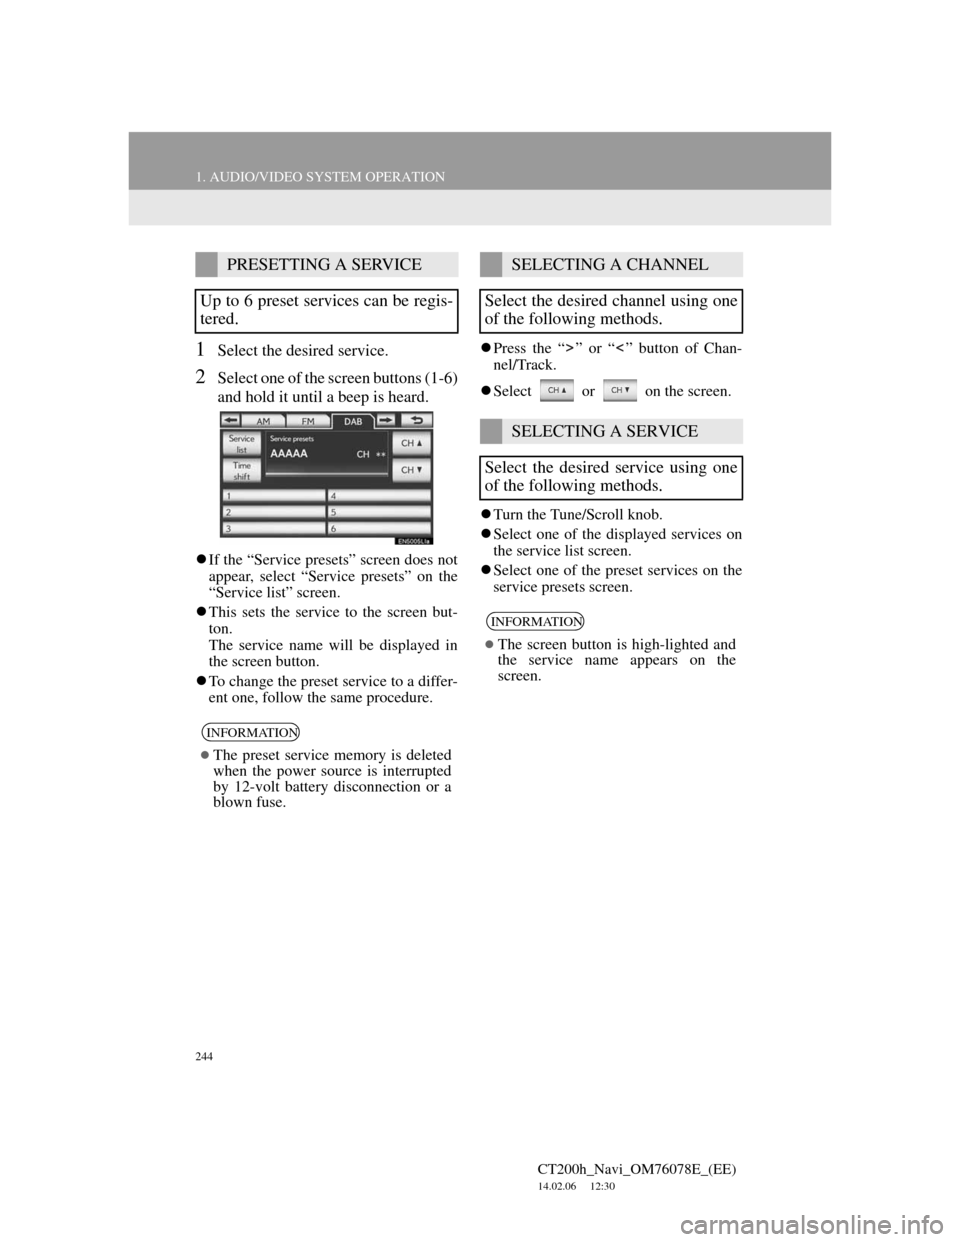
1Select the desired service.
2Select one of the screen buttons (1-6)
and hold it until a beep is heard.
If the “Service presets” screen does not
appear, select “Service presets” on the
“Service list” screen.
This sets the service to the screen but-
ton.
The service name will be displayed in
the screen button.
To change the preset service to a differ-
ent one, follow the same procedure.Press the “ ” or “ ” button of Chan-
nel/Track.
Select or on the screen.
Turn the Tune/Scroll knob.
Select one of the displayed services on
the service list screen.
Select one of the preset services on the
service presets screen.
PRESETTING A SERVICE
Up to 6 preset services can be regis-
tered.
INFORMATION
The preset service memory is deleted
when the power source is interrupted
by 12-volt battery disconnection or a
blown fuse.
SELECTING A CHANNEL
Select the desired channel using one
of the following methods.
SELECTING A SERVICE
Select the desired service using one
of the following methods.
INFORMATION
The screen button is high-lighted and
the service name appears on the
screen.
Page 245 of 436
245
1. AUDIO/VIDEO SYSTEM OPERATION
5
AUDIO/VIDEO SYSTEM
CT200h_Navi_OM76078E_(EE)
14.02.06 12:30
1Select “Service list” to display the
list of DAB service available.
1Select “Time shift”.
“-0’00”” is displayed on the screen.
2Turn the Tune/Scroll knob to set the
desired time.
The time can be set in intervals of 10
seconds.
Time shift mode will be canceled if
“Time shift” is pressed once again
while in time shift mode, or if the time
shift display is left showing “-0’00””
for 6 seconds without any operation.
DISPLAYING THE SERVICE
LIST
TIME SHIFT OPERATION
The service currently being listened
to can rewound and listened to again.
INFORMATION
The times at which playback is possi-
ble depend on the bit rate of the DAB
channel to be recorded, the amount of
DAB unit memory and the time at
which reception of the broadcast
began.
Page 288 of 436

288
1. AUDIO/VIDEO SYSTEM OPERATION
CT200h_Navi_OM76078E_(EE)
14.02.06 12:30
8. AUDIO/VIDEO REMOTE CONTROLS (STEERING SWITCHES)
“MODE” switch
Press the “MODE” switch to select an
audio mode. Each press changes the
mode sequentially if the desired mode
is ready to use.
To turn the audio/video system on,
press the “MODE” switch.
Press and hold the “MODE” switch to
mute/unmute or pause/resume the cur-
rent operation.“ ” switch
Radio
To select a preset station/channel:
Quickly press and release the “ ” or
“ ” switch. Repeat this to select the
next preset station/channel.
To seek a station/channel: Press and
hold the “ ” or “ ” switch until a beep
is heard. Repeat this to find the next sta-
tion/channel. If either switch is pressed
during seek mode, seeking will be can-
celed.
To seek up or down the frequency,
press and hold the switch until a beep is
heard. When you release the switch, the
radio will begin seeking up or down for
a station/channel. Repeat to find the
next station/channel.
DAB
To select a service: Quickly press and
release the “ ” or “ ” switch. Repeat
this to select the next service.
To select a channel: Press and hold the
“ ” or “ ” switch until a beep is heard.
Repeat this to find the next channel. If
either switch is pressed during seek
mode, seeking will be canceled.
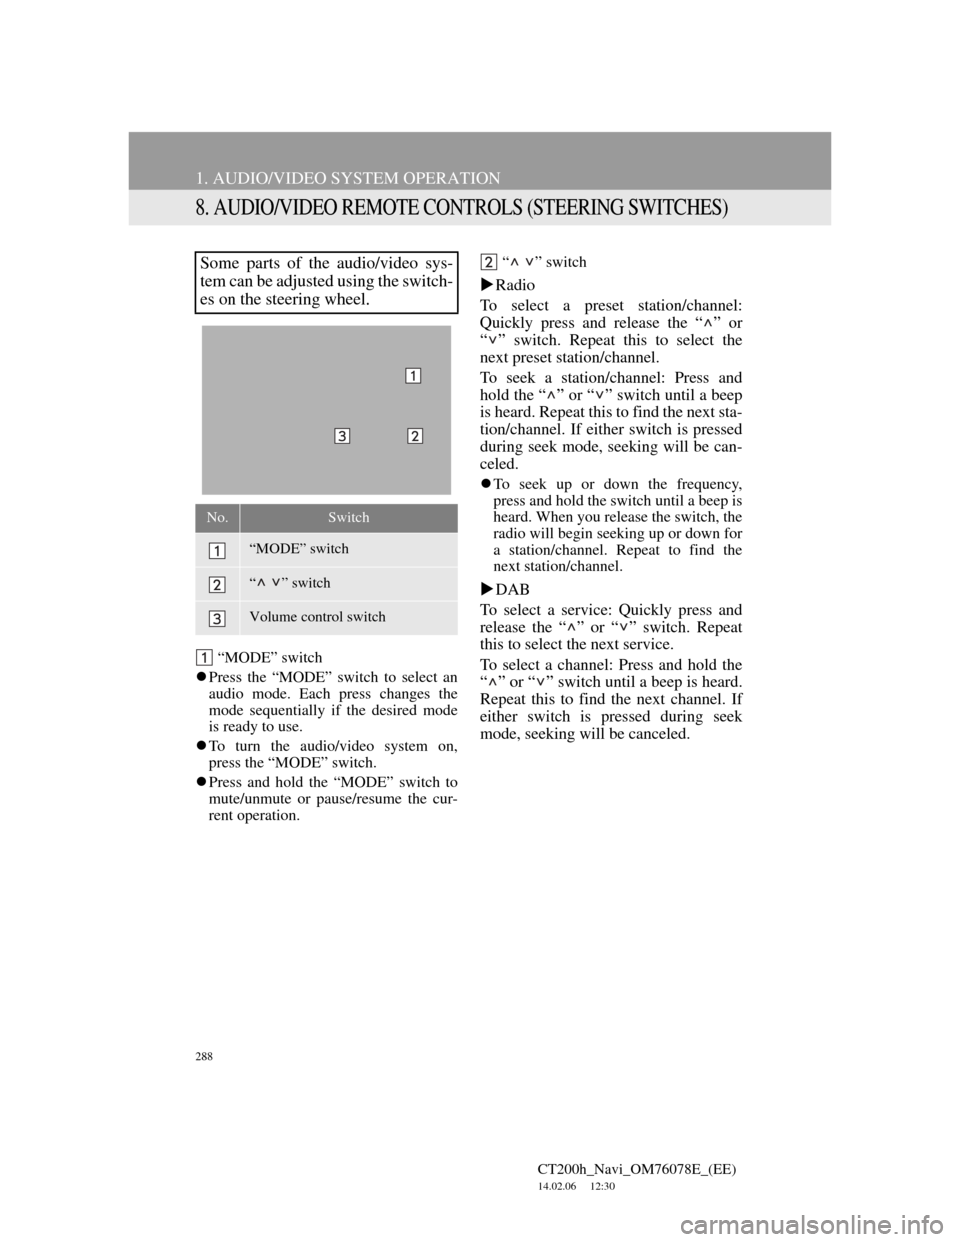
Some parts of the audio/video sys-
tem can be adjusted using the switch-
es on the steering wheel.
No.Switch
“MODE” switch
“ ” switch
Volume control switch
Page 342 of 436
342
2. SETUP
CT200h_Navi_OM76078E_(EE)
14.02.06 12:30
SELECT TRAFFIC INFO SER-
VICE
1Press the “MENU” button on the
Remote Touch, then select “Setup”.
2Select “Info” on the “Setup” screen.
3Select “Traffic” on the “Info set-
tings” screen.
4Select “Select traffic info service”.
5Select “Auto” or “Only TMC”.
“Auto”: RDS-TMC information or
TPEG information will be automatically
sorted and received. When both can be
received, TPEG information will be giv-
en priority.
“Only TMC”: Only RDS-TMC infor-
mation will be received.
6Select “OK”.
Traffic information can set to be re-
ceived automatically, or to receive
RDS-TMC traffic information only.
Page 343 of 436
9
343
1
2
3
4
5
6
7
CT200h_Navi_OM76078E_(EE)
14.02.06 12:30
8
9
10
1. CONNECTED SERVICES
OVERVIEW ................................. 344
BEFORE USING CONNECTED
SERVICES ........................................... 346
2. SETTINGS REQUIRED FOR
USING THE SERVICE ................ 347
OBTAINING A PORTAL SITE
ACCOUNT .......................................... 347
SETTING A Bluetooth
® DUN
COMPATIBLE CELLULAR
PHONE ................................................ 348
SETTING A Bluetooth
® DUN
PROFILE.............................................. 350
3. USING CONNECTED
SERVICES .................................... 353
ONLINE SEARCH ................................. 353
IMPORTING MEMORY POINTS ........ 358
1. ONLINE SEARCH SETTINGS...... 363
SCREENS FOR ONLINE SEARCH
SETTINGS ........................................... 363
1CONNECTED SERVICES
2SETUP
CONNECTED SERVICES