Page 13 of 217
Fuel Recommendations ................................................ 1-2
Breaking In Your New Hyundai .................................... 1-3
Key ............................................................................... 1-4
Door Locks ................................................................... 1-5
Window Glass .............................................................. 1-7
Seat ..............................................................................1-8
To Access the Engine ................................................. 1-12
Seat Belt ...................................................................... 1-14
Child Restraint System ................................................ 1-18
Instrument Cluster and Indicator Lights .......................1-22
Warning Light and Indicator Lights ...............................1-26
Odometer/Trip O dometer............................................. 1-31
Multi-function Light Switch ........................................... 1-32
Windshield Wiper/Washer Switch ................................1-35
Digital Clock ................................................................ 1-39
Glove Box .................................................................... 1-43
Center Seatback Console Compart ment .....................1-44
Mirror ........................................................................... 1-45
Hood R elease .............................................................. 1-47
Fuel Tank Ca p ............................................................. 1-48
Rear Gat e .................................................................... 1-49
Side Gate ..................................................................... 1-50
Heating and Cooling Control .......... ..............................1-53
Stereo Sound System ................................................. 1-64
Audio System .............................................................. 1-66
FEATURES OF YOUR HYUNDAI
1
1
Page 19 of 217
1
FEATURES OF YOUR HYUNDAI
7
o The central door locking is oper- ated by turning the key (driver's door only) toward the front or rear of the vehicle.
CAUTION:
If the door is locked/unlocked mul-tiple times in rapid succession with either the vehicle key or door lockswitch, the system may stop operat- ing temporarily in order to protect the circuit and prevent damage tosystem components.
!
!
WINDOW GLASS
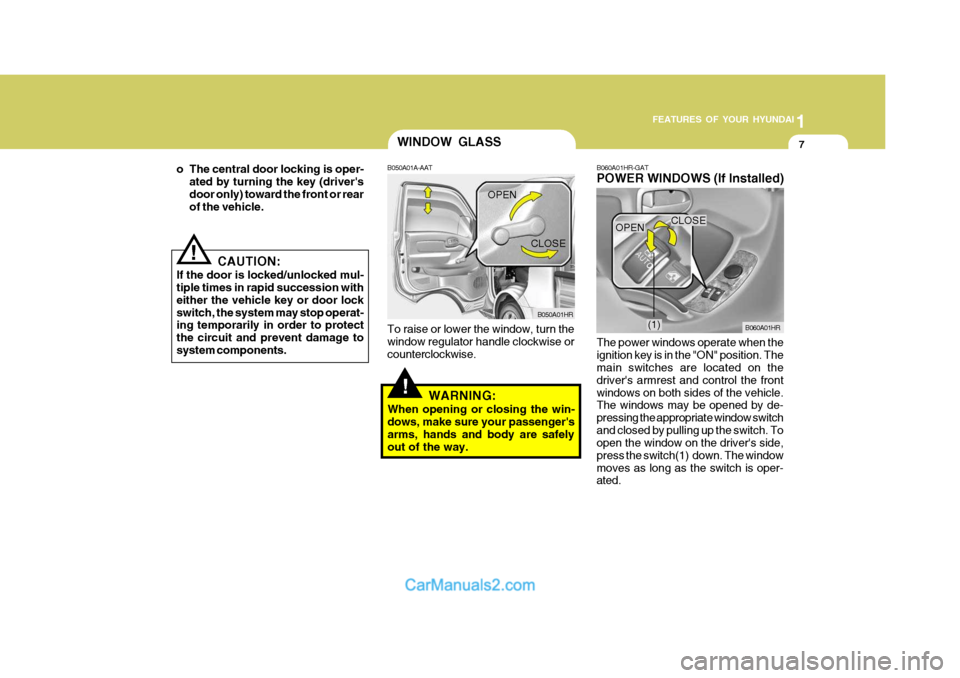
B050A01A-AAT To raise or lower the window, turn the window regulator handle clockwise or counterclockwise.
WARNING:
When opening or closing the win- dows, make sure your passenger'sarms, hands and body are safely out of the way. B050A01HR
OPEN
CLOSE
B060A01HR-GAT POWER WINDOWS (If Installed) The power windows operate when the ignition key is in the "ON" position. The main switches are located on the driver's armrest and control the frontwindows on both sides of the vehicle. The windows may be opened by de- pressing the appropriate window switchand closed by pulling up the switch. To open the window on the driver's side, press the switch(1) down. The windowmoves as long as the switch is oper- ated. B060A01HR
(1)
OPEN
CLOSE
Page 35 of 217
1
FEATURES OF YOUR HYUNDAI
23
1. Fuel Gauge
2. Coolant Temperature Gauge
3. Charging System Warning Light
4. Parking Brake/Low Brake Fluid Level Warning Light
5. Turn Signal Indicator Light
6. Seat Belt Warning Light
7. High Beam Indicator Light
8. Digital Clock
9. Malfunction Indicator Light (MIL) (If Installed) 10. Speedometer
11. Digital Clock Reset Switch
12. Door Ajar Warning Light
13. Low Oil Pressure Warning Light
14. Fuel Filter Warning Light
15. Odometer/Trip Odometer
16. Low Fuel Warning Light
17. Diesel Pre-heat Indicator Light
18. Trip Odometer Reset Switch
Page 37 of 217
1
FEATURES OF YOUR HYUNDAI
25
1. Tachometer
2. Charging System Warning Light
3. Parking Brake/Low Brake Fluid Level Warning Light
4. Turn Signal Indicator Light
5. Seat Belt Warning Light
6. High Beam Indicator Light
7. Digital Clock
8. Low Fuel Warning Light
9. Malfunction Indicator Light (MIL) (If Installed)
10. Speedometer 11. Digital Clock Reset Switch
12. Low Oil Pressure Warning Light
13. Door Ajar Warning Light
14. Fuel Filter Warning Light
15. Coolant Temperature Gauge
16. Odometer/Trip Odometer
17. Fuel Gauge
18. Diesel Pre-heat Indicator Light
19. Trip Odometer Reset Switch
Page 51 of 217
1
FEATURES OF YOUR HYUNDAI
39TICKET HOLDER
B590A01HR-GAT (If Installed)
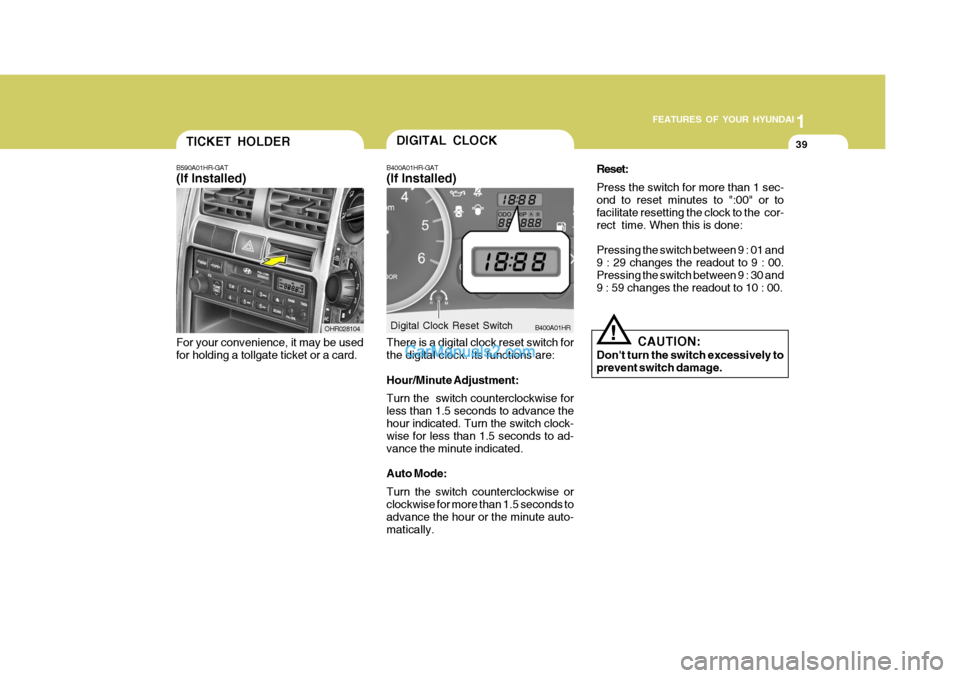
For your convenience, it may be used for holding a tollgate ticket or a card. OHR028104DIGITAL CLOCK
B400A01HR-GAT (If Installed) There is a digital clock reset switch for the digital clock. Its functions are: Hour/Minute Adjustment: Turn the switch counterclockwise for less than 1.5 seconds to advance thehour indicated. Turn the switch clock- wise for less than 1.5 seconds to ad- vance the minute indicated. Auto Mode: Turn the switch counterclockwise or clockwise for more than 1.5 seconds to advance the hour or the minute auto-matically. B400A01HR
Digital Clock Reset Switch Reset: Press the switch for more than 1 sec- ond to reset minutes to ":00" or to facilitate resetting the clock to the cor-rect time. When this is done: Pressing the switch between 9 : 01 and 9 : 29 changes the readout to 9 : 00. Pressing the switch between 9 : 30 and 9 : 59 changes the readout to 10 : 00.
!
CAUTION:
Don't turn the switch excessively to prevent switch damage.
Page 53 of 217
1
FEATURES OF YOUR HYUNDAI
41ENGINE ILDE RPM ADJUST- MENT KNOB
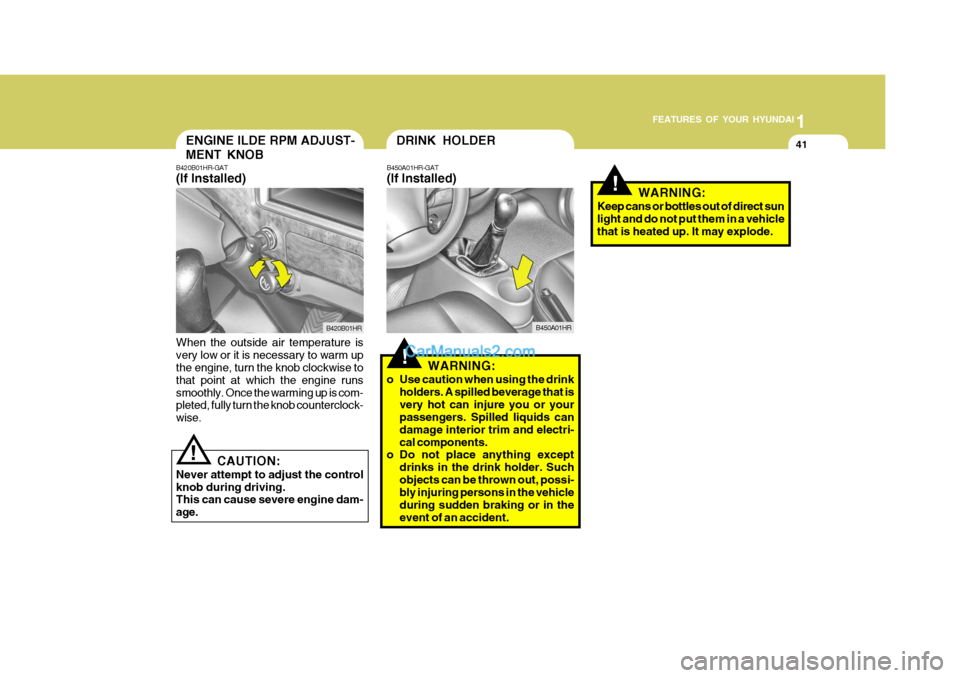
B420B01HR-GAT (If Installed) When the outside air temperature is very low or it is necessary to warm up the engine, turn the knob clockwise to that point at which the engine runssmoothly. Once the warming up is com- pleted, fully turn the knob counterclock- wise. B420B01HR
CAUTION:
Never attempt to adjust the controlknob during driving. This can cause severe engine dam- age.
!
DRINK HOLDER
!
B450A01HR-GAT (If Installed)
WARNING:
o Use caution when using the drink holders. A spilled beverage that is very hot can injure you or your passengers. Spilled liquids can damage interior trim and electri-cal components.
o Do not place anything except
drinks in the drink holder. Suchobjects can be thrown out, possi- bly injuring persons in the vehicle during sudden braking or in theevent of an accident. B450A01HR
!WARNING:
Keep cans or bottles out of direct sun light and do not put them in a vehicle that is heated up. It may explode.
Page 60 of 217
1FEATURES OF YOUR HYUNDAI
48
!WARNING:
o Make sure to refuel your vehicle according to the "Fuel require- ments" suggested in section 1.
o Fuel vapors are dangerous. Be-
fore refueling, always stop theengine and never allow sparks or open flames near the tank area. If you need to replace the tank cap,use a genuine Hyundai replace- ment part. If you open the fuel tank cap dur-ing high ambient temperatures, a slight "pressure sound" may be heard. This is normal and not acause for concern. Whenever you open the fuel tank cap, turn it slowly.
o Automotive fuels are flammable/ explosive materials. When refuel-ing, please note the followingguidelines carefully.
- Before touching the fuel nozzle or
fuel tank cap, have one's hands incontact with metal parts away from the tank neck to discharge static electricity.
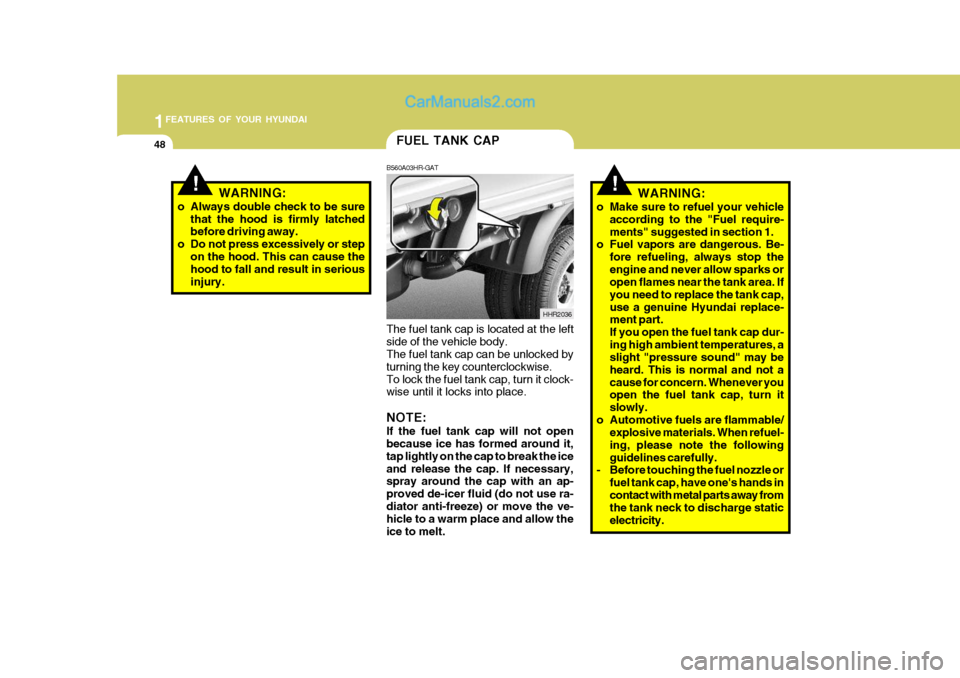
FUEL TANK CAP
B560A03HR-GAT
The fuel tank cap is located at the left side of the vehicle body. The fuel tank cap can be unlocked by turning the key counterclockwise.To lock the fuel tank cap, turn it clock- wise until it locks into place. NOTE: If the fuel tank cap will not open because ice has formed around it, tap lightly on the cap to break the iceand release the cap. If necessary, spray around the cap with an ap- proved de-icer fluid (do not use ra-diator anti-freeze) or move the ve- hicle to a warm place and allow the ice to melt. HHR2036
!WARNING:
o Always double check to be sure that the hood is firmly latched before driving away.
o Do not press excessively or step on the hood. This can cause thehood to fall and result in serious injury.
Page 86 of 217

1FEATURES OF YOUR HYUNDAI
74
K220B01HR-GAT
1. POWER ON-OFF/VOLUMEControl Knob
The radio unit may be operated when the ignition key is in the "ACC" or "ON"position. Rotate the knob clockwise to switch the radio unit on and to increase the volume.The LCD shows the radio frequency in the radio mode. Turn the knob counter- clockwise to reduce the volume and toswitch the radio unit off. BAL (Balance) Control Knob Pull and turn the control knob clockwise to emphasize right speaker sound (left speaker sound will be attenuated). When the control knob is turned counterclock-wise, left speaker sound will be empha- sized (right speaker sound will be at- tenuated).After adjusting the balance, push the knob again to use the other function. SCAN Knob When the scan knob is pressed, the frequency will increase and the receiv-able stations will be tuned in one after another, receiving each station for 5 seconds. To stop scanning, press thescan knob again.
2. TUNE (manual) Select Button Press the ( ) side or ( ) side to increase or to decrease the frequency. With the button held down for 1 secondor more, the stop signal (broadcasting radio wave) is ignored and channel selection continues. SEEK Operation (Automatic Channel Selection) Press the TUNE select button for 1 second or more. When the ( ) side ispressed, the unit will automatically tune to the next higher frequency and when the ( ) side is pressed, it will automati-cally tune to the next lower frequency. 3. BAND Selector Pressing the button changes the AM, FM1 and FM2 bands. The modeselected is displayed on LCD. Each press of the button changes the display as follows;
FM1 � FM2 � AM � FM1
4. BASS Control Knob Press to pop the knob out and turn to the left or right for the desired bass tone. TREBLE Control Knob Pull the bass control knob further out. Turn to the left or right for the desiredtreble tone.
5. PRESET STATION Select But- tons
Six (6) stations for AM, FM1 and FM2 respectively can be preset in the elec- tronic memory circuit on this unit.
FM AM