Page 177 of 217

6
DO-IT-YOURSELF MAINTENANCE
25CHECKING THE BATTERY
G210A01A-AAT
D010B01HR
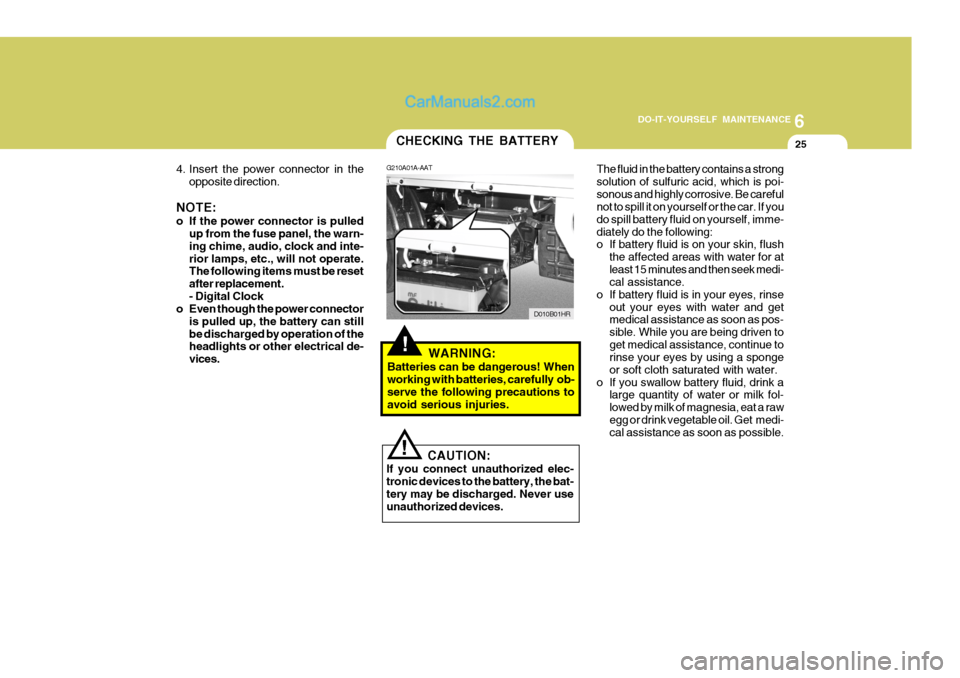
4. Insert the power connector in the
opposite direction.
NOTE:
o If the power connector is pulled up from the fuse panel, the warn- ing chime, audio, clock and inte-rior lamps, etc., will not operate. The following items must be reset after replacement.- Digital Clock
o Even though the power connector
is pulled up, the battery can stillbe discharged by operation of the headlights or other electrical de- vices.
!WARNING:
Batteries can be dangerous! When working with batteries, carefully ob-serve the following precautions to avoid serious injuries. The fluid in the battery contains a strong solution of sulfuric acid, which is poi-sonous and highly corrosive. Be careful not to spill it on yourself or the car. If you do spill battery fluid on yourself, imme-diately do the following:
o If battery fluid is on your skin, flush
the affected areas with water for at least 15 minutes and then seek medi- cal assistance.
o If battery fluid is in your eyes, rinse out your eyes with water and getmedical assistance as soon as pos- sible. While you are being driven toget medical assistance, continue to rinse your eyes by using a sponge or soft cloth saturated with water.
o If you swallow battery fluid, drink a large quantity of water or milk fol-lowed by milk of magnesia, eat a rawegg or drink vegetable oil. Get medi- cal assistance as soon as possible.
! CAUTION:
If you connect unauthorized elec- tronic devices to the battery, the bat-tery may be discharged. Never use unauthorized devices.
Page 186 of 217
6 DO-IT-YOURSELF MAINTENANCE
34
2. Open the hood and remove a head-
light assembly mounting bolt with a spanner.
3. Disconnect the power cord from the bulb. HHR5034
4. To replace the front turn signal light
(1) or position light (2), take it out from the bulb holder by turning it counterclockwise.
5. Install the new bulb. HHR5035(1)
(2) G270D01HR-GAT Rear Combination Light
G270D01HR
1. Disconnect the power cord from the bulb.
G270D02HR
2. Remove the cover by pressing the both sides of the cover.
Page 187 of 217
6
DO-IT-YOURSELF MAINTENANCE
35
3. To replace the rear combination light
(stop/tail light, turn signal light or back-up light), take it out from the bulb holder by turning it counter-clockwise.
(1) Turn Signal Light(2) Stop/Tail Light (3) Back-up Light
4. Install the new bulb. HHR5038
(1) (2)
(3)G270I01HR-GAT License Plate Light
1. Remove the mounting screws of the
license plate light with a phillips screwdriver. OHR0581002. Take the bulb out from the bulb
holder by turning it counterclockwiseand disconnect the power code.
3. Install the new bulb.
OHR058101 G270E01A-GAT Side Repeater (If Installed)
G270E01HR
1. Push the cover toward the front of vehicle and remove it.
Page 188 of 217
6 DO-IT-YOURSELF MAINTENANCE
36
G270E03HR
3. Replace with a new bulb. G270E02HR
2. Disconnect the power code.
G270F02HR-GAT Rear Fog Light (If Installed)
1. Remove the cover by pressing the both sides of the cover. G270F02HR
2. Take the bulb out from the bulb
holder by turning it counterclock- wise.
3. Replace with a new bulb. (21 W) G270F03HR
Page 213 of 217

10INDEX
2
A Air Cleaner Filter ......................................................... 6-13
Air Conditioning Care ......................................................................... 6-19
Operation ................................................................. 1-61
Switch ...................................................................... 1-61
Antenna ...................................................................... 1-66
Ashtray ....................................................................... 1-40
Audio System ............................................................. 1-66
Cassette tape player operation (K220, K240) 1-76, 1-81
Compact disc player unit (HR K260) ....................... 1-70
Radio, set up, volume control (HR K260) ................ 1-67
Stereo radio operation (K220, K240) .............. 1-73, 1-78
BBattery .............................................................. 2-13, 6-24
Brake Checking the brakes ................................................ 6-18
Fluid ......................................................................... 6-18
Pedal free-play ......................................................... 6-21
Practices ................................................................. 2-10
Breaking-In your New Hyundai .................................... 1-2
Bulbs Replacem ent ..................................................... 6-31
Bulbs Watt ages .......................................................... 6-38C
Care of Cassette Tapes
............................................. 1-76
Catalytic Converter ...................................................... 7-2
Center Seatback Console Compart ment .....................1-44
Auxiliary drink holder ............................................... 1-44
Coin holder .............................................................. 1-45
Multi tray ................................................................. 1-44
Child Restraint System ............................................... 1-19
Cigarette Lighter ......................................................... 1-40
Climate Control Air Filter .................................. 1-63, 6-20
Clock .......................................................................... 1-39
Clutch Pedal free-play ......................................................... 6-21
Combination Light Headlight flasher ...................................................... 1-34
Headlight swi tch ...................................................... 1-33
High-beam switch .................................................... 1-34
Lane change si gnal .................................................. 1-33
Turn signal operation ............................................... 1-32
Cooling Fans .............................................................. 6-27
Corrosion protection
Cleaning the interior .................................................. 4-5
Protecting your Hyundai from corrosion ................... 4-2
Washing and waxing ................................................. 4-4