Page 135 of 286
uuAudio System Basic OperationuPlaying a USB Flash Drive
*
134Features
1.Press to switch the display to a folder list.
2.Rotate to select a folder.
3.Press to change the display to a list of
files in that folder.
4.Rotate to select a file, then press .
■
How to Select a File from a Folder with the Selector Knob
1Playing a USB Flash Drive
*
Use the recommended USB flash drives.
2General Information on the Audio System
P. 137
Files in WMA format protected by digital rights
management (DRM) are not played.
The audio system displays UNPLAYABLE FILE, and
then skips to the next file.
If there is a problem, you may see an error message
on the audio display.
2iPod®/USB Flash Drive
* P. 136
Track Selection Folder Selection* Not available on all models
Page 137 of 286

136
uuAudio Error MessagesuiPod®/USB Flash Drive
*
Features
iPod®/USB Flash Drive
*
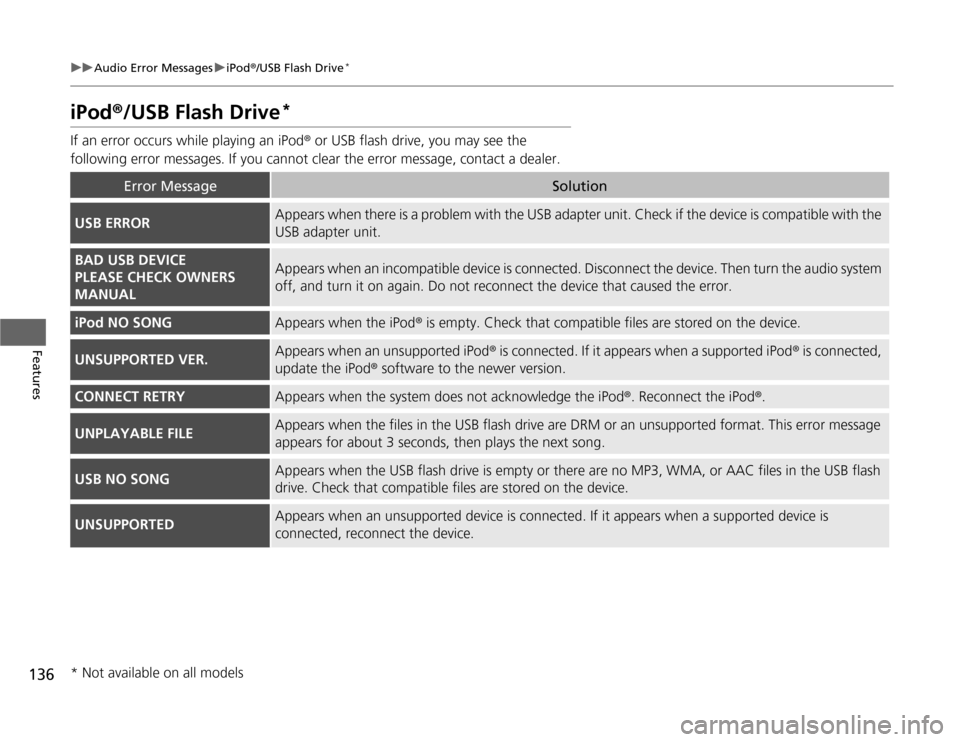
If an error occurs while playing an iPod® or USB flash drive, you may see the
following error messages. If you cannot clear the error message, contact a dealer.
Error Message
Solution
USB ERROR
Appears when there is a problem with the USB adapter unit. Check if the device is compatible with the
USB adapter unit.
BAD USB DEVICE
PLEASE CHECK OWNERS
MANUAL
Appears when an incompatible device is connected. Disconnect the device. Then turn the audio system
off, and turn it on again. Do not reconnect the device that caused the error.
iPod NO SONG
Appears when the iPod® is empty. Check that compatible files are stored on the device.
UNSUPPORTED VER.
Appears when an unsupported iPod® is connected. If it appears when a supported iPod® is connected,
update the iPod® software to the newer version.
CONNECT RETRY
Appears when the system does not acknowledge the iPod®. Reconnect the iPod®.
UNPLAYABLE FILE
Appears when the files in the USB flash drive are DRM or an unsupported format. This error message
appears for about 3 seconds, then plays the next song.
USB NO SONG
Appears when the USB flash drive is empty or there are no MP3, WMA, or AAC files in the USB flash
drive. Check that compatible files are stored on the device.
UNSUPPORTED
Appears when an unsupported device is connected. If it appears when a supported device is
connected, reconnect the device.
* Not available on all models
Page 140 of 286
139
uuGeneral Information on the Audio SystemuCompatible iPod® and USB Flash Drives
*
Features
Compatible iPod® and USB Flash Drives
*
•Use a recommended USB flash drive of 256 MB or higher.
•Some digital audio players may not be compatible.
•Some USB flash drives (e.g., a device with security lockout) may not work.
•Some software files may not allow for audio play or text data display.
•Some versions of MP3, WMA, or AAC formats may be unsupported.■
iPod® Model Compatibility
Model
iPod classic® 80GB/160GB
iPod classic® 120GB
iPod classic® 160GB (launch in 2009)
iPod® (5th generation)
iPod nano®iPod touch®
■
USB Flash Drives
1iPod® Model Compatibility
This system may not work with all software versions
of these devices.1USB Flash Drives
Files on the USB flash drive are played in their stored
order. This order may be different from the order
displayed on your PC or device.
* Not available on all models
Page 154 of 286

153
Driving
This chapter discusses driving, refueling, and information on items such as accessories.
Before Driving
Driving Preparation .......................... 154
Maximum Load Limit........................ 157
Towing a Trailer
Towing Your Vehicle ........................ 159
When Driving
Starting the Engine .......................... 161
Precautions While Driving................. 163
Automatic Transmission ................... 164
Shifting ............................................ 165
Shifting ............................................ 167
Models with 7 positions ATModels with 5 positions AT
Shifting ............................................ 171
Cruise Control
*............................... 173
VSA
® (Vehicle Stability Assist), aka ESC
(Electronic Stability Control), System ...... 176
TPMS (Tire Pressure Monitoring System) .. 178Tire Pressure Monitoring System (TPMS) -
Required Federal Explanation ......... 179
Braking
Brake System ................................... 181
ABS (Anti-lock Brake System) ........... 183
Brake Assist System.......................... 184Manual transmission models
Parking Your Vehicle
When Stopped ................................ 185
Parking ............................................ 185
Refueling
Fuel Information .............................. 186
How to Refuel ................................. 187
Fuel Economy.................................... 189
Improving Fuel Economy .................. 189
Accessories and Modifications
Accessories ...................................... 190
Modifications................................... 190
* Not available on all models
Page 160 of 286

159
Continued
Driving
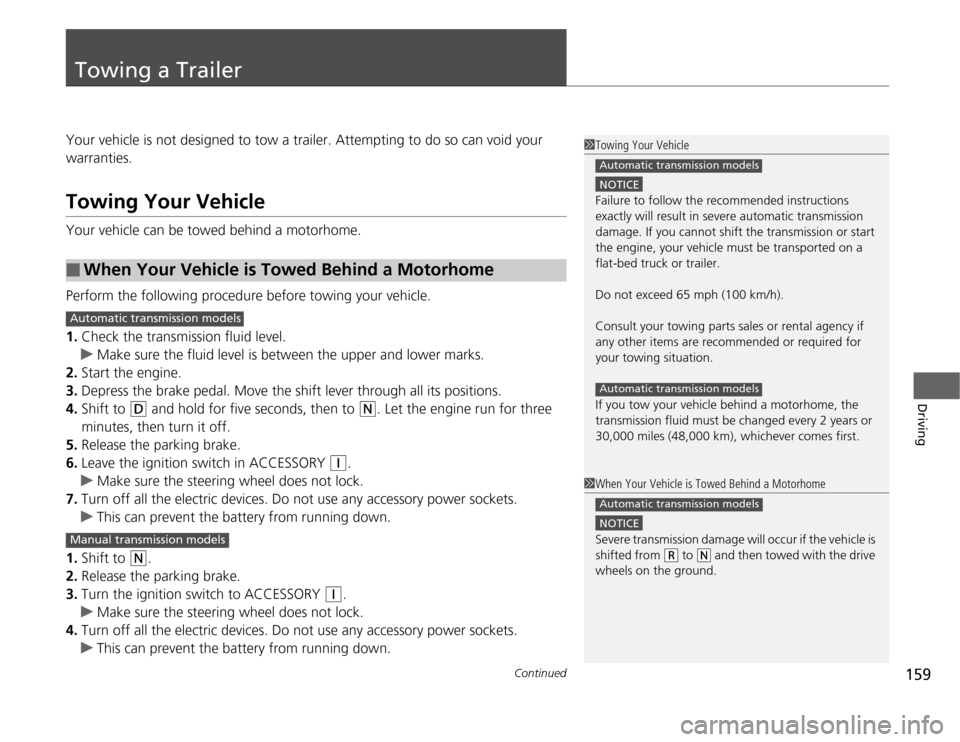
Towing a TrailerYour vehicle is not designed to tow a trailer. Attempting to do so can void your
warranties.Towing Your VehicleYour vehicle can be towed behind a motorhome.
Perform the following procedure before towing your vehicle.
1.Check the transmission fluid level.
uMake sure the fluid level is between the upper and lower marks.
2.Start the engine.
3.Depress the brake pedal. Move the shift lever through all its positions.
4.Shift to
(D
and hold for five seconds, then to
(N
. Let the engine run for three
minutes, then turn it off.
5.Release the parking brake.
6.Leave the ignition switch in ACCESSORY
(q
.
uMake sure the steering wheel does not lock.
7.Turn off all the electric devices. Do not use any accessory power sockets.
uThis can prevent the battery from running down.
1.Shift to
(N
.
2.Release the parking brake.
3.Turn the ignition switch to ACCESSORY
(q
.
uMake sure the steering wheel does not lock.
4.Turn off all the electric devices. Do not use any accessory power sockets.
uThis can prevent the battery from running down.
■
When Your Vehicle is Towed Behind a Motorhome
1Towing Your Vehicle
NOTICEFailure to follow the recommended instructions
exactly will result in severe automatic transmission
damage. If you cannot shift the transmission or start
the engine, your vehicle must be transported on a
flat-bed truck or trailer.
Do not exceed 65 mph (100 km/h).
Consult your towing parts sales or rental agency if
any other items are recommended or required for
your towing situation.
If you tow your vehicle behind a motorhome, the
transmission fluid must be changed every 2 years or
30,000 miles (48,000 km), whichever comes first.Automatic transmission modelsAutomatic transmission models
1When Your Vehicle is Towed Behind a Motorhome
NOTICESevere transmission damage will occur if the vehicle is
shifted from
(R
to
(N
and then towed with the drive
wheels on the ground.
Automatic transmission models
Automatic transmission modelsManual transmission models
Page 163 of 286

uuWhen DrivinguStarting the Engine
162Driving
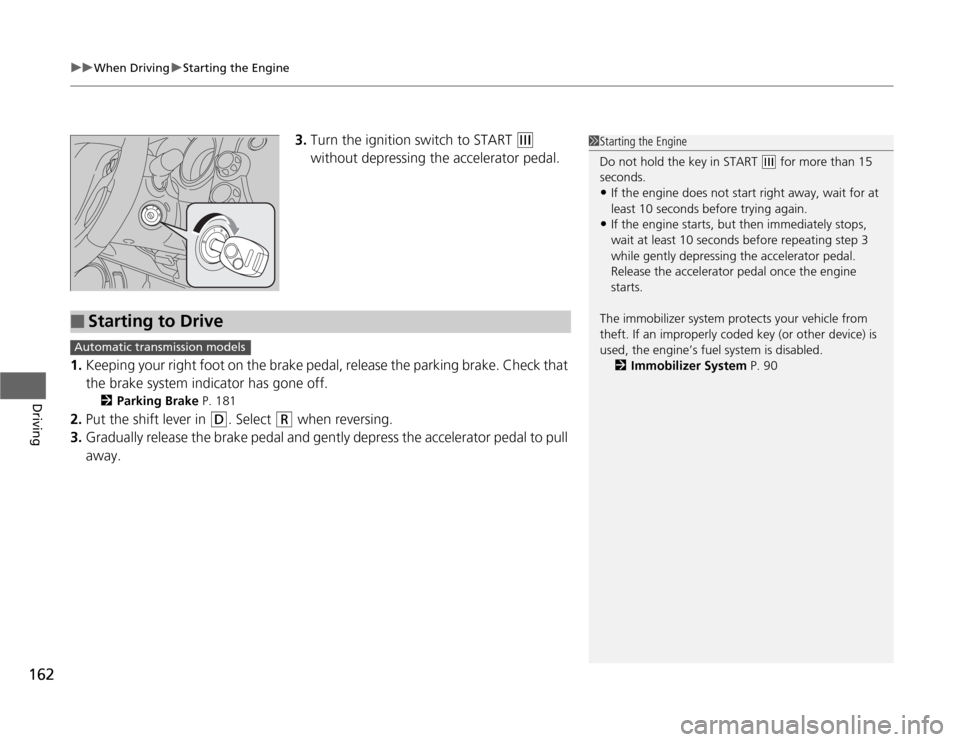
3.Turn the ignition switch to START
(e
without depressing the accelerator pedal.
1.Keeping your right foot on the brake pedal, release the parking brake. Check that
the brake system indicator has gone off.
2Parking Brake P. 181
2.Put the shift lever in
(D
. Select
(R
when reversing.
3.Gradually release the brake pedal and gently depress the accelerator pedal to pull
away.
1Starting the Engine
Do not hold the key in START
(e
for more than 15
seconds.
•If the engine does not start right away, wait for at
least 10 seconds before trying again.•If the engine starts, but then immediately stops,
wait at least 10 seconds before repeating step 3
while gently depressing the accelerator pedal.
Release the accelerator pedal once the engine
starts.
The immobilizer system protects your vehicle from
theft. If an improperly coded key (or other device) is
used, the engine’s fuel system is disabled.
2Immobilizer System P. 90
■
Starting to Drive
Automatic transmission models
Page 166 of 286
165
uuWhen DrivinguShifting
Continued
Driving
ShiftingChange the shift position in accordance with your driving needs.■
Shift lever positions
1Shifting
You cannot turn the ignition switch to LOCK
(0
and
remove the key unless the shift lever is in
(P
.
The vehicle may move forward very slightly even in
(N
while the engine is cold.
Depress the brake pedal firmly and, when necessary,
apply the parking brake.
Models with 7 positions AT
Park
Used when parking or starting the
engine
Reverse
Used when reversing
Neutral
Used when idling
Drive
Used for normal driving (gears change
between 1st and 5th automatically)
Drive (D3)
Used when:●Going up or down hills
Second
Used to increase engine braking
(the transmission is locked in 2nd gear)
First
Used to further increase engine braking
(the transmission is locked in 1st gear) Release Button
Page 170 of 286

169
uuWhen DrivinguShifting
Continued
Driving
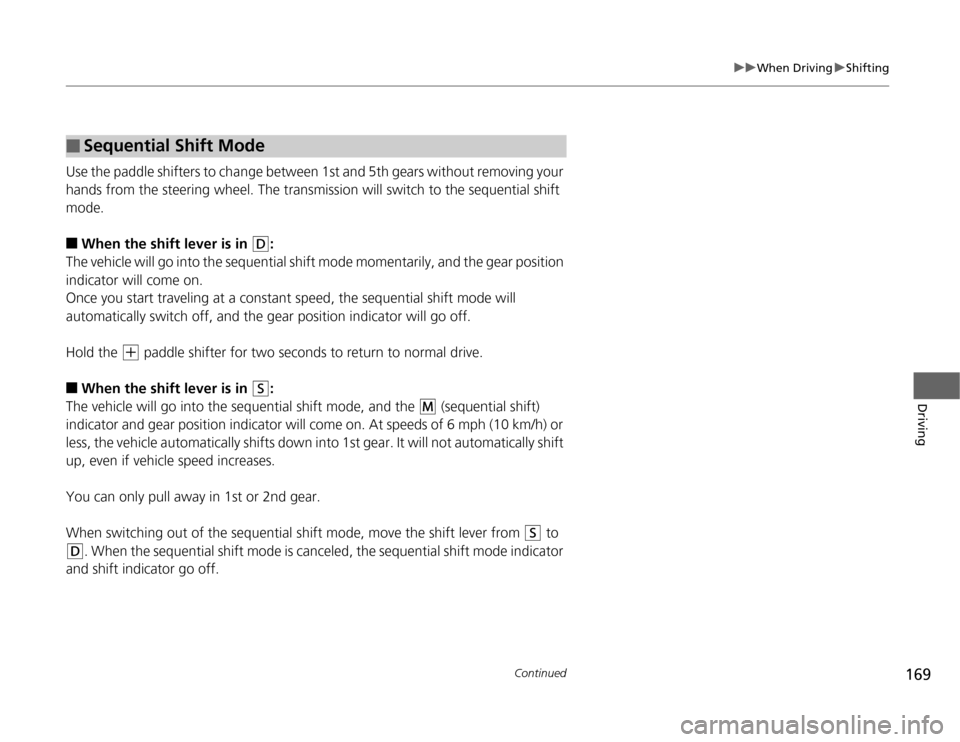
Use the paddle shifters to change between 1st and 5th gears without removing your
hands from the steering wheel. The transmission will switch to the sequential shift
mode.■
When the shift lever is in
(D
:
The vehicle will go into the sequential shift mode momentarily, and the gear position
indicator will come on.
Once you start traveling at a constant speed, the sequential shift mode will
automatically switch off, and the gear position indicator will go off.
Hold the
(+
paddle shifter for two seconds to return to normal drive.
■
When the shift lever is in
(S
:
The vehicle will go into the sequential shift mode, and the
(M
(sequential shift)
indicator and gear position indicator will come on. At speeds of 6 mph (10 km/h) or
less, the vehicle automatically shifts down into 1st gear. It will not automatically shift
up, even if vehicle speed increases.
You can only pull away in 1st or 2nd gear.
When switching out of the sequential shift mode, move the shift lever from
(S
to
(D
. When the sequential shift mode is canceled, the sequential shift mode indicator
and shift indicator go off.
■
Sequential Shift Mode