2011 MERCEDES-BENZ SLS instrument cluster
[x] Cancel search: instrument clusterPage 254 of 436

To signal minor directional changes:XPress the combination switch only to the
point of resistance in direction of
arrow ; or ? and release.
The corresponding turn signal lamps will
flash three times.
High beam
XTurn the exterior lamp switch to position
L (Y page 250).
XSwitching on: Push the combination
switch in direction of arrow :.
The high-beam headlamp indicator lamp
K in the instrument cluster comes on.
XSwitching off: Pull the combination switch
in direction of arrow = to its original
position.
iAlso note the information on high-beam
headlamps with activated automatic
headlamp mode (Y page 250) or the
daytime running lamp mode (Y page 251).
High-beam flasher
XSwitching on: Pull the combination switch
briefly in direction of arrow =.
Hazard warning flasher
The hazard warning flasher can be switched
on at all times, even with the SmartKey
removed from the starter switch.
The hazard warning flasher comes on
automatically when an air bag deploys.
XSwitching on: Press hazard warning
flasher switch :.
All turn signal lamps are flashing.
iWith the hazard warning flasher activated
and the combination switch set for either
left or right turn, only the respective left or
right turn signals will operate when the
ignition is switched on.
XSwitching off: Press hazard warning
flasher switch : again.
iIf the hazard warning flasher has been
activated automatically, press hazard
warning flasher switch : to switch it off.
Headlamp cleaning system
The headlamps will be cleaned with a high-
pressure water jet automatically when the
engine is running and you have
Rswitched on the headlamps
and
Rthe windshield wipers have wiped the
windshield with washer fluid for the first
time
The headlamps are cleaned every tenth time
the windshield is washed with washer fluid.
The counter resets when you switch off the
ignition.
For information on filling up the washer
reservoir, see “Washer system and headlamp
cleaning system” (Y page 325).
252LightingControls in detail
BA 197 USA, CA Edition A 2011; 1; 27, en-UShereepeVersion: 3.0.3.52010-03-24T15:31:10+01:00 - Seite 252
Page 261 of 436

The engine does not start. You can hear
the starter.
There could be a malfunction in the engine
electronics or in the fuel supply system.
Carry out the following steps:XIf you are starting the engine with the
SmartKey: Turn the SmartKey in the starter
switch to position 0 and repeat the starting
procedure.XIf you are starting the engine with KEYLESS-
GO: Close any doors that may be open to
allow for better detection of the SmartKey.
or
XStart the engine with the SmartKey as radio
signals from another source may be
interfering with the KEYLESS-GO function.XRepeat the starting procedure.
If the engine does not start after several
starting attempts:
XContact an authorized Mercedes-Benz
Center or call Roadside Assistance.
The engine does not start. You cannot
hear the starter.
The battery may not be charged sufficiently.
XGet a jump start ( Y page 413).
If the engine will not start despite a jump
start:
XContact an authorized Mercedes-Benz
Center or call Roadside Assistance.
The starter has been exposed to excessive
temperatures.
XLet the starter cool for about 2 minutes.XRepeat the starting procedure.
If the engine does not start after several
starting attempts:
XContact an authorized Mercedes-Benz
Center or call Roadside Assistance.Driving offGWarning!
On slippery road surfaces, never downshift in
order to obtain braking action. This could
result in drive wheel slip and reduced vehicle
control. Your vehicle’s ABS will not prevent
this type of loss of control.
! Do not run a cold engine at high engine
speeds. Running a cold engine at high
engine speeds may shorten the service life
of the engine. This is not covered by the
Mercedes-Benz Limited Warranty.
Drive off immediately after starting the
engine to warm up the engine efficiently.
The engine must be at operating
temperature before using full engine
power. The engine has reached operating
temperature once the engine oil
temperature indicator in the AMG menu of
the control system has stopped flashing.
At engine temperatures below 32‡ (0†),
the engine’s maximum speed is restricted
in order to protect it from damage. Avoid
driving your vehicle at full speed when the
engine is cold to prevent premature engine
wear and/or diminished comfort.
! You have forgotten to release the
electronic parking brake when driving off if
R an acoustic warning sounds
R the message Release Parking Brake
appears in the multifunction display
R the red indicator lamp for the electronic
parking brake F (USA only) or !
(Canada only) in the instrument cluster
flashes
Release the electronic parking brake.
! Avoid spinning of a drive wheel. This may
cause serious damage to the drivetrain
which is not covered by the Mercedes-Benz
Limited Warranty.
! Simultaneously depressing the
accelerator pedal and applying the brakes
reduces engine performance and causes
Driving and parking259Controls in detailBA 197 USA, CA Edition A 2011; 1; 27, en-UShereepeVersion: 3.0.3.52010-03-24T15:31:10+01:00 - Seite 259Z
Page 262 of 436
premature brake and drivetrain wear which
is not covered by the Mercedes-Benz
Limited Warranty.
i Once the vehicle is in motion, the
automatic central locking function engages
and the locking knobs in the doors move
down.
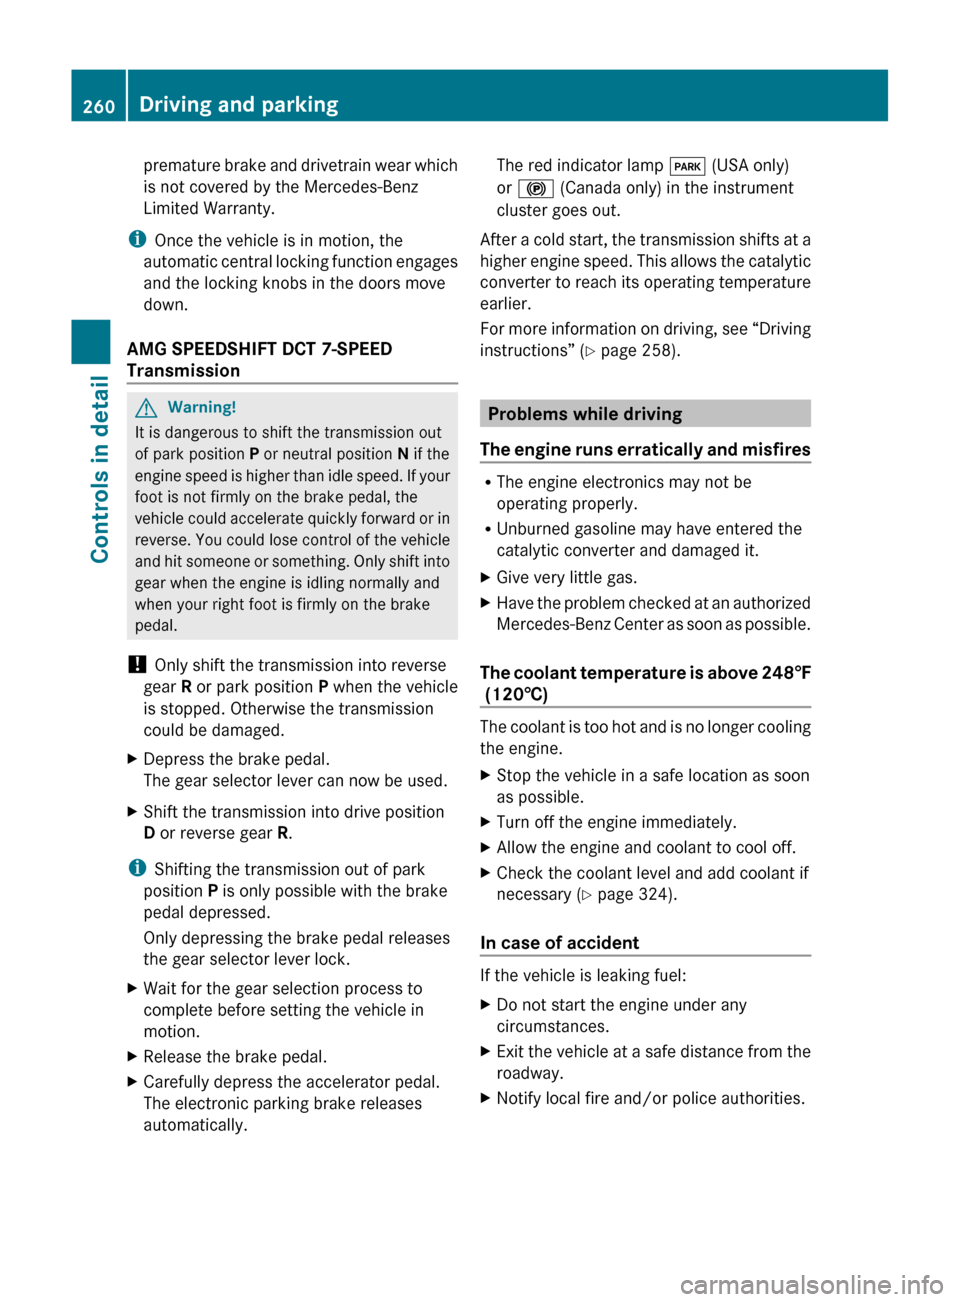
AMG SPEEDSHIFT DCT 7-SPEED
TransmissionGWarning!
It is dangerous to shift the transmission out
of park position P or neutral position N if the
engine speed is higher than idle speed. If your
foot is not firmly on the brake pedal, the
vehicle could accelerate quickly forward or in
reverse. You could lose control of the vehicle
and hit someone or something. Only shift into
gear when the engine is idling normally and
when your right foot is firmly on the brake
pedal.
! Only shift the transmission into reverse
gear R or park position P when the vehicle
is stopped. Otherwise the transmission
could be damaged.
XDepress the brake pedal.
The gear selector lever can now be used.XShift the transmission into drive position
D or reverse gear R.
i
Shifting the transmission out of park
position P is only possible with the brake
pedal depressed.
Only depressing the brake pedal releases
the gear selector lever lock.
XWait for the gear selection process to
complete before setting the vehicle in
motion.XRelease the brake pedal.XCarefully depress the accelerator pedal.
The electronic parking brake releases
automatically.The red indicator lamp F (USA only)
or ! (Canada only) in the instrument
cluster goes out.
After a cold start, the transmission shifts at a
higher engine speed. This allows the catalytic
converter to reach its operating temperature
earlier.
For more information on driving, see “Driving
instructions” ( Y page 258).
Problems while driving
The engine runs erratically and misfires
R The engine electronics may not be
operating properly.
R Unburned gasoline may have entered the
catalytic converter and damaged it.
XGive very little gas.XHave the problem checked at an authorized
Mercedes-Benz Center as soon as possible.
The coolant temperature is above 248‡
(120†)
The coolant is too hot and is no longer cooling
the engine.
XStop the vehicle in a safe location as soon
as possible.XTurn off the engine immediately.XAllow the engine and coolant to cool off.XCheck the coolant level and add coolant if
necessary ( Y page 324).
In case of accident
If the vehicle is leaking fuel:
XDo not start the engine under any
circumstances.XExit the vehicle at a safe distance from the
roadway.XNotify local fire and/or police authorities.260Driving and parkingControls in detail
BA 197 USA, CA Edition A 2011; 1; 27, en-UShereepeVersion: 3.0.3.52010-03-24T15:31:10+01:00 - Seite 260
Page 263 of 436

If the extent of the damage cannot be
determined:
XContact an authorized Mercedes-Benz
Center or call Roadside Assistance.
If no damage on major assemblies, fuel
system, and engine mount can be
determined:
XStart the engine in the usual manner.
Parking
GWarning!
Do not park in areas where the hot exhaust
system could come into contact with
combustible materials. Combustible
materials such as grass, hay or leaves could
be ignited and cause a vehicle fire.
Unintended vehicle movement could cause
serious personal injury or damage to the
vehicle or the vehicle drivetrain. To reduce
such risks, always do the following before
turning off the engine and leaving the vehicle:
RKeep right foot on the brake pedal.
REngage the electronic parking brake.
RShift the transmission into park position P.
RSlowly release the brake pedal.
RWhen parked on an incline, always turn the
front wheels towards the road curb.
RPress the KEYLESS-GO start/stop button,
or turn the SmartKey in the starter switch
to position 0 and remove the SmartKey
from the starter switch.
RTake the SmartKey with you and lock the
vehicle when leaving.
Electronic parking brake
GWarning!
When leaving the vehicle, always remove the
SmartKey from the starter switch, take it with
you, and lock the vehicle. Do not leave
children unattended in the vehicle, or with
access to an unlocked vehicle. Children could
release the electronic parking brake and/or
shift the transmission out of park position P,
either of which could result in an accident
and/or serious personal injury.
Engaging electronic parking brake
XPress handle :.
The red indicator lamp F (USA only)
or ! (Canada only) in the instrument
cluster comes on.
iYou can engage the electronic parking
brake even when the SmartKey is removed
from the starter switch.
Releasing electronic parking brake
manually
XSwitch on the ignition.XPull handle :.
The red indicator lamp F (USA only)
or ! (Canada only) in the instrument
cluster goes out.
Releasing electronic parking brake
automatically
The electronic parking brake releases
automatically when all of the following
conditions are fulfilled:
RThe engine is running.
RThe transmission is in drive position D or
reverse gear R. With the transmission in
reverse gear R the trunk lid must be closed.
RThe hood is closed.
RYou have fastened your seat belt.
RYou depress on the accelerator pedal.
Driving and parking261Controls in detailBA 197 USA, CA Edition A 2011; 1; 27, en-UShereepeVersion: 3.0.3.52010-03-24T15:31:10+01:00 - Seite 261Z
Page 264 of 436
iIf you have not fastened your seat belt,
the following conditions must be met in
order for the electronic parking brake to
release automatically:
R The driver’s door is closed and you shift
the transmission out of park position P.
or
R The driver’s door is closed and you drive
faster than 2 mph (3 km/h).
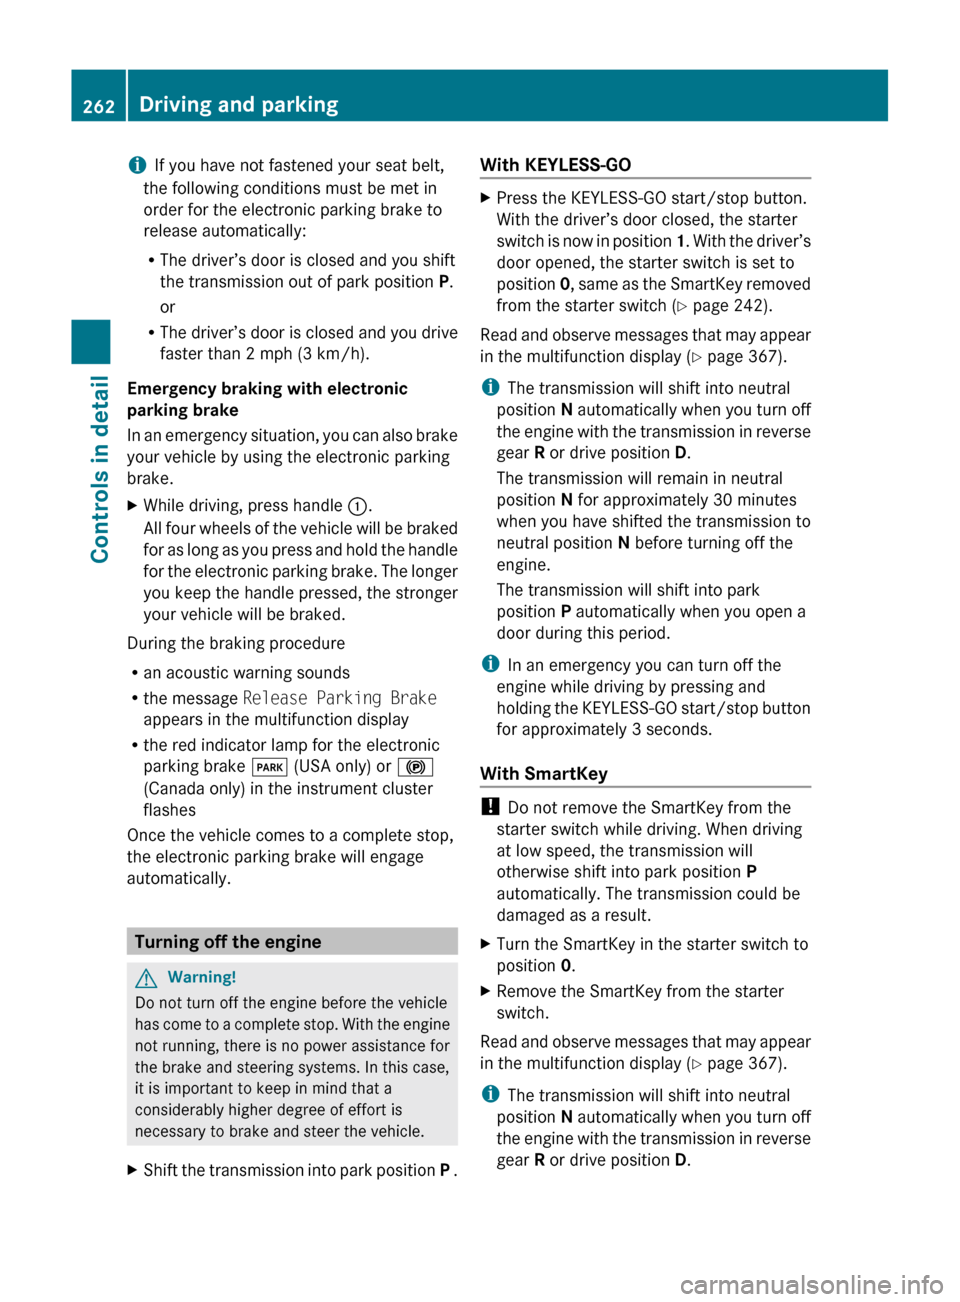
Emergency braking with electronic
parking brake
In an emergency situation, you can also brake
your vehicle by using the electronic parking
brake.XWhile driving, press handle :.
All four wheels of the vehicle will be braked
for as long as you press and hold the handle
for the electronic parking brake. The longer
you keep the handle pressed, the stronger
your vehicle will be braked.
During the braking procedure
R an acoustic warning sounds
R the message Release Parking Brake
appears in the multifunction display
R the red indicator lamp for the electronic
parking brake F (USA only) or !
(Canada only) in the instrument cluster
flashes
Once the vehicle comes to a complete stop,
the electronic parking brake will engage
automatically.
Turning off the engine
GWarning!
Do not turn off the engine before the vehicle
has come to a complete stop. With the engine
not running, there is no power assistance for
the brake and steering systems. In this case,
it is important to keep in mind that a
considerably higher degree of effort is
necessary to brake and steer the vehicle.
XShift the transmission into park position P .With KEYLESS-GOXPress the KEYLESS-GO start/stop button.
With the driver’s door closed, the starter
switch is now in position 1. With the driver’s
door opened, the starter switch is set to
position 0, same as the SmartKey removed
from the starter switch ( Y page 242).
Read and observe messages that may appear
in the multifunction display ( Y page 367).
i The transmission will shift into neutral
position N automatically when you turn off
the engine with the transmission in reverse
gear R or drive position D.
The transmission will remain in neutral
position N for approximately 30 minutes
when you have shifted the transmission to
neutral position N before turning off the
engine.
The transmission will shift into park
position P automatically when you open a
door during this period.
i In an emergency you can turn off the
engine while driving by pressing and
holding the KEYLESS-GO start/stop button
for approximately 3 seconds.
With SmartKey
! Do not remove the SmartKey from the
starter switch while driving. When driving
at low speed, the transmission will
otherwise shift into park position P
automatically. The transmission could be
damaged as a result.
XTurn the SmartKey in the starter switch to
position 0.XRemove the SmartKey from the starter
switch.
Read and observe messages that may appear
in the multifunction display ( Y page 367).
i The transmission will shift into neutral
position N automatically when you turn off
the engine with the transmission in reverse
gear R or drive position D.
262Driving and parkingControls in detail
BA 197 USA, CA Edition A 2011; 1; 27, en-UShereepeVersion: 3.0.3.52010-03-24T15:31:10+01:00 - Seite 262
Page 273 of 436
Instrument cluster
Introduction
For a full view illustration of the instrument
cluster, see “Instrument cluster”
( Y page 34).
GWarning!
No messages will be displayed if either the
instrument cluster or the multifunction
display is inoperative.
As a result, you will not be able to see
information about your driving conditions,
such as
R speed
R outside temperature
R warning/indicator lamps
R malfunction/warning messages
R failure of any systems
Driving characteristics may be impaired.
If you must continue to drive, do so with added
caution. Contact an authorized Mercedes-
Benz Center as soon as possible.
The language setting for the multifunction
display can be changed via COMAND system
( Y page 99).
Activating the instrument cluster
The instrument cluster is activated when you
R open the driver’s door
R switch on the ignition
R switch on the exterior lamps
Engine oil temperature gauge
The engine oil temperature gauge is located
in the instrument cluster. The engine oil
temperature may rise up to 140† under
normal driving conditions.
! The engine should not be operated with
the engine oil temperature above 140†.
Doing so may cause serious damage which
is not covered by the Mercedes-Benz
Limited Warranty.
The temperature of the transmission fluid and
coolant are displayed in the AMG menu
( Y page 287).
Tachometer
The red marking on the tachometer
( Y page 34) denotes excessive engine speed.
! Avoid driving at excessive engine speeds,
as it may result in serious engine damage
that is not covered by the Mercedes-Benz
Limited Warranty.
To help protect the engine, the fuel supply is
interrupted if the engine is operated within
the red marking.
Outside temperature indicator
The outside temperature indicator is
displayed in the multifunction display
( Y page 273).
GWarning!
The outside temperature indicator is not
designed to serve as an ice-warning device
and is therefore unsuitable for that purpose.
Indicated temperatures just above the
freezing point do not guarantee that the road
surface is free of ice. The road may still be icy,
especially in wooded areas or on bridges.
Fuel gauge
The fuel gauge is on the left-hand side of the
instrument cluster (Y page 34). Once the fuel
level has fallen below the reserve mark, the
yellow fuel tank reserve warning lamp 8
for the fuel reserve comes on.
Instrument cluster271Controls in detailBA 197 USA, CA Edition A 2011; 1; 27, en-UShereepeVersion: 3.0.3.52010-03-24T15:31:10+01:00 - Seite 271Z
Page 285 of 436
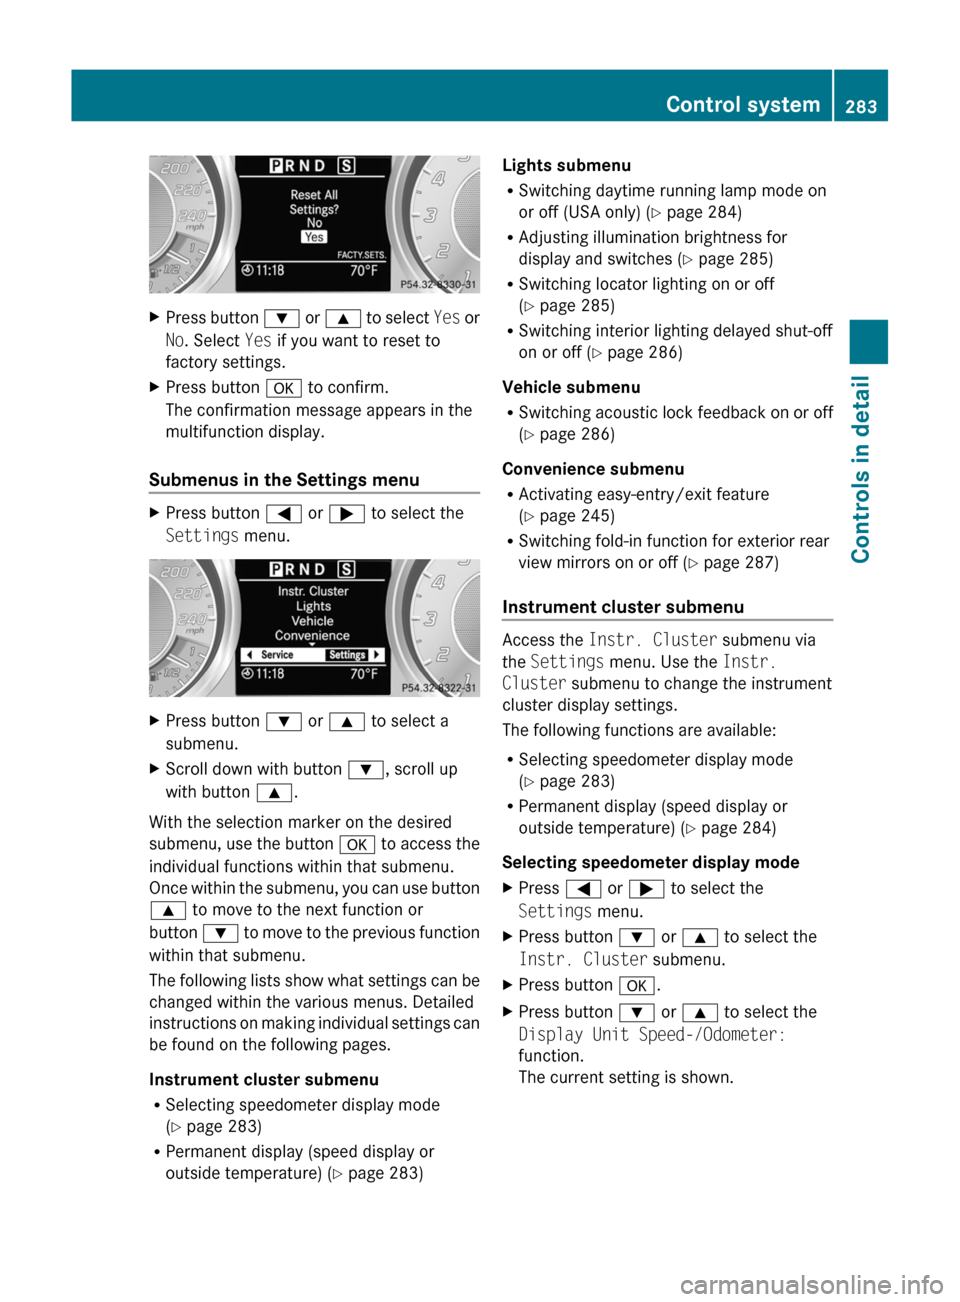
XPress button : or 9 to select Yes or
No . Select Yes if you want to reset to
factory settings.XPress button a to confirm.
The confirmation message appears in the
multifunction display.
Submenus in the Settings menu
XPress button = or ; to select the
Settings menu.XPress button : or 9 to select a
submenu.XScroll down with button :, scroll up
with button 9.
With the selection marker on the desired
submenu, use the button a to access the
individual functions within that submenu.
Once within the submenu, you can use button
9 to move to the next function or
button : to move to the previous function
within that submenu.
The following lists show what settings can be
changed within the various menus. Detailed
instructions on making individual settings can
be found on the following pages.
Instrument cluster submenu
R Selecting speedometer display mode
( Y page 283)
R Permanent display (speed display or
outside temperature) ( Y page 283)
Lights submenu
R Switching daytime running lamp mode on
or off (USA only) ( Y page 284)
R Adjusting illumination brightness for
display and switches ( Y page 285)
R Switching locator lighting on or off
( Y page 285)
R Switching interior lighting delayed shut-off
on or off ( Y page 286)
Vehicle submenu
R Switching acoustic lock feedback on or off
( Y page 286)
Convenience submenu
R Activating easy-entry/exit feature
( Y page 245)
R Switching fold-in function for exterior rear
view mirrors on or off ( Y page 287)
Instrument cluster submenu
Access the Instr. Cluster submenu via
the Settings menu. Use the Instr.
Cluster submenu to change the instrument
cluster display settings.
The following functions are available:
R Selecting speedometer display mode
( Y page 283)
R Permanent display (speed display or
outside temperature) ( Y page 284)
Selecting speedometer display mode
XPress = or ; to select the
Settings menu.XPress button : or 9 to select the
Instr. Cluster submenu.XPress button a.XPress button : or 9 to select the
Display Unit Speed-/Odometer:
function.
The current setting is shown.Control system283Controls in detailBA 197 USA, CA Edition A 2011; 1; 27, en-UShereepeVersion: 3.0.3.52010-03-24T15:31:10+01:00 - Seite 283Z
Page 331 of 436
punctured or damaged by road debris,
potholes etc.
Overinflated tires can
R adversely affect handling characteristics
R cause uneven tire wear
R be more prone to damage from road
hazards
R adversely affect ride comfort
R increase stopping distance
Checking tire inflation pressure
Safety notes
GWarning!
Follow recommended tire inflation pressures.
Do not underinflate tires. Underinflated tires
wear excessively and/or unevenly, adversely
affect handling and fuel economy, and are
more likely to fail from being overheated.
Do not overinflate tires. Overinflated tires can
adversely affect handling and ride comfort,
wear unevenly, increase stopping distance,
and result in sudden deflation (blowout)
because they are more likely to become
punctured or damaged by road debris,
potholes etc.
Do not overload the tires by exceeding the
specified load limit as indicated on the Tire
and Loading Information placard on the
driver’s door B-pillar. Overloading the tires
can overheat them, possibly causing a
blowout. Overloading the tires can also result
in handling or steering problems, or brake
failure.
Check the tire inflation pressure at least once
a month.
Check and adjust the tire inflation pressure
when the tires are cold.
Checking tire inflation pressure
manually
Follow the steps below to achieve correct tire
inflation pressure:
XRemove the cap from the valve on one tire.XFirmly press a tire gauge onto the valve.XRead the tire inflation pressure on the tire
gauge and check against the
recommended tire inflation pressure on the
Tire and Loading Information placard on the
driver’s door B-pillar ( Y page 334). If
necessary, add air to achieve the
recommended tire inflation pressure.XIf you have overfilled the tire, release tire
inflation pressure by pushing the metal
stem of the valve with e.g. a tip of a pen.
Then recheck the tire inflation pressure
with the tire gauge.XInstall the valve cap.XRepeat this procedure for each tire.
Advanced Tire Pressure Monitoring
System (Advanced TPMS)
Your vehicle is equipped with the Advanced
Tire Pressure Monitoring System (Advanced
TPMS). It measures the tire inflation pressure
in the vehicle’s tires and issues warnings in
case of pressure loss in one or more of the
tires.
The TPMS is equipped with a combination low
tire pressure/TPMS malfunction telltale
(USA) or a low tire pressure telltale (Canada)
in the instrument cluster. Depending on how
the telltale illuminates, it indicates a low tire
pressure condition or a malfunction in the
TPMS system itself:
R If the telltale illuminates continuously, one
or more of your tires is significantly
underinflated. There is no malfunction in
the TPMS.
R USA only: If the telltale flashes for 60
seconds and then stays illuminated, the
TPMS system itself is not operating
properly.
Tires and wheels329OperationBA 197 USA, CA Edition A 2011; 1; 27, en-UShereepeVersion: 3.0.3.52010-03-24T15:31:10+01:00 - Seite 329Z