Page 281 of 722
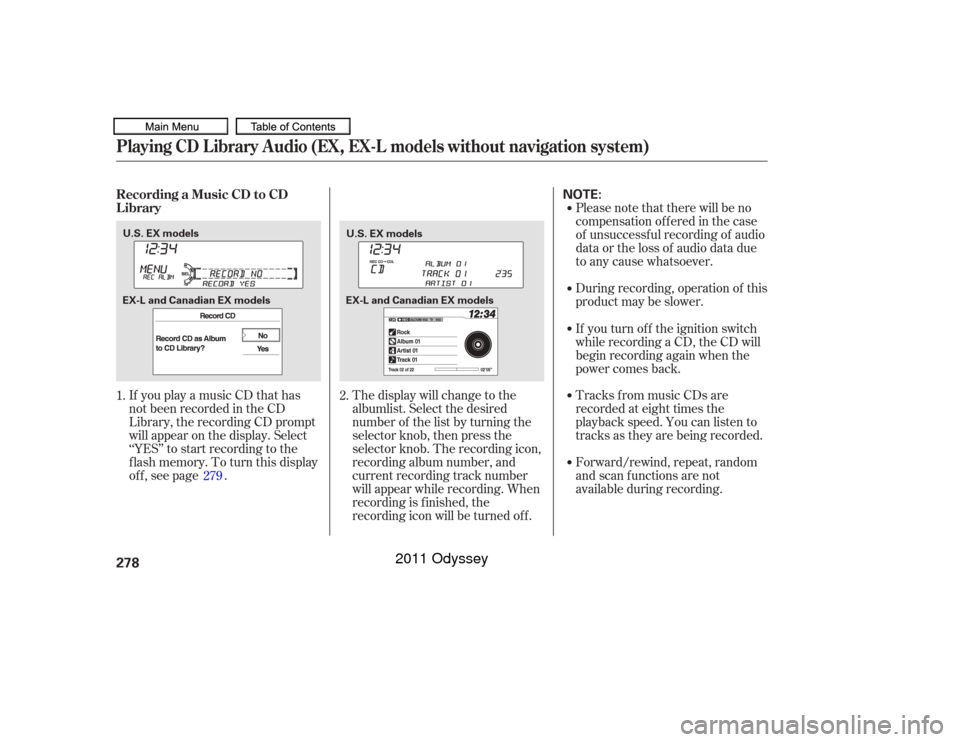
If you play a music CD that has
not been recorded in the CD
Library, the recording CD prompt
will appear on the display. Select
‘‘YES’’ to start recording to the
f lash memory. To turn this display
off, see page .Please note that there will be no
compensation of f ered in the case
of unsuccessf ul recording of audio
data or the loss of audio data due
to any cause whatsoever.
During recording, operation of this
product may be slower.
Tracks from music CDs are
recorded at eight times the
playback speed. You can listen to
tracks as they are being recorded.
Forward/rewind, repeat, random
and scan f unctions are not
available during recording.
The display will change to the
albumlist. Select the desired
number of the list by turning the
selector knob, then press the
selector knob. The recording icon,
recording album number, and
current recording track number
will appear while recording. When
recording is f inished, the
recording icon will be turned of f . If you turn of f the ignition switch
while recording a CD, the CD will
begin recording again when the
power comes back.
1. 2.
279
Playing CD L ibrary A udio (EX, EX-L models without navigation system)Recording a Music CD to CD
L ibrary278
NOTE:
U.S. EX models U.S. EX models
EX-L and Canadian EX models EX-L and Canadian EX models
10/07/17 10:11:38 31TK8600_283
2011 Odyssey
Page 282 of 722
Youcanlistentotracksfromother
albumlists that have already been
recorded while recording. Press
the CD-L button and switch over
to CD Library Audio.
Recording settings cannot be
changed during recording.Each time you press and release the
selector knob, this f eature turns on
and off.
If you don’t wish to display the
recording CD prompt when you
insert a CD f or the f irst time, press
and release the SETUP button and
turn the selector knob to ‘‘CDL
SETUP’’ or ‘‘CD Library Setup,’’ then
press the selector knob and select
‘‘REC PROMPT ON’’ or ‘‘Prompt to
Record CD.’’
CONT INUED
Playing CD L ibrary A udio (EX, EX-L models without navigation system)
Changing the Recording SettingsT o St op Displaying t he Recording CD Prompt
Features
279
U.S. EX models
EX-L and Canadian EX models
10/07/17 10:11:46 31TK8600_284
2011 Odyssey
Page 286 of 722
�µ�µThe
SCAN f unction samples all the
tracks on the albumlist in the order
they were recorded. To activate this
f eature, press and release the SCAN
button. You will see ‘‘SCAN’’ in the
display. You will get a 10 second
sampling of each track in the list.
Press and hold the SCAN button to
get out of scan mode and play the
last track sampled.
You can also select the scan feature
from the menu items with the
selector knob (see page ). This f unction
samples the f irst track in each
albumlist in the order they are stored.
To activate the scan album feature,
press and release the SCAN button
repeatedly. You will see ‘‘D-SCAN’’
or ‘‘Scan Albums’’ in the display. You
will get a 10 second sampling of the
f irst track in each list. Press and hold
the SCAN button to get out of the
scan album mode and play the last
track sampled.
Pressing the selector knob turns of f
the scan or scan album f eature. Select ‘‘DELETE ALBUM’’ or
‘‘Delete Library Album,’’ then
press the selector knob.
You can also select the scan album
f eature f rom the menu items with
the selector knob (see page ).
Each time you press and release the
SCAN button, the mode changes
from scan track to scan album
feature, then to normal play. Press the SETUP button and turn
the selector knob to ‘‘CDL
SETUP’’ or ‘‘CD Library Setup.’’
Then press the selector knob.
The display will change to the
albumlist. Select the album that
you want to delete, press the
selector knob.
The conf irmation message is
displayed. Select ‘‘YES’’ to delete
album completely.
1.
2.
3.
4.
282
282
Playing CD L ibrary A udio (EX, EX-L models without navigation system)
SCAN TRK (Scan Tracks)SCAN AL BUM Deleting an Album
Features
283
10/07/17 10:12:21 31TK8600_288
2011 Odyssey
Page 292 of 722
�µEach time you press and
releasethe sideof theSKIPbar,
the system skips forward to the
beginning of the next track. Press
and release the side of the bar
to skip backward to the beginning of
the current track. Press it again to
skip to the beginning of the previous
track. Use the SKIP bar while an iPod is
playing to select passages and
change f iles.
To move rapidly within playing track,
press and hold either side ( or ) of the SKIP bar.
If the iPod indicator does not appear
in the audio display, check the
connections, and try to reconnect the
iPod a f ew times.
If the audio system still does not
recognize the iPod, the iPod may
need to be reset. Follow the
instructions that came with your
iPod, or you can f ind reset
instructions online at
The current f ile number and total of
the selected playable f iles are on the
display. It also shows the artist,
album and track (file) names on the
display.
Turning the selector knob to the
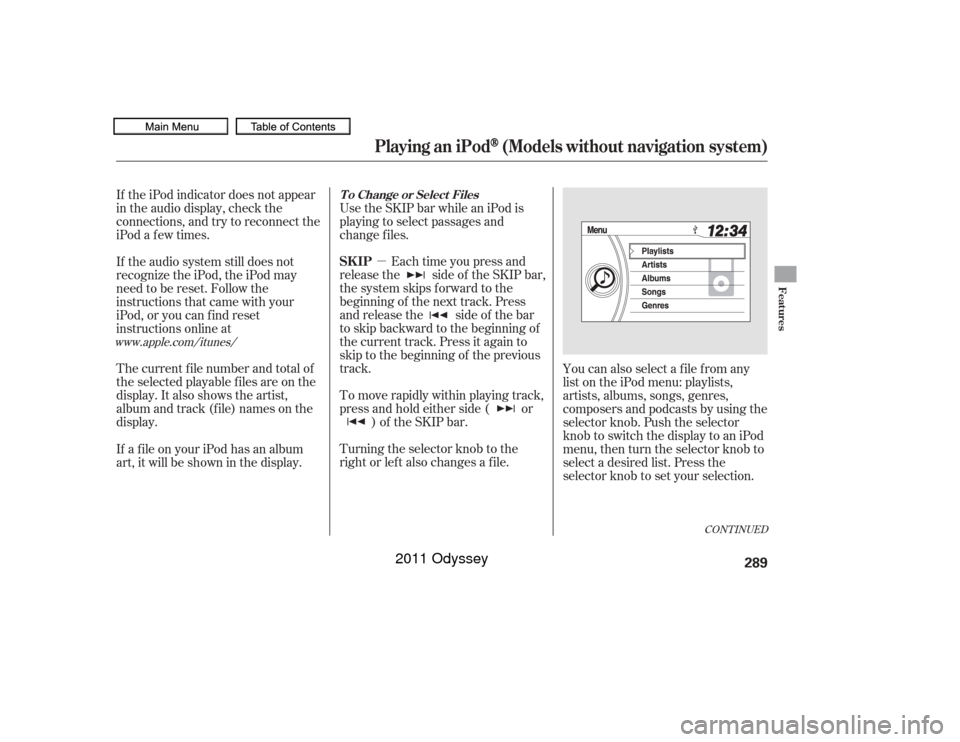
right or lef t also changes a f ile.You can also select a file from any
list on the iPod menu: playlists,
artists, albums, songs, genres,
composers and podcasts by using the
selector knob. Push the selector
knob to switch the display to an iPod
menu, then turn the selector knob to
select a desired list. Press the
selector knob to set your selection.
If a f ile on your iPod has an album
art, it will be shown in the display.
www.apple.com/
itunes/
CONT INUED
T o Change or Select FilesSK IP
Playing an iPod
(Models without navigation system)
Features
289
10/07/17 10:13:12 31TK8600_294
2011 Odyssey
Page 296 of 722
�Î
�ÎThe displayed message may
vary on models or versions. On
some models, there is no
message to disconnect.
You can disconnect the iPod at any
time when you see the ‘‘OK to
disconnect’’ message in the iPod
display. Always make sure you see
‘‘OK to disconnect’’ message in the
iPod display bef ore you disconnect it.
Make sure to f ollow the iPod’s
instructions on how to disconnect
the dock connector f rom the USB
adapter cable. You can also press the MODE
buttononthesteeringwheelto
change modes. To take the system out of the iPod
mode, press one of the other source
buttons than the USB/AUX button.
When a compatible audio unit is
connected to the auxiliary input jack,
press the USB/AUX button to select When you disconnect the iPod while
it is playing, the display shows No
Data.
If you reconnect the same iPod, the
system may begin playing where it
lef t of f , depending on what mode the
iPod is in when it is reconnected.If you see an error message in the
display, see page .
:
294
iPod
Error Messages
T o Stop Playing Your iPod
Disconnect ing an iPod
Playing an iPod
(Models without navigation system)
Features
293
10/07/17 10:13:38 31TK8600_298
select it.
2011 Odyssey
Page 302 of 722
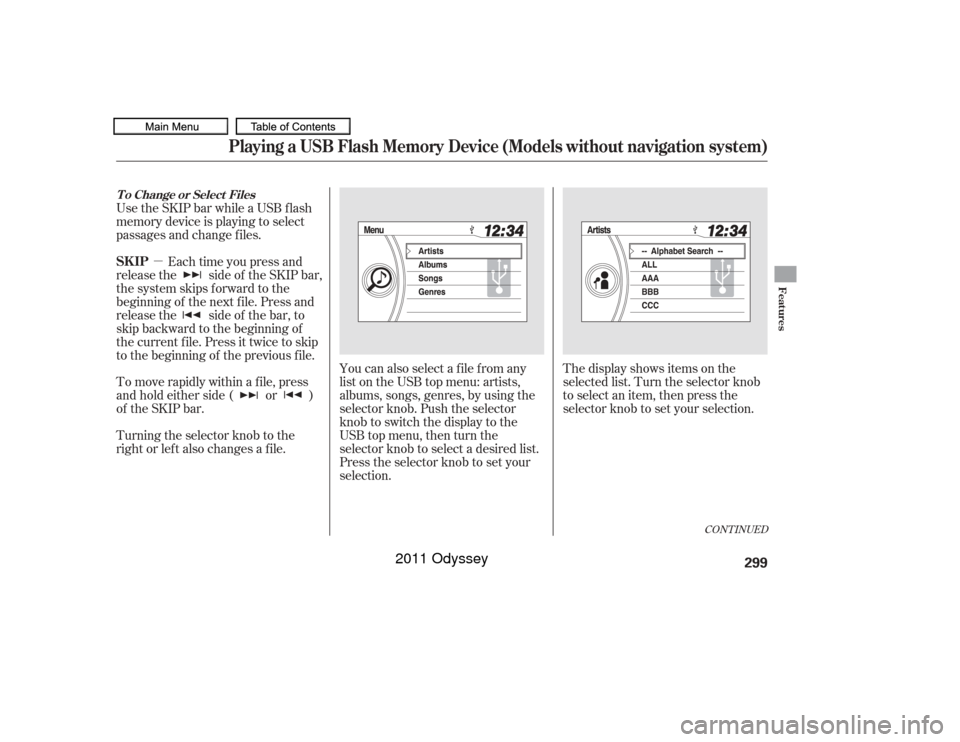
�µYou can also select a file from any
list on the USB top menu: artists,
albums, songs, genres, by using the
selector knob. Push the selector
knob to switch the display to the
USB top menu, then turn the
selector knob to select a desired list.
Press the selector knob to set your
selection. The display shows items on the
selected list. Turn the selector knob
to select an item, then press the
selector knob to set your selection.
Use the SKIP bar while a USB f lash
memory device is playing to select
passages and change f iles.
Each time you press and
releasethe sideof theSKIPbar,
the system skips forward to the
beginning of the next f ile. Press and
releasethe sideof thebar,to
skip backward to the beginning of
the current f ile. Press it twice to skip
to the beginning of the previous file.
To move rapidly within a f ile, press
andholdeitherside( or )
of the SKIP bar.
Turning the selector knob to the
right or lef t also changes a f ile.
CONT INUED
T o Change or Select FilesSK IP
Playing a USB Flash Memory Device (Models without navigation system)
Features
299
10/07/17 10:14:19 31TK8600_304
2011 Odyssey
Page 318 of 722

To set the time, press and release
the CLOCK button. The display
will change to the clock adjust
screen.
You can also set the time from the
setup menu.
Change the hours by pressing the H
(hour) button until the numbers
advance to the desired time. Change
the minutes by pressing the M
(minute) button until the numbers
advance to the desired time.
Press the CLOCK button again to
enter the set time.
Press the SETUP button to display
the setup menu. Turn the selector
knob to ‘‘CLOCK ADJUST’’ and
press the selector knob.
To set the time, press the CLOCK
button until you hear a beep. The
displayed time begins to blink. If your vehicle’s battery is
disconnected or goes dead, you may
need to set the clock.
1.
CONT INUED
On LX models EX, EX-L models
Setting the Clock
On Vehicles wit hout Navigat ion
Syst em
Features
315
CLOCK
BUTTON
HOUR
BUTTON Without rear
entertainment
system
With rear
entertainment
system
MINUTE BUTTON
CLOCK BUTTON CLOCK BUTTON
10/07/17 10:16:19 31TK8600_320
2011 Odyssey
Page 319 of 722
�Ú
On vehicles with navigation systemThe navigation system receives
signals f rom the global positioning
system (GPS), and the displayed
time is updated automatically by the
GPS. Ref er to the navigation system
manual f or how to adjust the time.
Turn the selector knob to change
the setting between 12H and 24H,
and count the numbers up or down.
To enter the clock setting, press
the selector knob repeatedly to
select ‘‘SET’’ or ‘‘EXIT,’’ then press
the knob. The display will return
to the setup menu.
Press the selector knob to select
the item which you want to adjust.
Each time you press the selector
knob, the selected item changes
between hours, minutes, SET and
EXIT. The selected item is
indicated with in the display.
2. 3.
4.
Setting the Clock316U.S. EX models
EX-L and Canadian EX models
10/07/17 10:16:26 31TK8600_321
2011 Odyssey