Page 119 of 161
![MITSUBISHI LANCER 2010 8.G MMCS Manual Watching DVDs 8-4Switching AudioWith DVDs on which multiple languages have been
recorded, audio can be switched during playback.
(Multi-Audio) 1 Touch [Sound] in the operations
menu screen
2 To MITSUBISHI LANCER 2010 8.G MMCS Manual Watching DVDs 8-4Switching AudioWith DVDs on which multiple languages have been
recorded, audio can be switched during playback.
(Multi-Audio) 1 Touch [Sound] in the operations
menu screen
2 To](/manual-img/19/7447/w960_7447-118.png)
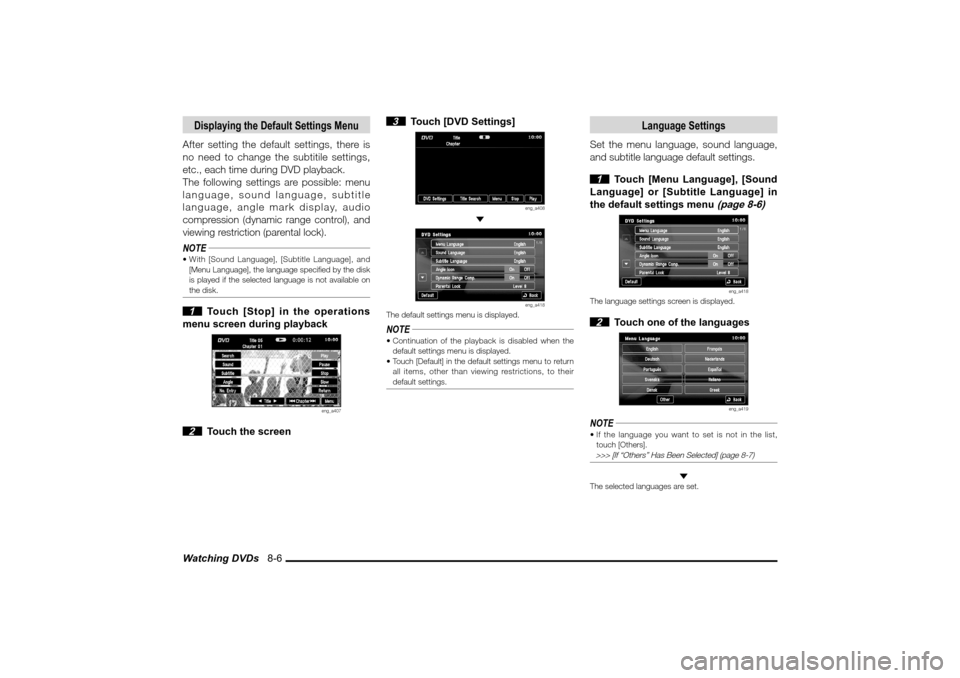
Watching DVDs 8-4Switching AudioWith DVDs on which multiple languages have been
recorded, audio can be switched during playback.
(Multi-Audio) 1 Touch [Sound] in the operations
menu screen
2 Touch [Sound]
eng_a413
The current sound language is displayed.NOTE Thereafter, the sound language is switched to
another whenever [Sound] is touched.
Switching SubtitlesWith disks on which multiple subtitle languages have
been recorded, the subtitles can be switched during
playback. (Multi-Subtitles) 1 Touch [Subtitle] in the operations
menu screen
2 Touch [Subtitle]
eng_a414
The current subtitle language is displayed.NOTE Thereafter, the subtitles are switched to another
language whenever [Subtitle] is touched.
Switching AnglesIf images filmed using multiple cameras have been
recorded on the disk, the camera angles can be
switched during playback. (Multi-Angle)NOTE The angle mark display is operated using [Angle
icon] in the default settings menu.
>>> “Displaying Angle Marks” (page 8-7) 1 Touch [Angle] in the operations
menu screen
2 Touch [Angle]
eng_a415
The current angle is displayed.NOTE Thereafter, the angle is switched to another angle
whenever [Angle] is touched.
�������������
��
���������
������������������
Page 121 of 161

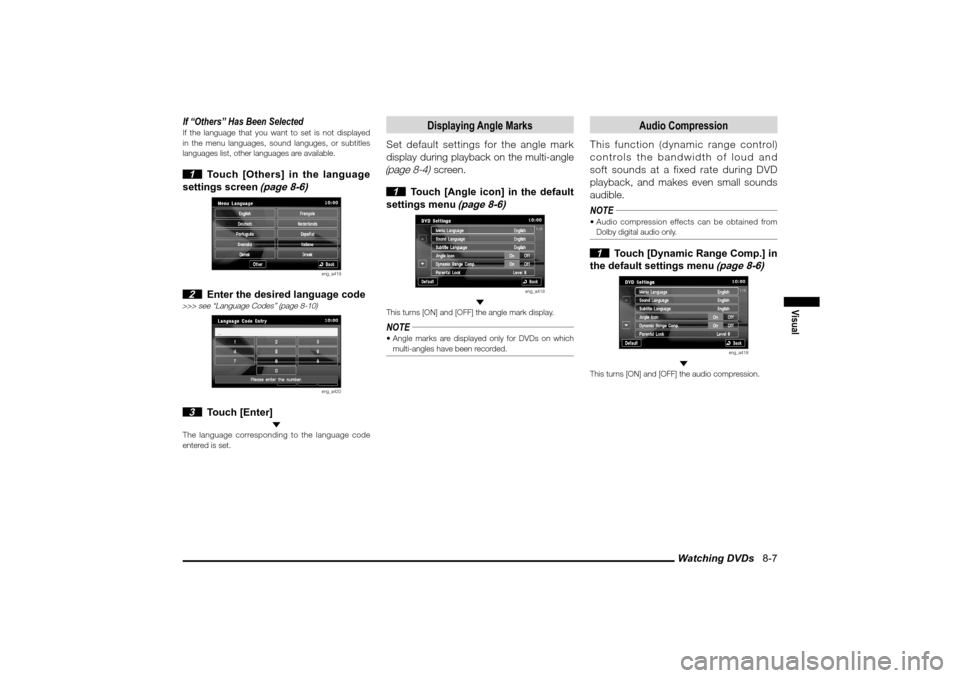
Watching DVDs 8-6Displaying the Default Settings MenuAfter setting the default settings, there is
no need to change the subtitile settings,
etc., each time during DVD playback.
The following settings are possible: menu
language, sound language, subtitle
language, angle mark display, audio
compression (dynamic range control), and
viewing restriction (parental lock).NOTE With [Sound Language], [Subtitle Language], and
[Menu Language], the language speci� ed by the disk
is played if the selected language is not available on
the disk. 1 Touch [Stop] in the operations
menu screen during playback
eng_a407
2 Touch the screen
3 Touch [DVD Settings]
eng_a408
eng_a418
The default settings menu is displayed.NOTE Continuation of the playback is disabled when the
default settings menu is displayed.
Touch [Default] in the default settings menu to return
all items, other than viewing restrictions, to their
default settings.
Language Settings
Set the menu language, sound language,
and subtitle language default settings. 1 Touch [Menu Language], [Sound
Language] or [Subtitle Language] in
the default settings menu
(page 8-6)
eng_a418
The language settings screen is displayed. 2 Touch one of the languages
eng_a419
NOTE If the language you want to set is not in the list,
touch [Others]. >>> [If “Others” Has Been Selected] (page 8-7)
The selected languages are set.
�������������
��
���������
���������������� �
�
Page 122 of 161

Watching DVDs 8-7
Visual
If “Others” Has Been SelectedIf the language that you want to set is not displayed
in the menu languages, sound languges, or subtitles
languages list, other languages are available. 1 Touch [Others] in the language
settings screen
(page 8-6)
eng_a419
2 Enter the desired language code
>>> see “Language Codes” (page 8-10)
eng_a420
3 Touch [Enter]
The language corresponding to the language code
entered is set.
Displaying Angle Marks
Set default settings for the angle mark
display during playback on the multi-angle (page 8-4)
screen.
1 Touch [Angle icon] in the default
settings menu
(page 8-6)
eng_a418
This turns [ON] and [OFF] the angle mark display.NOTE Angle marks are displayed only for DVDs on which
multi-angles have been recorded.
Audio Compression
This function (dynamic range control)
controls the bandwidth of loud and
soft sounds at a fixed rate during DVD
playback, and makes even small sounds
audible.
NOTE Audio compression effects can be obtained from
Dolby digital audio only. 1 Touch [Dynamic Range Comp.] in
the default settings menu
(page 8-6)
eng_a418
This turns [ON] and [OFF] the audio compression.
�������������
��
���������
���������������� �
�
Page 123 of 161

Watching DVDs 8-8
Viewing Restrictions (Parental Lock)
Depending on the disk, viewing of scenes
that you do not want children to see (e.g.,
adult content and violent scenes) can be
restricted.NOTE Set a password when using for the � rst time. Viewing
restrictions cannot be operated unless a password
has been set.
Disks that do not have the viewing control level on
the disk package cannot be viewing-controlled, even
if the level has been set.
The viewing level is recorded to the disk. Check the
disk package.
Depending on the disk, only scenes that are viewing-
restricted may be skipped during playback. For
details, refer to the disk user guide.
Depending on the disk, playback may become
disabled if the viewing restriction level is changed.
After the viewing restriction level has been changed,
if playing this type of disk, remove the disk once, and
insert a disk with no viewing restrictions to change to
a playable level.
Setting Passwords and Viewing Restriction Levels 1 Touch [Parental Lock] in the
default settings menu
(page 8-6)
eng_a418
2 Enter a user-selected 4-digit
password, and touch [Enter]
eng_a421
3 Enter the 4-digit password again
for confi rmation, and touch [Enter]
4 Enter the level, and touch [Enter]
eng_a422
The password and viewing restrictions level settings
are now complete.
Level 1 Only disks for children are played.
Level 2 to
Level 7Disks with adult content are prohibited.
(I.e., disks for children and general disks
are played.)
Level 8 All disks are played.Changing the LevelThe viewing restriction level set can be changed. 1 Touch [Parental Lock] in the
default settings menu
(page 8-6)
eng_a418
�������������
��
���������
������������������
Page 128 of 161
![MITSUBISHI LANCER 2010 8.G MMCS Manual Calendar 9-1
Information
Information
Calendar
Displays the calendar. Special days and
anniversaries, etc., can be checked and set.
1 Press the [INFO] key, and touch
[Calendar]
eng_a140
eng_a14 MITSUBISHI LANCER 2010 8.G MMCS Manual Calendar 9-1
Information
Information
Calendar
Displays the calendar. Special days and
anniversaries, etc., can be checked and set.
1 Press the [INFO] key, and touch
[Calendar]
eng_a140
eng_a14](/manual-img/19/7447/w960_7447-127.png)
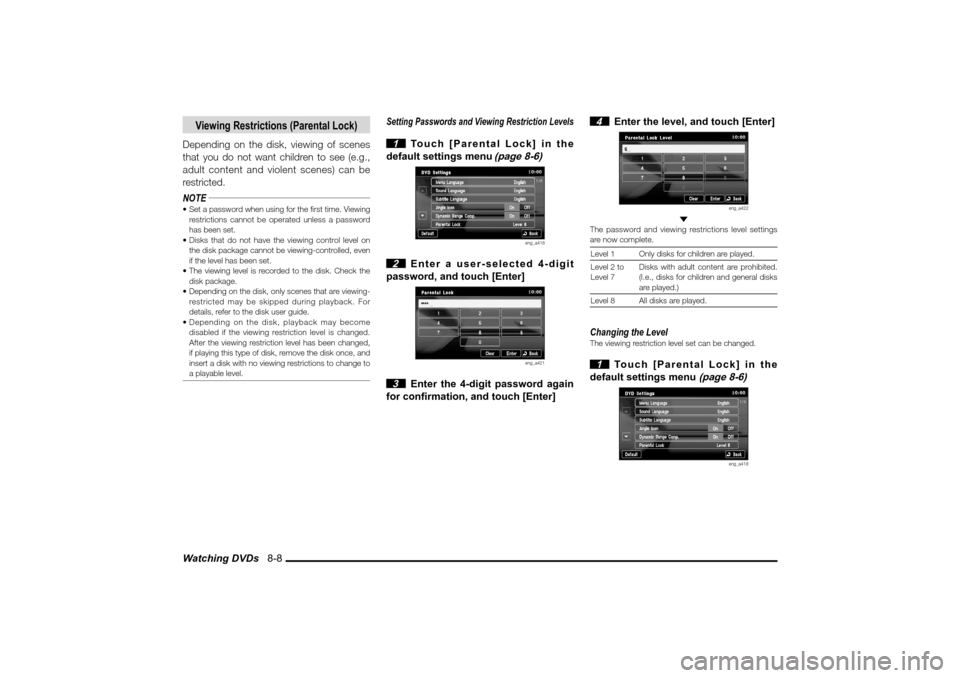
Calendar 9-1
Information
Information
Calendar
Displays the calendar. Special days and
anniversaries, etc., can be checked and set.
1 Press the [INFO] key, and touch
[Calendar]
eng_a140
eng_a141
NOTE Today’s date is displayed in yellow.
Touch the date on the calendar directly to set the
special day.
>>> “Setting Special Days” (page 9-1)
An icon is displayed on dates where special days or
anniversaries have been set.
Special Days are indicated with icons to the left of
the date and Anniversary Days are indicated with
icons to the right of the date.
NOTE Touch [ ] in [Year] to display the calendar for the
previous year, or touch [ ] to display the calendar
for the next year, or touch [ ] in [Month] to display
the calendar for the previous month, or touch [ ] to
display the calendar for the next month. Touch [Anniversary] to set an anniversary. >>> “Setting Anniversaries” (page 9-3) Special days that have been set are deleted
automatically three days after the special day has
passed.
Setting Special Days
Setting a new special day. A maximum of
200 special days can be set.
1 Touch the date to be set
eng_a141
NOTE Touch a date that has already been set as a special
day to enable editing.
>>> “Editing Special Days” (page 9-2) Dates that have already passed, including today,
cannot be set as special days.
2 Touch [Icon]
eng_a142
3 Touch one of the icons
eng_a143
4 Touch [Memo]
eng_a144
�������������
��
���������
���������������
���
Page 129 of 161
Calendar 9-2 5 Enter a short description of the
special day, and touch [Set]
>>> “How to Enter Text” (page 2-13)
eng_a145
NOTE Up to 30 characters can be entered for one memo. 6 Touch [Set]
The special day settings are completed.
Editing Special Days
Editing a special day that has been set.
1 Touch the date to be edited
eng_a146
2 Touch [Icon] or [Memo] to edit
eng_a147
The remaining operations are the same as from step 2
of “Setting Special Days” (page 9-1)
Deleting Special Days
Deleting a special day that has been set.
1 Touch the special day to be
deleted
eng_a146
2 Touch [Delete]
eng_a147
3 Touch [Yes]
eng_a148
The special day deletion is completed.
�������������
��
���������
��������������� ��
�
Page 130 of 161
Calendar 9-3
Information
Setting Anniversaries
Setting a new anniversary (birthday. etc.).
A maximum of 20 anniversaries can be set. 1 Touch [Anniversary]
eng_a141
2 Touch [New Event]
eng_a149
NOTE Multiple anniversaries can be set for the same day.
When several anniversaries are set for the same
date, the � rst anniversary that was set will be given
priority and the icon will be displayed. 3 Touch [Icon]
eng_a150
4 Touch one of the icons
eng_a143
5 Touch [Date]
eng_a151
6 Touch [
] or [ ] to set the
month or day
eng_a152
7 Touch [Memo]
eng_a153
8 Enter a short description of the
anniversary, and touch [Set]
>>> “How to Enter Text” (page 2-13)
eng_a154
NOTE Up to 30 characters can be entered for one memo. 9 Touch [Set]
eng_a155
The anniversary settings are completed.
�������������
��
��������
��������������� �
�
Page 131 of 161
Calendar 9-4
Editing Anniversaries
Editing an anniversary that has been set.
1 Touch [Anniversary]
The anniversary list is displayed. 2 Touch the anniversary to be
edited
eng_a156
eng_a157
The anniversary setting screen is displayed.
The remaining operations are the same as from step 3
of “Setting Anniversaries” (page 9-3)
Deleting Anniversaries
Deleting an anniversary that has been set.
1 Touch [Anniversary]
The anniversary list is displayed. 2
Touch the anniversary to be deleted
eng_a156
The anniversary setting screen is displayed. 3 Touch [Delete]
eng_a157
4 Touch [Yes]
eng_a158
The anniversary deletion is completed.
�������������
��
���������
��������������� ��
�