Page 330 of 361
Comply with the manufacturer's safety
instructions on the tyr
einflatio ncompressor
label and on the TIREFIT filler bottle.
i You will also find operating instructions
0015 in the lid of the TIREFIT kit.
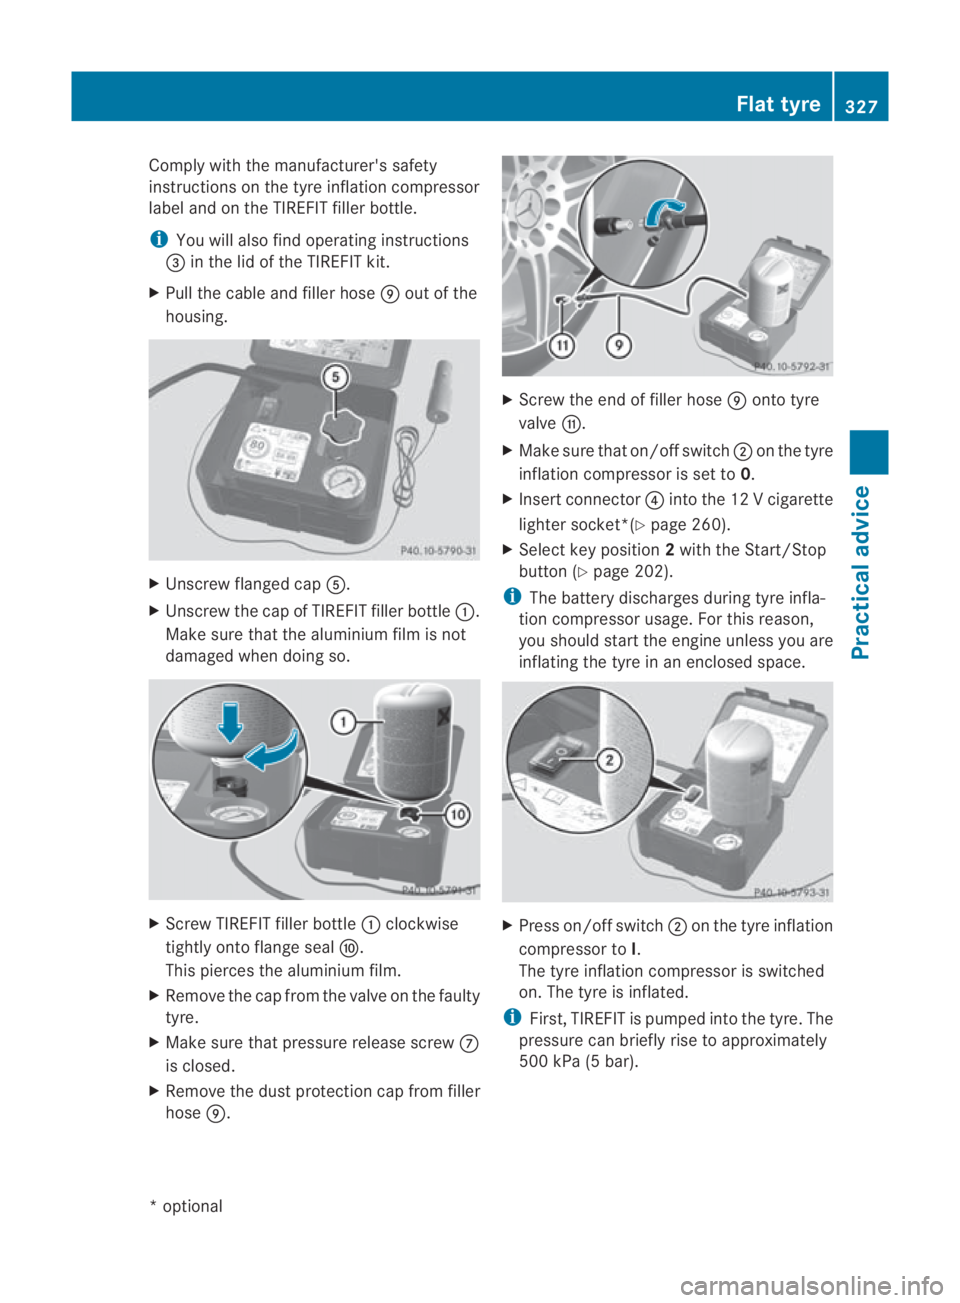
X Pull the cable and filler hose 000Cout of the
housing. X
Unscrew flanged cap 0012.
X Unscrew the cap of TIREFIT filler bottle 0001.
Make sure that the aluminium film is not
damaged when doing so. X
Screw TIREFIT filler bottle 0001clockwise
tightly onto flange seal 000D.
This pierces the aluminium film.
X Remove the cap from the valve on the faulty
tyre.
X Make sure that pressure release screw 000A
is closed.
X Remove the dust protection cap from filler
hose 000C. X
Screw the end of filler hose 000Conto tyre
valve 000E.
X Make sure that on/offs witch0002on the tyre
inflatio ncompressor is set to 0.
X Insert connector 0014into the 12 V cigarette
lighter socket*(Y page 260).
X Select key position 2with the Start/Stop
button (Y page 202).
i The battery discharges during tyre infla-
tion compressor usage. For this reason,
you should start the engine unless you are
inflating the tyre in an enclosed space. X
Press on/offs witch0002on the tyre inflation
compressor to I.
The tyre inflatio ncompressor is switched
on. The tyre is inflated.
i First, TIREFIT is pumped into the tyre. The
pressure can briefly rise to approximately
500 kPa (5 bar). Flat tyre
327Practical advice
*optional
BA 197 ECE RE 2010/6a; 1; 2, en-GB
sabbaeu
Version: 3.0.3.6 2010-05-07T14:19:43+02:00 - Seite 327 Z
Page 331 of 361
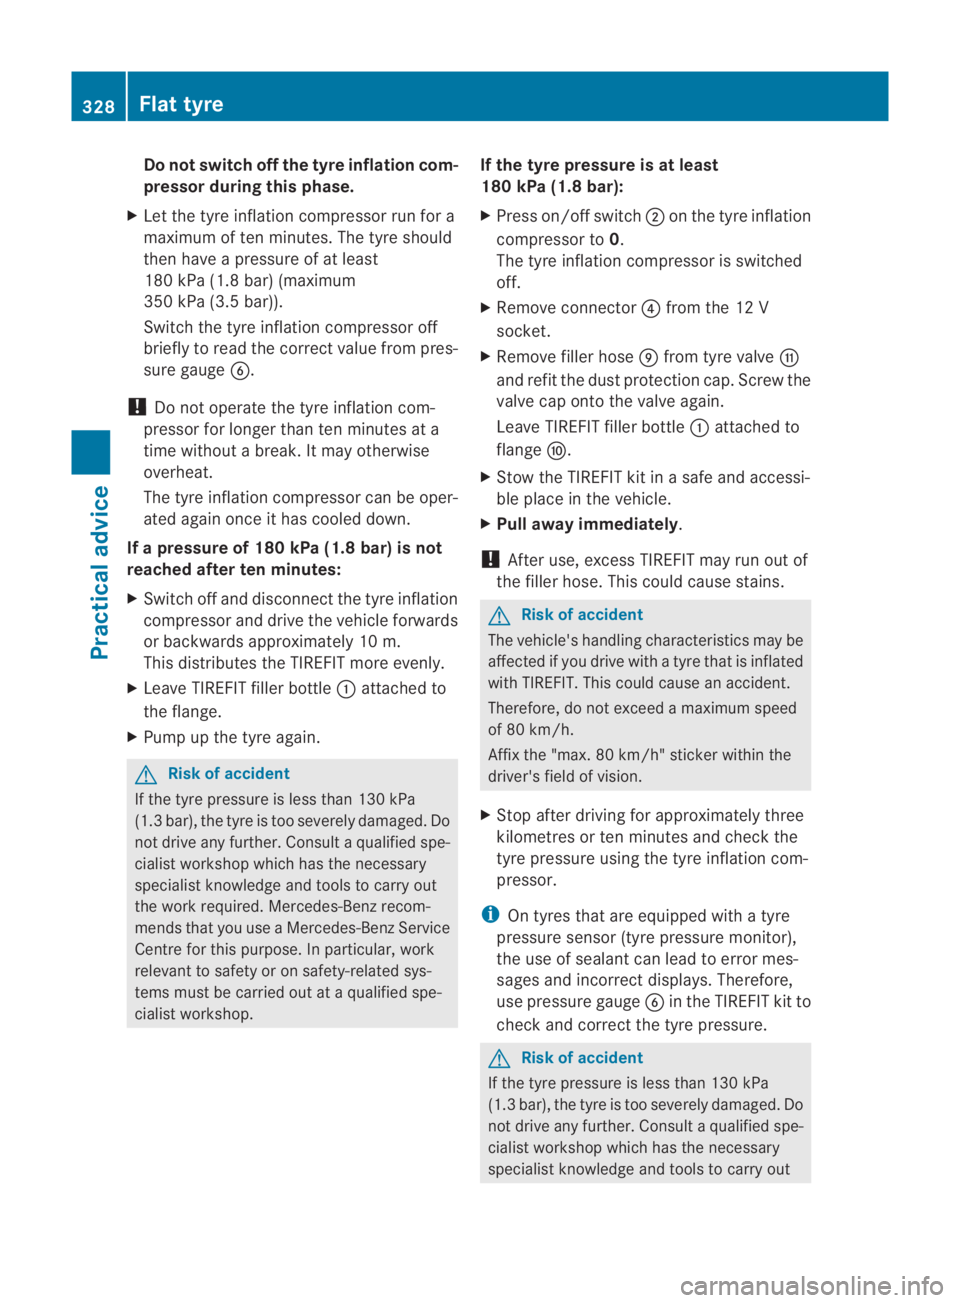
Do not switch off the tyre inflation com-
pressor during this phase.
X Let the tyre inflation compressor run for a
maximum of te nminutes. The tyre should
the nhave a pressure of at least
180 kPa (1.8 bar) (maximum
350 kPa (3.5 bar)).
Switch the tyre inflation compressor off
briefly to read the correct value from pres-
sure gauge 0013.
! Do not operate the tyre inflation com-
pressor for longer than ten minutes at a
time without a break .Itmay otherwise
overheat.
The tyre inflation compressor can be oper-
ated again once it has cooled down.
If a pressure of 180 kPa (1.8 bar) is not
reached after ten minutes:
X Switch off and disconnect the tyre inflation
compressor and drive the vehicle forwards
or backwards approximately 10 m.
This distributes the TIREFIT more evenly.
X Leave TIREFIT fille rbottle 0001attached to
the flange.
X Pump up the tyre again. G
Risk of accident
If the tyre pressure is less than 130 kPa
(1.3 bar), the tyre is too severely damaged. Do
not drive any further. Consult a qualified spe-
cialist workshop which has the necessary
specialist knowledge and tools to carry out
the work required. Mercedes-Benz recom-
mends that you use a Mercedes-Benz Service
Centre for this purpose. In particular, work
relevant to safety or on safety-related sys-
tems must be carried out at a qualified spe-
cialist workshop. If the tyre pressure is at least
180 kPa (1.8 bar):
X
Press on/offs witch0002on the tyre inflation
compressor to 0.
The tyre inflatio ncompressor is switched
off.
X Remove connector 0014from the 12 V
socket.
X Remove filler hose 000Cfrom tyre valve 000E
and refit the dust protection cap. Screw the
valve cap onto the valve again.
Leave TIREFIT filler bottle 0001attached to
flange 000D.
X Stow the TIREFIT kit in a safe and accessi-
ble place in the vehicle.
X Pull away immediately.
! After use, excess TIREFIT may run out of
the filler hose. This could cause stains. G
Risk of accident
The vehicle's handling characteristics may be
affected if you drive with a tyre that is inflated
with TIREFIT. This could cause an accident.
Therefore, do not exceed amaximum speed
of 80 km/h.
Affix th e"max. 80 km/h" sticker within the
driver's field of vision.
X Stop after driving for approximately three
kilometres or ten minutes and check the
tyre pressure using the tyre inflation com-
pressor.
i On tyres that are equipped with a tyre
pressure sensor (tyre pressure monitor),
the use of sealant can leadt o error mes-
sages and incorrect displays. Therefore,
use pressure gauge 0013in the TIREFIT kit to
check and correct the tyre pressure. G
Risk of accident
If the tyre pressure is less than 130 kPa
(1.3 bar), the tyre is too severely damaged. Do
not drive any further. Consult a qualified spe-
cialist workshop which has the necessary
specialist knowledge and tools to carry out 328
Flat tyrePractical advice
BA 197 ECE RE 2010/6a; 1; 2, en-GB
sabbaeu
Version: 3.0.3.6 2010-05-07T14:19:43+02:00 - Seite 328
Page 332 of 361
the work required. Mercedes-Benz recom-
mends tha
tyou use a Mercedes-Benz Service
Centre for this purpose. In particular, work
relevant to safety or on safety-related sys-
tems must be carried out at a qualified spe-
cialist workshop.
X Correct the tyre pressure if it is at least
130 kPa (1.3 bar) (see fuel filler flap for val-
ues).
To increase the tyre pressure: switch on
the tyre inflation compressor.
To reduce the tyre pressure: open
release screw 000A.
! The manufacturer does not guarantee
that all tyre damage can be repaired using
the TIREFIT kit, particularly in the case of
cuts and punctures with a diameter of more
than four millimetres or on the sidewall. The
manufacturer is not responsible for dam-
age caused by inappropriate use of the
TIREFIT kit.
X Drive to the nearest workshop and have the
tyre changed there.
X Have the TIREFIT kit replaced as soon as
possible at a qualified specialist workshop,
e.g. at a Mercedes-Benz Service Centre. H
Environmental note
Have the used TIREFIT kit disposed of profes-
sionally, e.g. at a Mercedes-Benz Service
Centre.
X Have the TIREFIT kit replaced every four
years at a qualified specialist workshop,
e.g. a Mercedes-Benz Service Centre. Changing
awheel
Preparing the vehicle i
You rvehicle is not fitted with wheel-
changing tools at the factory. Some of the
tools required to perform awheel change, e.g. wheel chock, jack, centring pin or
wheel wrench are vehicle-specific. For
more information on which tools are
required to perform a wheel change on your
vehicle, consult a Mercedes-Ben
zService
Centre.
X Prepare the vehicle as described
(Y page 325).
X Bring the wheels into the straight-ahead
position.
X Take the following objects from the left-
hand stowage compartment and the left-
hand stowage space in the boot:
R
the jack 24
R the wheel-changing tools*
R the folding wheel chock 24
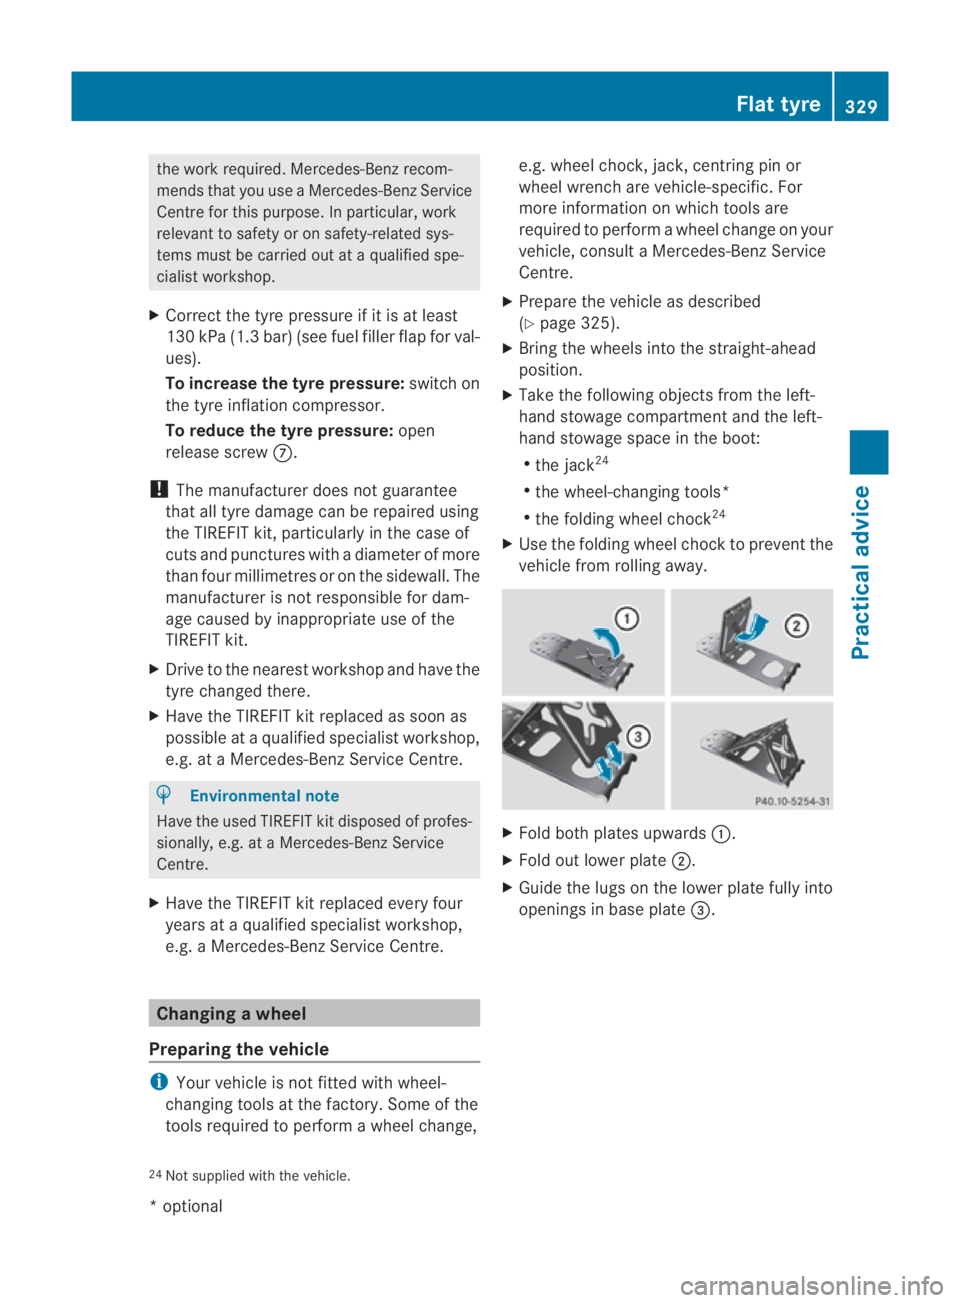
X Use the folding wheel choc kto prevent the
vehicle from rolling away. X
Fold both plates upwards 0001.
X Fold out lower plate 0002.
X Guide the lugs on the lower plate fully into
openings in base plate 0015.
24 Not supplied with the vehicle. Flat tyre
329Practical advice
*optional
BA 197 ECE RE 2010/6a; 1; 2, en-GB
sabbaeu
Version: 3.0.3.6 2010-05-07T14:19:43+02:00 - Seite 329 Z