2010 CHEVROLET EQUINOX key
[x] Cancel search: keyPage 102 of 394
4-16 Instruments and Controls
If the word ON or the on symbol is
lit on the passenger airbag status
indicator, it means that the right
front passenger frontal airbag is
enabled (may inflate).
If the word OFF or the off symbol is
lit on the passenger airbag status
indicator, it means that the
passenger sensing system has
turned off the right front passenger
frontal airbag.
If, after several seconds, both status
indicator lights remain on, or if there
are no lights at all, there may be a
problem with the lights or the
passenger sensing system. See
your dealer for service.
{WARNING
If the airbag readiness light ever
comes on and stays on, it means
that something may be wrong
with the airbag system. To help
avoid injury to yourself or others,
have the vehicle serviced right(Continued)
WARNING (Continued)
away. SeeAirbag Readiness
Light
on page 4‑15for more
information, including important
safety information.
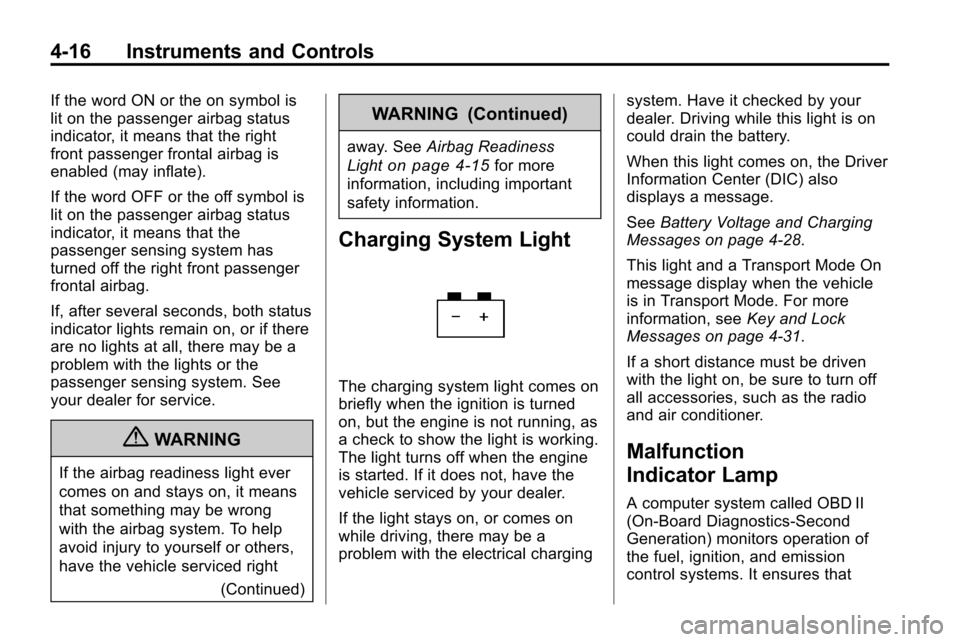
Charging System Light
The charging system light comes on
briefly when the ignition is turned
on, but the engine is not running, as
a check to show the light is working.
The light turns off when the engine
is started. If it does not, have the
vehicle serviced by your dealer.
If the light stays on, or comes on
while driving, there may be a
problem with the electrical charging system. Have it checked by your
dealer. Driving while this light is on
could drain the battery.
When this light comes on, the Driver
Information Center (DIC) also
displays a message.
See
Battery Voltage and Charging
Messages on page 4‑28.
This light and a Transport Mode On
message display when the vehicle
is in Transport Mode. For more
information, see Key and Lock
Messages on page 4‑31.
If a short distance must be driven
with the light on, be sure to turn off
all accessories, such as the radio
and air conditioner.
Malfunction
Indicator Lamp
A computer system called OBD II
(On-Board Diagnostics-Second
Generation) monitors operation of
the fuel, ignition, and emission
control systems. It ensures that
Page 103 of 394
Instruments and Controls 4-17
emissions are at acceptable levels
for the life of the vehicle, helping to
produce a cleaner environment.
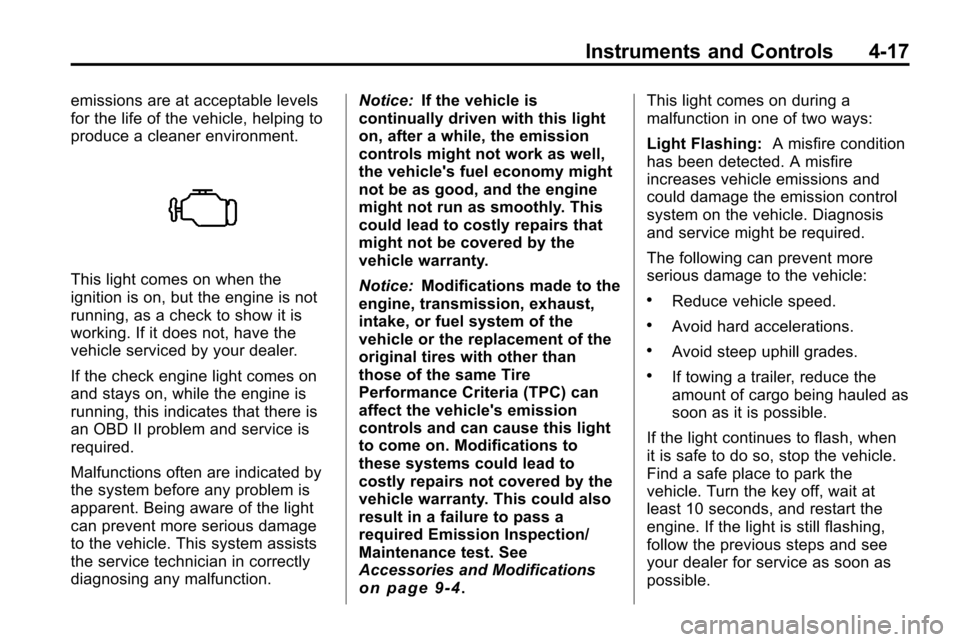
This light comes on when the
ignition is on, but the engine is not
running, as a check to show it is
working. If it does not, have the
vehicle serviced by your dealer.
If the check engine light comes on
and stays on, while the engine is
running, this indicates that there is
an OBD II problem and service is
required.
Malfunctions often are indicated by
the system before any problem is
apparent. Being aware of the light
can prevent more serious damage
to the vehicle. This system assists
the service technician in correctly
diagnosing any malfunction.Notice:
If the vehicle is
continually driven with this light
on, after a while, the emission
controls might not work as well,
the vehicle's fuel economy might
not be as good, and the engine
might not run as smoothly. This
could lead to costly repairs that
might not be covered by the
vehicle warranty.
Notice: Modifications made to the
engine, transmission, exhaust,
intake, or fuel system of the
vehicle or the replacement of the
original tires with other than
those of the same Tire
Performance Criteria (TPC) can
affect the vehicle's emission
controls and can cause this light
to come on. Modifications to
these systems could lead to
costly repairs not covered by the
vehicle warranty. This could also
result in a failure to pass a
required Emission Inspection/
Maintenance test. See
Accessories and Modifications
on page 9‑4. This light comes on during a
malfunction in one of two ways:
Light Flashing:
A misfire condition
has been detected. A misfire
increases vehicle emissions and
could damage the emission control
system on the vehicle. Diagnosis
and service might be required.
The following can prevent more
serious damage to the vehicle:
.Reduce vehicle speed.
.Avoid hard accelerations.
.Avoid steep uphill grades.
.If towing a trailer, reduce the
amount of cargo being hauled as
soon as it is possible.
If the light continues to flash, when
it is safe to do so, stop the vehicle.
Find a safe place to park the
vehicle. Turn the key off, wait at
least 10 seconds, and restart the
engine. If the light is still flashing,
follow the previous steps and see
your dealer for service as soon as
possible.
Page 104 of 394
4-18 Instruments and Controls
Light On Steady:An emission
control system malfunction has
been detected on the vehicle.
Diagnosis and service might be
required.
An emission system malfunction
might be corrected.
.Make sure the fuel cap is fully
installed. See Filling the Tankon
page 8‑56. The diagnostic
system can determine if the
fuel cap has been left off or
improperly installed. A loose or
missing fuel cap allows fuel to
evaporate into the atmosphere.
A few driving trips with the cap
properly installed should turn the
light off.
.If the vehicle has been driven
through a deep puddle of water,
the vehicle's electrical system
might be wet. The condition is
usually corrected when the
electrical system dries out. A
few driving trips should turn the
light off.
.Make sure to fuel the vehicle
with quality fuel. Poor fuel quality
causes the engine not to run as
efficiently as designed and may
cause: stalling after start-up,
stalling when the vehicle is
changed into gear, misfiring,
hesitation on acceleration,
or stumbling on acceleration.
These conditions might go away
once the engine is warmed up.
If one or more of these
conditions occurs, change the
fuel brand used. It will require at
least one full tank of the proper
fuel to turn the light off.
See Recommended Fuel
on
page 8‑54.
If none of the above have made
the light turn off, your dealer can
check the vehicle. The dealer
has the proper test equipment
and diagnostic tools to fix any
mechanical or electrical problems
that might have developed.
Emissions Inspection and
Maintenance Programs
Some state/provincial and local
governments have or might begin
programs to inspect the emission
control equipment on the vehicle.
Failure to pass this inspection could
prevent getting a vehicle
registration.
Here are some things to know to
help the vehicle pass an inspection:
.The vehicle will not pass this
inspection if the check engine
light is on with the engine
running, or if the key is in ON/
RUN and the light is not on.
.The vehicle will not pass this
inspection if the OBD II
(on-board diagnostic) system
determines that critical emission
control systems have not been
completely diagnosed by the
system. The vehicle would be
considered not ready for
inspection. This can happen if
the battery has recently been
replaced or if the battery has run
Page 117 of 394
Instruments and Controls 4-31
Key and Lock Messages
Replace Battery In Remote Key
This message displays when the
battery in the Remote Keyless Entry
(RKE) transmitter needs to be
replaced.
Transport Mode On
This message displays when the
ignition is held in START for
15 seconds. The battery light may
also be flashing when this message
is displayed. To turn this message
off, start the vehicle and hold the
key in the START position for
15 seconds.
Object Detection System
Messages
Park Assist Off
This message is displayed when the
park assist system has been turned
off. SeeUltrasonic Parking Assist
on page 8‑46.
Service Park Assist
This message is displayed if there is
a problem with the park assist
system. Take the vehicle to your
dealer for service.
Ride Control System
Messages
All Wheel Drive Off
If your vehicle has the All-Wheel
Drive (AWD) system, this message
displays when the rear drive system
is overheating. This message turns
off when the rear drive system cools
down. If the warning message stays
on for a while, you need to reset the
warning message. To reset the
warning message, turn the ignition
off and then back on again. If the
message stays on, see your dealer
right away. See All-Wheel Drive
on
page 8‑38for more information.
Service All Wheel Drive
If your vehicle has the All-Wheel
Drive (AWD) system, this message
displays if a problem occurs with
this system. If this message
appears, stop as soon as possible
and turn off the vehicle. Restart the
vehicle and check for the message
on the DIC display. If the message
is still displayed or appears again
when you begin driving, the AWD
system needs service. See your
dealer.
Service Traction Control
This message displays when there
is a problem with the Traction
Control System (TCS). When this
message is displayed, the system
will not limit wheel spin. Adjust your
driving accordingly. See your dealer
for service.
Page 119 of 394

Instruments and Controls 4-33
Tire Messages
Service Tire Monitor System
This message displays if there is a
problem with the Tire Pressure
Monitor System (TPMS). SeeTire
Pressure Monitor Operation
on
page 9‑49for more information.
Tire Learning Active
This message displays when the
system is learning new tires. See
Tire Pressure Monitor Operation
on
page 9‑49for more information.
Tire Low Add Air To Tire
On vehicles with the Tire Pressure
Monitor System (TPMS), this
message displays when the
pressure in one or more of the
vehicle's tires is low.
This message also displays “Left
Front”, “Right Front”, “Left Rear”,
or “Right Rear” to indicate the
location of the low tire. The low tire pressure warning light
will also come on. See
Tire
Pressure Light on page 4‑21.
If a tire pressure message appears
on the DIC, stop as soon as you
can. Inflate the tires by adding air
until the tire pressure is equal to the
values shown on the Tire Loading
Information label. See Tires
on
page 9‑40, Vehicle Load Limitson
page 8‑24, and Tire Pressureon
page 9‑46.
You can receive more than one tire
pressure message at a time. To
read the other messages that may
have been sent at the same time,
press the set/reset button. The DIC
also shows the tire pressure values.
See Driver Information Center (DIC)
on page 4‑24.
Transmission Messages
Service Transmission
This message displays if there is a
problem with the transmission. See
your dealer.
Shift To Park
This message displays when the
transmission needs to be shifted to
P (Park). This may appear when
attempting to remove the key from
the ignition if the vehicle is not in
P (Park).
Transmission Hot –Idle
Engine
This message displays and a chime
sounds if the transmission fluid in
the vehicle gets hot. Driving with the
transmission fluid temperature high
can cause damage to the vehicle.
Stop the vehicle and let it idle to
allow the transmission to cool. This
message clears when the fluid
temperature reaches a safe level.
Page 130 of 394
5-4 Lighting
Interior Lighting
Instrument Panel
Illumination Control
This control is located on the
instrument panel, to the left of
the steering column.
D(Instrument Panel
Brightness): Turn clockwise or
counterclockwise to brighten or
dim the lights.
Dome Lamps
The dome lamp controls are located
in the overhead console. To change
the settings, press the following:
*(Dome Lamp Override): Turns
the lamp off, even when a door
is open.
1(Door): The lamp comes on
automatically when a door is
opened.
+(On): Turns the dome lamp on.
Reading Lamps
The reading lamps are located on
the overhead console. These lamps
come on automatically when any
door is opened.
For manual operation, press the
button next to each lamp to turn it
on or off.
Lighting Features
Entry Lighting
The dome lamp, cargo lamp and
foot lamp inside the vehicle come
on when any door is opened, if the
dome lamp is in the door position. In
addition, these lamps come on
when the Remote Keyless Entry
(RKE) unlock button is pressed.
They stay on for 20 seconds or until
a door is opened. After the door is
opened and then closed, the light
remains on for 20 seconds, or until
the ignition is turned to ON/RUN.
Page 169 of 394

Infotainment System 6-39
u(Next Track/Chapter):Press to
go to the beginning of the next
chapter or track. This button might
not work when the DVD is playing
the copyright information or the
previews.
r(Fast Reverse): Press to
quickly reverse the DVD or CD. To
stop fast reversing a DVD video,
press
s. To stop fast reversing a
DVD audio or CD, release
r. This
button might not work when the
DVD is playing the copyright
information or the previews.
[(Fast Forward): Press to fast
forward the DVD or CD. To stop fast
forwarding a DVD video, press
s.
To stop fast forwarding a DVD audio
or CD, release
[. This button might
not work when the DVD is playing
the copyright information or the
previews.
e(Audio): Press to change audio
tracks on DVDs that have this
feature when the DVD is playing.
{(Subtitles): Press to turn
ON/OFF subtitles and to move
through subtitle options when a
DVD is playing.
AUX (Auxiliary): Press to switch
the video display between the DVD
player and an auxiliary source.
d(Camera): Press to change the
camera angle on DVDs that have
this feature when the DVD is
playing.
\(Clear) (If Available): Press this
button within three seconds after
inputting a numeric selection, to
clear all numeric inputs.
}10 (Double Digit Entries)
(If Available): Press this button to
select chapter or track numbers
greater than 9. Press this button
before inputting the number.
1 through 0 (Numeric Keypad):
The numbered keypad provides the
capability of direct chapter or track
number selection.
Replacing the Remote Control
If the remote control becomes lost
or damaged, a new universal
remote control can be purchased.
Use a Toshiba
®code set for
replacement universal remote
controls.
Page 188 of 394
6-58 Infotainment System
Bluetooth (Navigation)
For information about how to
navigate the menu system using
the infotainment controls, see
“Overview”under Introduction,
in the Navigation supplement.
Bluetooth Pairing
To make calls with a Bluetooth cell
phone through your vehicle, it must
be paired to the vehicle's Bluetooth
system first and then connected to
the vehicle before it can be used.
Refer to the cell phone
manufacturer's user guide for
Bluetooth pairing instructions. If a
Bluetooth phone is off or not
connected, calls will automatically
be made using the OnStar
®
Hands‐Free Calling feature,
if available. Refer to the OnStar
owner's guide for more information
about OnStar Hands-Free Calling.
A Bluetooth phone with MP3
capability cannot be connected to
the vehicle as a phone and an MP3
player at the same time. The pairing process can be started
by using the voice recognition
system or the controls on the
infotainment system.
Pairing Information:
.Up to five cell phones can be
paired to the Bluetooth system.
.The pairing process is disabled
when the vehicle is moving.
.The Bluetooth system links with
the first available paired cell
phone based on the order
shown in the device list.
.Only one paired cell phone can
be connected to the vehicle's
Bluetooth system at a time.
.Pairing should only need to be
completed once, unless changes
to the pairing information have
been made or the phone is
deleted.
To link to a different paired phone,
see “Linking to a Different Phone”
later in this section. Pairing a Phone
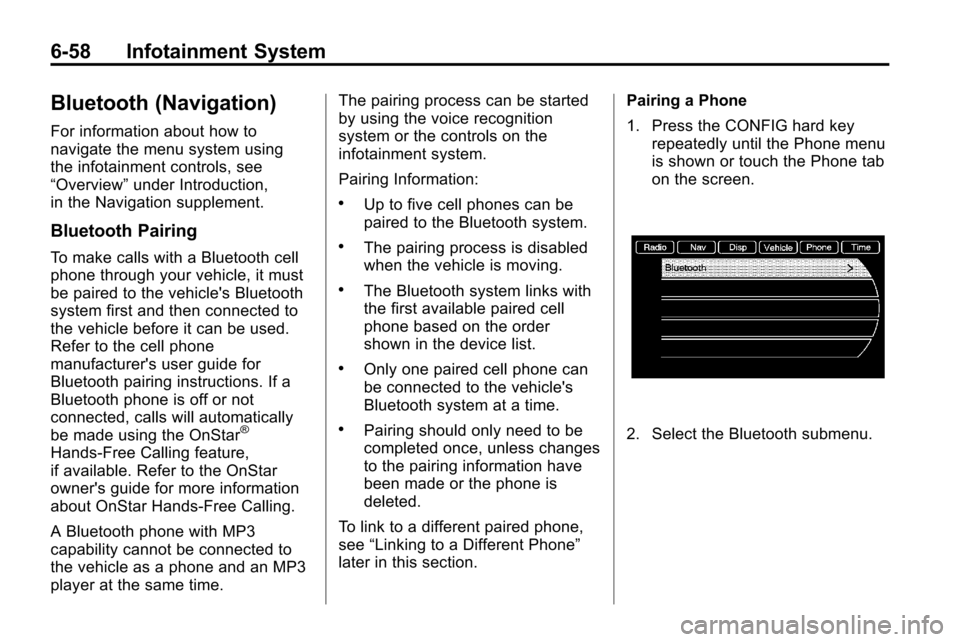
1. Press the CONFIG hard key
repeatedly until the Phone menu
is shown or touch the Phone tab
on the screen.2. Select the Bluetooth submenu.