2010 CHEVROLET EQUINOX check engine
[x] Cancel search: check enginePage 2 of 394

2010 Chevrolet Equinox Owner ManualM
Driving and Operating. . . . . . . . 8-1
Driving Information . . . . . . . . . . . . . 8-2
Starting and Operating . . . . . . . 8-28
Engine Exhaust . . . . . . . . . . . . . . 8-34
Automatic Transmission . . . . . . 8-35
Drive Systems . . . . . . . . . . . . . . . . 8-38
Brakes . . . . . . . . . . . . . . . . . . . . . . . 8-38
Ride Control Systems . . . . . . . . 8-41
Cruise Control . . . . . . . . . . . . . . . . 8-44
Object Detection Systems . . . . 8-46
Fuel . . . . . . . . . . . . . . . . . . . . . . . . . . 8-53
Towing . . . . . . . . . . . . . . . . . . . . . . . 8-57
Conversions and Add-Ons . . . 8-64 Vehicle Care
. . . . . . . . . . . . . . . . . . 9-1
General Information . . . . . . . . . . . . 9-3
Vehicle Checks . . . . . . . . . . . . . . . . 9-4
Headlamp Aiming . . . . . . . . . . . . 9-27
Bulb Replacement . . . . . . . . . . . . 9-30
Electrical System . . . . . . . . . . . . . 9-34
Wheels and Tires . . . . . . . . . . . . . 9-40
Jump Starting . . . . . . . . . . . . . . . . 9-69
Towing . . . . . . . . . . . . . . . . . . . . . . . 9-72
Appearance Care . . . . . . . . . . . . . 9-75
Service and Maintenance . . . 10-1
General Information . . . . . . . . . . 10-1
Scheduled Maintenance . . . . . . 10-2
Recommended Fluids,
Lubricants, and Parts . . . . . . . 10-7
Maintenance Records . . . . . . . 10-10 Technical Data
. . . . . . . . . . . . . . . 11-1
Vehicle Identification . . . . . . . . . . 11-1
Vehicle Data . . . . . . . . . . . . . . . . . . 11-2
Customer Information . . . . . . . 12-1
Customer Information . . . . . . . . 12-1
Reporting Safety Defects . . . . 12-13
Vehicle Data Recording and
Privacy . . . . . . . . . . . . . . . . . . . . 12-14
Index . . . . . . . . . . . . . . . . . . . . . i-1
Page 11 of 394
Keys, Doors and Windows 1-5
Remote Vehicle Start
The vehicle may have this feature
that allows you to start the engine
from outside the vehicle.
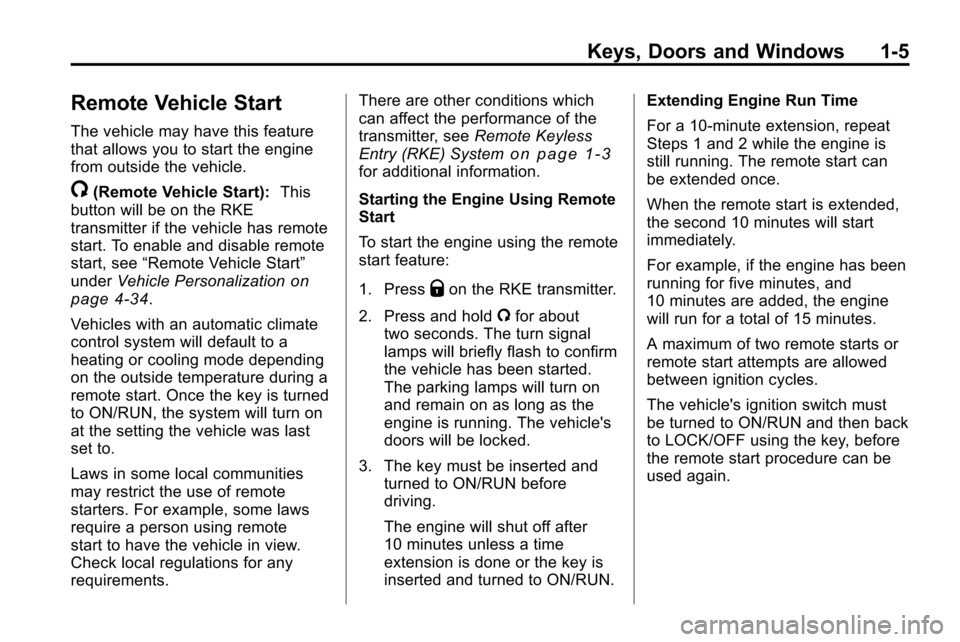
/(Remote Vehicle Start):This
button will be on the RKE
transmitter if the vehicle has remote
start. To enable and disable remote
start, see “Remote Vehicle Start”
under Vehicle Personalization
on
page 4‑34.
Vehicles with an automatic climate
control system will default to a
heating or cooling mode depending
on the outside temperature during a
remote start. Once the key is turned
to ON/RUN, the system will turn on
at the setting the vehicle was last
set to.
Laws in some local communities
may restrict the use of remote
starters. For example, some laws
require a person using remote
start to have the vehicle in view.
Check local regulations for any
requirements. There are other conditions which
can affect the performance of the
transmitter, see
Remote Keyless
Entry (RKE) System
on page 1‑3for additional information.
Starting the Engine Using Remote
Start
To start the engine using the remote
start feature:
1. Press
Qon the RKE transmitter.
2. Press and hold /for about
two seconds. The turn signal
lamps will briefly flash to confirm
the vehicle has been started.
The parking lamps will turn on
and remain on as long as the
engine is running. The vehicle's
doors will be locked.
3. The key must be inserted and turned to ON/RUN before
driving.
The engine will shut off after
10 minutes unless a time
extension is done or the key is
inserted and turned to ON/RUN. Extending Engine Run Time
For a 10-minute extension, repeat
Steps 1 and 2 while the engine is
still running. The remote start can
be extended once.
When the remote start is extended,
the second 10 minutes will start
immediately.
For example, if the engine has been
running for five minutes, and
10 minutes are added, the engine
will run for a total of 15 minutes.
A maximum of two remote starts or
remote start attempts are allowed
between ignition cycles.
The vehicle's ignition switch must
be turned to ON/RUN and then back
to LOCK/OFF using the key, before
the remote start procedure can be
used again.
Page 14 of 394

1-8 Keys, Doors and Windows
Doors
Liftgate (Manual)
{WARNING
Exhaust gases can enter the
vehicle if it is driven with the
liftgate, trunk/hatch open, or with
any objects that pass through the
seal between the body and the
trunk/hatch or liftgate. Engine
exhaust contains Carbon
Monoxide (CO) which cannot be
seen or smelled. It can cause
unconsciousness and even death.
If the vehicle must be driven with
the liftgate, or trunk/hatch open:
.Close all of the windows.
.Fully open the air outlets on
or under the instrument
panel.(Continued)
WARNING (Continued)
.Adjust the Climate Control
system to a setting that
brings in only outside air and
set the fan speed to the
highest setting. See Climate
Control System in the Index.
For more information about
carbon monoxide, see Engine
Exhaust on page 8‑34.
Notice: If you open the liftgate
without checking for overhead
obstructions such as a garage
door, you could damage the
liftgate or the liftgate glass.
Always check to make sure the
area above and behind the liftgate
is clear before opening it.
Press the touchpad located in the
handle of the liftgate, above the
license plate, and lift up to open. Do not press the touchpad while
closing the liftgate. This will cause
the liftgate to be unlatched.
Always close the liftgate before
driving.
Liftgate (Power)
Power Liftgate Operation
{WARNING
Exhaust gases can enter the
vehicle if it is driven with the
liftgate, trunk/hatch open, or with
any objects that pass through the
seal between the body and the
trunk/hatch or liftgate. Engine
exhaust contains Carbon
Monoxide (CO) which cannot be
seen or smelled. It can cause
unconsciousness and even death.
(Continued)
Page 15 of 394
Keys, Doors and Windows 1-9
WARNING (Continued)
If the vehicle must be driven with
the liftgate, or trunk/hatch open:
.Close all of the windows.
.Fully open the air outlets on
or under the instrument
panel.
.Adjust the Climate Control
system to a setting that
brings in only outside air and
set the fan speed to the
highest setting. See Climate
Control System in the Index.
.If the vehicle is equipped with
a power liftgate, disable the
power liftgate function.
For more information about
carbon monoxide, see Engine
Exhaust on page 8‑34.
On vehicles with a power liftgate,
the switch is located on the
overhead console. The vehicle must be in P (Park) to use the power
feature. The taillamps flash when
the power liftgate moves.
{WARNING
You or others could be injured if
caught in the path of the power
liftgate. Make sure there is no one
in the way of the liftgate as it is
opening and closing.
Notice: If you open the liftgate
without checking for overhead
obstructions such as a garage
door, you could damage the
liftgate or the liftgate glass.
Always check to make sure the
area above and behind the liftgate
is clear before opening it.
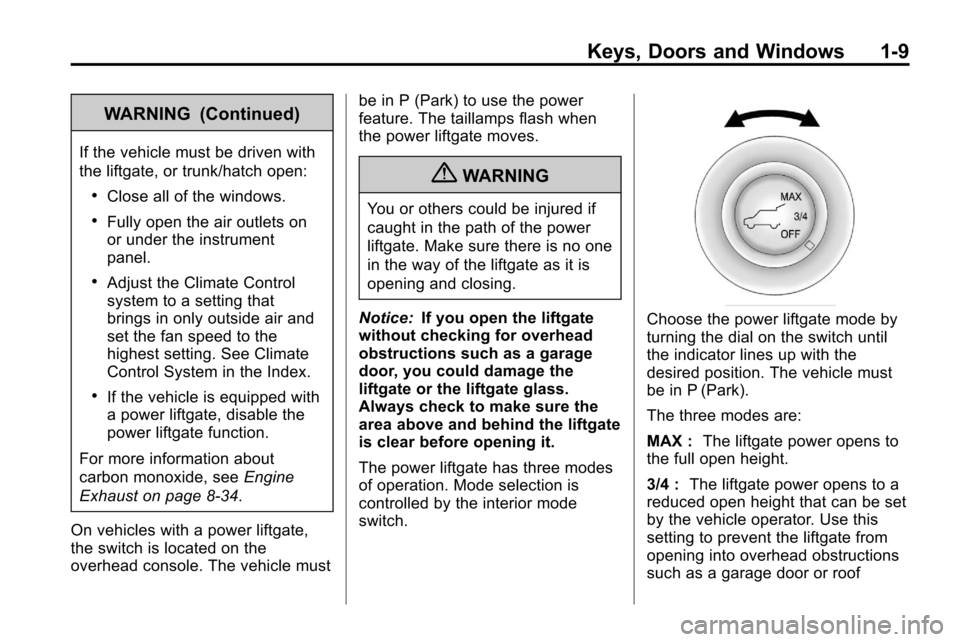
The power liftgate has three modes
of operation. Mode selection is
controlled by the interior mode
switch.
Choose the power liftgate mode by
turning the dial on the switch until
the indicator lines up with the
desired position. The vehicle must
be in P (Park).
The three modes are:
MAX : The liftgate power opens to
the full open height.
3/4 : The liftgate power opens to a
reduced open height that can be set
by the vehicle operator. Use this
setting to prevent the liftgate from
opening into overhead obstructions
such as a garage door or roof
Page 97 of 394
Instruments and Controls 4-11
Notice:Adding any electrical
equipment to the vehicle can
damage it or keep other
components from working as
they should. The repairs would
not be covered by the vehicle
warranty. Do not use equipment
exceeding maximum amperage
rating of 20 amperes. Check with
your dealer before adding
electrical equipment.
When adding electrical equipment,
be sure to follow the installation
instructions included with the
equipment.
Notice: Improper use of the
power outlet can cause damage
not covered by the vehicle
warranty. Do not hang any type of
accessory or accessory bracket
from the plug because the power
outlets are designed for
accessory power plugs only.Warning Lights,
Gauges, and
Indicators
Warning lights and gauges can
signal that something is wrong
before it becomes serious enough
to cause an expensive repair or
replacement. Paying attention to the
warning lights and gauges could
prevent injury.
Warning lights come on when there
could be a problem with a vehicle
function. Some warning lights come
on briefly when the engine is started
to indicate they are working. Gauges can indicate when there
could be a problem with a vehicle
function. Often gauges and warning
lights work together to indicate a
problem with the vehicle.
When one of the warning lights
comes on and stays on while
driving, or when one of the gauges
shows there may be a problem,
check the section that explains what
to do. Follow this manual's advice.
Waiting to do repairs can be costly
and even dangerous.
Page 102 of 394
4-16 Instruments and Controls
If the word ON or the on symbol is
lit on the passenger airbag status
indicator, it means that the right
front passenger frontal airbag is
enabled (may inflate).
If the word OFF or the off symbol is
lit on the passenger airbag status
indicator, it means that the
passenger sensing system has
turned off the right front passenger
frontal airbag.
If, after several seconds, both status
indicator lights remain on, or if there
are no lights at all, there may be a
problem with the lights or the
passenger sensing system. See
your dealer for service.
{WARNING
If the airbag readiness light ever
comes on and stays on, it means
that something may be wrong
with the airbag system. To help
avoid injury to yourself or others,
have the vehicle serviced right(Continued)
WARNING (Continued)
away. SeeAirbag Readiness
Light
on page 4‑15for more
information, including important
safety information.
Charging System Light
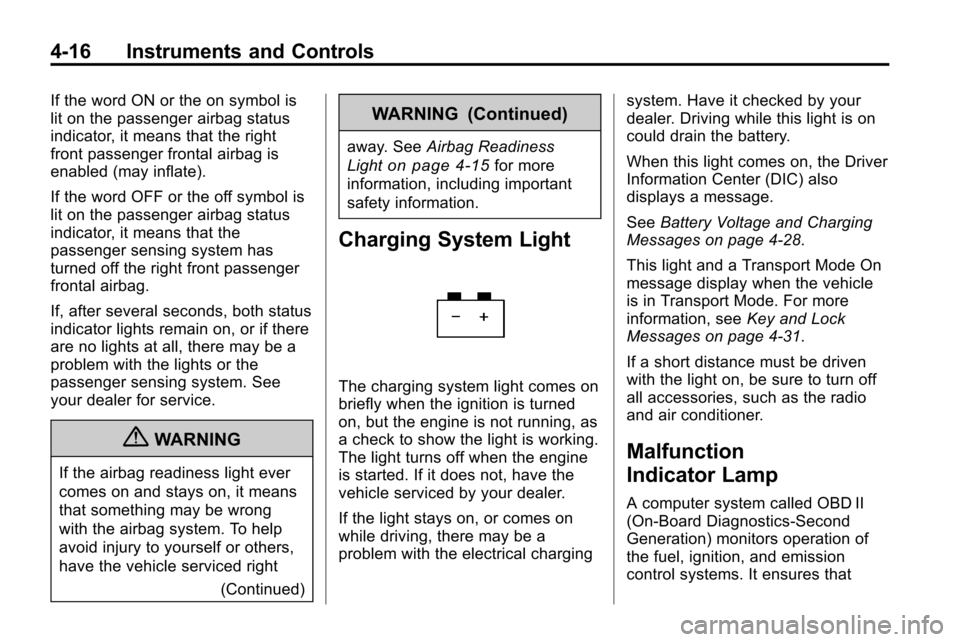
The charging system light comes on
briefly when the ignition is turned
on, but the engine is not running, as
a check to show the light is working.
The light turns off when the engine
is started. If it does not, have the
vehicle serviced by your dealer.
If the light stays on, or comes on
while driving, there may be a
problem with the electrical charging system. Have it checked by your
dealer. Driving while this light is on
could drain the battery.
When this light comes on, the Driver
Information Center (DIC) also
displays a message.
See
Battery Voltage and Charging
Messages on page 4‑28.
This light and a Transport Mode On
message display when the vehicle
is in Transport Mode. For more
information, see Key and Lock
Messages on page 4‑31.
If a short distance must be driven
with the light on, be sure to turn off
all accessories, such as the radio
and air conditioner.
Malfunction
Indicator Lamp
A computer system called OBD II
(On-Board Diagnostics-Second
Generation) monitors operation of
the fuel, ignition, and emission
control systems. It ensures that
Page 103 of 394
Instruments and Controls 4-17
emissions are at acceptable levels
for the life of the vehicle, helping to
produce a cleaner environment.
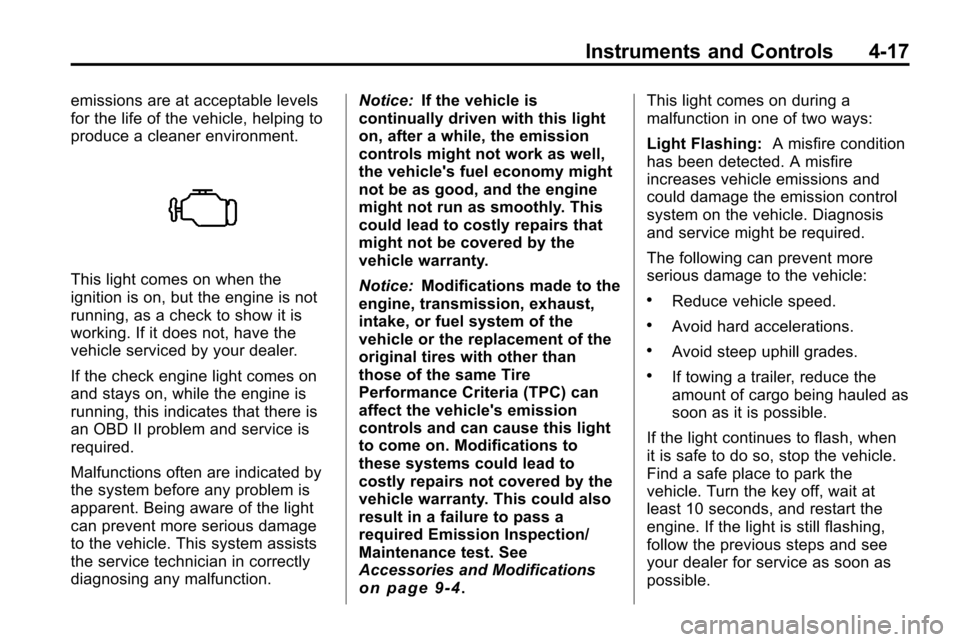
This light comes on when the
ignition is on, but the engine is not
running, as a check to show it is
working. If it does not, have the
vehicle serviced by your dealer.
If the check engine light comes on
and stays on, while the engine is
running, this indicates that there is
an OBD II problem and service is
required.
Malfunctions often are indicated by
the system before any problem is
apparent. Being aware of the light
can prevent more serious damage
to the vehicle. This system assists
the service technician in correctly
diagnosing any malfunction.Notice:
If the vehicle is
continually driven with this light
on, after a while, the emission
controls might not work as well,
the vehicle's fuel economy might
not be as good, and the engine
might not run as smoothly. This
could lead to costly repairs that
might not be covered by the
vehicle warranty.
Notice: Modifications made to the
engine, transmission, exhaust,
intake, or fuel system of the
vehicle or the replacement of the
original tires with other than
those of the same Tire
Performance Criteria (TPC) can
affect the vehicle's emission
controls and can cause this light
to come on. Modifications to
these systems could lead to
costly repairs not covered by the
vehicle warranty. This could also
result in a failure to pass a
required Emission Inspection/
Maintenance test. See
Accessories and Modifications
on page 9‑4. This light comes on during a
malfunction in one of two ways:
Light Flashing:
A misfire condition
has been detected. A misfire
increases vehicle emissions and
could damage the emission control
system on the vehicle. Diagnosis
and service might be required.
The following can prevent more
serious damage to the vehicle:
.Reduce vehicle speed.
.Avoid hard accelerations.
.Avoid steep uphill grades.
.If towing a trailer, reduce the
amount of cargo being hauled as
soon as it is possible.
If the light continues to flash, when
it is safe to do so, stop the vehicle.
Find a safe place to park the
vehicle. Turn the key off, wait at
least 10 seconds, and restart the
engine. If the light is still flashing,
follow the previous steps and see
your dealer for service as soon as
possible.
Page 104 of 394
4-18 Instruments and Controls
Light On Steady:An emission
control system malfunction has
been detected on the vehicle.
Diagnosis and service might be
required.
An emission system malfunction
might be corrected.
.Make sure the fuel cap is fully
installed. See Filling the Tankon
page 8‑56. The diagnostic
system can determine if the
fuel cap has been left off or
improperly installed. A loose or
missing fuel cap allows fuel to
evaporate into the atmosphere.
A few driving trips with the cap
properly installed should turn the
light off.
.If the vehicle has been driven
through a deep puddle of water,
the vehicle's electrical system
might be wet. The condition is
usually corrected when the
electrical system dries out. A
few driving trips should turn the
light off.
.Make sure to fuel the vehicle
with quality fuel. Poor fuel quality
causes the engine not to run as
efficiently as designed and may
cause: stalling after start-up,
stalling when the vehicle is
changed into gear, misfiring,
hesitation on acceleration,
or stumbling on acceleration.
These conditions might go away
once the engine is warmed up.
If one or more of these
conditions occurs, change the
fuel brand used. It will require at
least one full tank of the proper
fuel to turn the light off.
See Recommended Fuel
on
page 8‑54.
If none of the above have made
the light turn off, your dealer can
check the vehicle. The dealer
has the proper test equipment
and diagnostic tools to fix any
mechanical or electrical problems
that might have developed.
Emissions Inspection and
Maintenance Programs
Some state/provincial and local
governments have or might begin
programs to inspect the emission
control equipment on the vehicle.
Failure to pass this inspection could
prevent getting a vehicle
registration.
Here are some things to know to
help the vehicle pass an inspection:
.The vehicle will not pass this
inspection if the check engine
light is on with the engine
running, or if the key is in ON/
RUN and the light is not on.
.The vehicle will not pass this
inspection if the OBD II
(on-board diagnostic) system
determines that critical emission
control systems have not been
completely diagnosed by the
system. The vehicle would be
considered not ready for
inspection. This can happen if
the battery has recently been
replaced or if the battery has run