2010 CHEVROLET EQUINOX run flat
[x] Cancel search: run flatPage 102 of 394

4-16 Instruments and Controls
If the word ON or the on symbol is
lit on the passenger airbag status
indicator, it means that the right
front passenger frontal airbag is
enabled (may inflate).
If the word OFF or the off symbol is
lit on the passenger airbag status
indicator, it means that the
passenger sensing system has
turned off the right front passenger
frontal airbag.
If, after several seconds, both status
indicator lights remain on, or if there
are no lights at all, there may be a
problem with the lights or the
passenger sensing system. See
your dealer for service.
{WARNING
If the airbag readiness light ever
comes on and stays on, it means
that something may be wrong
with the airbag system. To help
avoid injury to yourself or others,
have the vehicle serviced right(Continued)
WARNING (Continued)
away. SeeAirbag Readiness
Light
on page 4‑15for more
information, including important
safety information.
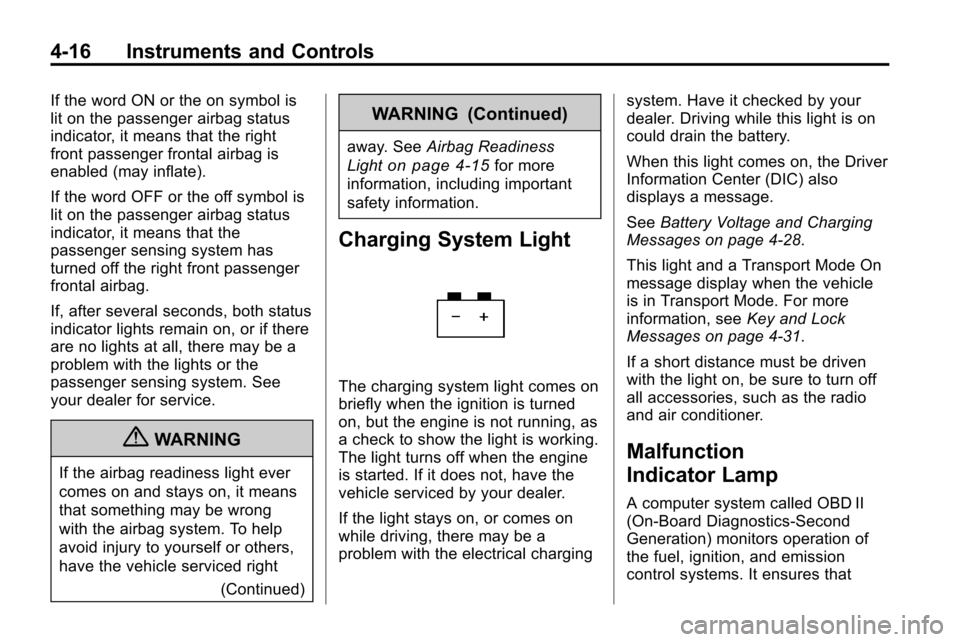
Charging System Light
The charging system light comes on
briefly when the ignition is turned
on, but the engine is not running, as
a check to show the light is working.
The light turns off when the engine
is started. If it does not, have the
vehicle serviced by your dealer.
If the light stays on, or comes on
while driving, there may be a
problem with the electrical charging system. Have it checked by your
dealer. Driving while this light is on
could drain the battery.
When this light comes on, the Driver
Information Center (DIC) also
displays a message.
See
Battery Voltage and Charging
Messages on page 4‑28.
This light and a Transport Mode On
message display when the vehicle
is in Transport Mode. For more
information, see Key and Lock
Messages on page 4‑31.
If a short distance must be driven
with the light on, be sure to turn off
all accessories, such as the radio
and air conditioner.
Malfunction
Indicator Lamp
A computer system called OBD II
(On-Board Diagnostics-Second
Generation) monitors operation of
the fuel, ignition, and emission
control systems. It ensures that
Page 264 of 394

8-60 Driving and Operating
Making Turns
Notice:Making very sharp turns
while trailering could cause the
trailer to come in contact with the
vehicle. The vehicle could be
damaged. Avoid making very
sharp turns while trailering.
When turning with a trailer, make
wider turns than normal so the
trailer will not strike soft shoulders,
curbs, road signs, trees or other
objects. Use the turn signal well in
advance and avoid jerky or sudden
maneuvers.
Turn Signals When Towing
a Trailer
The turn signal indicators on the
instrument panel flash whenever
signaling a turn or lane change.
Properly hooked up, the trailer
lamps also flash, telling other
drivers the vehicle is turning,
changing lanes or stopping.
When towing a trailer, the arrows
on the instrument panel flash for
turns even if the bulbs on the trailer are burned out. Check occasionally
to be sure the trailer bulbs are still
working.
Driving On Grades
Reduce speed and shift to a lower
gear before starting down a long or
steep downgrade. If the
transmission is not shifted down, the
brakes might have to be used so
much that they would get hot and no
longer work well.
The vehicle can tow in D (Drive).
Use a lower gear if the transmission
shifts too often.
When towing at high altitude on
steep uphill grades, engine coolant
will boil at a lower temperature than
at normal altitudes. If the engine is
turned off immediately after towing
at high altitude on steep uphill
grades, the vehicle may show signs
similar to engine overheating. To
avoid this, let the engine run while
parked, preferably on level ground,
with the transmission in P (Park) for
a few minutes before turning the
engine off. If the overheat warning
comes on, see
Engine Overheating
on page 9‑18.
Parking on Hills
{WARNING
Parking the vehicle on a hill with
the trailer attached can be
dangerous. If something goes
wrong, the rig could start to move.
People can be injured, and both
the vehicle and the trailer can be
damaged. When possible, always
park the rig on a flat surface.
If parking the rig on a hill:
1. Press the brake pedal, but do not shift into P (Park) yet. Turn
the wheels into the curb if facing
downhill or into traffic if facing
uphill.
2. Have someone place chocks under the trailer wheels.
Page 319 of 394

Vehicle Care 9-51
The TPMS sensors can also be
matched to each tire/wheel position
by increasing or decreasing the
tire's air pressure. If increasing the
tire's air pressure, do not exceed
the maximum inflation pressure
indicated on the tire's sidewall.
To decrease air-pressure out of a
tire you can use the pointed end of
the valve cap, a pencil-style air
pressure gage, or a key.
You have two minutes to match the
first tire/wheel position, and
five minutes overall to match all four
tire/wheel positions. If it takes longer
than two minutes, to match the first
tire and wheel, or more than
five minutes to match all four tire
and wheel positions the matching
process stops and you need to
start over.The TPMS sensor matching process
is outlined below:
1. Set the parking brake.
2. Turn the ignition to ON/RUN with
the engine off.
3. Use the MENU button to select the Vehicle Information Menu in
the Driver Information Center
(DIC). Use the arrow keys to
scroll to the Tire Pressure
screen.
4. Press the SET/CLR button to begin the sensor matching
process.
A message asking if you are
sure you want to begin this
process should appear.
5. Press the SET/CLR button again to confirm the selection.
The horn sounds twice to signal
the receiver is in relearn mode
and the Tire Learning Active
message displays on the DIC
screen. 6. Start with the driver side
front tire.
7. Remove the valve cap from the valve cap stem. Activate the
TPMS sensor by increasing or
decreasing the tire's air pressure
for five seconds, or until a horn
chirp sounds. The horn chirp,
which may take up to
30 seconds to sound, confirms
that the sensor identification
code has been matched to this
tire and wheel position.
8. Proceed to the passenger side front tire, and repeat the
procedure in Step 7.
9. Proceed to the passenger side rear tire, and repeat the
procedure in Step 7.
Page 386 of 394

i-4 INDEX
DVDRear Seat Entertainment
System . . . . . . . . . . . . . . . . . . . . . . 6-33
DVD/CD Player . . . . . . . . . . . . . . . . 6-21
E
ECO Button . . . . . . . . . . . . . . . . . . . 8-37
Economy Mode Fuel . . . . . . . . . . . . . . . . . . . . . . . . . . 8-37
Electrical Equipment, Add-On . . . . . . . . . . . . . . . . . . . . . . 8-64
Electrical System Engine Compartment Fuse
Block . . . . . . . . . . . . . . . . . . . . . . . . 9-34
Fuses . . . . . . . . . . . . . . . . . . . . . . . . 9-34
Instrument Panel Fuse Block . . . . . . . . . . . . . . . . . . . . . . . . 9-37
Engine
Air Cleaner/Filter . . . . . . . . . . . . . 9-13
Check and Service EngineSoon Light . . . . . . . . . . . . . . . . . . 4-16
Compartment Overview . . . . . . . . 9-6
Coolant . . . . . . . . . . . . . . . . . . . . . . . 9-15 Engine (cont.)
Coolant Heater . . . . . . . . . . . . . . . 8-31
Coolant Temperature
Gauge . . . . . . . . . . . . . . . . . . . . . . 4-14
Cooling System . . . . . . . . . . . . . . . 9-14
Cooling System Messages . . . 4-29
Cover . . . . . . . . . . . . . . . . . . . . . . . . . . 9-9
Drive Belt Routing . . . . . . . . . . . . 11-4
Exhaust . . . . . . . . . . . . . . . . . . . . . . 8-34
Overheating . . . . . . . . . . . . . . . . . . 9-18
Power Messages . . . . . . . . . . . . . 4-30
Pressure Light . . . . . . . . . . . . . . . . 4-22
Running While Parked . . . . . . . . 8-34
Starting . . . . . . . . . . . . . . . . . . . . . . . 8-30
Engine Oil Life System . . . . . . . . . . . . . . . . . . . 9-11
Messages . . . . . . . . . . . . . . . . . . . . 4-30
Entry Lighting . . . . . . . . . . . . . . . . . . . 5-4
Equipment, Towing . . . . . . . . . . . . 8-63
Event Data Recorders . . . . . . . . 12-15
Extender, Safety Belt . . . . . . . . . . 2-21
Exterior Lamp Controls . . . . . . . . . 5-1
F
Filter
Engine Air Cleaner . . . . . . . . . . . 9-13
Flash-to-Pass . . . . . . . . . . . . . . . . . . . 5-2
Flashers, Hazard Warning . . . . . . 5-2
Flat Tire . . . . . . . . . . . . . . . . . . . . . . . 9-59
Flat Tire, Changing . . . . . . . . . . . . 9-61
Fluid Automatic Transmission . . . . . . 9-12
Brakes . . . . . . . . . . . . . . . . . . . . . . . . 9-22
Power Steering . . . . . . . . . . . . . . . 9-20
Washer . . . . . . . . . . . . . . . . . . . . . . . 9-21
Fog Lamps Bulb Replacement . . . . . . . 5-3, 9-31
Light . . . . . . . . . . . . . . . . . . . . . . . . . . 4-23
Front Seats
Adjustment . . . . . . . . . . . . . . . . . . . . 2-3
Heated . . . . . . . . . . . . . . . . . . . . . . . . 2-7
Fuel . . . . . . . . . . . . . . . . . . . . . . . . . . . 8-53 Additives . . . . . . . . . . . . . . . . . . . . . 8-55
Economy Driving . . . . . . . . . . . . . . 8-2
Economy Light . . . . . . . . . . . . . . . 4-22
Filling a Portable Fuel
Container . . . . . . . . . . . . . . . . . . . 8-57
Filling the Tank . . . . . . . . . . . . . . . 8-56
Fuels in Foreign Countries . . . . 8-54