Page 177 of 209
44A-22
REAR UPPER STRUCTURE
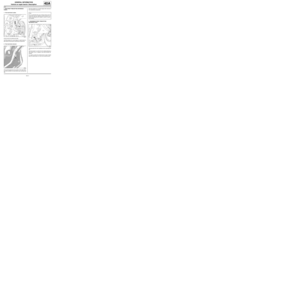
Rear end panel assembly: Description
44A
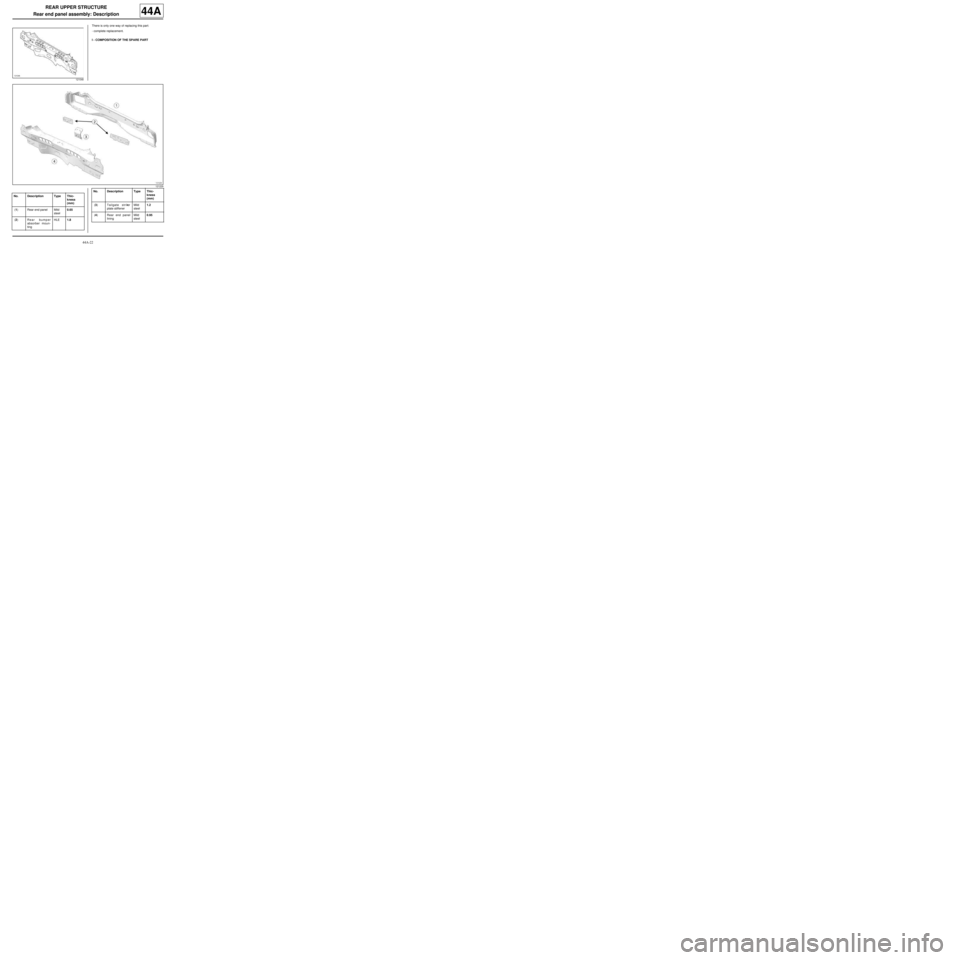
There is only one way of replacing this part:
-complete replacement.
I - COMPOSITION OF THE SPARE PART
121048
121229
No. Description Type Thic-
kness
(mm)
(1) Rear end panel Mild
steel0.65
(2) Rear bumper
absorber moun-
tingHLE1.8
(3) Tailgate striker
plate stiffenerMild
steel1.2
(4) Rear end panel
liningMild
steel0.95 No. Description Type Thic-
kness
(mm)
Page 178 of 209
44A-23
REAR UPPER STRUCTURE
Rear end panel assembly: Description
44A
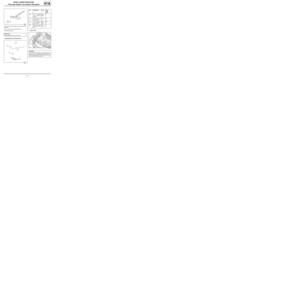
II - PART FITTED III - POSITIONING OF LOCAL ELECTRICAL
EARTHS
Right-hand side
Left side
121231
WARNING
If the spot welds cannot be made as they were ori-
ginally using an electrical spot welding machine,
they should be replaced with plug welds after holes
have been drilled in the first panel.
IMPORTANT
For welded connections in three thicknesses, the
spot welds on the part replaced should be made in
the same place as for the original joint to retain its
mechanical proper ties.121249
121250
IMPORTANT
To avoid damaging the vehicle's electric and elec-
tronic components, the battery and the earths of
any wiring harness near the weld area must be dis-
connected.
The earth of the welding machine must be placed
as close as possible to the weld area.
Page 179 of 209
44A-24
REAR UPPER STRUCTURE
Rear end panel: General description
44A
DESIGN OF THE STRUCTURAL COMPONENT
The special feature of this part it that it concurrently
serves two functions:
-rear end panel,
-rear end panel lining.
If there are other issues regarding access to mating fa-
ces, the various replacement options are described in
the basic instructions for structural bodywork repair
(see MR 400). Note:
The information contained in the following descri-
bes the general repair procedure for all vehicles
having the same design for this part.
Before reading the following general information,
make sure that there are no special notes associa-
ted with the vehicle. These special notes are speci-
fied if necessary in other par ts of the sub-section
dealing with the component.
Note:
For a detailed description of a particular connec-
tion, see MR 400.
121047
Page 180 of 209
44A-25
REAR UPPER STRUCTURE
Rear end panel: Description
44A
There is only one way of replacing this part:
-complete replacement.
I - COMPOSITION OF THE SPARE PART
II - PART FITTEDIII - POSITIONING OF LOCAL ELECTRICAL
EARTHS
Right-hand side
121047
No. Description Type Thic-
kness
(mm)
(1) Rear end panel Mild
steel0.65
121230
WARNING
If the spot welds cannot be made as they were ori-
ginally using an electrical spot welding machine,
they should be replaced with plug welds after holes
have been drilled in the first panel.
IMPORTANT
For welded connections in three thicknesses, the
spot welds on the par t replaced should be made in
the same place as for the original joint to retain its
mechanical proper ties.
121249
Page 181 of 209
44A-26
REAR UPPER STRUCTURE
Rear end panel: Description
44A
Left side
121250
IMPORTANT
To avoid damaging the vehicle's electric and elec-
tronic components, the battery and the earths of
any wiring harness near the weld area must be dis-
connected.
The earth of the welding machine must be placed
as close as possible to the weld area.
Page 182 of 209
45A-1
TOP OF BODY
Roof: General description
45A
DESIGN OF THE STRUCTURAL COMPONENT
This is a basic part; its only function is that of a roof.
The special feature of the roof is that it is laser welded
to the body sides.
For vehicles fitted with a sunroof, the roof only has a
front section and a rear section.
If there are other issues regarding access to mating fa-
ces, the various replacement options are described in
the basic instructions for structural bodywork repair
(see MR 400). Note:
The information contained in the following descri-
bes the general repair procedure for all vehicles
having the same design for this part.
Before reading the following general information,
make sure that there are no special notes associa-
ted with the vehicle. These special notes are speci-
fied if necessary in other par ts of the sub-section
dealing with the component.
Note:
For a detailed description of a particular connec-
tion, see MR 400.
121044
Page 183 of 209
45A-2
TOP OF BODY
Roof: Description
45A
There is only one way of replacing this part:
-complete replacement.
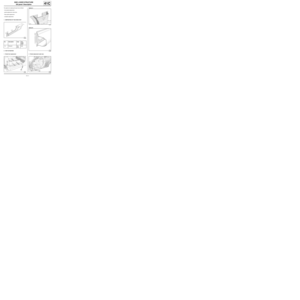
I - COMPOSITION OF THE SPARE PARTII - PART FITTED
1 - Dismantling
a - Cutting
Cut 1 cm from the weld (see MR 400, Basic instruc-
tions for structural bodywork repair, 40A, General
information, Cutting tool for a structural compo-
nent: Use).
Remove the damaged part.
b - Grinding
Weaken the weld without removing it, using a straight
grinder fitted with a cutting disc.
Remove the remaining metal strips. Special tooling required
Car. 1786Levelling tool for bodywork
seal
Equipment required
safety strap(s)
121044
No. Description Type Thic-
kness
(mm)
(1) Roof Mild
steel0.75
120099
121622
Page 184 of 209

45A-3
TOP OF BODY
Roof: Description
45A
Level off the weld residue (see MR 400, Basic instruc-
tions for structural bodywork repair, 40A, General
information, Tool for levelling off weld residue:
Use).
2 - Preparation before assembly
a - Positioning and adjustment
Position the spare part, adjust it and fit it using locking
pliers (see MR 400, Basic instructions for structural
bodywork repair, 40A, General information, Tool
for adjusting and supporting a structural compo-
nent: Use).
If necessary, reassemble the adjacent components
and check the panel gaps.
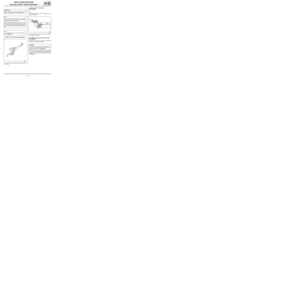
b - Marking and identifying the joints
Mark the optimum position of the roof with masking
tape between the spare part and the body side (2) .
Remove the replacement part.
c - Preparing the mating faces on the spare part
Gently sand the internal mating faces on the bonding
zones of the spare part with P320 dry sand paper or a
red abrasive pad, without removing the protection.
Prepare the rest of the replacement part according to
the joint type.
d - Preparing the mating faces on the vehicle
Gently sand the internal mating face bonding zones on
the vehicle with P320 dry sand paper or a red abrasive
pad, without removing the protection.
Prepare the rest of the vehicle according to the joint ty-
pe.e - Apply the protection before assembly
Apply the spare part and vehicle protection before as-
sembly (see MR 400, Basic instructions for structu-
ral bodywork repair, 40A, General information, Pre-
assembly anticorrosion protection product: Use).
3 - Assembly
a - Application of the bonding products
Degrease the bonding zones on the replacement part
and the vehicle using heptane.
Apply a cement bead of M.J. Pro to the roof cross
members (3) .
Apply a bead of HIGH PERFORMANCE STRUCTU-
RAL ADHESIVE to the entire internal mating face on
the body side (see MR 400, Basic instructions for
structural bodywork repair, 40A, General informa-
tion, Connection by rigid bonding: Description).
121623
121626
120077