Page 187 of 4331

AT-182< SERVICE INFORMATION >
TROUBLE DIAGNOSIS FOR SYMPTOMS
OD OFF indicator lamp does not come on for about 2 seconds when turning ignition switch to ON.
DIAGNOSTIC PROCEDURE 1.
CHECK CAN COMMUNICATION LINE
Perform self-diagnosis. Refer to AT-79, " CONSULT-III Function (TRANSMISSION) " .
Is a malfunction in CAN communication indicated in the results? YES >> Check CAN communication line. Refer to
AT-88 .
NO >> GO TO 2. 2.
CHECK TCM POWER SOURCE
1. Turn ignition switch ON. (Do not start engine.)
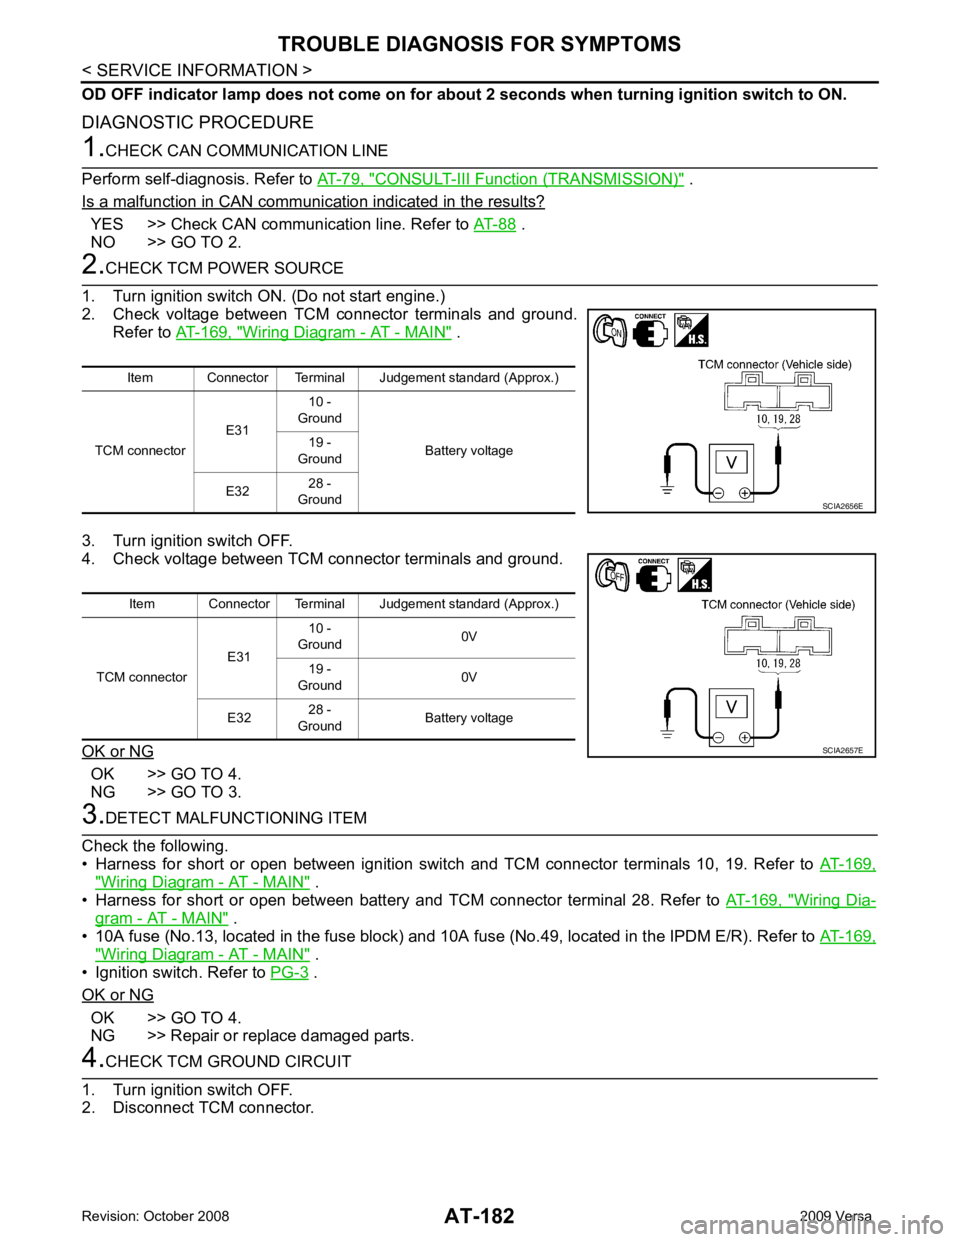
2. Check voltage between TCM connector terminals and ground.
Refer to AT-169, " Wiring Diagram - AT - MAIN " .
3. Turn ignition switch OFF.
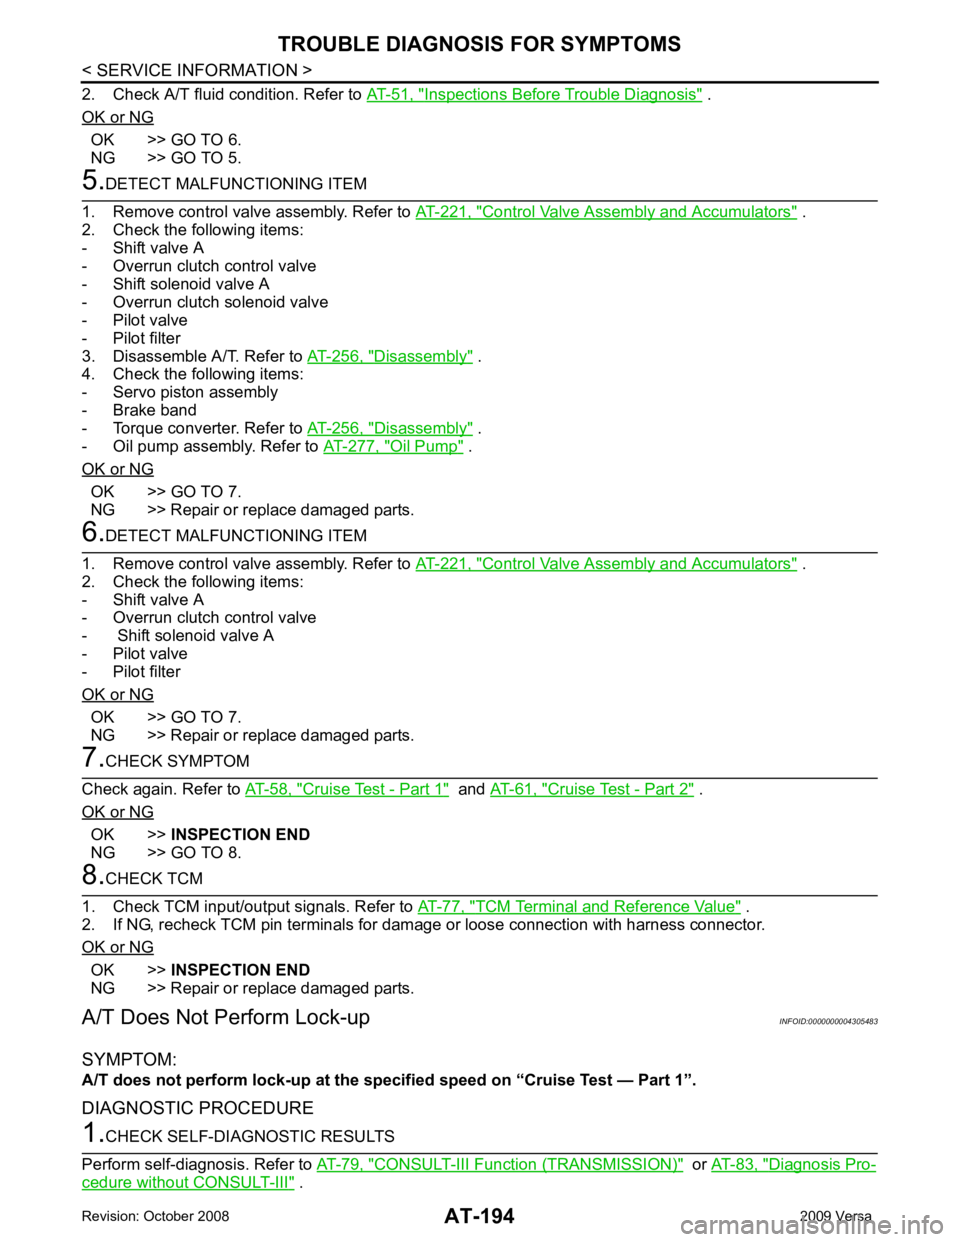
4. Check voltage between TCM connector terminals and ground.
OK or NG OK >> GO TO 4.
NG >> GO TO 3. 3.
DETECT MALFUNCTIONING ITEM
Check the following.
• Harness for short or open between ignition switch and TCM connector terminals 10, 19. Refer to AT-169," Wiring Diagram - AT - MAIN " .
• Harness for short or open between battery and TCM connector terminal 28. Refer to AT-169, " Wiring Dia-
gram - AT - MAIN " .
• 10A fuse (No.13, located in the fuse block) and 10A fuse (No.49, located in the IPDM E/R). Refer to AT-169," Wiring Diagram - AT - MAIN " .
• Ignition switch. Refer to PG-3 .
OK or NG OK >> GO TO 4.
NG >> Repair or replace damaged parts. 4.
CHECK TCM GROUND CIRCUIT
1. Turn ignition switch OFF.
2. Disconnect TCM connector. Item Connector Terminal Judgement standard (Approx.)
TCM connector E3110 -
Ground
Battery voltage
19 -
Ground
E32 28 -
Ground SCIA2656E
Item Connector Terminal Judgement standard (Approx.)
TCM connector E3110 -
Ground 0V
19 -
Ground 0V
E32 28 -
Ground Battery voltage SCIA2657E
Page 199 of 4331

Inspections Before Trouble Diagnosis " .
OK or NG OK >> GO TO 6.
NG >> GO TO 5. Control Valve Assembly and Accumulators " .
2. Check the following items:
- Shift valve A
- Overrun clutch control valve
- Shift solenoid valve A
- Overrun clutch solenoid valve
- Pilot valve
- Pilot filter
3. Disassemble A/T. Refer to AT-256, " Disassembly " .
4. Check the following items:
- Servo piston assembly
- Brake band
- Torque converter. Refer to AT-256, " Disassembly " .
- Oil pump assembly. Refer to AT-277, " Oil Pump " .
OK or NG OK >> GO TO 7.
NG >> Repair or replace damaged parts. Control Valve Assembly and Accumulators " .
2. Check the following items:
- Shift valve A
- Overrun clutch control valve
- Shift solenoid valve A
- Pilot valve
- Pilot filter
OK or NG OK >> GO TO 7.
NG >> Repair or replace damaged parts. Cruise Test - Part 1 " and
AT-61, " Cruise Test - Part 2 " .
OK or NG OK >>
INSPECTION END
NG >> GO TO 8. TCM Terminal and Reference Value " .
2. If NG, recheck TCM pin terminals for damage or loose connection with harness connector.
OK or NG OK >>
INSPECTION END
NG >> Repair or replace damaged parts.
A/T Does Not Perform Lock-up INFOID:0000000004305483
SYMPTOM:
A/T does not perform lock-up at the specifi ed speed on “Cruise Test — Part 1”.
DIAGNOSTIC PROCEDURE CONSULT-III Functi
on (TRANSMISSION) " or
AT-83, " Diagnosis Pro-
cedure without CONSULT-III " .
Page 200 of 4331

AT
N
O P
Is any malfunction detected by self-diagnostic results? YES >> Check the malfuncti
oning system. Refer to AT-79, " CONSULT-III Functi
on (TRANSMISSION) " or
AT-83, " Diagnosis Procedure without CONSULT-III " .
NO >> GO TO 2. Description " (HR16DE),
EC-959, " Component
Description " (MR Type 1) or
EC-1481, " Component Description " (MR Type 2).
OK or NG OK >> GO TO 3.
NG >> Repair or replace accelerator pedal position sensor. Control Valve Assembly and Accumulators " .
2. Check following items:
- Torque converter clutch control valve
- Torque converter clutch solenoid valve
- Torque converter relief valve
- Pilot valve
- Pilot filter
3. Disassemble A/T. Refer to AT-256, " Disassembly " .
4. Check the following items:
- Torque converter. Refer to AT-256, " Disassembly " .
OK or NG OK >> GO TO 4.
NG >> Repair or replace damaged parts. Cruise Test - Part 1 " .
OK or NG OK >>
INSPECTION END
NG >> GO TO 5. TCM Terminal and Reference Value " .
2. If NG, recheck TCM pin terminals for dam age or loose connection with harness connector.
OK or NG OK >>
INSPECTION END
NG >> Repair or replace damaged parts.
A/T Does Not Hold Lock-up Condition INFOID:0000000004305484
SYMPTOM: A/T does not hold lock-up condition for more than 30 second s on “Cruise Test — Part 1”.
DIAGNOSTIC PROCEDURE CONSULT-III Functi
on (TRANSMISSION) " or
AT-83, " Diagnosis Pro-
cedure without CONSULT-III " .
Is any malfunction detected by self-diagnostic results? YES >> Check the malfuncti
oning system. Refer to AT-79, " CONSULT-III Functi
on (TRANSMISSION) " or
AT-83, " Diagnosis Procedure without CONSULT-III " .
NO >> GO TO 2. Component " .
2. Check A/T fluid condition. Refer to AT-51, " Inspections Before Trouble Diagnosis " .
Page 201 of 4331

OK >> GO TO 4.
NG >> GO TO 3. Control Valve Assembly and Accumulators " .
2. Check the following items:
- Torque converter clutch control valve
- Torque converter clutch solenoid valve
- Pilot valve
- Pilot filter
3. Disassemble A/T. Refer to AT-256, " Disassembly " .
4. Check the following items:
- Torque converter. Refer to AT-256, " Disassembly " .
- Oil pump assembly. Refer to AT-277, " Oil Pump " .
OK or NG OK >> GO TO 5.
NG >> Repair or replace damaged parts. Control Valve Assembly and Accumulators " .
2. Check the following items:
- Torque converter clutch control valve
- Torque converter clutch solenoid valve
- Pilot valve
- Pilot filter
OK or NG OK >> GO TO 5.
NG >> Repair or replace damaged parts. Cruise Test - Part 1 " .
OK or NG OK >>
INSPECTION END
NG >> GO TO 6. TCM Terminal and Reference Value " .
2. If NG, recheck TCM pin terminals for damage or loose connection with harness connector.
OK or NG OK >>
INSPECTION END
NG >> Repair or replace damaged parts.
Lock-up Is Not Released INFOID:0000000004305485
SYMPTOM:
Lock-up is not released when accelerator pedal is released on “Cruise Test — Part 1”.
DIAGNOSTIC PROCEDURE CONSULT-III Functi
on (TRANSMISSION) " or
AT-83, " Diagnosis Pro-
cedure without CONSULT-III " .
Is any malfunction detected by self-diagnostic results?YES >> Check the malfunctioning system. Refer to
AT-79, " CONSULT-III Function (TRANSMISSION) " or
AT-83, " Diagnosis Procedure without CONSULT-III " .
NO >> GO TO 2.
Page 212 of 4331
AT
N
O P
A/T SHIFT LOCK SYSTEM
Description INFOID:0000000004305498
• The mechanical key interlock mechanism also operates as a shift lock: With the ignition switch turned to ON, selector lever cannot be shifted from “P” position to any other position
unless brake pedal is depressed.
With the key removed, selector lever cannot be shifted from “P” position to any other position.
The key cannot be removed unless selector lever is placed in “P” position.
• The shift lock and key interlock mechanisms are controlled by the ON-OFF operation of the shift lock sole-
noid and by the operation of the rotator and sli der located inside key cylinder, respectively.
Shift Lock System Parts Location INFOID:0000000004305499
1. Key interlock cable 2. Key cylinder 3. Stop lamp switch
4. Brake pedal 5. Shift lock release button 6. Key interlock cable
7. Shift lock solenoid 8. Park position switch
Page 214 of 4331
AT
N
O P
•
Selector lever can be moved fr om “P” position with ignition key in ON position and brake pedal
released.
• Selector lever can be moved from “P” position when ignition switch is removed from key cylinder.
SYMPTOM 2:
• Ignition key cannot be removed when sel ector lever is set to “P” position.
• Ignition key can be removed wh en selector lever is set to any position except “P” position.OK >> GO TO 2.
NG >> Repair key interlock cable. Refer to AT-218, " Removal and Installation " .
Checking of A/T Position " .
OK or NG OK >> GO TO 3.
NG >> Adjust control cable. Refer to AT-216, " Adjustment of A/T Position " .
OK >>
INSPECTION END
NG >> GO TO 4. OK >> GO TO 7.
NG >> GO TO 5.
Page 215 of 4331
.
OK or NG OK >> GO TO 6.
NG >> Repair or replace damaged parts. .
OK or NG OK >>
INSPECTION END
NG >> Repair or replace damaged parts. OK >> Replace shift lock solenoid and park position switch
assembly.
NG >> Repair open circuit or short to ground or short to power in harness or connectors.Condition Continuity
When brake pedal is depressed Yes
When brake pedal is released No
Page 218 of 4331
AT
N
O P
REMOVAL
CAUTION:
Make sure that parking brake is a pplied before removal/installation.
1. Place the selector lever in the “N” position.
2. Remove the center console assembly. Refer to IP-11 .
3. Disconnect the A/T device harness connector (1).
4. Remove the key interlock cabl e from the control device assem-
bly. Refer to AT-218, " Removal and Installation " .
5. Remove the bolts (A) from the control device assembly (1).
6. Remove exhaust front tube, c enter muffler and heat plates.
Refer to EM-144 .
1. Selector lever knob 2. Control device assembly 3. Lock plate
4. Floor panel 5. Control cable 6. Bracket
7. Lock plate 8. Lock nut 9. A/T assembly
10. Bracket 11. Bracket