Page 3653 of 4331
LT
N
O P
Bulb Replacement
INFOID:0000000004306570
1. Turn lighting switch OFF.
2. Partially remove the fender protec tor (front) to obtain work space
between the fender protector and fender.
3. Disconnect front fog lamp connector (1).
4. Turn bulb socket (2) counterclockwise unlock and remove it.
5. Remove bulb from its socket.
Removal and Installation INFOID:0000000004306571
REMOVAL 1. Partially remove the fender protector and undercover to obtain work space between the fender protector
and fender.
2. Disconnect front fog lamp connector.
3. Release the pawl, and remove the front bumper finisher from the front bumper.
4. Remove bolt and remove front fog lamp from bracket.
INSTALLATION Installation is in the reverse order of removal.
Page 3662 of 4331

Preliminary Check " .
4. Check symptom and repair or repl ace the cause of the malfunction.
5. Do turn signal and hazard warning lamps operate no rmally? If YES, GO TO 6. If NO, GO TO 4.
6. INSPECTION END
Preliminary Check INFOID:0000000004306579
CHECK POWER SUPPLY AND GROUND CIRCUIT FOR BCM
Refer to BCS-15, " BCM Power Supply and Ground Circuit Inspection " .
CONSULT-III Function (BCM) INFOID:0000000004306580
Refer to LT-11, " CONSULT-III Function (BCM) " .
Turn Signals Do Not Operate INFOID:0000000004306581Combination Switch Inspection " .
OK or NG OK >> Replace the BCM.
BCS-18, " Removal and Installation of BCM "
NG >> Check combination switch (lighting switch). Refer to
LT-63, " Combination Switch Inspection " .
Front Turn Signal La mp Does Not Operate INFOID:0000000004306582 Exterior Lamp " .
OK or NG OK >> GO TO 2.
NG >> Replace turn signal lamp bulb. Refer to LT-59, " Bulb Replacement for Front Turn Signal Lamp " .
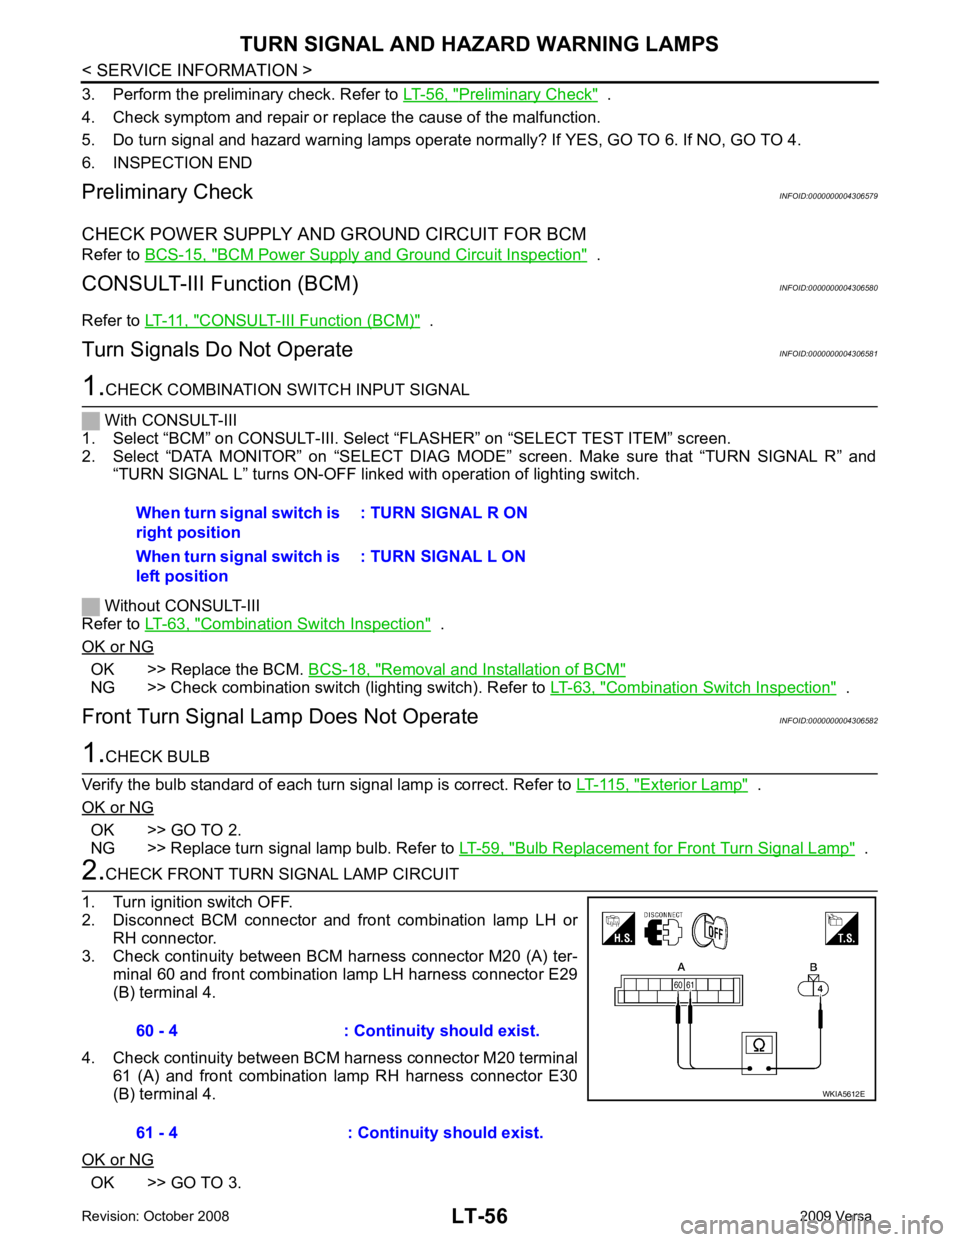
OK >> GO TO 3.When turn signal switch is
right position : TURN SIGNAL R ON
When turn signal switch is
left position : TURN SIGNAL L ON60 - 4 : Continuity should exist.
61 - 4 : Continuity should exist.
Page 3663 of 4331
LT
N
O P
NG >> Repair harness or connector.
OK >> Inspect connection at front combination lamp.
NG >> Repair harness.
Rear Turn Signal Lamp Does Not Operate INFOID:0000000004306583Exterior Lamp " .
OK or NG OK >> GO TO 2.
NG >> Replace turn signal lamp bulb. Refer to LT-59, " Bulb Replacement for Rear Turn Signal Lamp " .
OK >> GO TO 3.
NG >> Repair harness or connector. OK >> Check rear combination lamp connector for proper con-
nection. Repair as necessary.
NG >> Repair harness or connector. 5 - Ground : Continuity should exist.
5 - Ground : Continuity should exist.
Page 3665 of 4331

LT
N
O P
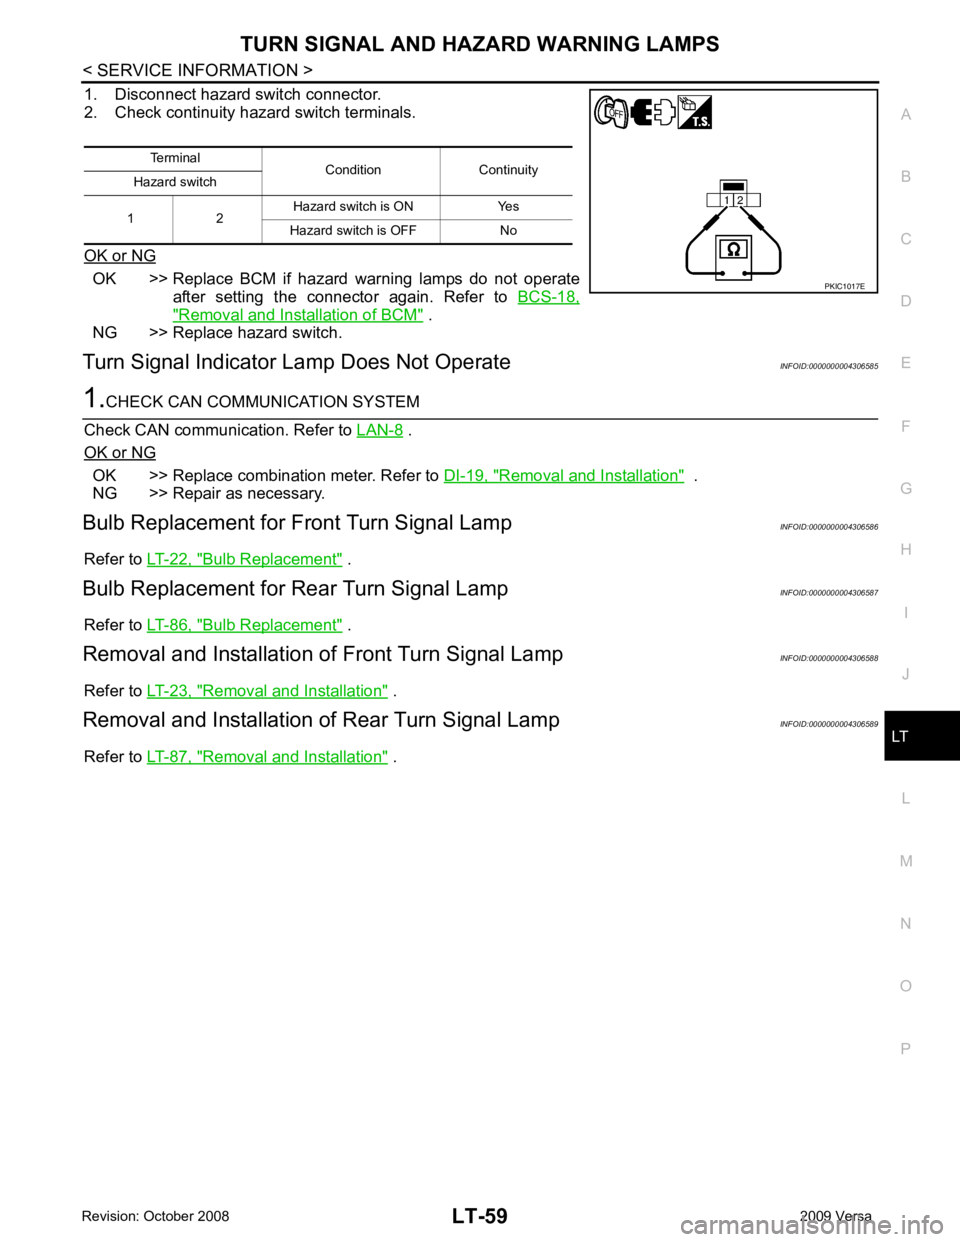
1. Disconnect hazard switch connector.
2. Check continuity hazard switch terminals.
OK or NG OK >> Replace BCM if hazard warning lamps do not operate
after setting the connector again. Refer to BCS-18," Removal and Installation of BCM " .
NG >> Replace hazard switch.
Turn Signal Indicator Lamp Does Not Operate INFOID:0000000004306585 .
OK or NG OK >> Replace combination meter. Refer to
DI-19, " Removal and Installation " .
NG >> Repair as necessary.
Bulb Replacement for Front Turn Signal Lamp INFOID:0000000004306586
Refer to LT-22, " Bulb Replacement " .
Bulb Replacement for Rear Turn Signal Lamp INFOID:0000000004306587
Refer to LT-86, " Bulb Replacement " .
Removal and Installation of Front Turn Signal Lamp INFOID:0000000004306588
Refer to LT-23, " Removal and Installation " .
Removal and Installation of Rear Turn Signal Lamp INFOID:0000000004306589
Refer to LT-87, " Removal and Installation " .
Terminal
Condition Continuity
Hazard switch
1 2 Hazard switch is ON Yes
Hazard switch is OFF No
Page 3673 of 4331
LT
N
O P
Wiring Diagram - STOP/L
INFOID:0000000004306598
SEDAN
Bulb Replacement for High-Mounted Stop Lamp INFOID:0000000004306600
HATCHBACK The LED element is not serviced separately, the hi gh-mounted stop lamp must be replaced as an assembly.
Refer to LT-68, " Removal and Installation of High-Mounted Stop Lamp " . B
Page 3674 of 4331
Removal and Installation of High-Mounted Stop Lamp " .
1. Installation is in the reverse order of removal.
SEDAN - WITHOUT REAR AIR SPOILER
Removal
1. Remove the high-mounted stop lamp bulb socket (1) and remove the high-mounted stop lamp (2).
Installation
Installation is in the reverse order of removal.
Bulb Replacement for Rear Co mbination Lamp for Stop Lamp INFOID:0000000004306601
Refer to LT-86, " Bulb Replacement " .
Removal and Installation of High-Mounted Stop Lamp INFOID:0000000004306602
HATCHBACK
Removal
1. Remove the rear hatch finish panel. Refer to EI-53 .
2. Disconnect the high-mounted stop lamp connector.
3. Remove the nuts and remove the high-mounted stop lamp from rear hatch.
Installation
Installation is in the reverse order of removal.
CAUTION:
Properly seal the high-mounted stop lamp b ase to the rear hatch to prevent water leaks.
SEDAN - WITH REAR AIR SPOILER
Removal
1. Remove the rear air spoiler. Refer to EI-32, " Removal and Installation " .
Page 3677 of 4331
LT
N
O P
Wiring Diagram - BACK/L -
INFOID:0000000004678538
LATE PRODUCTION
Bulb Replacement INFOID:0000000004306605
Refer to LT-86, " Bulb Replacement " . B
Page 3689 of 4331

LT
N
O P
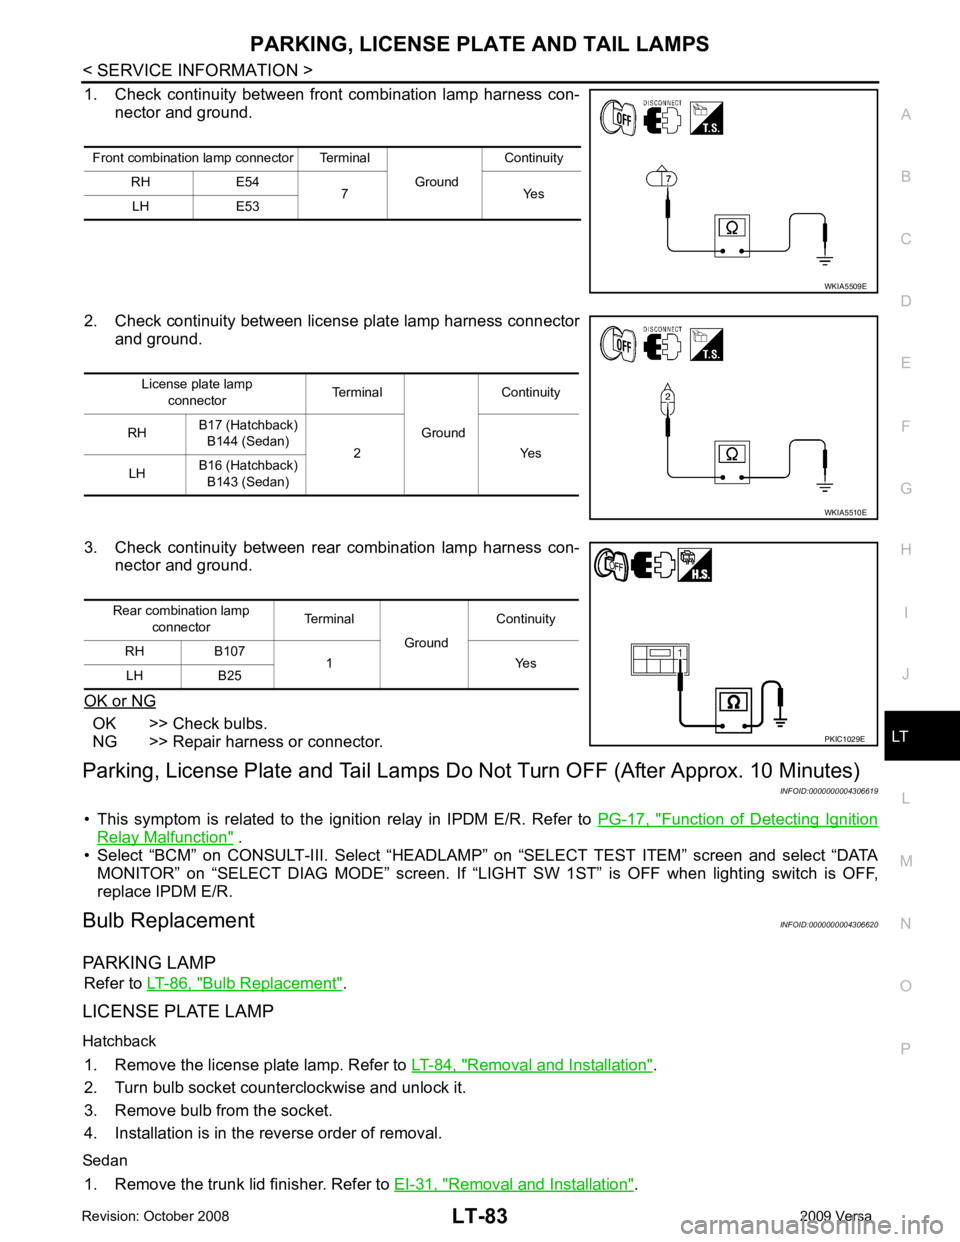
1. Check continuity between front
combination lamp harness con-
nector and ground.
2. Check continuity between license plate lamp harness connector and ground.
3. Check continuity between rear combination lamp harness con- nector and ground.
OK or NG OK >> Check bulbs.
NG >> Repair harness or connector.
Parking, License Plate and Tail Lamps Do Not Turn OFF (After Approx. 10 Minutes)
INFOID:0000000004306619
• This symptom is related to the ignition relay in IPDM E/R. Refer to PG-17, " Function of Detecting Ignition
Relay Malfunction " .
• Select “BCM” on CONSULT-III. Select “HEADLAM P” on “SELECT TEST ITEM” screen and select “DATA
MONITOR” on “SELECT DIAG MODE” sc reen. If “LIGHT SW 1ST” is OFF when lighting switch is OFF,
replace IPDM E/R.
Bulb Replacement INFOID:0000000004306620
PARKING LAMP Refer to LT-86, " Bulb Replacement " .
LICENSE PLATE LAMP
Hatchback 1. Remove the license plate lamp. Refer to LT-84, " Removal and Installation " .
2. Turn bulb socket counterclockwise and unlock it.
3. Remove bulb from the socket.
4. Installation is in the reverse order of removal.
Sedan 1. Remove the trunk lid finisher. Refer to EI-31, " Removal and Installation " .
Front combination lamp connector Terminal
GroundContinuity
RH E54 7 Yes
LH E53