Page 110 of 426

110 Controls in detailLightingRear fog lamp (driver’s side only)�
Turn the exterior lamp switch to
positionB (
�page 106).
�
Pull out the exterior lamp switch to
second stop.
The front fog lamps and rear fog lamp
switch on.
The yellow indicator lamp† in the
exterior lamp switch comes on
(�page 106).
�
Push in the exterior lamp switch to first
stop.
The rear fog lamp switches off.
The yellow indicator lamp† in the
exterior lamp switch goes out.
The front fog lamps remain lit.
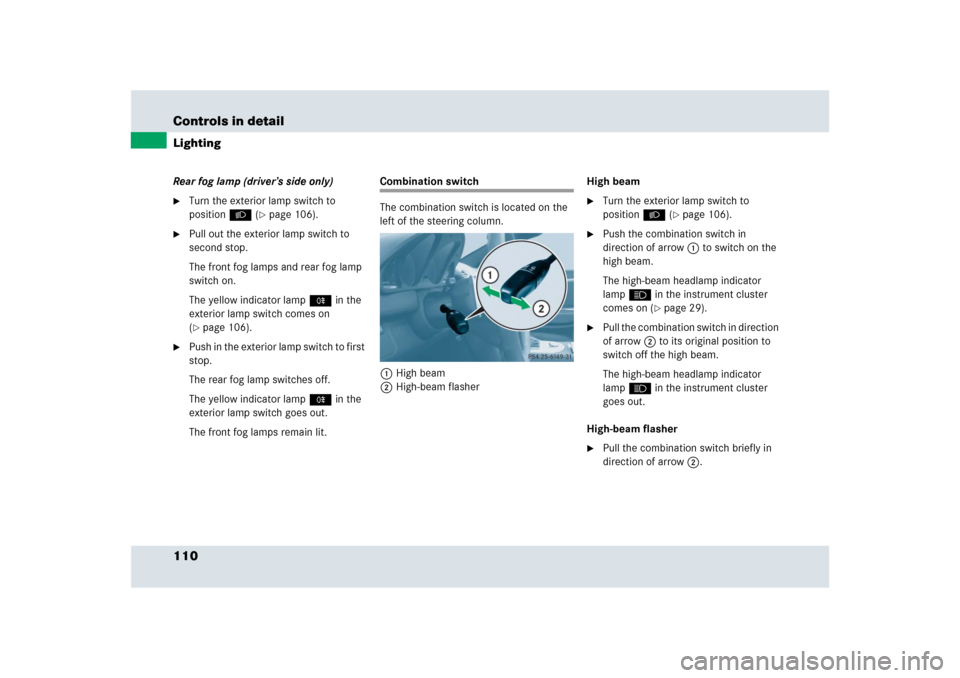
Combination switch
The combination switch is located on the
left of the steering column.
1High beam
2High-beam flasherHigh beam
�
Turn the exterior lamp switch to
positionB (
�page 106).
�
Push the combination switch in
direction of arrow1 to switch on the
high beam.
The high-beam headlamp indicator
lampA in the instrument cluster
comes on (
�page 29).
�
Pull the combination switch in direction
of arrow2 to its original position to
switch off the high beam.
The high-beam headlamp indicator
lampA in the instrument cluster
goes out.
High-beam flasher
�
Pull the combination switch briefly in
direction of arrow2.
Page 111 of 426
111 Controls in detail
Lighting
Hazard warning flasher
The hazard warning flasher can be
switched on at all times, even with the
SmartKey removed from the starter
switch.
The hazard warning flasher switches on
automatically when an air bag deploys.
The hazard warning flasher switch is
located on the upper part of the center
console.
1Hazard warning flasher switchSwitching on hazard warning flasher
�
Press hazard warning flasher
switch1.
All turn signals are flashing.Switching off hazard warning flasher
�
Press hazard warning flasher switch1
again.
i
With the hazard warning flasher activated
and the combination switch set for either left or
right turn, only the respective turn signals will
operate when the ignition is switched on.
i
If the hazard warning flasher has been
activated automatically, press hazard warning
flasher switch1 once to switch it off.
Page 112 of 426

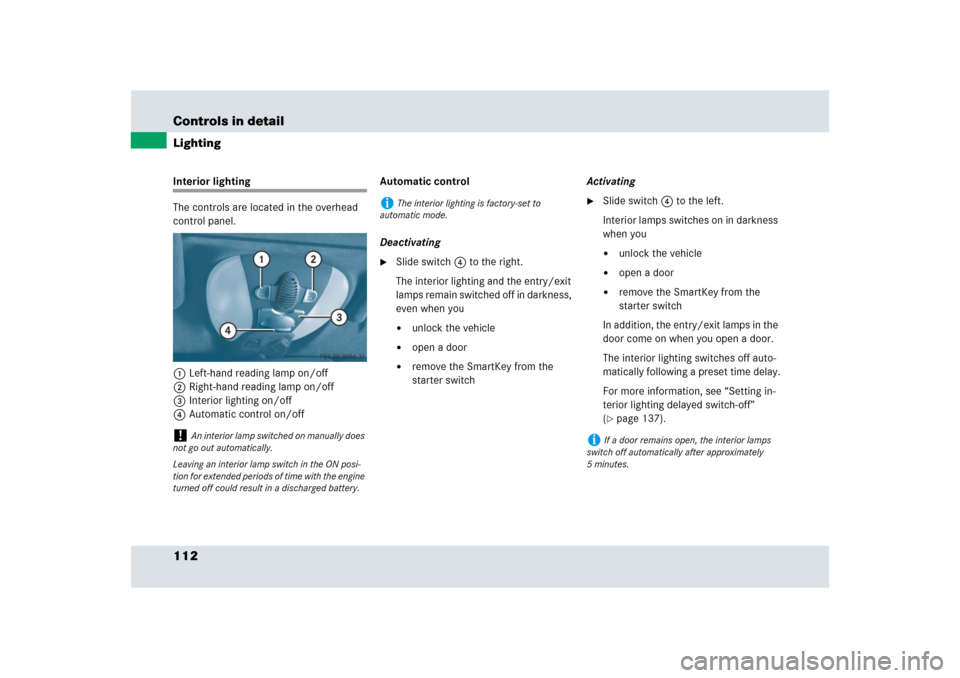
112 Controls in detailLightingInterior lighting
The controls are located in the overhead
control panel.
1Left-hand reading lamp on/off
2Right-hand reading lamp on/off
3Interior lighting on/off
4Automatic control on/offAutomatic control
Deactivating
�
Slide switch4 to the right.
The interior lighting and the entry/exit
lamps remain switched off in darkness,
even when you�
unlock the vehicle
�
open a door
�
remove the SmartKey from the
starter switchActivating
�
Slide switch 4 to the left.
Interior lamps switches on in darkness
when you �
unlock the vehicle
�
open a door
�
remove the SmartKey from the
starter switch
In addition, the entry/exit lamps in the
door come on when you open a door.
The interior lighting switches off auto-
matically following a preset time delay.
For more information, see “Setting in-
terior lighting delayed switch-off”
(
�page 137).
!
An interior lamp switched on manually does
not go out automatically.
Leaving an interior lamp switch in the ON posi-
tion for extended periods of time with the engine
turned off could result in a discharged battery.
i
The interior lighting is factory-set to
automatic mode.
i
If a door remains open, the interior lamps
switch off automatically after approximately
5minutes.
Page 113 of 426

113 Controls in detail
Lighting
Manual control
Switching interior lighting on�
Press switch3.
The interior lighting switches on.
Switching interior lighting off
�
Press switch3 again.
The interior lighting switches off.
Reading lamps
The reading lamps are integrated into the
interior rear view mirror.
�
Press reading lamp switch1or2 to
switch on the desired reading lamp.
�
Press reading lamp switch1or2
again to switch off the respective
reading lamp.
Courtesy lighting
For better orientation in the dark, courtesy
lamps will illuminate the interior of your
vehicle in the following ways:�
When you open a door, the driver’s and
passenger’s footwell are illuminated.
�
If the SmartKey is in starter switch
position1, the center console will be il-
luminated.
Trunk lamp
The trunk lamp switches on if the trunk is
opened.
If you leave the trunk open for an extended
period of time, the trunk lamp will switch
off automatically after approximately
10 minutes.
i
The center console is illuminated from the
interior rear view mirror.
i
The setting selected for the interior lighting
is used for the trunk lighting as well.
Page 114 of 426

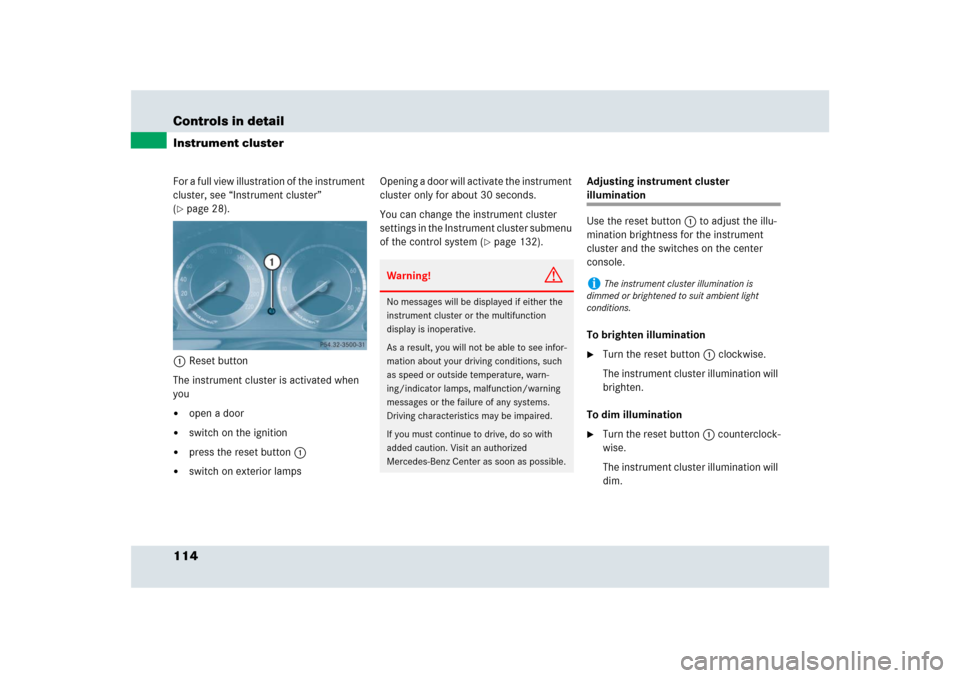
114 Controls in detailInstrument clusterFor a full view illustration of the instrument
cluster, see “Instrument cluster”
(�page 28).
1Reset button
The instrument cluster is activated when
you
�
open a door
�
switch on the ignition
�
press the reset button1
�
switch on exterior lampsOpening a door will activate the instrument
cluster only for about 30 seconds.
You can change the instrument cluster
settings in the Instrument cluster submenu
of the control system (
�page 132).Adjusting instrument cluster
illumination
Use the reset button1 to adjust the illu-
mination brightness for the instrument
cluster and the switches on the center
console.
To brighten illumination�
Turn the reset button1 clockwise.
The instrument cluster illumination will
brighten.
To dim illumination
�
Turn the reset button1 counterclock-
wise.
The instrument cluster illumination will
dim.
Warning!
G
No messages will be displayed if either the
instrument cluster or the multifunction
display is inoperative.
As a result, you will not be able to see infor-
mation about your driving conditions, such
as speed or outside temperature, warn-
ing/indicator lamps, malfunction/warning
messages or the failure of any systems.
Driving characteristics may be impaired.
If you must continue to drive, do so with
added caution. Visit an authorized
Mercedes-Benz Center as soon as possible.
i
The instrument cluster illumination is
dimmed or brightened to suit ambient light
conditions.
Page 121 of 426

121 Controls in detail
Control system
Menus, submenus and functions
Menu1
Menu2
Menu3
Menu4
Menu5
Menu6
Menu7
Standard display
722 S
1
1Only Mercedes-Benz SLR McLaren Roadster 722 S
AUDIO
Vehicle status
message memory
2
2The Vehicle status message memory menu is only displayed if there is a message stored.
Settings
Trip computer
Telephone
(�page 122)
(�page 123)
(�page 127)
(�page 128)
(�page 129)
(�page 139)
(�page 141)
Commands/submenusDigital speedome-
ter/Outside tem-
perature
Engine oil tem-
perature
Selecting
radio station
Calling up vehicle
malfunction, warn-
ing and system sta-
tus messages
stored in memory
Resetting to fac-
tory settings
Fuel consumption
statistics since start
Loading
phone book
Calling up mainte-
nance service
display
Vehicle supply
voltage
Operating the
CD player
Instrument clus-
ter submenu
Fuel consumption
statistics since the
last reset
Searching for
name in
phone book
Checking tire
inflation pressure
RACETIMER
Time submenu
Resetting fuel con-
sumption statistics
Overall analysis
Lighting submenu
Distance to empty
Lap analysis
Vehicle submenu
i
The headings used in the menus table are
designed to facilitate navigation within the sys-
tem and are not necessarily identical to those shown in the control system displays.
The first function displayed in each menu will automatically show you which part of the system
you are in.
Page 129 of 426

129 Controls in detail
Control system
Settings menu
In the
Settings
menu there are two
functions:
�
The function
To reset, press reset
button for 3 seconds
with which you
can reset most the settings to those
set at the factory.
�
A collection of submenus with which
you can make individual settings for
your vehicle.
The following settings and submenus are
available:Resetting to factory settings
You can reset the functions of most of the
submenus to the factory settings.
For safety, the
Light Circuit Headlamp
Mode
submenu in the
Lighting
menu can
be reset with the vehicle at standstill only.
�
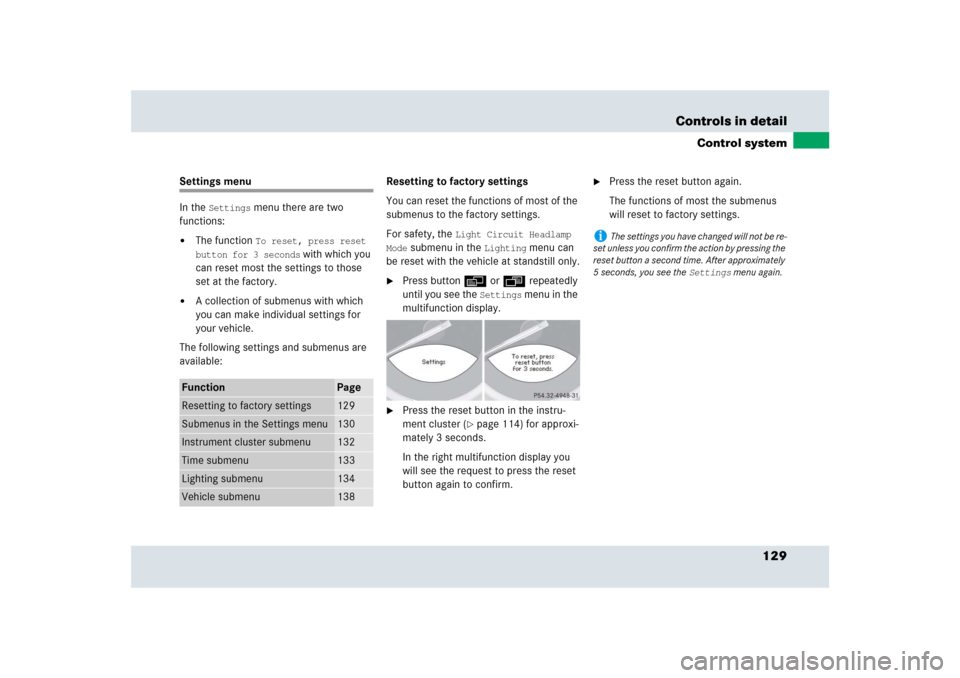
Press button è or ÿ repeatedly
until you see the
Settings
menu in the
multifunction display.
�
Press the reset button in the instru-
ment cluster (
�page 114) for approxi-
mately 3 seconds.
In the right multifunction display you
will see the request to press the reset
button again to confirm.
�
Press the reset button again.
The functions of most the submenus
will reset to factory settings.
Function
Page
Resetting to factory settings
129
Submenus in the Settings menu
130
Instrument cluster submenu
132
Time submenu
133
Lighting submenu
134
Vehicle submenu
138
i
The settings you have changed will not be re-
set unless you confirm the action by pressing the
reset button a second time. After approximately
5 seconds, you see the
Settings
menu again.
Page 131 of 426
131 Controls in detail
Control system
The table below shows what settings can
be changed within the various menus.
Detailed instructions on making individual
settings can be found on the following
pages.Instrument cluster
Time
Lighting
Vehicle
(�page 132)
(�page 133)
(�page 134)
(�page 138)
Selecting digital speedometer
display mode
Setting time (minutes)
Setting daytime running lamp
mode (USA only)
Setting station selection mode
(radio)
Selecting standard display
Setting time (hours)
Setting locator lighting
Setting automatic locking
Selecting language
Setting night security illumina-
tion (Headlamps delayed
switch-off)Setting interior lighting delayed
switch-off