Page 77 of 521

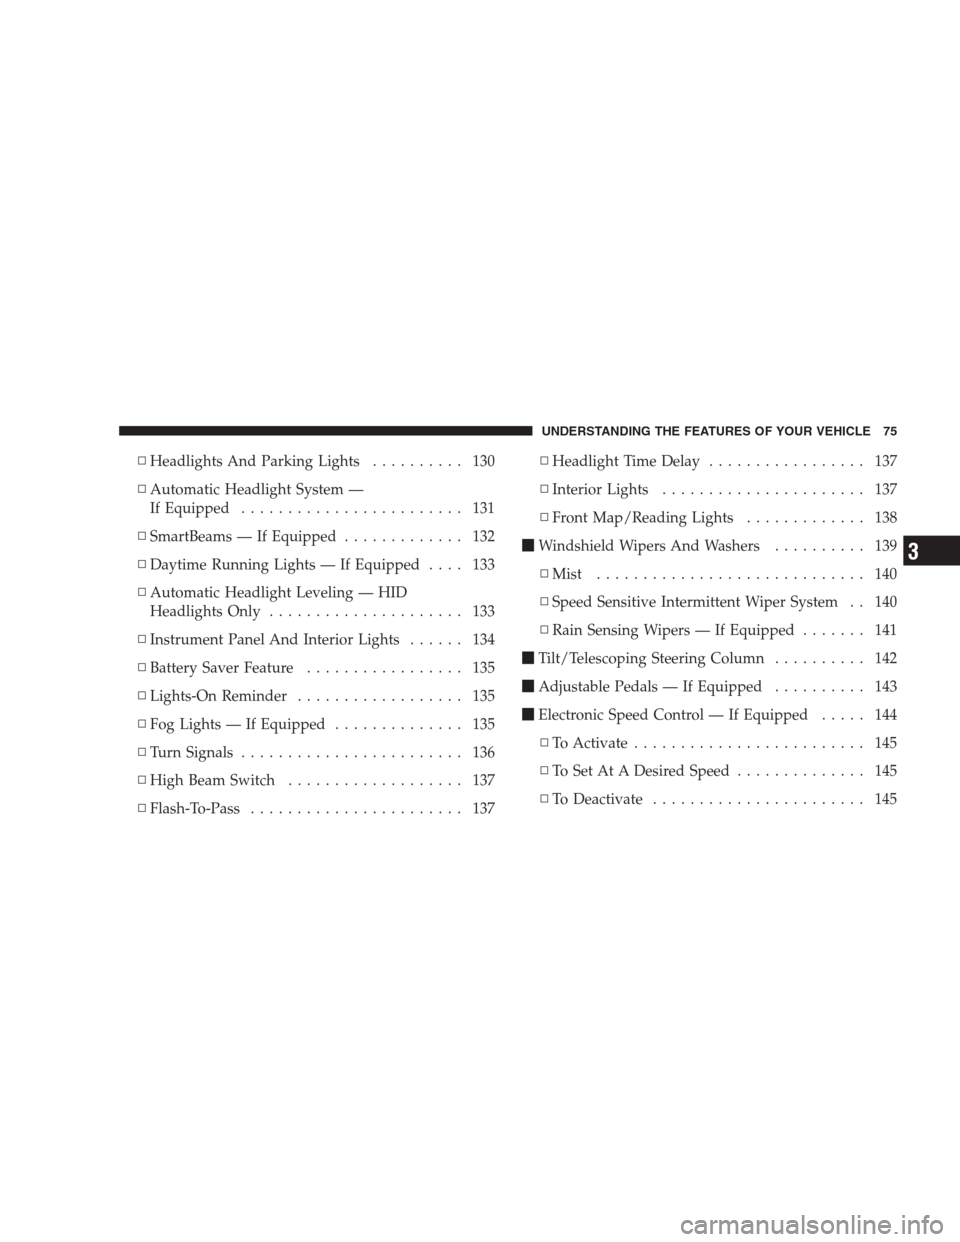
▫Headlights And Parking Lights.......... 130
▫Automatic Headlight System —
If Equipped........................ 131
▫SmartBeams — If Equipped............. 132
▫Daytime Running Lights — If Equipped.... 133
▫Automatic Headlight Leveling — HID
Headlights Only..................... 133
▫Instrument Panel And Interior Lights...... 134
▫Battery Saver Feature................. 135
▫Lights-On Reminder.................. 135
▫Fog Lights — If Equipped.............. 135
▫Turn Signals........................ 136
▫High Beam Switch................... 137
▫Flash-To-Pass....................... 137▫Headlight Time Delay................. 137
▫Interior Lights...................... 137
▫Front Map/Reading Lights............. 138
�Windshield Wipers And Washers.......... 139
▫Mist............................. 140
▫Speed Sensitive Intermittent Wiper System . . 140
▫Rain Sensing Wipers — If Equipped....... 141
�Tilt/Telescoping Steering Column.......... 142
�Adjustable Pedals — If Equipped.......... 143
�Electronic Speed Control — If Equipped..... 144
▫To Activate......................... 145
▫To Set At A Desired Speed.............. 145
▫To Deactivate....................... 145
UNDERSTANDING THE FEATURES OF YOUR VEHICLE 75
3
Page 132 of 521
WARNING!
If the hood is not fully latched, it could fly up when
the vehicle is moving and block your forward vision.
Be sure all hood latches are fully latched before
driving.
LIGHTS
Multifunction Lever
The multifunction lever controls the operation of the
headlights, turn signals, headlight beam selection, instru-
ment panel light dimming, passing light, interior
courtesy/dome lights, and optional fog lights. The mul-
tifunction lever is located on the left side of the steering
wheel.
Headlights and Parking Lights
Turn the end of the multifunction lever to the first detent
for parking light operation. Turn to the second detent for
headlight operation. Turn to the third detent for AUTO
headlight operation (if equipped).
Headlight Switch
130 UNDERSTANDING THE FEATURES OF YOUR VEHICLE
Page 137 of 521
Battery Saver Feature
If the multifunction lever is left in the interior light
position, parking light position, or the headlight position
when the ignition switch is moved to the LOCK position,
the battery saver feature will automatically turn off the
exterior and interior lights after eight minutes. Normal
operation will resume when the ignition is turned ON or
when the headlight switch is turned to another position.
Lights-On Reminder
If the headlights or parking lights are on after the ignition
switch has been turned to LOCK/ACC, a chime will
sound when the driver’s door is opened.
Fog Lights — If Equipped
The fog light switch is located in the multifunction
lever. To activate the fog lights, turn on the park/turn lights, low beam headlights, or Auto headlights and
pull out the end of the multifunction lever. A light in the
instrument cluster shows when the fog lights are on.
Front Fog Light Control
UNDERSTANDING THE FEATURES OF YOUR VEHICLE 135
3
Page 138 of 521
NOTE:
•Turning on the high beam headlights turns off the fog
lights.
•A front fog light is a lighting device that provides
illumination in front of the vehicle under conditions of
fog, rain, snow, or dust. The front fog lights supple-
ment the lower beam of a standard headlight system.
•Proper aim and adjustment of the front fog lights
should be made to prevent excessive glare for other
drivers.
Turn Signals
Move the multifunction lever up or down, and the
arrows on each side of the instrument cluster will flash to
show proper operation of the left and right turn signal
lights. You can signal a lane change by moving the
multifunction lever partially up or down.Turn Signal Auto-Mode
Tap the multifunction lever once, and the turn signal (left
or right) will flash three times and automatically turn off.
Turn Signal Control
136 UNDERSTANDING THE FEATURES OF YOUR VEHICLE
Page 194 of 521

NOTE:You must apply the brakes before shifting from
PARK.
22. Fuel Gauge
The pointer shows the level of fuel in the fuel tank when
the ignition switch is in the ON position.
23. Electronic Throttle Control (ETC) Warning Light
This light informs you of a problem with the
Electronic Throttle Control (ETC) system. If a
problem is detected the light will come on
while the engine is running. Cycle the ignition
key when the vehicle has completely stopped and the
shift lever is placed in the PARK position. The light
should turn off. If the light remains lit with the engine
running your vehicle will usually be drivable, however,
see your authorized dealer for service as soon as possible.
If the light is flashing when the engine is running,
immediate service is required and you may experience
reduced performance, an elevated/rough idle or enginestall and your vehicle may require towing. The light will
come on when the ignition is first turned on and remain
on briefly as a bulb check. If the light does not come on
during starting, have the system checked by an autho-
rized dealer.
24. Front Fog Light Indicator — If Equipped
This light shows the front fog lights are ON.
25. Charging System Light
This light shows the status of the electrical charg-
ing system. The light should come on when the
ignition switch is first turned ON and remain on briefly
as a bulb check. If the light stays on or comes on while
driving, turn off some of the vehicle’s non-essential
electrical devices or increase engine speed (if at idle). If
the charging system light remains on, it means that the
192 UNDERSTANDING YOUR INSTRUMENT PANEL
Page 406 of 521

▫Exhaust System..................... 422
▫Cooling System..................... 424
▫Brake System....................... 430
▫Front/Rear Axle Fluid................. 431
▫Transfer Case....................... 432
▫Automatic Transmission............... 433
▫Maintenance After Off-Road Driving...... 436
▫Appearance Care And Protection From
Corrosion.......................... 436
�Fuses.............................. 441
▫Interior Fuses....................... 441
▫Underhood Fuses (Power Distribution
Center)........................... 444▫Underhood Fuses
(Integrated Power Module)............. 447
�Vehicle Storage....................... 448
�Replacement Bulbs.................... 449
�Bulb Replacement..................... 450
▫High Intensity Discharge Headlights (HID)
— If Equipped...................... 450
▫Headlight.......................... 451
▫Front Turn Signal.................... 452
▫Front Fog Light..................... 453
▫Rear Tail, Stop, Turn Signal, And Backup
Lights............................ 454
▫Center High-Mounted Stop Light (CHMSL) . . 455
404 MAINTAINING YOUR VEHICLE
Page 451 of 521

air conditioning system at idle for about five minutes
in the fresh air and high blower setting. This will
ensure adequate system lubrication to minimize the
possibility of compressor damage when the system is
started again.
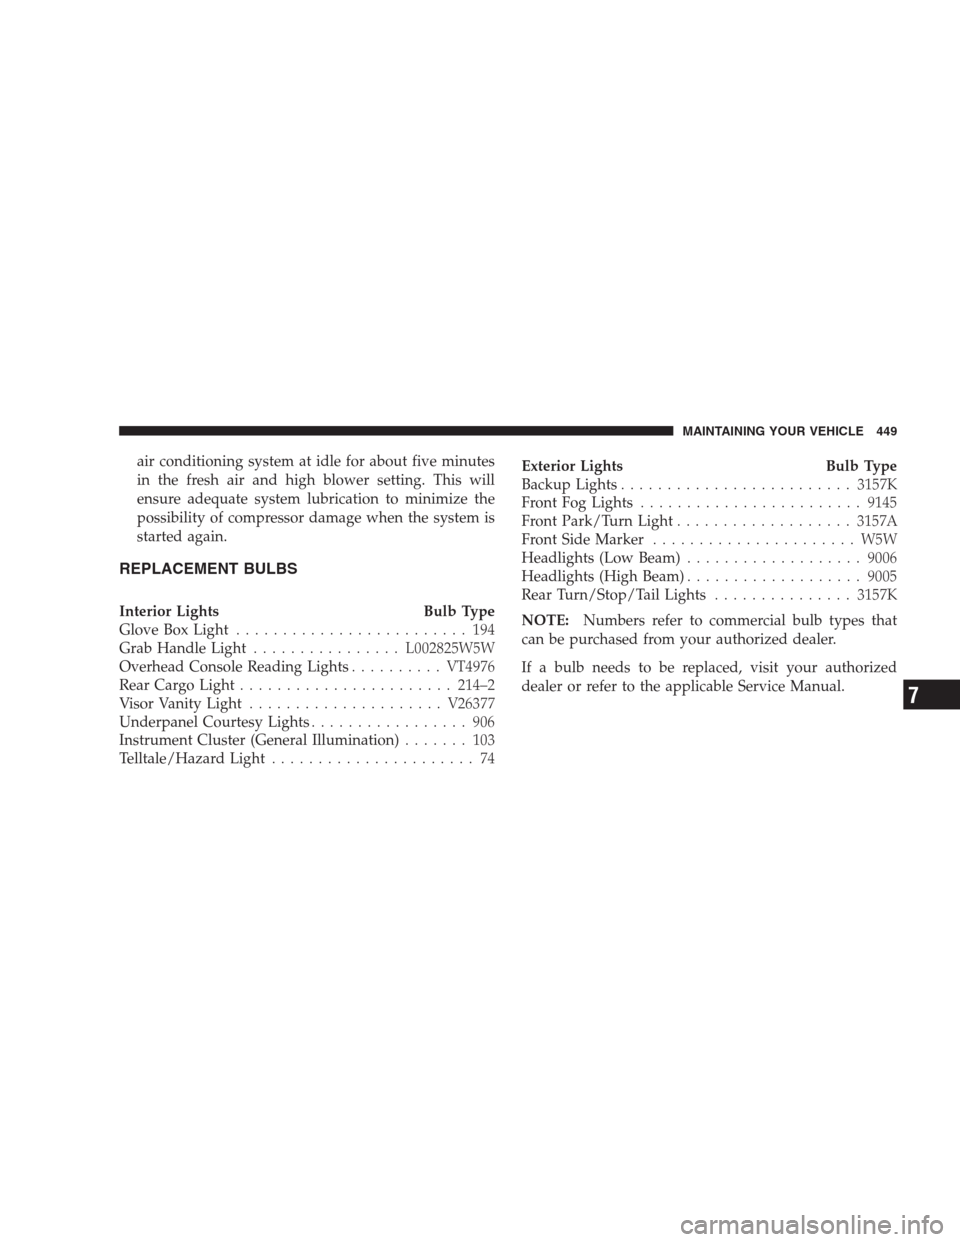
REPLACEMENT BULBS
Interior Lights Bulb Type
Glove Box Light......................... 194
Grab Handle Light................L002825W5W
Overhead Console Reading Lights..........VT4976
Rear Cargo Light.......................214–2
Visor Vanity Light.....................V26377
Underpanel Courtesy Lights................. 906
Instrument Cluster (General Illumination)....... 103
Telltale/Hazard Light...................... 74Exterior Lights Bulb Type
Backup Lights.........................3157K
Front Fog Lights........................9145
Front Park/Turn Light...................3157A
Front Side Marker...................... W5W
Headlights (Low Beam)...................9006
Headlights (High Beam)...................9005
Rear Turn/Stop/Tail Lights...............3157K
NOTE:Numbers refer to commercial bulb types that
can be purchased from your authorized dealer.
If a bulb needs to be replaced, visit your authorized
dealer or refer to the applicable Service Manual.
MAINTAINING YOUR VEHICLE 449
7
Page 455 of 521
CAUTION!
Do not touch the new bulb with your fingers. Oil
contamination will severely shorten bulb life. If the
bulb comes in contact with any oily surface, clean the
bulb with rubbing alcohol.
Front Fog Light
1. Reach behind the front fascia from under the vehicle.
2. Turn the front fog light bulb one–quarter turn coun-
terclockwise to remove from housing.
3. Disconnect the electrical connector and replace bulb.
CAUTION!
Do not touch the new bulb with your fingers. Oil
contamination will severely shorten bulb life. If the
bulb comes in contact with any oily surface, clean the
bulb with rubbing alcohol.
MAINTAINING YOUR VEHICLE 453
7