2009 JEEP GRAND CHEROKEE brake light
[x] Cancel search: brake lightPage 29 of 521

If your Remote Keyless Entry (RKE) transmitter fails to
operate from a normal distance, check for these two
conditions.
1. A weak battery in the RKE transmitter. The expected
life of the battery is a minimum of three years.
2. Closeness to a radio transmitter such as a radio station
tower, airport transmitter, and some mobile or CB radios.
REMOTE STARTING SYSTEM — IF EQUIPPED
This system uses the Remote Keyless Entry
(RKE) transmitter to start the engine conve-
niently from outside the vehicle while still
maintaining security. The system has a range of
328 ft (100 m).
How to Use Remote Start
All of the following conditions must be met before the
engine will remote start:
•Shift lever in PARK
•Doors closed
•Hood closed
•Liftgate closed
•Hazard switch off
•Brake switch inactive (brake pedal not pressed)
•Ignition key removed from ignition switch
•Battery at an acceptable charge level, and
•RKE PANIC button not pressed.
To Enter Remote Start Mode
Press and release the REMOTE START button
on the RKE transmitter twice, within five sec-
onds. The parking lights will flash and the horn
will chirp twice (if programmed). Then, the
engine will start and the vehicle will remain in the
Remote Start mode for a 15 minute cycle.
THINGS TO KNOW BEFORE STARTING YOUR VEHICLE 27
2
Page 73 of 521

Airbag Warning Light
The light should come on and remain on for six to eight
seconds as a bulb check when the ignition switch is first
turned ON. If the light is not lit during starting, see your
authorized dealer. If the light stays on, flickers, or comes
on while driving, have the system checked by an autho-
rized dealer.
Defroster
Check operation by selecting the defrost mode and place
the blower control on high speed. You should be able to
feel the air directed against the windshield. See your
authorized dealer for service if your defroster is
inoperable.
Periodic Safety Checks You Should Make Outside
The Vehicle
Tires
Examine tires for excessive tread wear and uneven wear
patterns. Check for stones, nails, glass, or other objectslodged in the tread. Inspect the tread and sidewall for
cuts and cracks. Check the wheel nuts for tightness.
Check the tires (including spare) for proper pressure.
Lights
Have someone observe the operation of exterior lights
while you work the controls. Check turn signal and high
beam indicator lights on the instrument panel.
Door Latches
Check for positive closing, latching, and locking.
Fluid Leaks
Check area under vehicle after overnight parking for fuel,
engine coolant, oil, or other fluid leaks. Also, if gasoline
fumes are detected or if fuel, power steering fluid, or
brake fluid leaks are suspected, the cause should be
located and corrected immediately.
THINGS TO KNOW BEFORE STARTING YOUR VEHICLE 71
2
Page 135 of 521

To Deactivate
1. Pull back on the multifunction lever to manually
deactivate the system (normal operation of low beams).
2. Push back on the multifunction lever once again to
reactivate the system.
NOTE:Broken, muddy, or obstructed headlights and
taillights of vehicles in the field of view will cause
headlights to remain on longer (closer to the vehicle).
Also, dirt, film, and other obstructions (sticker, toll box,
etc.) on the windshield or camera lens will cause the
system to function improperly.
Daytime Running Lights — If Equipped
The high beam headlights come on at a low intensity
level whenever the engine is running, and the transmis-
sion is not in the PARK position. The lights will remain
on until the ignition switch is turned to LOCK/ACC, or
the parking brake is engaged. The headlight switch must
be used for normal nighttime driving.
Automatic Headlight Leveling — HID Headlights
Only
This feature prevents the headlights from interfering
with the vision of oncoming drivers. Headlight leveling
automatically adjusts the height of the headlight beam in
reaction to changes in vehicle pitch.
UNDERSTANDING THE FEATURES OF YOUR VEHICLE 133
3
Page 147 of 521

To Activate
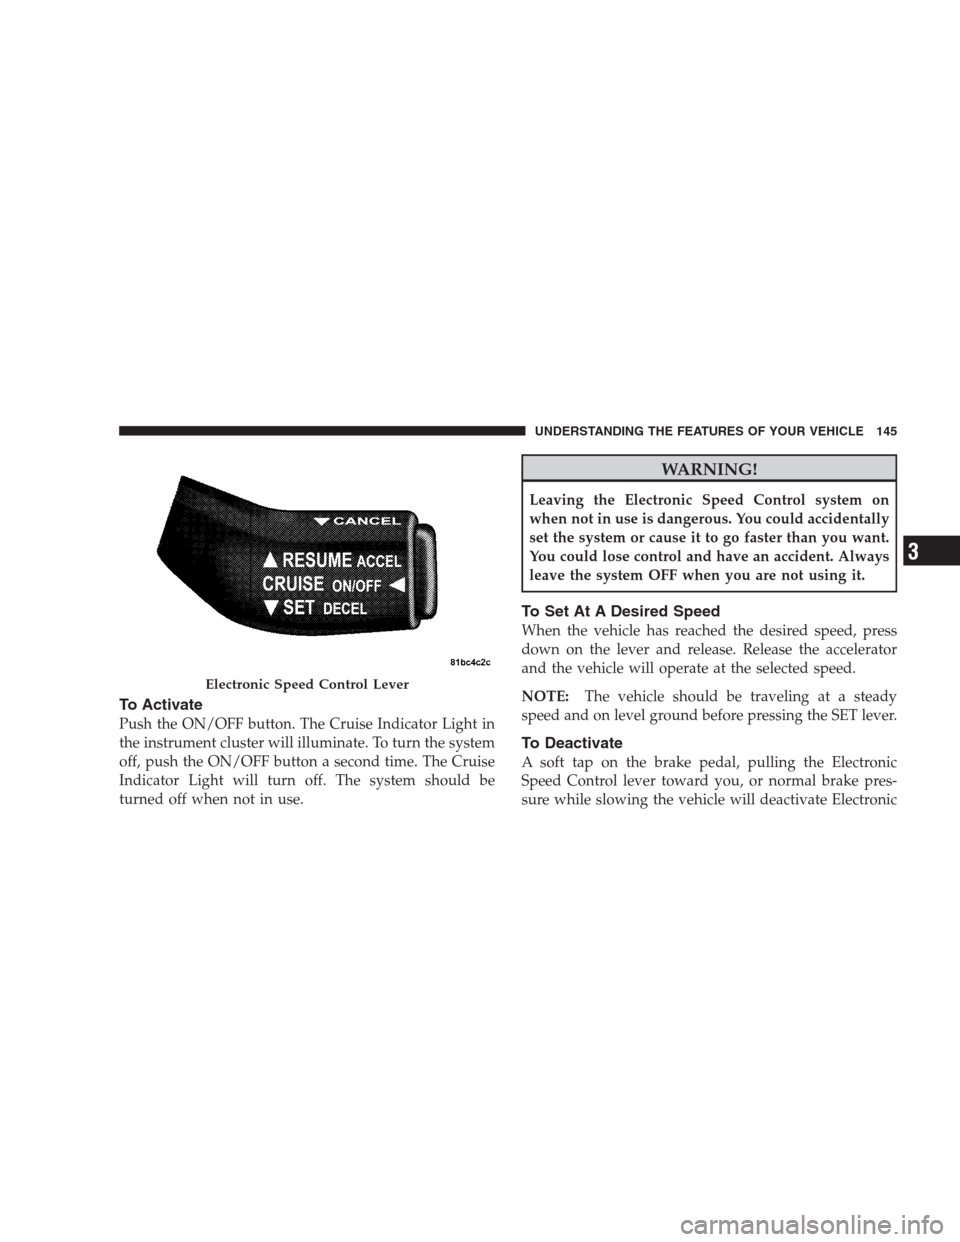
Push the ON/OFF button. The Cruise Indicator Light in
the instrument cluster will illuminate. To turn the system
off, push the ON/OFF button a second time. The Cruise
Indicator Light will turn off. The system should be
turned off when not in use.
WARNING!
Leaving the Electronic Speed Control system on
when not in use is dangerous. You could accidentally
set the system or cause it to go faster than you want.
You could lose control and have an accident. Always
leave the system OFF when you are not using it.
To Set At A Desired Speed
When the vehicle has reached the desired speed, press
down on the lever and release. Release the accelerator
and the vehicle will operate at the selected speed.
NOTE:The vehicle should be traveling at a steady
speed and on level ground before pressing the SET lever.
To Deactivate
A soft tap on the brake pedal, pulling the Electronic
Speed Control lever toward you, or normal brake pres-
sure while slowing the vehicle will deactivate Electronic
Electronic Speed Control Lever
UNDERSTANDING THE FEATURES OF YOUR VEHICLE 145
3
Page 186 of 521

INSTRUMENT CLUSTER DESCRIPTION
1. Speedometer
Indicates vehicle speed.
2. Brake Warning Light
This light monitors various brake functions,
including brake fluid level and parking brake
application. If the brake light turns on, it may
indicate that the parking brake is applied, that
the brake fluid level is low, or that there is a problem with
the anti-lock brake system reservoir.
If the light remains on when the parking brake has been
disengaged, and the fluid level is at the full mark on the
master cylinder reservoir, it indicates a possible brake
hydraulic system malfunction or a problem with the
Brake Booster has been detected by the Anti-Lock Brake
System (ABS) / Electronic Stability Program (ESP) sys-
tem. In this case, the light will remain on until the
condition has been corrected. If the problem is related tothe brake booster, the ABS pump will run when applying
the brake and a brake pedal pulsation may be felt during
each stop.
The dual brake system provides a reserve braking capac-
ity in the event of a failure to a portion of the hydraulic
system. A leak in either half of the dual brake system is
indicated by the Brake Warning Light, which will turn on
when the brake fluid level in the master cylinder has
dropped below a specified level.
The light will remain on until the cause is corrected.
NOTE:The light may flash momentarily during sharp
cornering maneuvers, which change fluid level condi-
tions. The vehicle should have service performed, and
the brake fluid level checked.
If brake failure is indicated, immediate repair is neces-
sary.
184 UNDERSTANDING YOUR INSTRUMENT PANEL
Page 187 of 521

WARNING!
Driving a vehicle with the red brake light on is
dangerous. Part of the brake system may have failed.
It will take longer to stop the vehicle. You could have
an accident. Have the vehicle checked immediately.
Vehicles equipped with the Anti-Lock Brake System
(ABS), are also equipped with Electronic Brake Force
Distribution (EBD). In the event of an EBD failure, the
Brake Warning Light will turn on along with the ABS
Light. Immediate repair to the ABS system is required.
Operation of the Brake Warning Light can be checked by
turning the ignition switch from the OFF position to the
ON position. The light should illuminate for approxi-
mately two seconds. The light should then turn off unless
the parking brake is applied or a brake fault is detected.
If the light does not illuminate, have the light inspected
by an authorized dealer.The light also will turn on when the parking brake is
applied with the ignition switch in the ON position.
NOTE:This light shows only that the parking brake is
applied. It does not show the degree of brake application.
3. Turn Signal Indicator
The arrows will flash with the exterior turn signals
when the turn signal lever is operated. A tone will
chime if the turn signals are left on for more than one
mile (2 km).
4. High Beam Indicator
Indicates that headlights are on high beam.
5. Malfunction Indicator Light (MIL)
The Malfunction Indicator Light (MIL) is part of
an onboard diagnostic system called OBD II that
monitors engine and automatic transmission con-
trol systems. The light will illuminate when the key is in
UNDERSTANDING YOUR INSTRUMENT PANEL 185
4
Page 188 of 521

the ON position before engine start. If the bulb does not
come on when turning the key from OFF to ON, have the
condition checked promptly.
Certain conditions such as a loose or missing gas cap,
poor fuel quality, etc. may illuminate the light after
engine start. The vehicle should be serviced if the light
stays on through several of your typical driving cycles. In
most situations the vehicle will drive normally and will
not require towing.
The MIL flashes to alert you to serious conditions that
could lead to immediate loss of power or severe catalytic
converter damage. The vehicle should be serviced as
soon as possible if this occurs.
6. Airbag Warning Light
This light turns on and remains on for six to
eight seconds as a bulb check when the ignition
switch is first turned ON. If the light is not onduring starting, stays on, or turns on while driving, have
the system inspected by an authorized dealer as soon as
possible.
7. Anti-Lock Brake (ABS) Light
This light monitors the Anti-Lock Brake System
(ABS). The light will turn on when the ignition
switch is turned to the ON position and may
stay on for as long as four seconds.
If the ABS light remains on or turns on while driving, it
indicates that the Anti-Lock portion of the brake system
is not functioning and that service is required. However,
the conventional brake system will continue to operate
normally if the BRAKE warning light is not on.
If the ABS light is on, the brake system should be serviced
as soon as possible to restore the benefits of Anti-Lock
brakes. If the ABS light does not turn on when the
Ignition switch is turned to the ON position, have the
light inspected by an authorized dealer.
186 UNDERSTANDING YOUR INSTRUMENT PANEL
Page 192 of 521

WARNING!
A hot engine cooling system is dangerous. You or
others could be badly burned by steam or boiling
coolant. You may want to call an authorized dealer-
ship for service if your vehicle overheats. If you
decide to look under the hood yourself, see Section 7
of this manual. Follow the warnings under the Cool-
ing System Pressure Cap paragraph.
14. Electronic Vehicle Information Center (EVIC)
Display
When the appropriate conditions exist, this display
shows the Electronic Vehicle Information Center (EVIC)
messages. Refer to “Electronic Vehicle Information Cen-
ter” later in this section.15. TOW/HAUL Indicator Light — If Equipped
This light will illuminate when the TOW/
HAUL button has been selected. The TOW/
HAUL button is located in the center of the
instrument panel (below the climate controls).
16. Electronic Stability Program (ESP) Indicator Light
/ Brake Assist System (BAS) Warning Light
The malfunction lamp for the Electronic Stabil-
ity Program (ESP) is combined with Brake
Assist System (BAS). The yellow “ESP/BAS
Warning Lamp” comes on when the ignition
switch is turned to the “ON” position. They should go
out with the engine running. If the “ESP/BAS Warning
Lamp” comes on continuously with the engine running,
a malfunction has been detected in either the ESP or the
BAS system. If this light remains on after several ignition
cycles, and the vehicle has been driven several miles at
speeds greater than 30 mph (48 km/h), see an authorized
dealer as soon as possible.
190 UNDERSTANDING YOUR INSTRUMENT PANEL