Page 1577 of 1903
Downloaded from www.Manualslib.com manuals search engine 4. Remove the front passenger side airbag mountingbolts (1).
(Tighten: Front passenger side airbag mounting
bolts to 10 N·m)
5. Disconnect the front passenger side airbag squib electrical connector.
6. Remove the front passenger side airbag from the vehicle.
7. Installation is in the reverse order of removal.
ON-VEHICLE SERVICE
LTSM140002
14–48Chery Automobile Co., Ltd.
Page 1578 of 1903
Downloaded from www.Manualslib.com manuals search engine Restraints Control Module (RCM)
Removal & Installation
1. Turn the ignition off.
2. Disconnect the negative battery cable.
WARNING!
Wait two minutes for the airbag system reserve capacitor to discharge before beginning any airbag system or
component service. Failure to do so may result in accidental airbag development, serious or fatal injury (See
Airbag System Disarming Procedure in Section 14 Restraints).
3. Remove the center console (See Center Console Removal & Installation in Section 15 Body & Accessories).
4. Disconnect the Restraints Control Module (RCM)electrical connector (1).
5. Remove the RCM retaining bolts (2). (Tighten: RCM retaining bolts to 7-9 N·m)
6. Remove the RCM from the vehicle.
7. Installation is in the reverse order of the removal.
ON-VEHICLE SERVICE
LTSM140006
14
14–49Chery Automobile Co., Ltd.
Page 1579 of 1903
Downloaded from www.Manualslib.com manuals search engine SEAT BELT SYSTEM
GENERAL INFORMATION14-51
Description 14-51
Operation 14-51
Specifications 14-51
Special Tools 14-51
ON-VEHICLE SERVICE14-52
Front Seat Belt and Pre-Tensioner 14-52
Removal & Installation 14-52 Seat Belt Slider Track
14-53
Removal & Installation 14-53
Rear Seat Belt and Pre-Tensioner 14-54
Removal & Installation 14-54
14–50Chery Automobile Co., Ltd.
Page 1580 of 1903

Downloaded from www.Manualslib.com manuals search engine GENERAL INFORMATION
Description
The left and right seat belt buckles are bolted to the base frame of the seat. The seat belt buckles are a typical
buckle design with a release button on the top to free the seat belt.
Operation
The primary passenger restraints are the seat belts. Seat belts are referred to as an active restraint because the
vehicle occupants are required to physically fasten and properly adjust these restraints in order to benefit from them.
The passive restraints are referred to as a supplemental restraint system because they were designed and are
intended to enhance the protection for the occupants of the vehicle only when used in conjunction with the seat belts.
Specifications
Torque Specifications
DESCRIPTIONTORQUE (N·m)
Adjustable Shoulder Belt Anchor Bolts 50
Front Seat Belt Buckle Retaining Bolt 50
Front Seat Belt Pre-Tensioner Lower Retaining Bolt 50
Front Seat Belt Upper Turning Loop Retaining Bolt 50
Rear Seat Belt Pre-Tensioner Upper Retaining Bolt 50
Rear Seat Belt Pre-Tensioner Lower Retaining Bolt 50
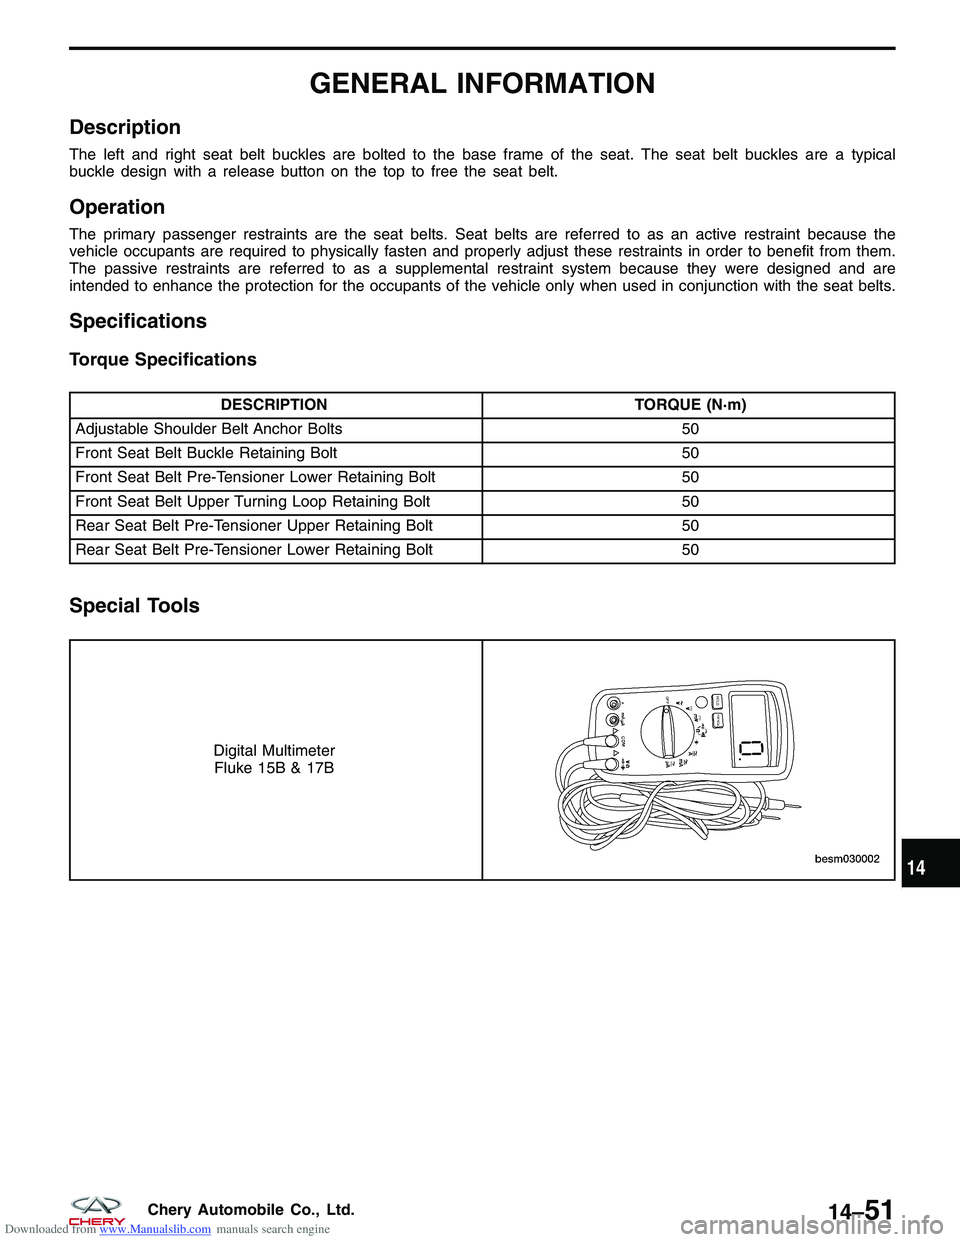
Special Tools
Digital Multimeter
Fluke 15B & 17B
14
14–51Chery Automobile Co., Ltd.
Page 1581 of 1903
Downloaded from www.Manualslib.com manuals search engine ON-VEHICLE SERVICE
Front Seat Belt and Pre-Tensioner
Removal & Installation
1. Turn the ignition off.
2. Disconnect the negative battery cable.
3. Remove the seat belt upper mounting bolt (1).
4. Remove the seat belt lower mounting bolt (1).
5. Remove the B-pillar lower trim panel.
LTSM150077
LTSM150076
14–52Chery Automobile Co., Ltd.
Page 1582 of 1903
Downloaded from www.Manualslib.com manuals search engine 6. Remove the front seat belt pre-tensioner retainingbolt (1) and screw (2).
(Tighten: Front seat belt retaining bolt to 50 N·m)
7. Remove the front seat belt and pre-tensioner.
8. Installation is in the reverse order of removal.
Seat Belt Slider Track
Removal & Installation
1. Turn the ignition off.
2. Remove the seat belt upper mounting bolt (1).
3. Remove the B-pillar upper trim panel.
ON-VEHICLE SERVICE
LTSM140003
LTSM150077
14
14–53Chery Automobile Co., Ltd.
Page 1583 of 1903
Downloaded from www.Manualslib.com manuals search engine 4. Remove the two bolts (1) and then remove theseat belt slider track.
(Tighten: Adjustable shoulder belt anchor bolts to
50 N·m)
5. Installation is in the reverse order of the removal.
Rear Seat Belt and Pre-Tensioner
Removal & Installation
1. Turn the ignition off.
2. Remove the rear seat belt mounting bolts (1). (Tighten: Rear seat belt mounting bolts to 50 N·m)
3. Remove the C-pillar (See C-pillar Trim Panel Remove & Installation in Section 15 Body & Acces-
sories).
ON-VEHICLE SERVICE
BESM140006
LTSM140005
14–54Chery Automobile Co., Ltd.
Page 1584 of 1903
Downloaded from www.Manualslib.com manuals search engine 4. Remove the pre-tensioner mounting bolt (1) andscrew (2).
5. Remove the pre-tensioner.
6. Installation is in the reverse order of the removal.
ON-VEHICLE SERVICE
LTSM140004
14
14–55Chery Automobile Co., Ltd.