Page 89 of 324

Applies to vehic les: w ith revers ible cargo area floor
Reversible cargo area floor (protective liner )
Use the protective liner when transporting dirty or wet
objects .
Reversing the cargo area floor
-Open the luggage compartment lid.
Fig. 90 Luggage
compartment : cargo
area floor
Fig . 91 Luggage
compartment : protec
tive liner
-Raise the cargo area floor at both handles=> fig. 90,
remove it
G) and rotate it 180 degrees @.
- In sert the reversed cargo area floor (protective liner)
again => fig. 91 . •
Con tro ls and eq uip
ment
Seats and storage
App lies to vehicles: w ith s ki sack
Ski sack
The ski sack allows a maximum of 4 pairs of skis or 2
snowboards to be carried inside the vehicle .
Loading
-Open t he rear hatch.
Fig . 92 Section of the
rear seat from the rear:
ski sack hatch cover
Fig. 93 Securing the
ski sack at the center
rear seat belt buckle
- Slide the release button for the pass -through down (with
the center arm rest)=> fig. 92 -Arrow- and tilt the pass
through forward.
- Remove the sack from the luggage compartment and
unfold it.
Vehicle care I I irechnical data
Page 90 of 324

Seats and storage
-Place the empty sack in the hatch so that the end with the
zip fastener is in the luggage compartment.
- Load objects from the luggage compartment into the ski
sack.
Securing
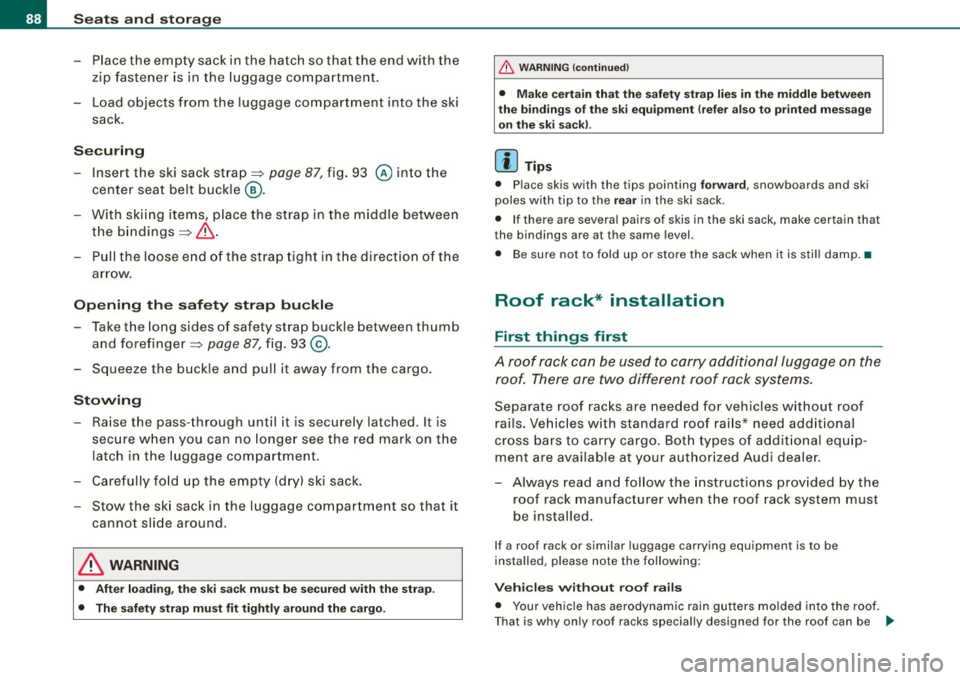
- Insert the ski sack strap ~ page 87, fig. 93 @ into the
center seat belt buckle
® ·
- With skiing items, place the strap in the middle between
the bindings ~& .
- Pull the loose end of the strap tight in the direction of the
arrow.
Opening the safety strap buckle
- Take the long sides of safety strap buckle between thumb
and forefinger ~
page 87, fig. 93 @.
- Squeeze the buckle and pull it away from the cargo.
Stowing
- Raise the pass-through until it is securely latched. It is
secure when you can no longer see the red mark on the
latch in the luggage compartment.
- Carefully fold up the empty (dry) ski sack.
- Stow the ski sack in the luggage compartment so that it
cannot slide around.
& WARNING
• After loading, the ski sack must be secured with the strap .
• The safety strap must fit tightly around the cargo.
& WARNING (continued)
• Make certain that the safety strap lies in the middle between
the bindings of the ski equipment (refer also to printed message on the ski sack).
[ i] Tips
• Place skis with the tips pointing forward, snowboards and ski
poles with tip to the
rear in the ski sack.
• If there are several pairs of skis in the ski sack, make certain that
the bindings are at the same level.
• Be sure not to fold up or store the sack when it is still damp. •
Roof rack* installation
First things first
A roof rack can be used to carry additional luggage on the
roof. There are two different roof rack systems.
Separate roof racks are needed for vehicles without roof
rails. Vehicles with standard roof rails* need additional
cross bars to carry cargo. Both types of additional equip
ment are available at your authorized Audi dealer.
- Always read and follow the instructions provided by the
roof rack manufacturer when the roof rack system must
be installed.
If a roof rack or similar luggage carrying equipment is to be
installed, please note the following:
Vehicles without roof rails
• Your vehicle has aerodynamic rain gutters molded into the roof.
That is why only roof racks specially designed for the roof can be .,,
Page 91 of 324

used. We recommend using roof racks from the Audi original acces
sories program.
• Th ese roof racks are the basis for a complete roof rack system .
For safety reasons, some additional attachments are necessary to
transport luggage, bicycles, surf boards, skis and small boats safely .
All these components are available at your authorized Audi dealer.
Vehicle with roof rails
• The vehicle is equipped with integrated roof railings, which can
be covered into roof rack by installing cross bars. Only install cross
bars specifically designed for this vehicle.
• Th ese bars are the basis for a complete roof rack system. Addi
tional attachments are necessary to safely transport luggage, bicy
cles, surf boards, skis or small boats.
• All necessary hardware for these systems is available from your
authorized Audi dealer.
When should the roof rack be removed?
• Before going through an automatic car wash (it is best to ask the
car wash operator)
• When not in use (reduce fuel consumption, reduce wind noise
and guard against theft)
& WARNING
• Use of an unapproved roof rack or incorrect mounting of an
approved roof rack can cause the roof rack or the items carried on
it to fall off the roof onto the road.
• Objects falling from the roof of a vehicle can cause a crash and
personal injury.
• Only mount the system between the markings shown in
~ fig. 94 or ~ page 90, fig. 95.
• The roof rack system must be installed exactly according to the
instructions provided .
Contro ls and eq uip
ment
Seats and storage
0 Note
• Any damage to the vehicle caused by using roof racks or other
types of cross bars that have not been approved by Audi for your
vehicle, or incorrect roof rack installation, is not covered by the
Warranty.
• Always check the roof rack mountings and hardware before each
trip and during a trip to make sure everything is securely tightened.
If necessary, retighten the mountings and check the entire system
from time to time.
• After mounting a roof rack system, or when you transport
objects on the roof of your vehicle, the height of the vehicle is natu
rally increased . Be careful when driving under low bridges or in park
garages for example . This could cause damage to the vehicle and
even the
load. a
Applies to veh icles: without roof rails
Attachment points without roof rails
The roof rack must be attached only at the locations
marked.
Fig . 94 Attachment
points for roof rack
The attachment points=> fig. 94 @can only be seen with
the door open. .,
Vehicle care I I irechnical data
Page 92 of 324

Seats and storage
Introduction
- Clean the roof at the contact points for the roof rack in
order to avoid paint scratches.
- Observe the ident ifying marks on the roof rack for front
and rear, left and right.
Roof rack front
- Open the front doors => & .
- Center the front of the roof rack in the two stamped
marks at the front of the roof=>
page 89, fig. 94 @,
=> & .
Hand tighten the mounting screws for the feet alter
nately on the left and right sides of the vehicle.
- Using the enclosed torque wrench, tighten the front
mounting screws securely=>& .
Roof rack rear Open the rear doors=>& .
Place the rear of the roof rack in the two stamped marks
at the rear of the roof=>
page 89, fig. 94 @, => & .
- Hand tighten the mounting screws for the feet alter
nately on the left and right sides of the vehicle.
- Using the enclosed torque wrench, tighten the rear
mounting screws securely=>& .
& WARNING
• Always follow the instructions provided by the roof rack manu
facturer.
& WARNING (continued)
• When installing the roof rack with the vehicle doors open,
watch out for other traffic -there is the risk of an accident.
• Make certain that the feet of the roof rack are sitting exactly in
the four stamped marks -otherwise you risk an accident!
• After you have driven a few miles, and particularly during long
trips, inspect the attaching screws to make certain they are tight.
• Do not make any modification to the roof rack -you increase
the risk of an accident. •
App lies to vehi cles : w it h roof rails
Roof rack mounting locations
Roof racks must be installed only at the locations marked
on the roof rails.
Mounting
Fig. 95 Roof rails: front
and rear mounting
locations
The roof rack system must be installed exactly according to the
instructions provided.
Mount the front and rear cross bars between the punched markings
on the inside of the roof railings=> fig. 95 -arrows- .
~
Page 93 of 324

0 Note
• The conventiona l roof rack design illustrated above will not fit on
vehic les without roof rai ls . For safe mounting, these require a
different design of roof rack .•
Loading the roof rack
Al ways di stri bute the loads evenly . M ake sure any thing on
the roof r ack is tied dow n se cu rely.
- A lways distr ibute the loa ds on the r oof rack evenly .
- Alw ays secure items to t he roo f rack.
The maximu m permissi ble roof weight is 165 lb (75 kg ). The roof
weight is made up of the weight of the roof rack system and the
weight of the object bei ng transported =>
page 299.
When using a roof rack system which has a lower load carrying
capacity, you must not use the t otal maximum permis sible load
carrying capacity . If this is the case, you may load the roof rack
system on ly to the maximum capac ity specifie d by the manufac
turer of the roof rack system.
& WARNING
Weak , damaged or improper straps used to secu re items to the
roof rack can fail durin g hard braking or in a collision and cause
s erio us personal injury .
• Alway s use suitable mounting strap s and properly secure
item s to the properly in stalled roof rack to help pre vent items from
shifting or flying forward .
• Items on the roof rack must al ways be securely mounted .
• The u se of a roof ra ck can negatively affect the way a vehi cle
handles . Cargo that is large , heavy, bulky , long or flat will have a
greater negative influenc e on the vehicle 's aerodynamics, center
Con tro ls and eq uip
ment
Seats and storag e
& WARNING !continued )
of gravity and overall handling . Alwa ys drive slowly , avoid sudden
braking and maneuver s when tr ansporting cargo on the roof of
your vehicle .
• Nev er e xceed the ma ximum permi ssible load car rying capacity
of the roof of your v eh ic le, the permissible axle w eights and the
pe rmis sible tot al weight of your vehicle=>
page 299, "Weight s".
• Always drive s lo w ly, avoid sudden br aking and maneuvers
when tran sporting cargo on the roof of your vehicle .
~ For the sake of the environment
Sometimes it may be easier to leave a roof rack installed even
though you are not using it. Due to the increased air resistance your
ve hic le w ill unnecessarily use more fue l. Remove the roof rack i f yo u
are not going to use it .•
Cup holders
Cup holders in the center console
F ig . 96 Cup hol ders
an d s torag e tray in th e
ce nte r c ons ole
Up to two beverages can be placed in the center console .
Vehicle care I I irechnical data
Page 94 of 324

Seats and storage
& WARNING
Spilled hot liquid can cau se an a ccident and per sonal injury .
• Never carry any beverage conta iner s with hot liquid s, such as
hot coffee or hot tea , in the veh icle wh ile it is moving . In case of an
accident , sudden braking or other vehicle movement , hot liquid
could spill , causing scald ing burns . Spilled hot l iquid can also
c au se an accident and personal injury .
• Use only soft cups in the cupho lder . Hard cups and glasses can
c ause injury in an accident .
• Never use the cupholder or adapter as an ashtray -ris k of fire .
0 Note
Only drink containers with lids should be carried in the cupholder.
L iquid cou ld spi ll out and damage your vehicle's electronic equ ip
ment or stain the upholstery etc .. •
Cupholder in the rear center armrest
Opening the cup holder
Fig . 97 Rea r cent er
armre st : c upholder
extended
P ress bo th s pots mar ke d with ii @ ~ fig. 97 ~& .The
holde r exten ds.
Adjusting the retainer individually
Press and hold the reta iner a rm @ in wa rd -arrow- an d
adjust it to fit t he cup size.
T he retainer arm should f it snugly a round the cup or can.
T he cup holder is designed to secure no mo re than two cups o r
cans .
& WARNING
Spilled hot liquid can cause an accident and personal inju ry.
• Never carry any beverage containers with hot liquid s, such as
hot coffee or hot tea , in the vehicle while it is moving . In case of an
accident, sudden braking or other vehicle movement , hot l iquid
could spill , causing scalding burns . Spilled hot liquid can also
cause an accident and personal injury .
• Use on ly soft cups in the cup holder. Hard cups and glas ses can
cause injury in an accident .
0 Note
Only d rink co ntainers with lids sho uld be ca rried in th e cupholde r.
L iquid could spill out and damage your vehicle's electronic equip
m ent or s tai n t he uphols tery e tc . . •
Page 95 of 324
Ashtray
Rear ashtray
1.-~-.,
I I
Fig. 98 Rear ashtray
To open ashtray
-Open the cover ~ &.
To empty ashtray
- Hold the ashtray housing=> fig. 98 and lift out .
To reinstall ashtray
-Open the ashtray cover, insert the ashtray and press
down.
& WARNING
Never put waste paper in the ashtray. Hot ashes or other hot
objects in the ashtray could set waste paper on fire .•
Con tro ls and eq uip
ment
Seats and storage
Cigarette lighter /socket
Outlets
The outlet in the front center console and in the luggage
compartment may be used for 12-volt appliances.
Outlet in the front center console
Fig. 99 Center
console, front: 12-volt
outlet
Fig .
100 Luggage
compartment : 12-volt
outlet
- Fold the cover for the outlet down ~ fig. 99.
- Plug in appliance to be used.
Outlet in the luggage compartment
-Tap cover ~ fig. 100.
Vehicle care I I irechnical data
Page 96 of 324

Seats and storage
-Plu g in ap plia n ce to be us ed.
The ou tlet may be used for 12-volt app liances with maximum
consumption of up to 100 watts, such as a flash light , smal l vacuum
cleaner, etc .
Before you purchase any accessories, always read and follow the
inf orm ati on i n
=> page 305 , "Addi tiona l ac cess ories and parts
replacement" .
& WARNING
The outlet plu s any appliances plugged into it remain functional
even if the ignition is switched off or the ignition key is removed .
Ne ver leave children inside the vehicle without supervi sion .
0 Note
To avoid damaging the socket, only use p lugs that fit properly .
[ i ] Tips
When the engine is off and accessories are sti ll plugged in and are
on, the vehicle batte ry can sti ll be d rained .•
Storage
General overview
There are numer ous pl aces to store items i n your ve hicle.
Storage in the front arm rest
Storage in t h e rear ar m res t
=> page 87
Glove compart ment (A ir v enti lati on i n t he ::::> page 95
glove compartment*, CD changer *) Cent
er console
Compartments in the door trims
S to ra ge in the f ootwe ll
=> page9 5
=> page96
=> page96
Compartments in luggage compartment => page 97
Some of the s torage locations are only found on specific veh icle
models or are optional equ ipment .
& WARNING
• Always remove obje cts from the in strument panel. Any items
not put away could slide around inside the vehicle while driving or
when a ccelerating or when applying the bra kes or when driving
around a corner .
• When you are driving make sure that anything you may have
placed in the center console or other storage locations cannot fall
out into the footwells . In case of sudden bra king you would not be
able to brake , depress the clut ch or accelerate .
• Any pie ces of clothing that you have hung up mu st not interfere
with the driver's view. The coat hooks are designed only for light
weight clothing . Never hang any clothing with hard , pointed or
heavy objects in the pockets on the coat hooks . During sudden
bra king or in an accident -especially if the airbag is deployed -
these obje cts could in jure any passengers inside the vehicle. •