Page 25 of 128
AUTOMATIC TRANSMISSION
Fault finding – Interpretation of faults23A
23A-25V4 MR-372-J84-23A050$330.mif
SIEMENS TA2000
Vdiag No.: 10-11-15
DF017
PRESENT
OR
STOREDEXCHANGER FLOW RATE SOLENOID VALVE CIRCUIT
CO.0 : Open circuit or short circuit to earth
CC.1 : Short-circuit to + 12 V
NOTESConditions for applying the fault finding procedure to stored faults:
The fault appears after running command AC024 Sequential actuator control.
Special notes:
Use bornier Elé. 1681 for all operations on the computer connectors.
Disconnect the battery.
Disconnect the computer. Check the cleanliness and condition of the connections.
Disconnect the modular connector, and check the cleanliness and condition of the connections.
Repair.
Check the insulation, continuity and the absence of interference resistance to earth, to + 12 V and the
following connections:
●Connection code 5DN between components 119 and 1019.
●Connection code 5DD between components 119 and 1019.
If the connections are faulty and there is a repair procedure (see Technical Note 6015A, Electrical wiring repair,
Wiring: Precautions for repair), repair the wiring, otherwise replace the wiring.
Reconnect the modular connector.
Measure the resistance of component 1019 between the following connections:
●Connection code 5DN.
●Connection code 5DD.
If the connection(s) are faulty and if there is a repair method (see Technical Note 6015A, Electrical wiring repair,
Wiring: Precautions for repair), repair the wiring, otherwise replace the wiring.
Replace the exchanger flow solenoid valve or the wiring harness if the resistance is not 40 ΩΩ Ω Ω
± 4 ΩΩ Ω Ω
at 20˚C.
If the fault is still present, contact the Techline.
AFTER REPAIRDeal with any other faults. Clear the fault memory.
Switch off the ignition and carry out a road test followed by a test with the diagnostic
tool.
DP0TA2000_V10_DF017/DP0TA2000_V11_DF017/DP0TA2000_V15_DF017
Page 26 of 128
AUTOMATIC TRANSMISSION
Fault finding – Interpretation of faults23A
23A-26V4 MR-372-J84-23A050$330.mif
SIEMENS TA2000
Vdiag No.: 10-11-15
DF018
PRESENT
OR
STOREDCONVERTER LOCKUP SLIPPAGE
NOTESCarry out injection system fault finding and check that it is operating correctly.
If the following faults are present or stored, deal with them first:
–DF003 Analogue sensor supply.
–DF005 Oil pressure sensor circuit
–DF016 Converter lock-up solenoid valve circuit.
–DF036 Pressure modulating solenoid valve circuit.
–DF038: Turbine speed sensor circuit.
–DF049 Gearbox oil pressure regulation.
Conditions for applying the fault finding procedure to stored faults:
The fault is reported present after driving in fixed 3
rd gear with speed stabilisation for
more than 3 minutes.
To check that there are no faults with the converter lock-up solenoid valve, use the interpretation of fault
DF016 Converter lock-up solenoid valve circuit.
To check that there are no faults with the turbine speed sensor, apply the interpretation of fault DF038 Turbine
speed sensor circuit.
Check gearbox oil grade and level.
If an operation is necessary (see MR 364 Mechanical, 23A, Automatic transmission, Filling-Levels
(for Mégane II) and MR 370 Mechanical, 23A, Automatic transmission, Draining-Filling (for Scénic II)).
Check that the transmission is not leaking oil.
AFTER REPAIRDeal with any other faults. Clear the fault memory.
Switch off the ignition and carry out a road test followed by a test with the diagnostic
tool.
DP0TA2000_V10_DF018/DP0TA2000_V11_DF018/DP0TA2000_V15_DF018
Page 27 of 128
AUTOMATIC TRANSMISSION
Fault finding – Interpretation of faults23A
23A-27V4 MR-372-J84-23A050$330.mif
SIEMENS TA2000
Vdiag No.: 10-11-15
DF018
CONTINUED
Carry out a conformity check to detect any possible faults.
Check the setting point of the converter (see MR 364 Mechanical, 23A, Automatic transmission, Checking the
setting point of the converter (for Mégane II and Scénic II)
If the setting point value is not correct, carry out the following checks:
–Check the oil pressure using PR003 Oil pressure:
–Warm engine with gearbox oil temperature between 65 and 90˚C.
–Take the line pressure reading under the following 3 conditions:
Important
The vehicle must be stationary: handbrake on and brake pedal depressed, no accessories operating
(e.g.: air conditioning)
1Engine speed idling:
Shift the gear lever to R, N and D, the pressure reading must be greater than 2.5 bar.
2Engine speed at 1200 rpm:
–gear lever in R position, the pressure reading must be greater than 4 bars.
–gear lever in D position, the pressure reading in first gear must be greater than 5.5 bars.
3Engine speed at 2200 rpm:
–gear lever in R position, the pressure reading must be greater than 11 bars.
–gear lever in D position, the pressure reading in first gear must be greater than 11 bars.
If the line pressure value read under one of these 3 conditions is incorrect, replace the line pressure sensor.
If the line pressures recorded under these 3 conditions are good, then the pressure sensor is operating correctly.
Replace the pressure regulating solenoid valve.
If the fault is still present after the pressure regulating solenoid valve has been replaced, replace the hydraulic
distributor and during refitting, take into account Technical Note 4194A Automatic transmission indicator strip
flashing for the adjustment of the ball detent blade.
If the fault is still present, contact the Techline
AFTER REPAIRDeal with any other faults. Clear the fault memory.
Switch off the ignition and carry out a road test followed by a test with the diagnostic
tool.
Page 28 of 128
AUTOMATIC TRANSMISSION
Fault finding – Interpretation of faults23A
23A-28V4 MR-372-J84-23A050$330.mif
SIEMENS TA2000
Vdiag No.: 10-11-15
DF023
PRESENT
OR
STOREDGEARBOX OIL TEMPERATURE SENSOR CIRCUIT
NOTESConditions for applying the fault finding procedure to stored faults:
The fault is declared present after a road test.
Special notes:
Use bornier Elé. 1681 for all operations on the computer connectors.
Disconnect the battery.
Disconnect the modular connector, and check the cleanliness and condition of the connections.
Disconnect the computer. Check the cleanliness and condition of the connections.
Repair.
Check the insulation, continuity and the absence of interference resistance to earth, to + 12 V and the
following connections:
●Connection code 5BC between components 119 and 754.
●Connection code 5BB between components 119 and 754.
If the connection(s) are faulty and if there is a repair method (see Technical Note 6015A, Electrical wiring repair,
Wiring: Precautions for repair), repair the wiring, otherwise replace the wiring.
Reconnect the modular connector.
Measure the resistance of component 754 between the following connections:
●Connection code 5BC.
●Connection code 5BB.
If the connection(s) are faulty and if there is a repair method (see Technical Note 6015A, Electrical wiring repair,
Wiring: Precautions for repair), repair the wiring, otherwise replace the wiring.
Replace the sensor or the wiring if the resistance is not between:
2360 ΩΩ Ω Ω
and 2660 ΩΩ Ω Ω
at 20˚C
290 ΩΩ Ω Ω
and 327 ΩΩ Ω Ω
at 80˚C
If the fault is still present, contact the Techline.
AFTER REPAIRDeal with any other faults. Clear the fault memory.
Switch off the ignition and carry out a road test followed by a test with the
diagnostic tool.
DP0TA2000_V10_DF023/DP0TA2000_V11_DF023/DP0TA2000_V15_DF023
Page 29 of 128
AUTOMATIC TRANSMISSION
Fault finding – Interpretation of faults23A
23A-29V4 MR-372-J84-23A050$330.mif
SIEMENS TA2000
Vdiag No.: 10-11-15
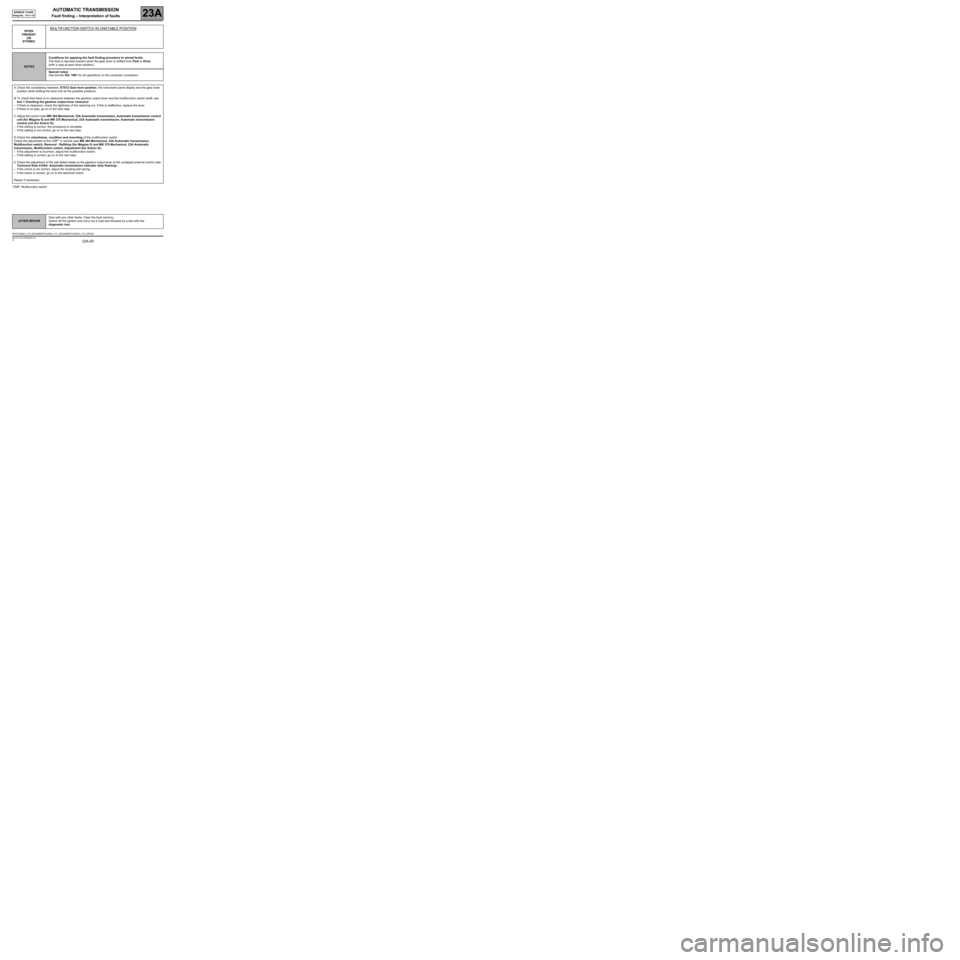
*CMF: Multifunction switchDF029
PRESENT
OR
STORED
MULTIFUNCTION SWITCH IN UNSTABLE POSITION
NOTESConditions for applying the fault finding procedure to stored faults:
The fault is reported present when the gear lever is shifted from Park to Drive
(with a stop at each lever position).
Special notes:
Use bornier Elé. 1681 for all operations on the computer connectors.
ACheck the consistency between: ET012 Gear lever position, the instrument panel display and the gear lever
position while shifting the lever into all the possible positions.
BTo check that there is no clearance between the gearbox output lever and the multifunction switch shaft, see
test 1 Checking the gearbox output lever clearance
–If there is clearance, check the tightness of the retaining nut. If this is ineffective, replace the lever.
–If there is no play, go on to the next step.
CAdjust the control (see MR 364 Mechanical, 23A Automatic transmission, Automatic transmission control
unit (for Mégane II) and MR 370 Mechanical, 23A Automatic transmission, Automatic transmission
control unit (for Scénic II)).
–If the setting is correct, the procedure is complete.
–If the setting is not correct, go on to the next step.
DCheck the cleanliness, condition and mounting of the multifunction switch.
Check the adjustment of the CMF* in neutral (see MR 364 Mechanical, 23A Automatic transmission,
Multifunction switch, Removal - Refitting (for Mégane II) and MR 370 Mechanical, 23A Automatic
transmission, Multifunction switch, Adjustment (for Scénic II)).
–If the adjustment is incorrect, adjust the multifunction switch.
–If the setting is correct, go on to the next step.
ECheck the adjustment of the ball detent blade on the gearbox output lever at the unclipped external control (see
Technical Note 4194A: Automatic transmission indicator strip flashing):
–If the check is not correct, adjust the locating ball spring.
–If the check is correct, go on to the electrical check.
Repair if necessary.
AFTER REPAIRDeal with any other faults. Clear the fault memory.
Switch off the ignition and carry out a road test followed by a test with the
diagnostic tool.
DP0TA2000_V10_DF029/DP0TA2000_V11_DF029/DP0TA2000_V15_DF029
Page 30 of 128
AUTOMATIC TRANSMISSION
Fault finding – Interpretation of faults23A
23A-30V4 MR-372-J84-23A050$330.mif
SIEMENS TA2000
Vdiag No.: 10-11-15
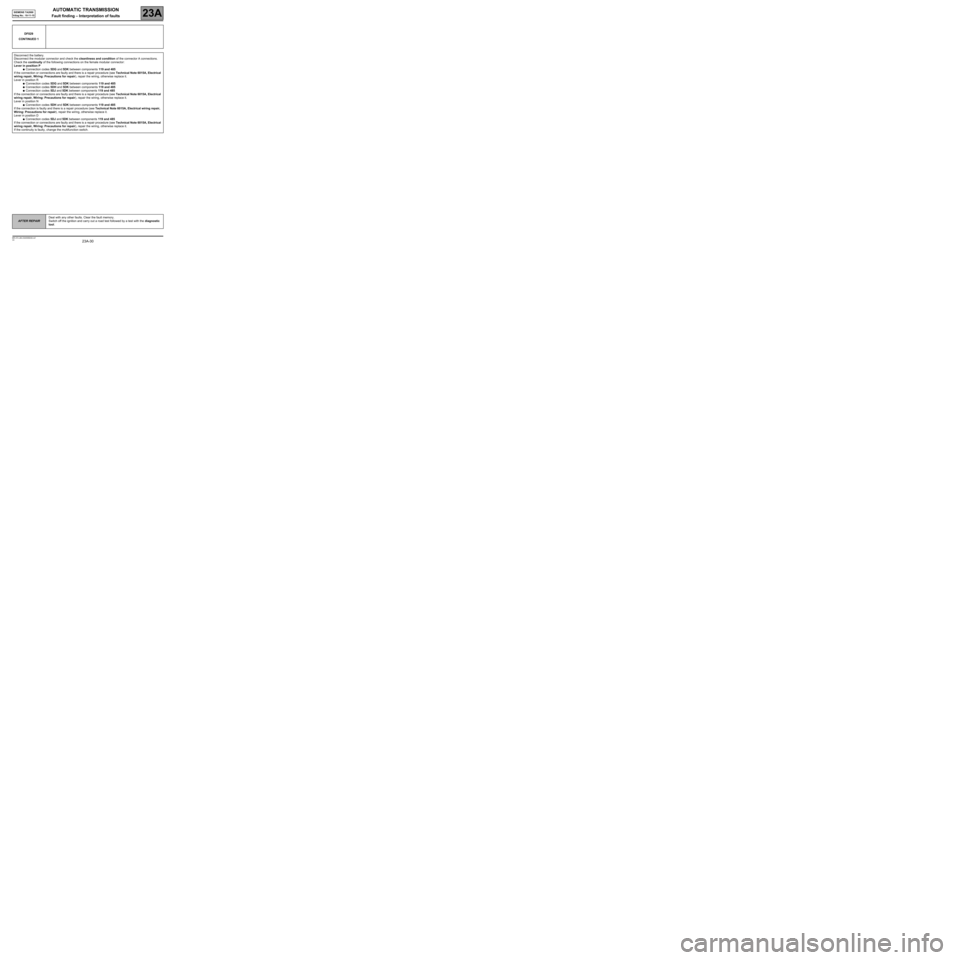
DF029
CONTINUED 1
Disconnect the battery.
Disconnect the modular connector and check the cleanliness and condition of the connector A connections.
Check the continuity of the following connections on the female modular connector:
Lever in position P
●Connection codes 5DG and 5DK between components 119 and 485
If the connection or connections are faulty and there is a repair procedure (see Technical Note 6015A, Electrical
wiring repair, Wiring: Precautions for repair), repair the wiring, otherwise replace it.
Lever in position R
●Connection codes 5DG and 5DK between components 119 and 485
●Connection codes 5DH and 5DK between components 119 and 485
●Connection codes 5DJ and 5DK between components 119 and 485
If the connection or connections are faulty and there is a repair procedure (see Technical Note 6015A, Electrical
wiring repair, Wiring: Precautions for repair), repair the wiring, otherwise replace it.
Lever in position N
●Connection codes 5DH and 5DK between components 119 and 485
If the connection is faulty and there is a repair procedure (see Technical Note 6015A, Electrical wiring repair,
Wiring: Precautions for repair), repair the wiring, otherwise replace it.
Lever in position D
●Connection codes 5DJ and 5DK between components 119 and 485
If the connection or connections are faulty and there is a repair procedure (see Technical Note 6015A, Electrical
wiring repair, Wiring: Precautions for repair), repair the wiring, otherwise replace it.
If the continuity is faulty, change the multifunction switch.
AFTER REPAIRDeal with any other faults. Clear the fault memory.
Switch off the ignition and carry out a road test followed by a test with the diagnostic
tool.
Page 31 of 128
AUTOMATIC TRANSMISSION
Fault finding – Interpretation of faults23A
23A-31V4 MR-372-J84-23A050$330.mif
SIEMENS TA2000
Vdiag No.: 10-11-15
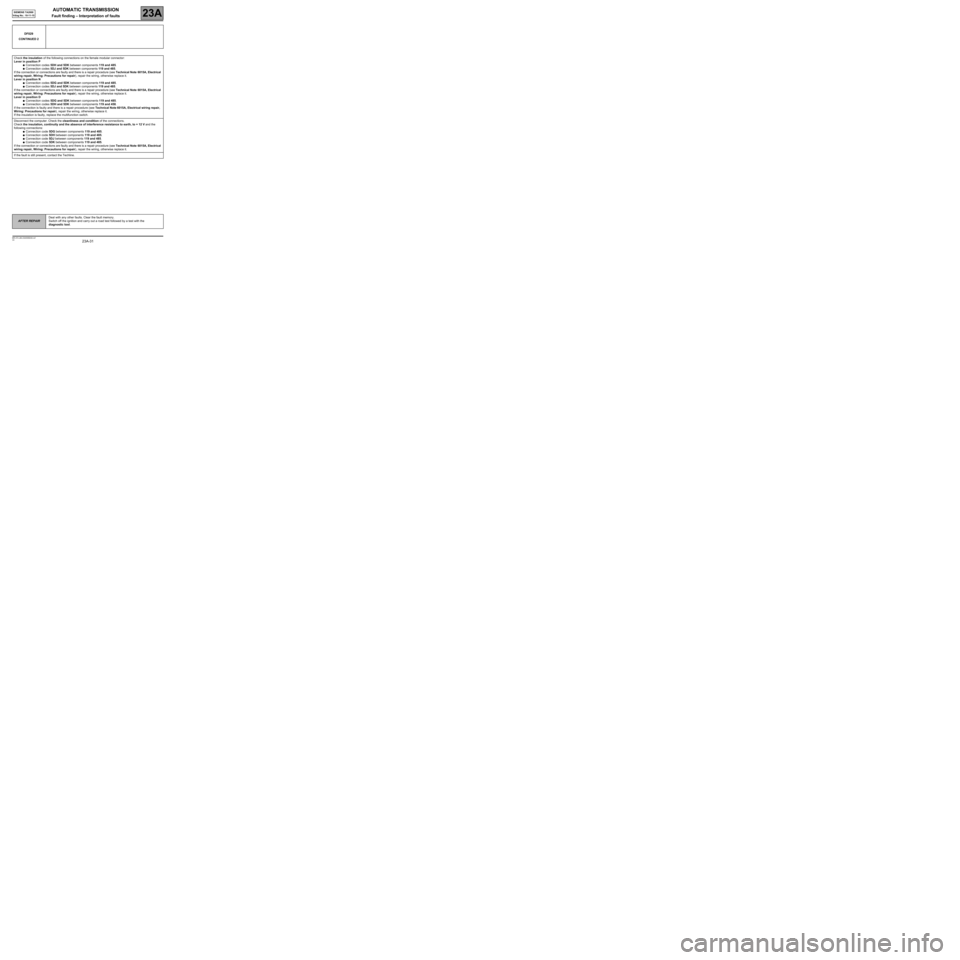
DF029
CONTINUED 2
Check the insulation of the following connections on the female modular connector:
Lever in position P
●Connection codes 5DH and 5DK between components 119 and 485.
●Connection codes 5DJ and 5DK between components 119 and 485.
If the connection or connections are faulty and there is a repair procedure (see Technical Note 6015A, Electrical
wiring repair, Wiring: Precautions for repair), repair the wiring, otherwise replace it.
Lever in position N
●Connection codes 5DG and 5DK between components 119 and 485.
●Connection codes 5DJ and 5DK between components 119 and 485.
If the connection or connections are faulty and there is a repair procedure (see Technical Note 6015A, Electrical
wiring repair, Wiring: Precautions for repair), repair the wiring, otherwise replace it.
Lever in position D
●Connection codes 5DG and 5DK between components 119 and 485.
●Connection codes 5DH and 5DK between components 119 and 458.
If the connection is faulty and there is a repair procedure (see Technical Note 6015A, Electrical wiring repair,
Wiring: Precautions for repair), repair the wiring, otherwise replace it.
If the insulation is faulty, replace the multifunction switch.
Disconnect the computer. Check the cleanliness and condition of the connections.
Check the insulation, continuity and the absence of interference resistance to earth, to + 12 V and the
following connections:
●Connection code 5DG between components 119 and 485.
●Connection code 5DH between components 119 and 485.
●Connection code 5DJ between components 119 and 485.
●Connection code 5DK between components 119 and 485.
If the connection or connections are faulty and there is a repair procedure (see Technical Note 6015A, Electrical
wiring repair, Wiring: Precautions for repair), repair the wiring, otherwise replace it.
If the fault is still present, contact the Techline.
AFTER REPAIRDeal with any other faults. Clear the fault memory.
Switch off the ignition and carry out a road test followed by a test with the
diagnostic tool.
Page 32 of 128
AUTOMATIC TRANSMISSION
Fault finding – Interpretation of faults23A
23A-32V4 MR-372-J84-23A050$330.mif
SIEMENS TA2000
Vdiag No.: 10-11-15
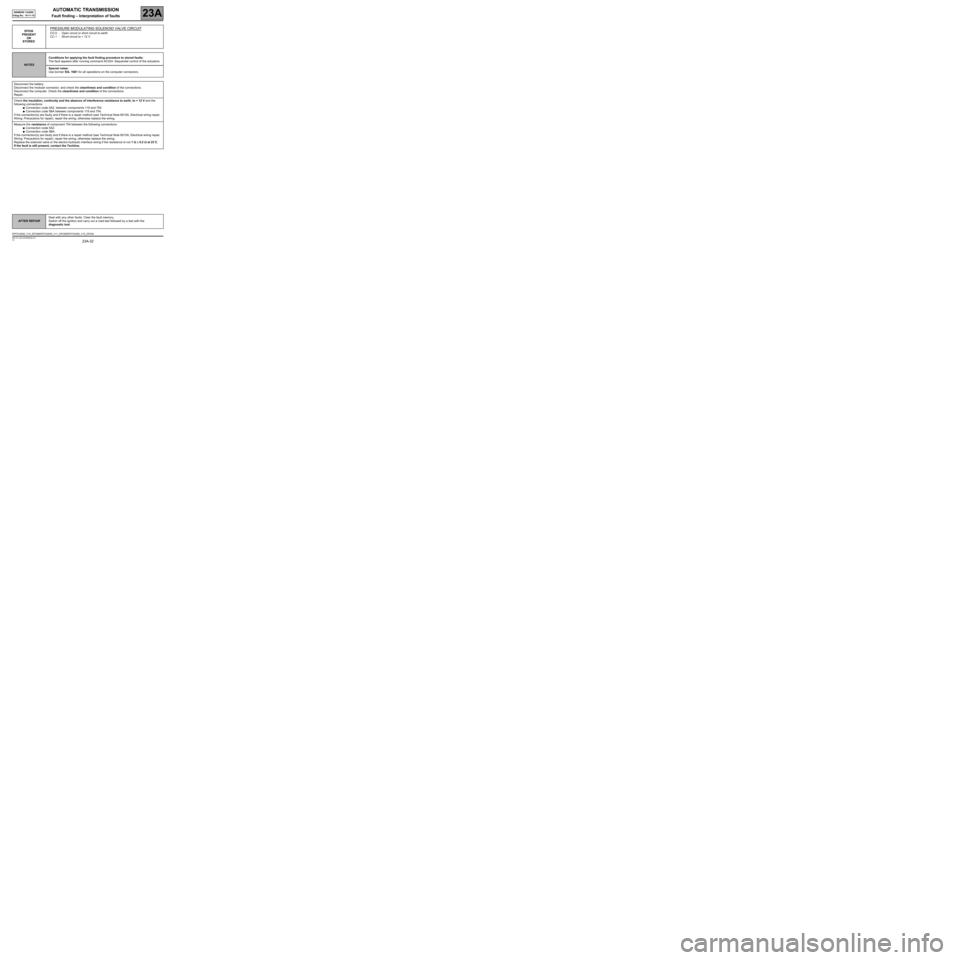
DF036
PRESENT
OR
STOREDPRESSURE MODULATING SOLENOID VALVE CIRCUIT
CO.0 : Open circuit or short circuit to earth
CC.1 : Short-circuit to + 12 V
NOTESConditions for applying the fault finding procedure to stored faults:
The fault appears after running command AC024: Sequential control of the actuators.
Special notes:
Use bornier Elé. 1681 for all operations on the computer connectors.
Disconnect the battery.
Disconnect the modular connector, and check the cleanliness and condition of the connections.
Disconnect the computer. Check the cleanliness and condition of the connections.
Repair.
Check the insulation, continuity and the absence of interference resistance to earth, to + 12 V and the
following connections:
●Connection code 5AZ, between components 119 and 754.
●Connection code 5BA between components 119 and 754.
If the connection(s) are faulty and if there is a repair method (see Technical Note 6015A, Electrical wiring repair,
Wiring: Precautions for repair), repair the wiring, otherwise replace the wiring.
Measure the resistance of component 754 between the following connections:
●Connection code 5AZ.
●Connection code 5BA.
If the connection(s) are faulty and if there is a repair method (see Technical Note 6015A, Electrical wiring repair,
Wiring: Precautions for repair), repair the wiring, otherwise replace the wiring.
Replace the solenoid valve or the electro-hydraulic interface wiring if the resistance is not 1 ΩΩ Ω Ω
± 0.2 ΩΩ Ω Ω
at 23˚C.
If the fault is still present, contact the Techline.
AFTER REPAIRDeal with any other faults. Clear the fault memory.
Switch off the ignition and carry out a road test followed by a test with the
diagnostic tool.
DP0TA2000_V10_DF036/DP0TA2000_V11_DF036/DP0TA2000_V15_DF036
 1
1 2
2 3
3 4
4 5
5 6
6 7
7 8
8 9
9 10
10 11
11 12
12 13
13 14
14 15
15 16
16 17
17 18
18 19
19 20
20 21
21 22
22 23
23 24
24 25
25 26
26 27
27 28
28 29
29 30
30 31
31 32
32 33
33 34
34 35
35 36
36 37
37 38
38 39
39 40
40 41
41 42
42 43
43 44
44 45
45 46
46 47
47 48
48 49
49 50
50 51
51 52
52 53
53 54
54 55
55 56
56 57
57 58
58 59
59 60
60 61
61 62
62 63
63 64
64 65
65 66
66 67
67 68
68 69
69 70
70 71
71 72
72 73
73 74
74 75
75 76
76 77
77 78
78 79
79 80
80 81
81 82
82 83
83 84
84 85
85 86
86 87
87 88
88 89
89 90
90 91
91 92
92 93
93 94
94 95
95 96
96 97
97 98
98 99
99 100
100 101
101 102
102 103
103 104
104 105
105 106
106 107
107 108
108 109
109 110
110 111
111 112
112 113
113 114
114 115
115 116
116 117
117 118
118 119
119 120
120 121
121 122
122 123
123 124
124 125
125 126
126 127
127


