2008 PONTIAC GRAND PRIX display
[x] Cancel search: displayPage 234 of 450
XM™ Satellite Radio Antenna
System
The XM™ Satellite Radio antenna is located on the
roof of the vehicle. Keep this antenna clear of snow
and ice build up for clear radio reception.
If the vehicle has a sunroof, the performance of the
XM™ system may be affected if the sunroof is open.
Loading items onto the roof of the vehicle can
interfere with the performance of the XM™ system.
Make sure the XM™ Satellite Radio antenna is
not obstructed.
Chime Level Adjustment
The radio is used to adjust the vehicle’s chime level.
To change the volume level of the chime, press and hold
pushbutton 6 with the ignition on and the radio power
off. The volume level will change from the normal
level to loud, and LOUD will appear on the radio display.
To change back to the default or normal setting,
press and hold pushbutton 6 again. The volume level
will change from the loud level to normal, and NORMAL
will appear on the radio display. Each time the chime
volume is changed, three chimes will sound to indicate
the new volume selected. Removing the radio and
not replacing it with a factory radio or chime module will
disable vehicle chimes.
3-118
Page 240 of 450
Traction Control System (TCS)
If the vehicle has a 5.3L V8 engine, it has a Traction
Control System (TCS) that limits wheel spin. This
is especially useful in slippery road conditions. The
system operates only if it senses that one or both of the
front wheels are spinning or beginning to lose traction.
When this happens, the system works the front
brakes and reduces engine power to limit wheel spin.
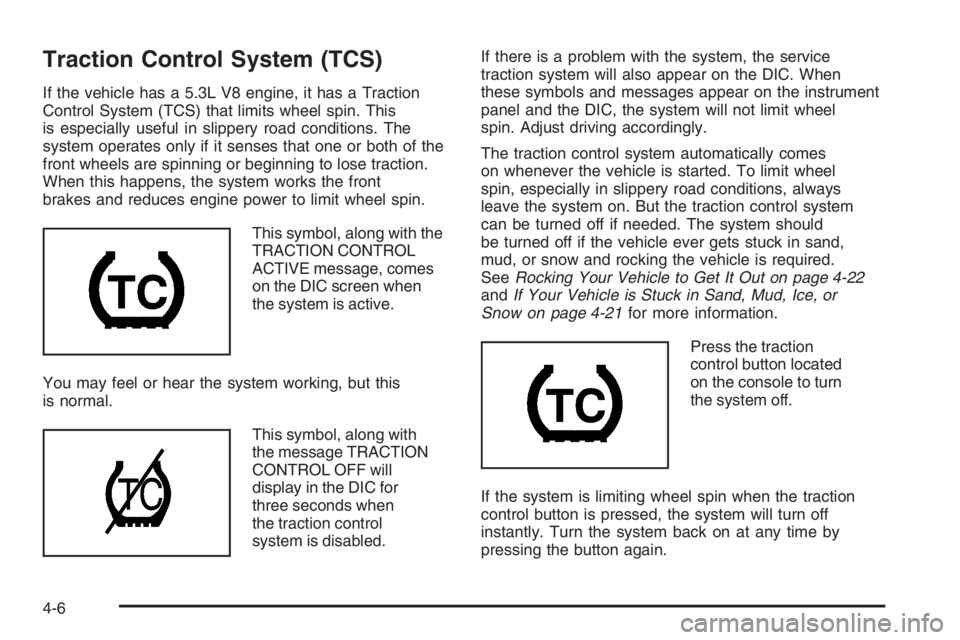
This symbol, along with the
TRACTION CONTROL
ACTIVE message, comes
on the DIC screen when
the system is active.
You may feel or hear the system working, but this
is normal.
This symbol, along with
the message TRACTION
CONTROL OFF will
display in the DIC for
three seconds when
the traction control
system is disabled.If there is a problem with the system, the service
traction system will also appear on the DIC. When
these symbols and messages appear on the instrument
panel and the DIC, the system will not limit wheel
spin. Adjust driving accordingly.
The traction control system automatically comes
on whenever the vehicle is started. To limit wheel
spin, especially in slippery road conditions, always
leave the system on. But the traction control system
can be turned off if needed. The system should
be turned off if the vehicle ever gets stuck in sand,
mud, or snow and rocking the vehicle is required.
SeeRocking Your Vehicle to Get It Out on page 4-22
andIf Your Vehicle is Stuck in Sand, Mud, Ice, or
Snow on page 4-21for more information.
Press the traction
control button located
on the console to turn
the system off.
If the system is limiting wheel spin when the traction
control button is pressed, the system will turn off
instantly. Turn the system back on at any time by
pressing the button again.
4-6
Page 242 of 450
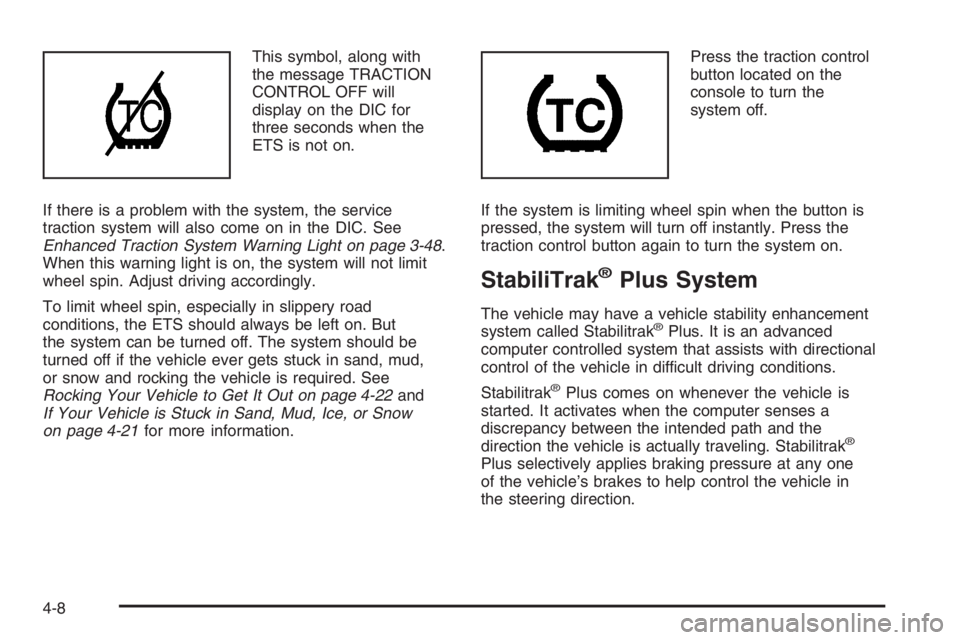
This symbol, along with
the message TRACTION
CONTROL OFF will
display on the DIC for
three seconds when the
ETS is not on.
If there is a problem with the system, the service
traction system will also come on in the DIC. See
Enhanced Traction System Warning Light on page 3-48.
When this warning light is on, the system will not limit
wheel spin. Adjust driving accordingly.
To limit wheel spin, especially in slippery road
conditions, the ETS should always be left on. But
the system can be turned off. The system should be
turned off if the vehicle ever gets stuck in sand, mud,
or snow and rocking the vehicle is required. See
Rocking Your Vehicle to Get It Out on page 4-22and
If Your Vehicle is Stuck in Sand, Mud, Ice, or Snow
on page 4-21for more information.Press the traction control
button located on the
console to turn the
system off.
If the system is limiting wheel spin when the button is
pressed, the system will turn off instantly. Press the
traction control button again to turn the system on.
StabiliTrak®Plus System
The vehicle may have a vehicle stability enhancement
system called Stabilitrak®Plus. It is an advanced
computer controlled system that assists with directional
control of the vehicle in difficult driving conditions.
Stabilitrak
®Plus comes on whenever the vehicle is
started. It activates when the computer senses a
discrepancy between the intended path and the
direction the vehicle is actually traveling. Stabilitrak
®
Plus selectively applies braking pressure at any one
of the vehicle’s brakes to help control the vehicle in
the steering direction.
4-8
Page 243 of 450
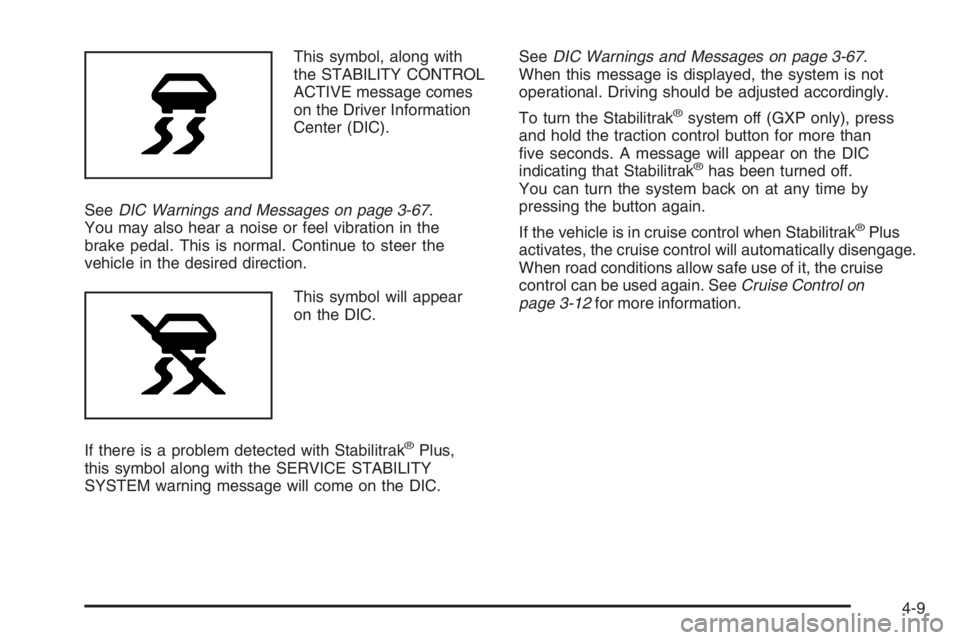
This symbol, along with
the STABILITY CONTROL
ACTIVE message comes
on the Driver Information
Center (DIC).
SeeDIC Warnings and Messages on page 3-67.
You may also hear a noise or feel vibration in the
brake pedal. This is normal. Continue to steer the
vehicle in the desired direction.
This symbol will appear
on the DIC.
If there is a problem detected with Stabilitrak
®Plus,
this symbol along with the SERVICE STABILITY
SYSTEM warning message will come on the DIC.SeeDIC Warnings and Messages on page 3-67.
When this message is displayed, the system is not
operational. Driving should be adjusted accordingly.
To turn the Stabilitrak
®system off (GXP only), press
and hold the traction control button for more than
�ve seconds. A message will appear on the DIC
indicating that Stabilitrak
®has been turned off.
You can turn the system back on at any time by
pressing the button again.
If the vehicle is in cruise control when Stabilitrak
®Plus
activates, the cruise control will automatically disengage.
When road conditions allow safe use of it, the cruise
control can be used again. SeeCruise Control on
page 3-12for more information.
4-9
Page 279 of 450
{CAUTION:
Fuel can spray out on you if you open the fuel
cap too quickly. If you spill fuel and then
something ignites it, you could be badly burned.
This spray can happen if your tank is nearly full,
and is more likely in hot weather. Open the fuel
cap slowly and wait for any hiss noise to stop.
Then unscrew the cap all the way.
Be careful not to spill fuel. Do not top off or over�ll the
tank and wait a few seconds after you have �nished
pumping before removing the nozzle. Clean fuel from
painted surfaces as soon as possible. SeeWashing Your
Vehicle on page 5-114.
When replacing the fuel cap, turn it clockwise until it
clicks. Make sure the cap is fully installed. The
diagnostic system can determine if the fuel cap has
been left off or improperly installed. This would allow fuel
to evaporate into the atmosphere. SeeMalfunction
Indicator Lamp on page 3-50.The CHECK GAS CAP message will be displayed on
the Driver Information Center (DIC) if the fuel cap is not
properly installed. SeeDIC Warnings and Messages
on page 3-67for more information.
{CAUTION:
If a �re starts while you are refueling, do not
remove the nozzle. Shut off the �ow of fuel by
shutting off the pump or by notifying the
station attendant. Leave the area immediately.
Notice:If you need a new fuel cap, be sure to get
the right type. Your dealer/retailer can get one for
you. If you get the wrong type, it may not �t properly.
This may cause your malfunction indicator lamp to
light and may damage your fuel tank and emissions
system. SeeMalfunction Indicator Lamp on
page 3-50.
5-9
Page 331 of 450
Windshield Replacement
If your vehicle is equipped with the Head-Up Display
(HUD) system, keep in mind that your windshield is part
of the HUD system. If you ever have to get your
windshield replaced, be sure to get one that is designed
for HUD or your HUD image may look blurred or out
of focus.
Windshield Wiper Blade
Replacement
Windshield wiper blades should be inspected for wear
or cracking. SeeScheduled Maintenance on page 6-4
for more information on wiper blade inspection.Replacement blades come in different types and are
removed in different ways. For the proper type and
length, seeMaintenance Replacement Parts on
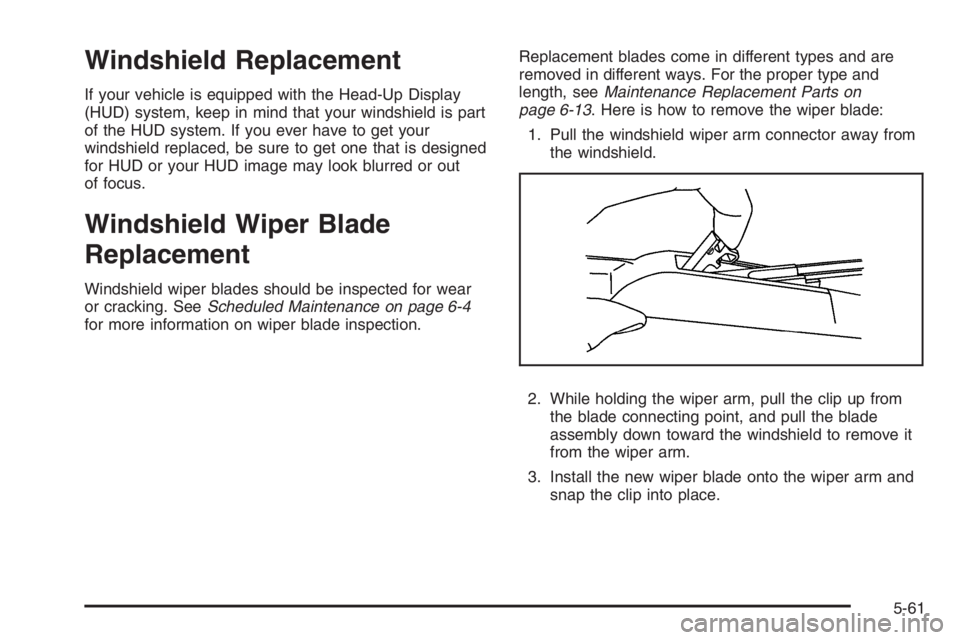
page 6-13. Here is how to remove the wiper blade:
1. Pull the windshield wiper arm connector away from
the windshield.
2. While holding the wiper arm, pull the clip up from
the blade connecting point, and pull the blade
assembly down toward the windshield to remove it
from the wiper arm.
3. Install the new wiper blade onto the wiper arm and
snap the clip into place.
5-61
Page 343 of 450

At the same time a message to check the pressure in a
speci�c tire appears on the Driver Information center
(DIC) display. The low tire pressure warning light and
the DIC warning message come on at each ignition cycle
until the tires are in�ated to the correct in�ation pressure.
Using the DIC buttons, tire pressure readings can be
viewed by the driver. For additional information and
details about the DIC operation and displays seeDIC
Operation and Displays (Uplevel DIC with Trip Computer)
on page 3-55orDIC Operation and Displays (Base Level
DIC) on page 3-62andDIC Warnings and Messages on
page 3-67.
The low tire pressure warning light may come on in cool
weather when the vehicle is �rst started, and then turn
off as you start to drive. This could be an early indicator
that the air pressure in the tire(s) are getting low and
need to be in�ated to the proper pressure.A tire and Loading Information label, attached to your
vehicle, shows the size of your vehicle’s original
equipment tires and the correct in�ation pressure for your
vehicle’s tires when they are cold. SeeLoading Your
Vehicle on page 4-22, for an example of the Tire and
Loading Information label and its location on your vehicle.
Also seeInflation - Tire Pressure on page 5-69.
Your vehicle’s TPMS system can warn you about a low
tire pressure condition but it does not replace normal
tire maintenance. SeeTire Inspection and Rotation on
page 5-75andTires on page 5-62.
Your vehicle, when new, may have included a
factory-installed Tire In�ator Kit. This kit uses a GM
approved liquid tire sealant. SeeTire Sealant and
Compressor Kit (GXP) on page 5-86.
Notice:Using non-approved tire sealants could
damage the Tire Pressure Monitor System (TPMS)
sensors. TPMS sensor damage caused by using
an incorrect tire sealant is not covered by the
vehicle warranty. Always use the GM approved tire
sealant available through your dealer/retailer.
5-73
Page 344 of 450

TPMS Malfunction Light and Message
The TPMS will not function properly if one or more of the
TPMS sensors are missing or inoperable. When the
system detects a malfunction, the low tire warning light
�ashes for about one minute and then stays on for the
remainder of the ignition cycle. A DIC warning message
is also displayed. The low tire warning light and DIC
warning message come on at each ignition cycle until the
problem is corrected. Some of the conditions that can
cause the malfunction light and DIC message to
come on are:
One of the road tires has been replaced with the
spare tire and wheel. The spare, if your vehicle has
one, does not have a TPMS sensor. The TPMS
malfunction light and DIC message should go off
once you re-install the road tire containing the
TPMS sensor.
The TPMS sensor matching process was started but
not completed or not completed successfully after
rotating the vehicle’s tires. The DIC message and
TPMS malfunction light should go off once the TPMS
sensor matching process is performed successfully.
See “TPMS Sensor Matching Process” later in this
section.
One or more TPMS sensors are missing or
damaged. The DIC message and the TPMS
malfunction light should go off when the TPMS
sensors are installed and the sensor matching
process is performed successfully. See your
dealer/retailer for service.
Replacement tires or wheels do not match your
vehicle’s original equipment tires or wheels. Tire and
wheels other than those recommended for your
vehicle could prevent the TPMS from functioning
properly. SeeBuying New Tires on page 5-78.
Operating electronic devices or being near facilities
using radio wave frequencies similar to the TPMS
could cause the TPMS sensors to malfunction.
If the TPMS is not functioning it cannot detect or signal
a low tire condition. See your dealer/retailer for service if
the TPMS malfunction light and DIC message comes on
and stays on.
TPMS Sensor Matching Process
Each TPMS sensor has a unique identi�cation code.
Any time you replace one or more of the TPMS sensors
or rotate the vehicle’s tires, the identi�cation codes need
to be matched to the new tire/wheel position. The sensors
are matched, to the tire/wheel positions, in the following
order: driver side front tire, passenger side front tire,
passenger side rear tire, and driver side rear tire using a
TPMS diagnostic tool. See your dealer for service.
The TPMS sensors may also be matched to each
tire/wheel position by increasing or decreasing the tire’s
air pressure. When increasing the tire’s pressure, do not
exceed the maximum in�ation pressure indicated on the
tire’s sidewall. To decrease the tire’s air-pressure use the
pointed end of the valve cap, a pencil-style air pressure
gage, or a key.
5-74