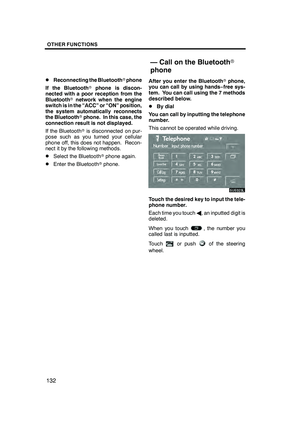
Page 185 of 312

AUDIO/VIDEO SYSTEM
184
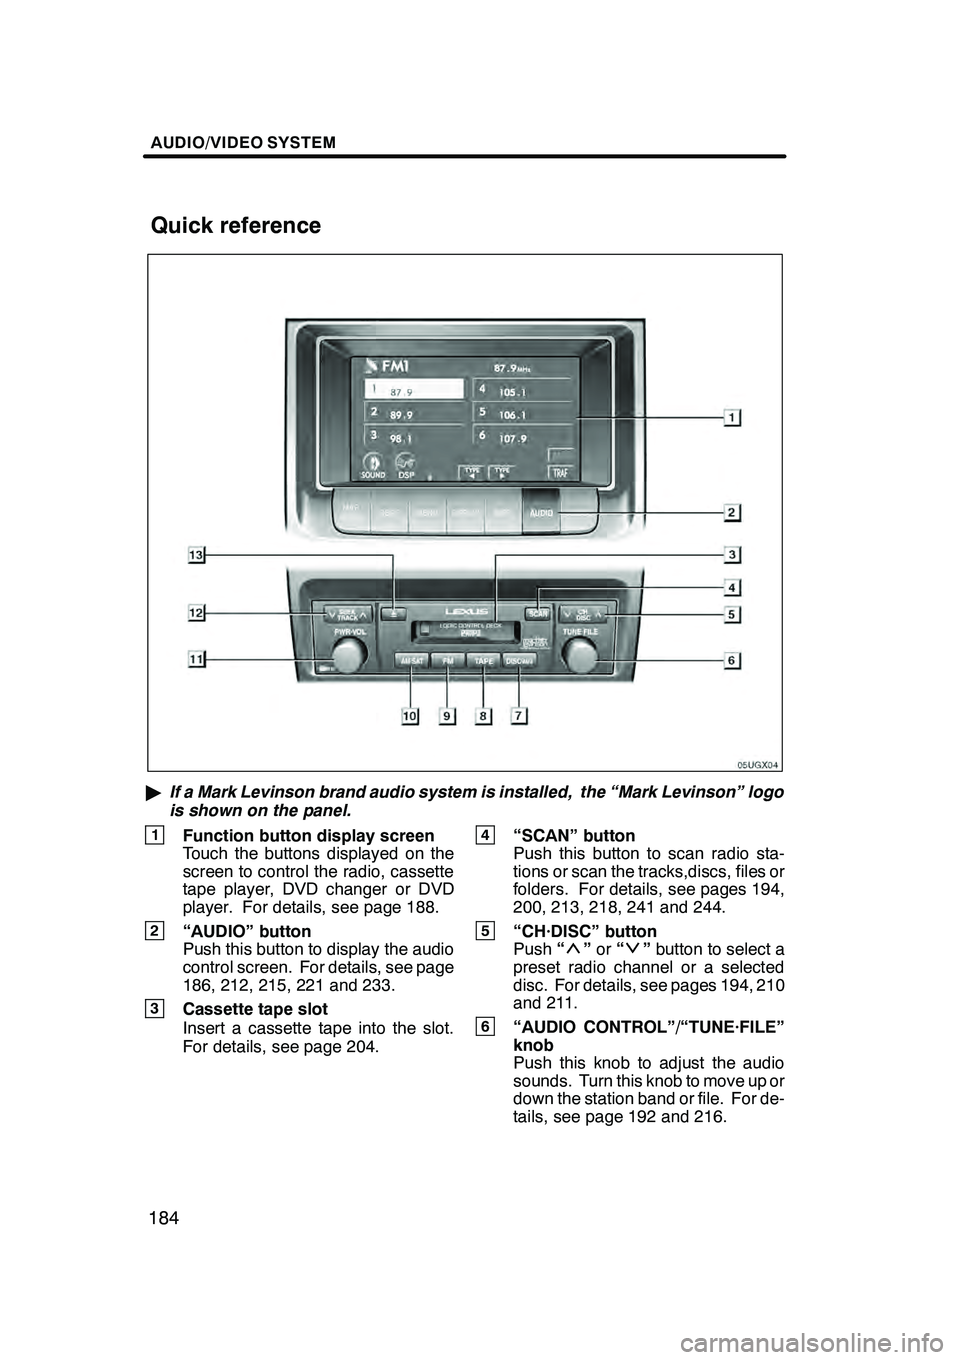
"If a Mark Levinson brand audio system is installed, the “Mark Levinson” logo
is shown on the panel.
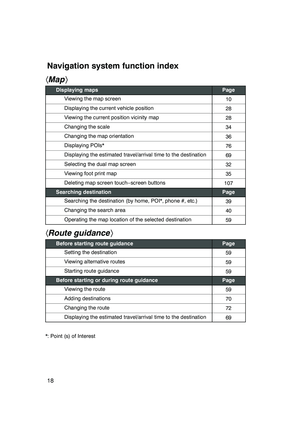
1Function button display screen
Touch the buttons displayed on the
screen to control the radio, cassette
tape player, DVD changer or DVD
player. For details, see page 188.
2“AUDIO” button
Push this button to display the audio
control screen. For details, see page
186, 212, 215, 221 and 233.
3Cassette tape slot
Insert a cassette tape into the slot.
For details, see page 204.
4“SCAN” button
Push this button to scan radio sta-
tions or scan the tracks,discs, files or
folders. For details, see pages 194,
200, 213, 218, 241 and 244.
5“CH·DISC” button
Push “”or “”button to select a
preset radio channel or a selected
disc. For details, see pages 194, 210
and 211.
6“AUDIO CONTROL”/“TUNE·FILE”
knob
Push this knob to adjust the audio
sounds. Turn this knob to move up or
down the station band or file. For de-
tails, see page 192 and 216.
GX470_Navi_U (OM60D58U) 07/06/16
Quick reference
Page 186 of 312

AUDIO/VIDEO SYSTEM
185
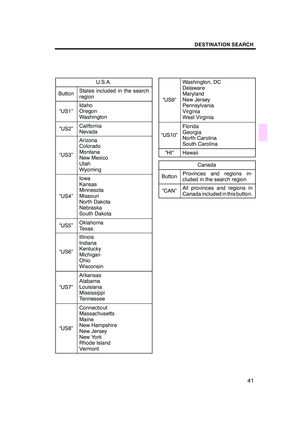
7“DISC·AUX” button
Push this button to turn the DVD
changer or DVD player on. For de-
tails, see pages 187, 211 and 237.
8“TAPE” button
Push this button to turn the cassette
tape player on. For details, see
pages 187 and 204.
9“FM” button
Push this button to choose an FM sta-
tion. For details, see pages 187 and
192.
10“AM·SAT” button
Push this button to choose either an
AM or SAT station. For details, see
pages 187, 192 and 198.
11“PWR·VOL” knob
Push this knob to turn the audio sys-
tem on and off, and turn it to adjust the
volume. For details, see page 186.
12“SEEK·TRACK” button
Push“”or “”button to seek up
or down for a station, or to access a
desired program, track, file or chap-
ter. For details, see pages 194, 200,
212, 216, 224 and 234.
13button for the cassette tape
Push this button to stop and eject the
cassette tape. For details, see page
204. This section describes some of the basic
features on Lexus audio/video systems.
Some information may not pertain to your
system.
Your audio/video system works when the
engine switch is in the “ACC” or “ON” posi-
tion.
NOTICE
To prevent the battery from being dis-
charged, do not leave the audio/video
system on longer than necessary
when the engine is not running.
GX470_Navi_U (OM60D58U) 07/06/16
Using your audio/video
system —
— Some basics
Page 187 of 312

AUDIO/VIDEO SYSTEM
186
CAUTION
For vehicles sold in U.S.A. and
Canada:
DPart 15 of the FCC Rules
FCC Warning:
Any unauthorized changes or
modifications to this equipment
will void the user’s authority to op-
erate this device.
DLaser products
DDo not take this unit apart or at-
tempt to make any changes
yourself. This is an intricate unit
that uses a laser pickup to re-
trieve information from the sur-
face of compact discs. The laser
is carefully shielded so that its
rays remain inside the cabinet.
Therefore, never try to disas-
semble the player or alter any of
its parts since you may be ex-
posed to laser rays and danger-
ous voltages.
DThis product utilizes a laser. Use
of controls or adjustments or
performance of procedures oth-
er than those specified herein
may result in hazardous radi-
ation exposure.
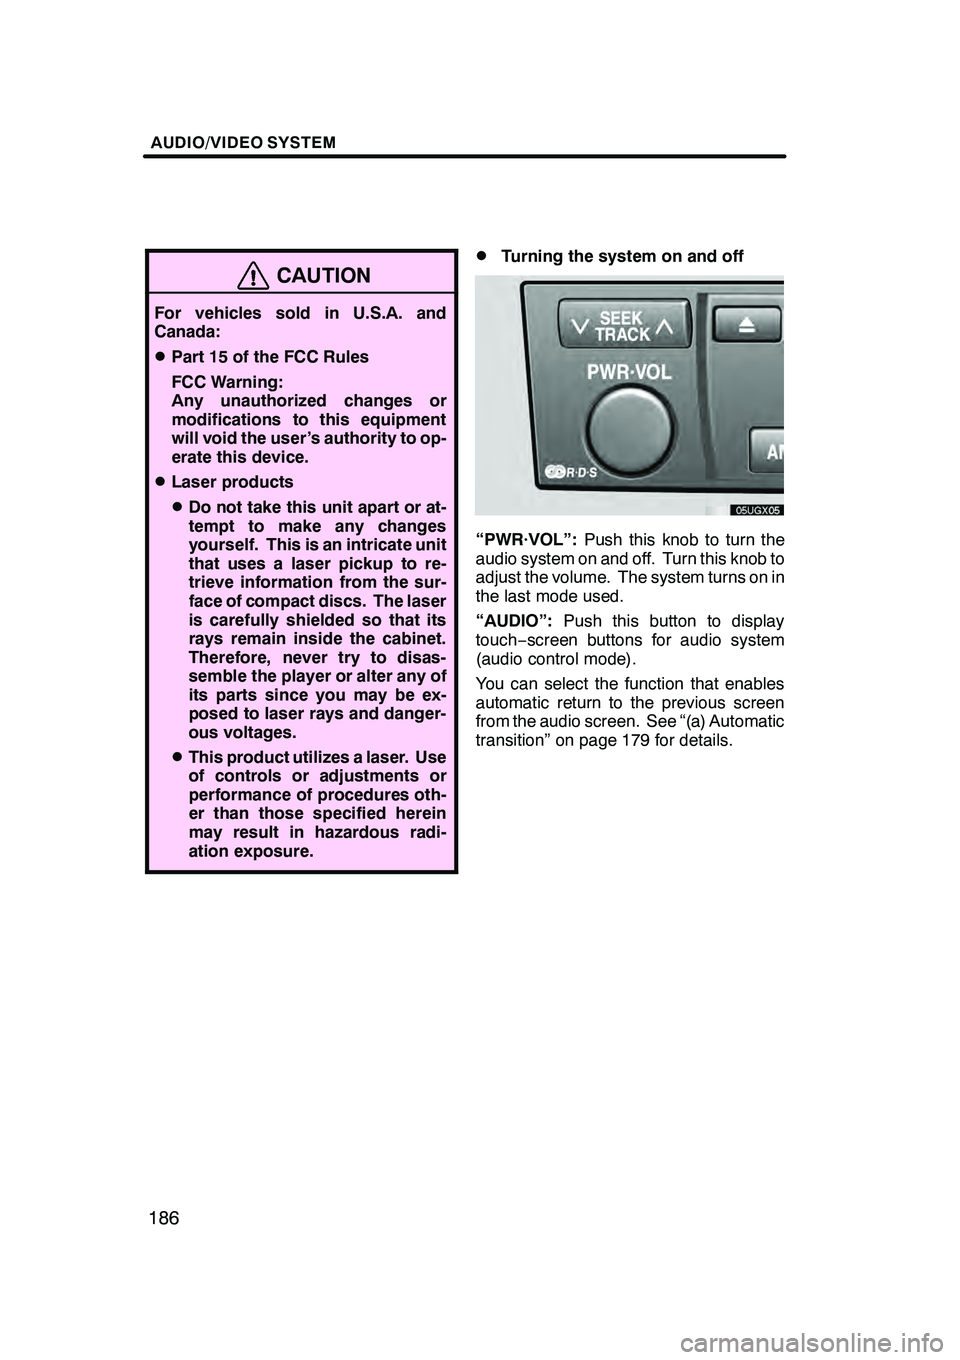
DTurning the system on and off
“PWR·VOL”:Push this knob to turn the
audio system on and off. Turn this knob to
adjust the volume. The system turns on in
the last mode used.
“AUDIO”: Push this button to display
touch− screen buttons for audio system
(audio control mode).
You can select the function that enables
automatic return to the previous screen
from the audio screen. See “(a) Automatic
transition” on page 179 for details.
GX470_Navi_U (OM60D58U) 07/06/16
Page 188 of 312
AUDIO/VIDEO SYSTEM
187
D
Switching between functions
Push “AM·SAT”, “FM”, “TAPE” or
“DISC·AUX” button to turn on the de-
sired mode. The selected mode turns
on immediately.
Push these buttons if you want to switch
from one mode to another.
If the tape or disc is not set, the cassette
tape player, DVD changer or DVD player
does not turn on.
You can turn off each player by ejecting the
cassette tape or disc. If the audio system
was previously off, then the entire audio
system will be turned off when you eject
the cassette tape or disc. If another func-
tion was previously playing, it will come on
again.
GX470_Navi_U (OM60D58U) 07/06/16
Page 189 of 312
AUDIO/VIDEO SYSTEM
188
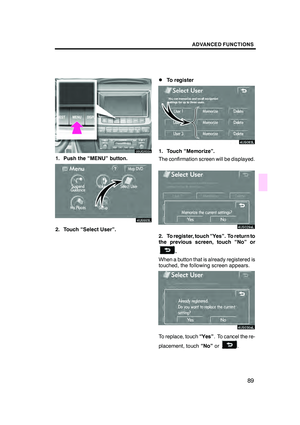
The buttons for radio, cassette tape player,
DVD changer and DVD player operation
are displayed on the function button dis-
play screen when the audio control mode
is selected.
Touch them lightly and directly on the
screen.
The selected button is highlighted.
INFORMATION
DIf the system does not respond to
a touch of a touch− screen button,
move your finger away from the
screen and then touch it again.
D You cannot operate dimmed
touch− screen buttons.
D Wipe off fingerprints on the sur-
face of the display using a glass
cleaning cloth.
GX470_Navi_U (OM60D58U) 07/06/16
Page 190 of 312

AUDIO/VIDEO SYSTEM
189
D
Tone and balance
How good an audio program sounds to you
is largely determined by the mix of the
treble, midrange, and bass levels. In fact,
different kinds of music and vocal pro-
grams usually sound better with different
levels of treble, midrange, and bass.
A good balance of the left and right stereo
channels and of the front and rear sound
levels is also important.
Keep in mind that if you are listening to a
stereo recording or broadcast, changing
the right/left balance will increase the vol-
ume of one group of sounds while de-
creasing the volume of another.
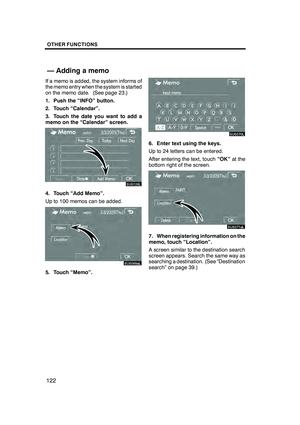
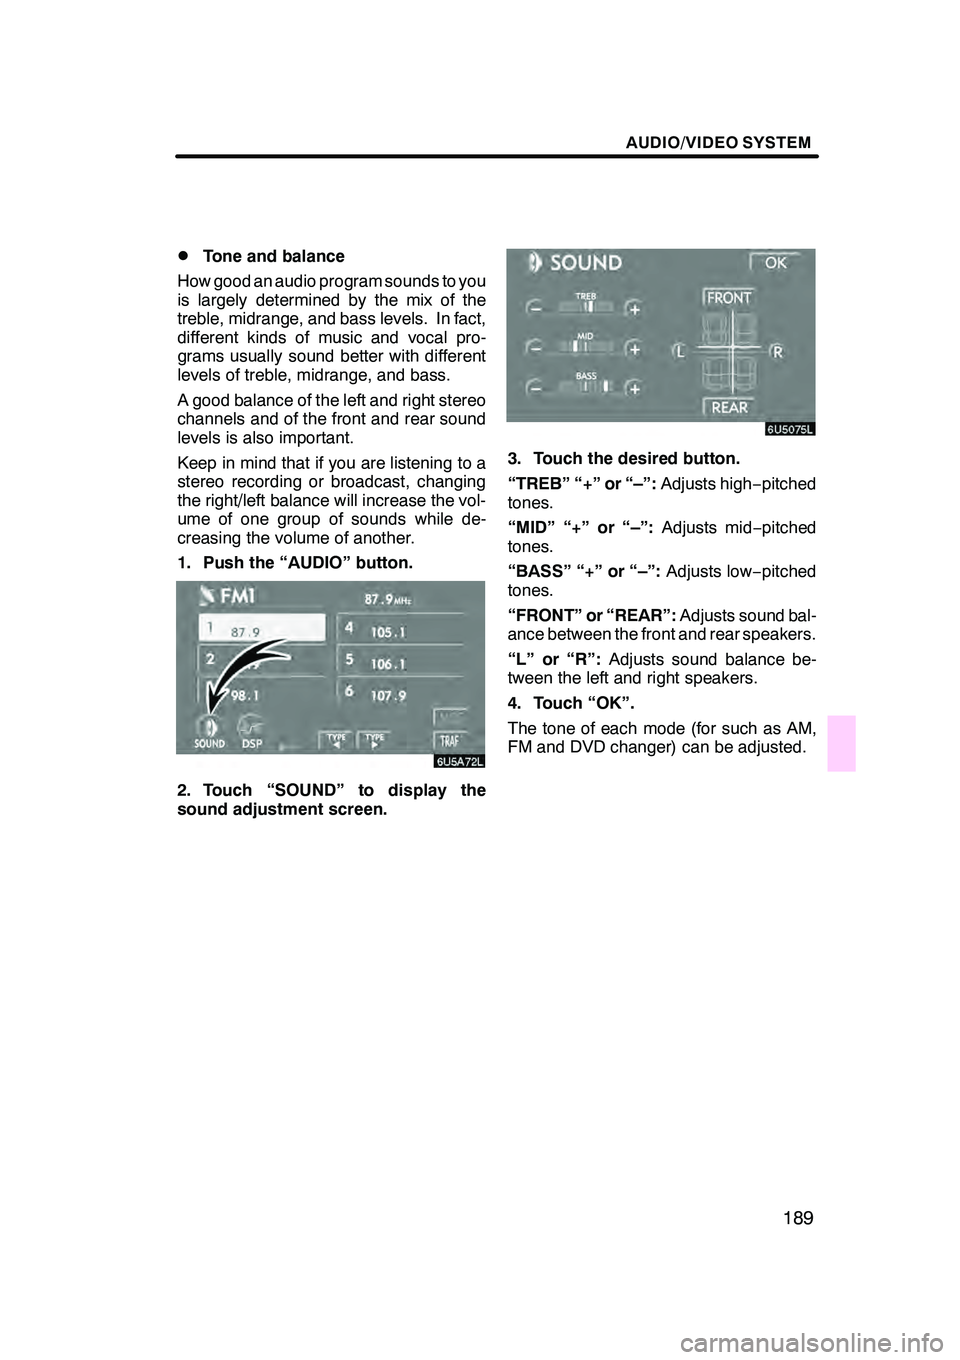
1. Push the “AUDIO” button.
6U5A72L
2. Touch “SOUND” to display the
sound adjustment screen.
3. Touch the desired button.
“TREB” “+” or “–”: Adjusts high−pitched
tones.
“MID” “+” or “–”: Adjusts mid−pitched
tones.
“BASS” “+” or “–”: Adjusts low−pitched
tones.
“FRONT” or “REAR”: Adjusts sound bal-
ance between the front and rear speakers.
“L” or “R”: Adjusts sound balance be-
tween the left and right speakers.
4. Touch “OK”.
The tone of each mode (for such as AM,
FM and DVD changer) can be adjusted.
GX470_Navi_U (OM60D58U) 07/06/16
Page 191 of 312

AUDIO/VIDEO SYSTEM
190
D
DSP control
You can change the listening position or
turn on/off the surround function and the
automatic sound levelizer.
1. Push the “AUDIO” button.
6U5A73L
2. Touch “DSP” to display the DSP
control mode screen.
Surround function:
Select “ON”of “SURROUND” and touch
“OK” .
The surround function will turn on.
Automatic sound levelizer (ASL):
When the audio sound becomes difficult to
hear due to road noise, wind noise or other
noises while driving, touch “ON”. The
system adjusts to the optimum volume and
tone quality according to the noise level.
When the system is on, the sound adjust-
ment level is displayed on the screen.
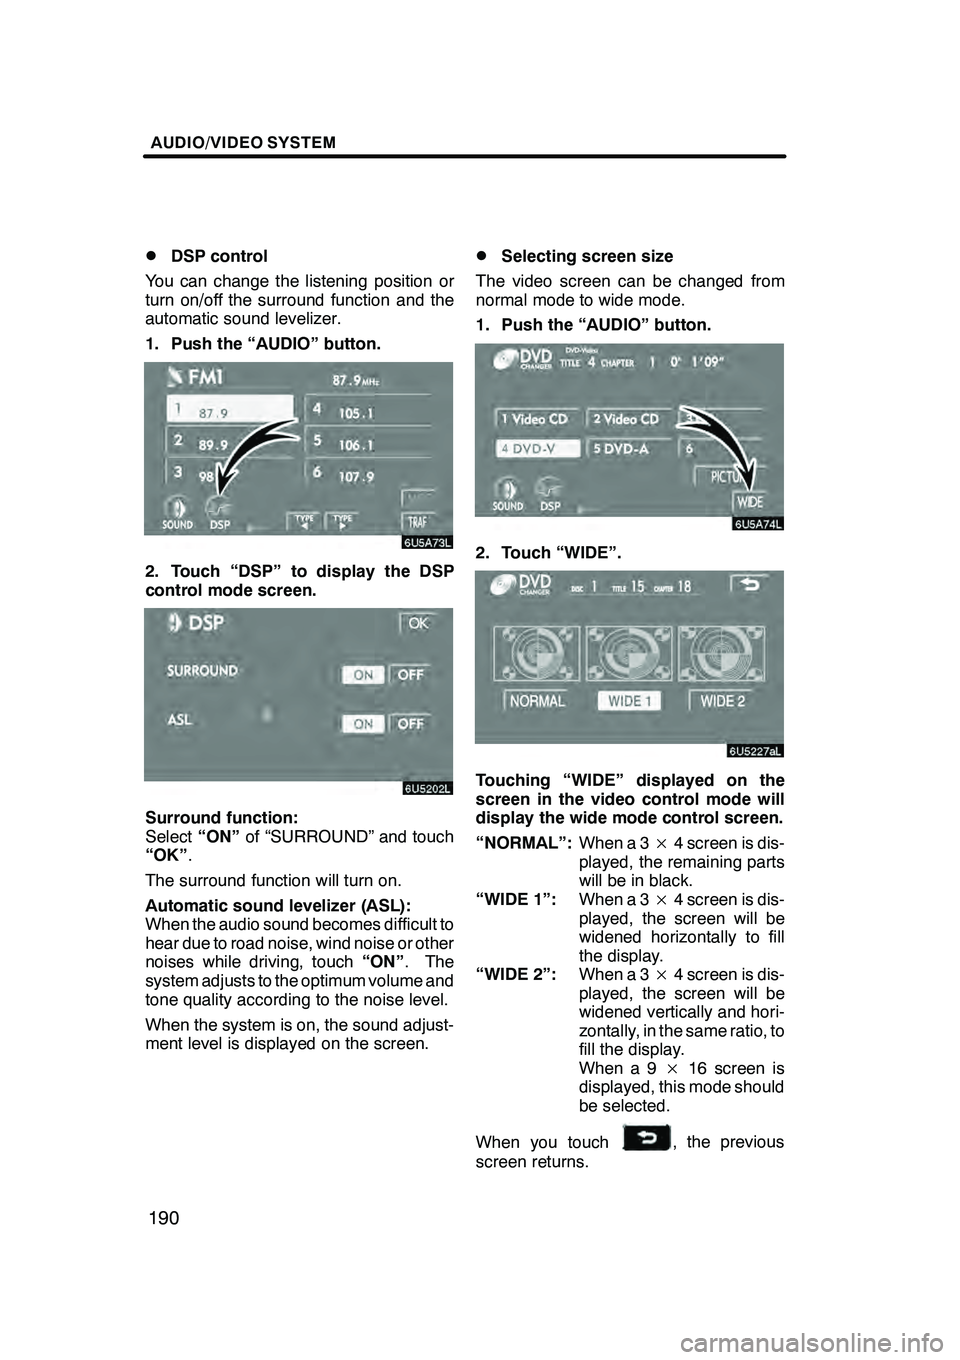
DSelecting screen size
The video screen can be changed from
normal mode to wide mode.
1. Push the “AUDIO” button.
6U5A74L
2. Touch “WIDE”.
Touching “WIDE” displayed on the
screen in the video control mode will
display the wide mode control screen.
“NORMAL”: When a 3×4 screen is dis-
played, the remaining parts
will be in black.
“WIDE 1”: When a 3×4 screen is dis-
played, the screen will be
widened horizontally to fill
the display.
“WIDE 2”: When a 3×4 screen is dis-
played, the screen will be
widened vertically and hori-
zontally, in the same ratio, to
fill the display.
When a 9 ×16 screen is
displayed, this mode should
be selected.
When you touch
, the previous
screen returns.
GX470_Navi_U (OM60D58U) 07/06/16
Page 192 of 312
AUDIO/VIDEO SYSTEM
191
D
Your cassette tape player
When you insert a cassette, the exposed
tape should face to the right.
NOTICE
Never try to disassemble or oil any
part of the cassette player. Do not in-
sert anything other than cassette
tapes into the slot.
DYour DVD changer
Your DVD changer can store up to 6 discs
and play selected discs or continuously
play all the discs load in the changer.
When you load discs into the changer,
make sure their labels are face up. If not,
“DISC ×Check” will appear on the screen.
NOTICE
DDo not stack up two discs for in-
sertion, or it will cause damage to
the changer. Insert only one disc
into slot at a time.
DNever try to disassemble or oil any
part of the changer. Do not insert
anything other than discs into the
slot.
The changer is intended for use with 12 cm
(4.7 in.) discs only.
GX470_Navi_U (OM60D58U) 07/06/16