Page 3778 of 3924

SIDE CURTAIN AIR BAG MODULESRS-41
< SERVICE INFORMATION >
C
DE
F
G
I
J
K L
M A
B
SRS
N
O P
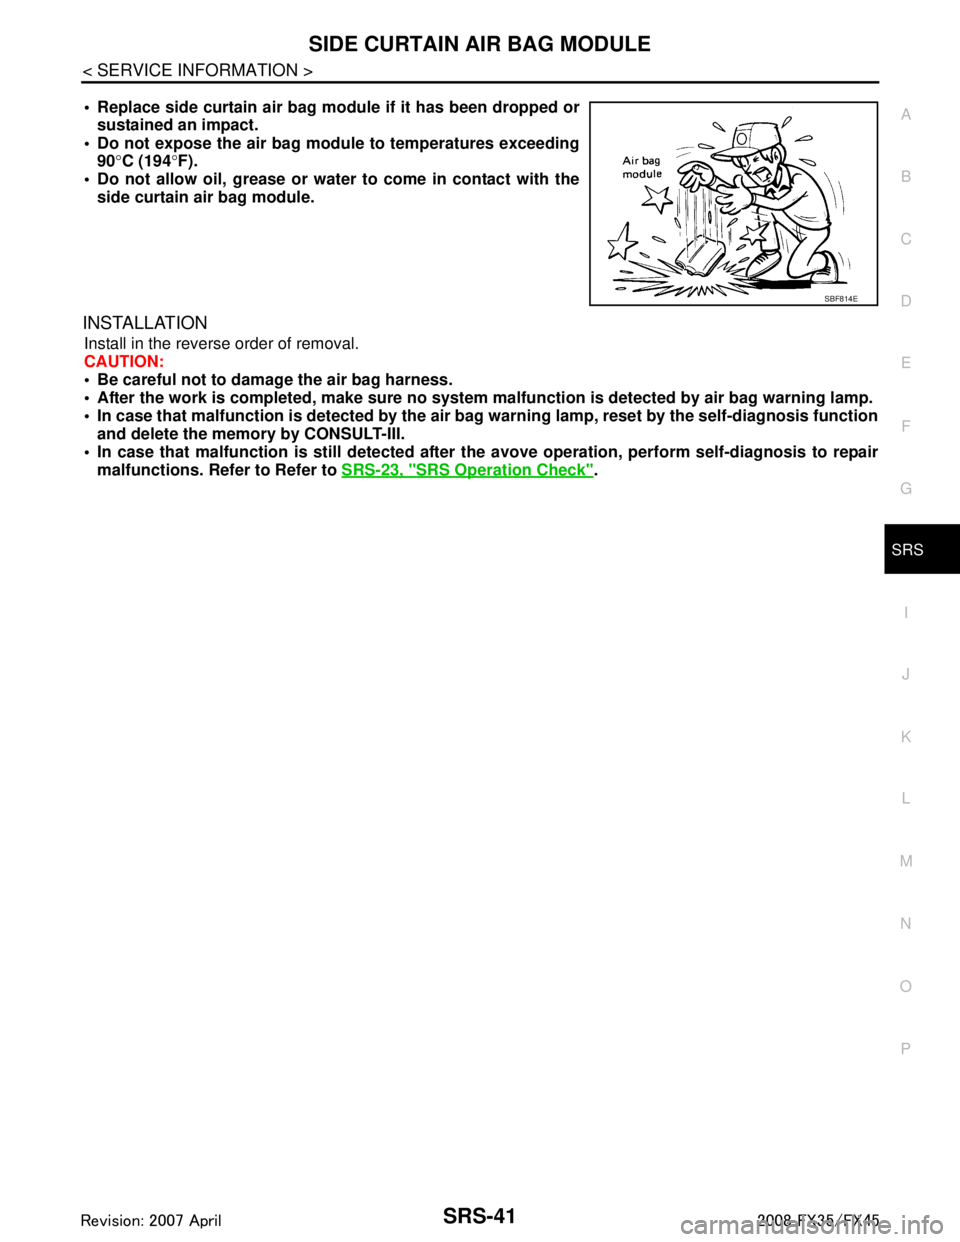
Replace side curtain air bag modu le if it has been dropped or
sustained an impact.
Do not expose the air bag mo dule to temperatures exceeding
90 °C (194 °F).
Do not allow oil, grease or water to come in contact with the
side curtain air bag module.
INSTALLATION
Install in the reverse order of removal.
CAUTION:
Be careful not to damage the air bag harness.
After the work is completed, make sure no system malfunction is detected by air bag warning lamp.
In case that malfunction is detected by the air ba g warning lamp, reset by the self-diagnosis function
and delete the memory by CONSULT-III.
In case that malfunction is still detected after the avove operation, perform self-diagnosis to repair
malfunctions. Refer to Refer to SRS-23, "
SRS Operation Check".
SBF814E
3AA93ABC3ACD3AC03ACA3AC03AC63AC53A913A773A893A873A873A8E3A773A983AC73AC93AC03AC3
3A893A873A873A8F3A773A9D3AAF3A8A3A8C3A863A9D3AAF3A8B3A8C
Page 3822 of 3924
TF-36
< SERVICE INFORMATION >
FRONT OIL SEAL
FRONT OIL SEAL
Removal and InstallationINFOID:0000000001327457
REMOVAL
1. Remove the drain plug to drain the transfer fluid. Refer to TF-10, "Replacement".
2. Remove the front propeller shaft. Refer to PR-4
.
3. Remove front oil seal using a flat-bladed screwdriver. CAUTION:
Be careful not to damage the front case and front drive
shaft.
INSTALLATION
1. Apply ATF to front oil seal, install it with a drift until the end faceof front case.
CAUTION:
Do not reuse front oil seal.
When installing, do no t incline front oil seal.
2. Install front propeller shaft. Refer to PR-4
.
3. Install transfer fluid, check fluid level and for fluid leakage. Refer to TF-10, "
Inspection".
SDIA1782E
Tool number : ST27862000 ( — )
SDIA1783E
3AA93ABC3ACD3AC03ACA3AC03AC63AC53A913A773A893A873A873A8E3A773A983AC73AC93AC03AC3
3A893A873A873A8F3A773A9D3AAF3A8A3A8C3A863A9D3AAF3A8B3A8C
Page 3824 of 3924
TF-38
< SERVICE INFORMATION >
REAR OIL SEAL
1. Apply ATF to rear oil seal, install it with a drift.CAUTION:
Do not reuse rear oil seal.
When installing, do not incline rear oil seal.
2. Align the matching mark of mainshaft with the mark of compan- ion flange, then install the companion flange.
3. Using flange wrench, install the self-lock nut of companion flange and tighten to the specified torque. Refer to TF-40, "
Dis-
assembly and Assembly".
CAUTION:
Do not reuse self-lock nut.
4. Install the rear propeller shaft. Refer to PR-7
.
5. Check fluid level. Refer to TF-10, "
Inspection".
Dimension A : 6.7 - 7.3 mm (0.264 - 0.287 in)
Tool number A: ST30720000 (J-25405)
B: KV40104830 ( — )
PDIA0292E
SDIA2378E
PDIA0245E
3AA93ABC3ACD3AC03ACA3AC03AC63AC53A913A773A893A873A873A8E3A773A983AC73AC93AC03AC3
3A893A873A873A8F3A773A9D3AAF3A8A3A8C3A863A9D3AAF3A8B3A8C