2008 CHEVROLET TRAIL BLAZER buttons
[x] Cancel search: buttonsPage 8 of 472
Heated Seats
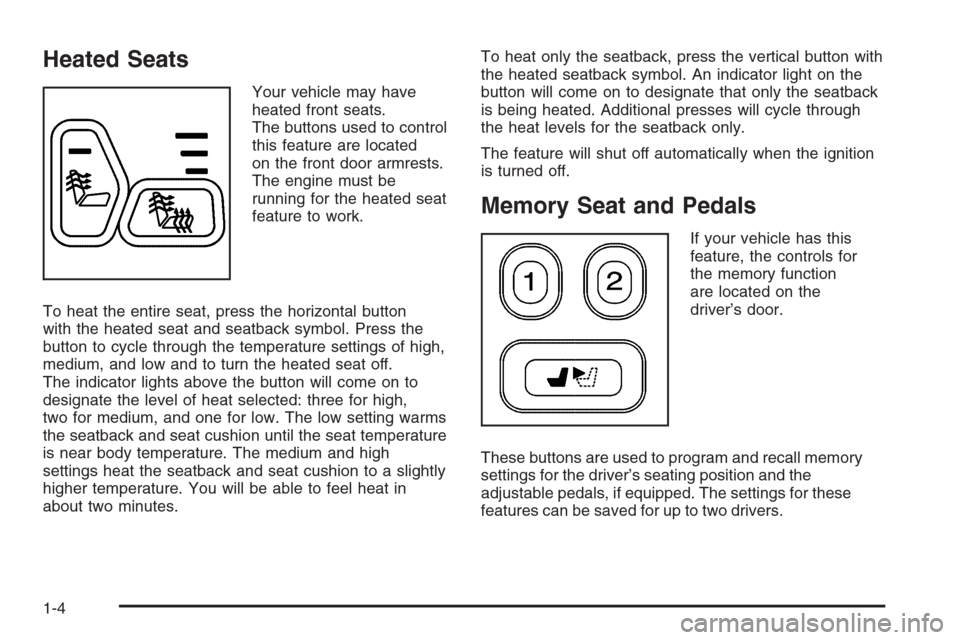
Your vehicle may have
heated front seats.
The buttons used to control
this feature are located
on the front door armrests.
The engine must be
running for the heated seat
feature to work.
To heat the entire seat, press the horizontal button
with the heated seat and seatback symbol. Press the
button to cycle through the temperature settings of high,
medium, and low and to turn the heated seat off.
The indicator lights above the button will come on to
designate the level of heat selected: three for high,
two for medium, and one for low. The low setting warms
the seatback and seat cushion until the seat temperature
is near body temperature. The medium and high
settings heat the seatback and seat cushion to a slightly
higher temperature. You will be able to feel heat in
about two minutes.To heat only the seatback, press the vertical button with
the heated seatback symbol. An indicator light on the
button will come on to designate that only the seatback
is being heated. Additional presses will cycle through
the heat levels for the seatback only.
The feature will shut off automatically when the ignition
is turned off.
Memory Seat and Pedals
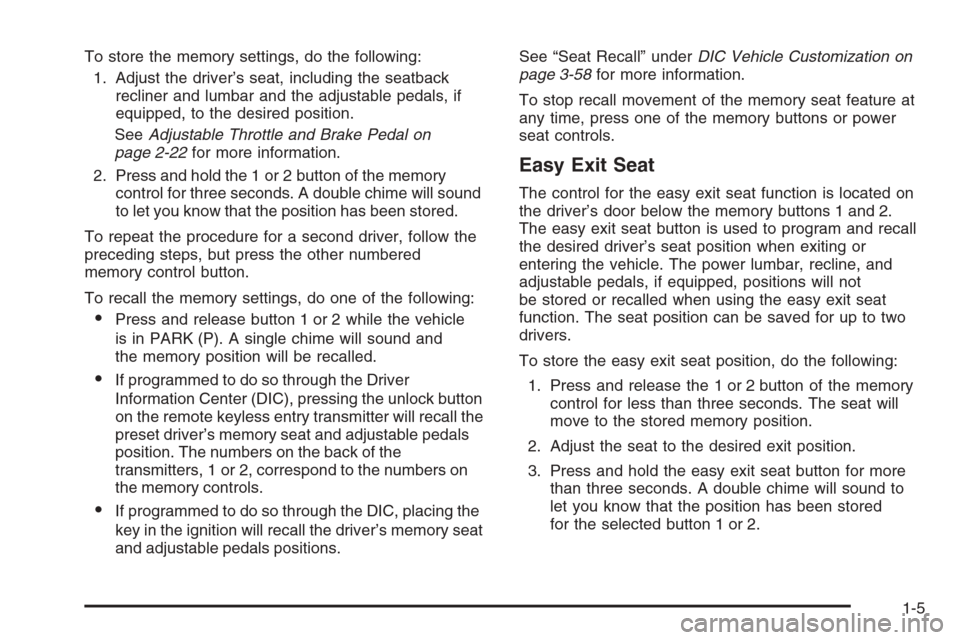
If your vehicle has this
feature, the controls for
the memory function
are located on the
driver’s door.
These buttons are used to program and recall memory
settings for the driver’s seating position and the
adjustable pedals, if equipped. The settings for these
features can be saved for up to two drivers.
1-4
Page 9 of 472
To store the memory settings, do the following:
1. Adjust the driver’s seat, including the seatback
recliner and lumbar and the adjustable pedals, if
equipped, to the desired position.
SeeAdjustable Throttle and Brake Pedal on
page 2-22for more information.
2. Press and hold the 1 or 2 button of the memory
control for three seconds. A double chime will sound
to let you know that the position has been stored.
To repeat the procedure for a second driver, follow the
preceding steps, but press the other numbered
memory control button.
To recall the memory settings, do one of the following:
Press and release button 1 or 2 while the vehicle
is in PARK (P). A single chime will sound and
the memory position will be recalled.
If programmed to do so through the Driver
Information Center (DIC), pressing the unlock button
on the remote keyless entry transmitter will recall the
preset driver’s memory seat and adjustable pedals
position. The numbers on the back of the
transmitters, 1 or 2, correspond to the numbers on
the memory controls.
If programmed to do so through the DIC, placing the
key in the ignition will recall the driver’s memory seat
and adjustable pedals positions.See “Seat Recall” underDIC Vehicle Customization on
page 3-58for more information.
To stop recall movement of the memory seat feature at
any time, press one of the memory buttons or power
seat controls.
Easy Exit Seat
The control for the easy exit seat function is located on
the driver’s door below the memory buttons 1 and 2.
The easy exit seat button is used to program and recall
the desired driver’s seat position when exiting or
entering the vehicle. The power lumbar, recline, and
adjustable pedals, if equipped, positions will not
be stored or recalled when using the easy exit seat
function. The seat position can be saved for up to two
drivers.
To store the easy exit seat position, do the following:
1. Press and release the 1 or 2 button of the memory
control for less than three seconds. The seat will
move to the stored memory position.
2. Adjust the seat to the desired exit position.
3. Press and hold the easy exit seat button for more
than three seconds. A double chime will sound to
let you know that the position has been stored
for the selected button 1 or 2.
1-5
Page 110 of 472
Manual Rearview Mirror with
OnStar
®
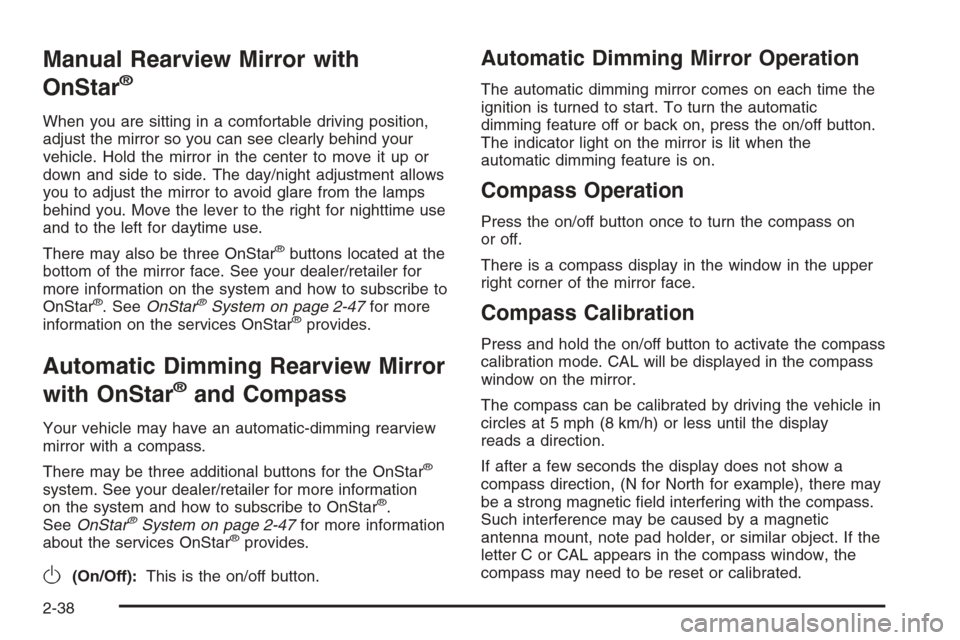
When you are sitting in a comfortable driving position,
adjust the mirror so you can see clearly behind your
vehicle. Hold the mirror in the center to move it up or
down and side to side. The day/night adjustment allows
you to adjust the mirror to avoid glare from the lamps
behind you. Move the lever to the right for nighttime use
and to the left for daytime use.
There may also be three OnStar
®buttons located at the
bottom of the mirror face. See your dealer/retailer for
more information on the system and how to subscribe to
OnStar
®. SeeOnStar®System on page 2-47for more
information on the services OnStar®provides.
Automatic Dimming Rearview Mirror
with OnStar
®and Compass
Your vehicle may have an automatic-dimming rearview
mirror with a compass.
There may be three additional buttons for the OnStar
®
system. See your dealer/retailer for more information
on the system and how to subscribe to OnStar®.
SeeOnStar®System on page 2-47for more information
about the services OnStar®provides.
O(On/Off):This is the on/off button.
Automatic Dimming Mirror Operation
The automatic dimming mirror comes on each time the
ignition is turned to start. To turn the automatic
dimming feature off or back on, press the on/off button.
The indicator light on the mirror is lit when the
automatic dimming feature is on.
Compass Operation
Press the on/off button once to turn the compass on
or off.
There is a compass display in the window in the upper
right corner of the mirror face.
Compass Calibration
Press and hold the on/off button to activate the compass
calibration mode. CAL will be displayed in the compass
window on the mirror.
The compass can be calibrated by driving the vehicle in
circles at 5 mph (8 km/h) or less until the display
reads a direction.
If after a few seconds the display does not show a
compass direction, (N for North for example), there may
be a strong magnetic �eld interfering with the compass.
Such interference may be caused by a magnetic
antenna mount, note pad holder, or similar object. If the
letter C or CAL appears in the compass window, the
compass may need to be reset or calibrated.
2-38
Page 114 of 472
Compass Calibration
The compass may need calibration if one of the
following occurs:
After approximately �ve seconds, the display does
not show a compass heading (N for North, for
example), there may be a strong magnetic �eld
interfering with the compass. Such interference may
be caused by a magnetic antenna mount, magnetic
note pad holder or a similar magnetic item.
The compass does not display the correct heading
and the compass zone variance is set correctly.
In order to calibrate, CAL must be displayed in the
mirror compass windows. If CAL is not displayed, press
and hold the on/off button until CAL is displayed.
The compass can be calibrated by driving the vehicle in
circles at 5 mph (8 km/h) or less until the display
reads a direction.
Passenger Airbag Indicator
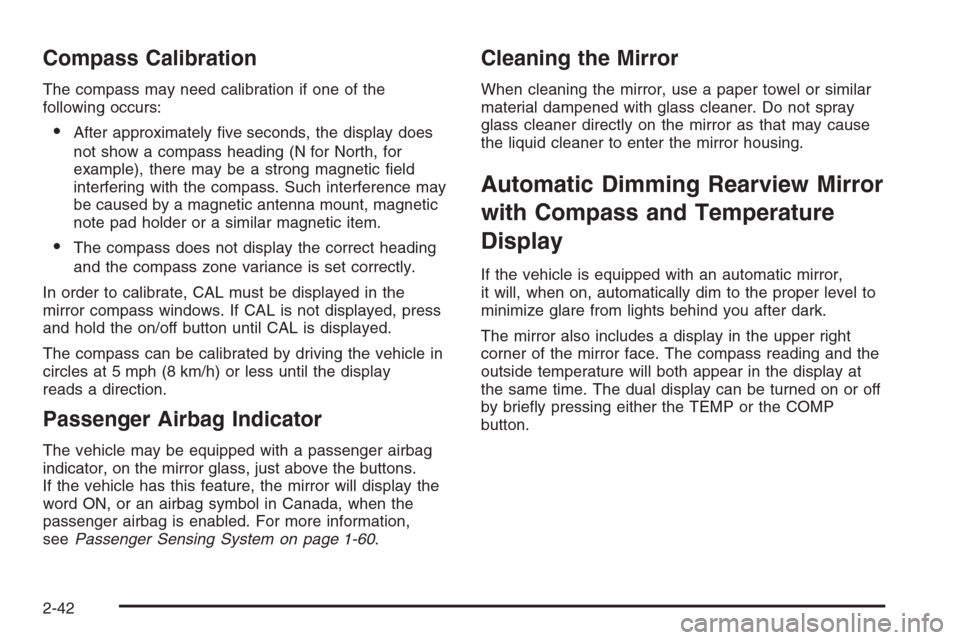
The vehicle may be equipped with a passenger airbag
indicator, on the mirror glass, just above the buttons.
If the vehicle has this feature, the mirror will display the
word ON, or an airbag symbol in Canada, when the
passenger airbag is enabled. For more information,
seePassenger Sensing System on page 1-60.
Cleaning the Mirror
When cleaning the mirror, use a paper towel or similar
material dampened with glass cleaner. Do not spray
glass cleaner directly on the mirror as that may cause
the liquid cleaner to enter the mirror housing.
Automatic Dimming Rearview Mirror
with Compass and Temperature
Display
If the vehicle is equipped with an automatic mirror,
it will, when on, automatically dim to the proper level to
minimize glare from lights behind you after dark.
The mirror also includes a display in the upper right
corner of the mirror face. The compass reading and the
outside temperature will both appear in the display at
the same time. The dual display can be turned on or off
by brie�y pressing either the TEMP or the COMP
button.
2-42
Page 117 of 472
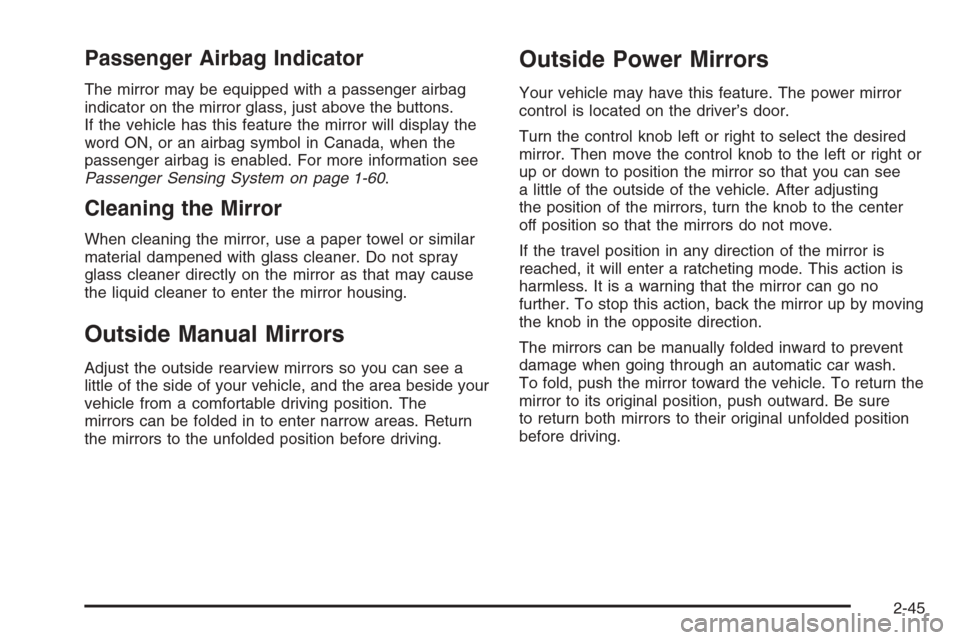
Passenger Airbag Indicator
The mirror may be equipped with a passenger airbag
indicator on the mirror glass, just above the buttons.
If the vehicle has this feature the mirror will display the
word ON, or an airbag symbol in Canada, when the
passenger airbag is enabled. For more information see
Passenger Sensing System on page 1-60.
Cleaning the Mirror
When cleaning the mirror, use a paper towel or similar
material dampened with glass cleaner. Do not spray
glass cleaner directly on the mirror as that may cause
the liquid cleaner to enter the mirror housing.
Outside Manual Mirrors
Adjust the outside rearview mirrors so you can see a
little of the side of your vehicle, and the area beside your
vehicle from a comfortable driving position. The
mirrors can be folded in to enter narrow areas. Return
the mirrors to the unfolded position before driving.
Outside Power Mirrors
Your vehicle may have this feature. The power mirror
control is located on the driver’s door.
Turn the control knob left or right to select the desired
mirror. Then move the control knob to the left or right or
up or down to position the mirror so that you can see
a little of the outside of the vehicle. After adjusting
the position of the mirrors, turn the knob to the center
off position so that the mirrors do not move.
If the travel position in any direction of the mirror is
reached, it will enter a ratcheting mode. This action is
harmless. It is a warning that the mirror can go no
further. To stop this action, back the mirror up by moving
the knob in the opposite direction.
The mirrors can be manually folded inward to prevent
damage when going through an automatic car wash.
To fold, push the mirror toward the vehicle. To return the
mirror to its original position, push outward. Be sure
to return both mirrors to their original unfolded position
before driving.
2-45
Page 122 of 472
Your vehicle must have a working electrical system
(including adequate battery power) for the OnStar
equipment to operate. There are other problems OnStar
cannot control that may prevent OnStar from providing
OnStar service to you at any particular time or place.
Some examples are damage to important parts of your
vehicle in an accident, hills, tall buildings, tunnels,
weather or wireless phone network congestion.
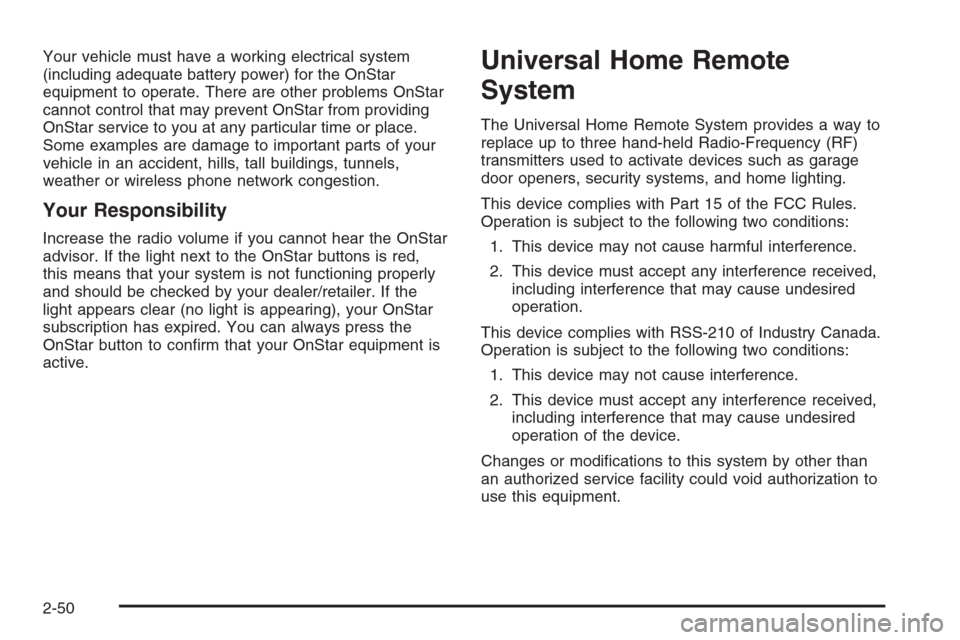
Your Responsibility
Increase the radio volume if you cannot hear the OnStar
advisor. If the light next to the OnStar buttons is red,
this means that your system is not functioning properly
and should be checked by your dealer/retailer. If the
light appears clear (no light is appearing), your OnStar
subscription has expired. You can always press the
OnStar button to con�rm that your OnStar equipment is
active.
Universal Home Remote
System
The Universal Home Remote System provides a way to
replace up to three hand-held Radio-Frequency (RF)
transmitters used to activate devices such as garage
door openers, security systems, and home lighting.
This device complies with Part 15 of the FCC Rules.
Operation is subject to the following two conditions:
1. This device may not cause harmful interference.
2. This device must accept any interference received,
including interference that may cause undesired
operation.
This device complies with RSS-210 of Industry Canada.
Operation is subject to the following two conditions:
1. This device may not cause interference.
2. This device must accept any interference received,
including interference that may cause undesired
operation of the device.
Changes or modi�cations to this system by other than
an authorized service facility could void authorization to
use this equipment.
2-50
Page 123 of 472
Universal Home Remote System
Operation (With One Triangular LED)
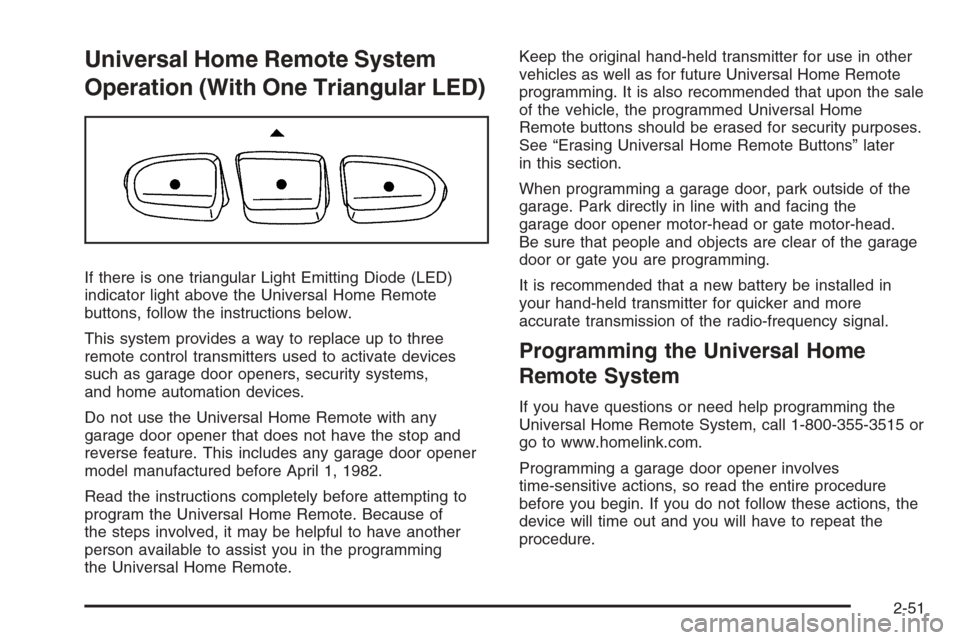
If there is one triangular Light Emitting Diode (LED)
indicator light above the Universal Home Remote
buttons, follow the instructions below.
This system provides a way to replace up to three
remote control transmitters used to activate devices
such as garage door openers, security systems,
and home automation devices.
Do not use the Universal Home Remote with any
garage door opener that does not have the stop and
reverse feature. This includes any garage door opener
model manufactured before April 1, 1982.
Read the instructions completely before attempting to
program the Universal Home Remote. Because of
the steps involved, it may be helpful to have another
person available to assist you in the programming
the Universal Home Remote.Keep the original hand-held transmitter for use in other
vehicles as well as for future Universal Home Remote
programming. It is also recommended that upon the sale
of the vehicle, the programmed Universal Home
Remote buttons should be erased for security purposes.
See “Erasing Universal Home Remote Buttons” later
in this section.
When programming a garage door, park outside of the
garage. Park directly in line with and facing the
garage door opener motor-head or gate motor-head.
Be sure that people and objects are clear of the garage
door or gate you are programming.
It is recommended that a new battery be installed in
your hand-held transmitter for quicker and more
accurate transmission of the radio-frequency signal.
Programming the Universal Home
Remote System
If you have questions or need help programming the
Universal Home Remote System, call 1-800-355-3515 or
go to www.homelink.com.
Programming a garage door opener involves
time-sensitive actions, so read the entire procedure
before you begin. If you do not follow these actions, the
device will time out and you will have to repeat the
procedure.
2-51
Page 124 of 472
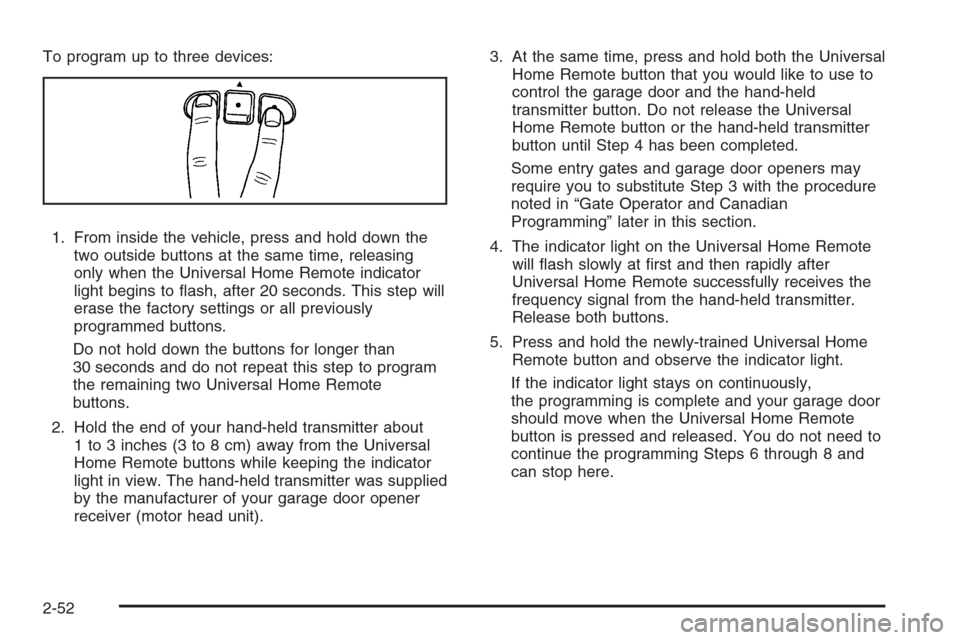
To program up to three devices:
1. From inside the vehicle, press and hold down the
two outside buttons at the same time, releasing
only when the Universal Home Remote indicator
light begins to �ash, after 20 seconds. This step will
erase the factory settings or all previously
programmed buttons.
Do not hold down the buttons for longer than
30 seconds and do not repeat this step to program
the remaining two Universal Home Remote
buttons.
2. Hold the end of your hand-held transmitter about
1 to 3 inches (3 to 8 cm) away from the Universal
Home Remote buttons while keeping the indicator
light in view. The hand-held transmitter was supplied
by the manufacturer of your garage door opener
receiver (motor head unit).3. At the same time, press and hold both the Universal
Home Remote button that you would like to use to
control the garage door and the hand-held
transmitter button. Do not release the Universal
Home Remote button or the hand-held transmitter
button until Step 4 has been completed.
Some entry gates and garage door openers may
require you to substitute Step 3 with the procedure
noted in “Gate Operator and Canadian
Programming” later in this section.
4. The indicator light on the Universal Home Remote
will �ash slowly at �rst and then rapidly after
Universal Home Remote successfully receives the
frequency signal from the hand-held transmitter.
Release both buttons.
5. Press and hold the newly-trained Universal Home
Remote button and observe the indicator light.
If the indicator light stays on continuously,
the programming is complete and your garage door
should move when the Universal Home Remote
button is pressed and released. You do not need to
continue the programming Steps 6 through 8 and
can stop here.
2-52