Page 235 of 472

Audio Steering Wheel Controls
If your vehicle has this feature, some audio controls can
be adjusted at the steering wheel. They include the
following:
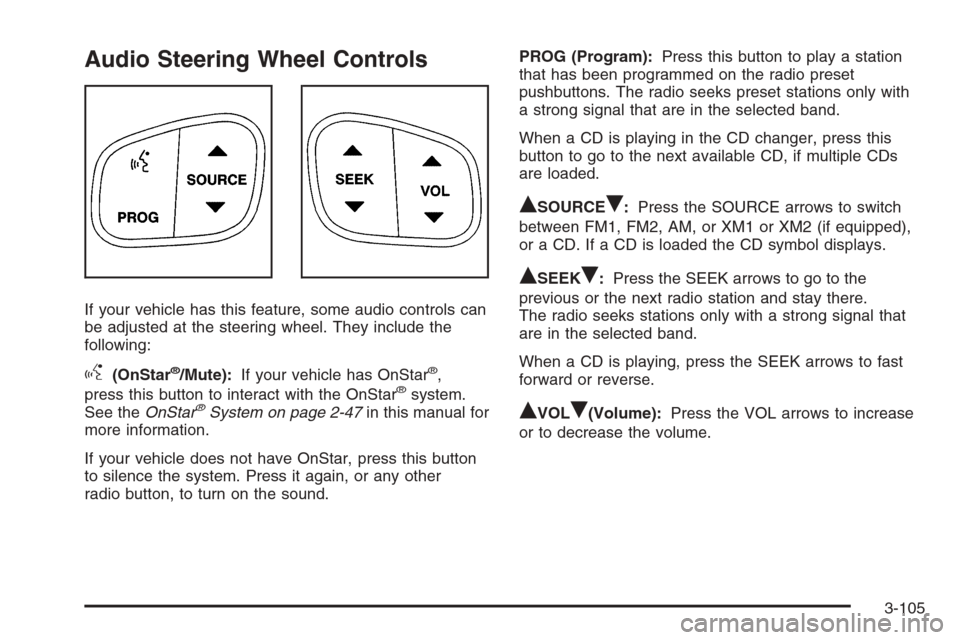
g(OnStar®/Mute):If your vehicle has OnStar®,
press this button to interact with the OnStar®system.
See theOnStar®System on page 2-47in this manual for
more information.
If your vehicle does not have OnStar, press this button
to silence the system. Press it again, or any other
radio button, to turn on the sound.PROG (Program):Press this button to play a station
that has been programmed on the radio preset
pushbuttons. The radio seeks preset stations only with
a strong signal that are in the selected band.
When a CD is playing in the CD changer, press this
button to go to the next available CD, if multiple CDs
are loaded.
QSOURCER:Press the SOURCE arrows to switch
between FM1, FM2, AM, or XM1 or XM2 (if equipped),
or a CD. If a CD is loaded the CD symbol displays.
QSEEKR:Press the SEEK arrows to go to the
previous or the next radio station and stay there.
The radio seeks stations only with a strong signal that
are in the selected band.
When a CD is playing, press the SEEK arrows to fast
forward or reverse.
QVOLR(Volume):Press the VOL arrows to increase
or to decrease the volume.
3-105
Page 367 of 472

Tire Pressure Monitor Operation
The Tire Pressure Monitor System (TPMS) is designed to
warn the driver when a low tire pressure condition exists.
TPMS sensors are mounted onto each tire and wheel
assembly, excluding the spare tire and wheel assembly.
The TPMS sensors monitor the air pressure in the
vehicle’s tires and transmit the tire pressure readings to a
receiver located in the vehicle.
The TPMS is designed to alert the driver if a low tire
pressure condition exists. If your vehicle has the Driver
Information Center (DIC) steering wheel control buttons,
tire pressure levels may also be checked through the
DIC. See “Tire Pressures” underDIC Operation and
Displays on page 3-50.
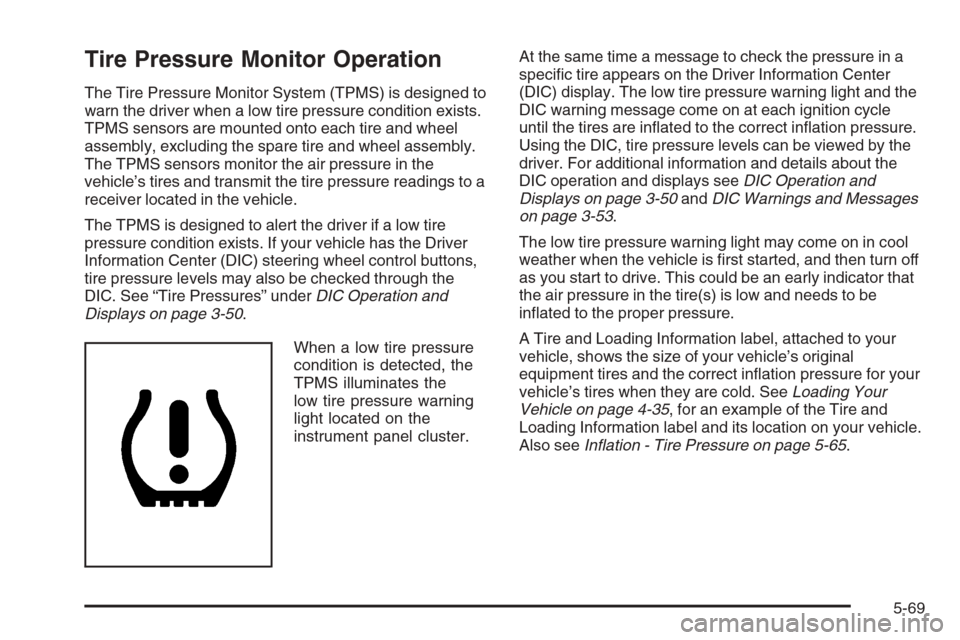
When a low tire pressure
condition is detected, the
TPMS illuminates the
low tire pressure warning
light located on the
instrument panel cluster.At the same time a message to check the pressure in a
speci�c tire appears on the Driver Information Center
(DIC) display. The low tire pressure warning light and the
DIC warning message come on at each ignition cycle
until the tires are in�ated to the correct in�ation pressure.
Using the DIC, tire pressure levels can be viewed by the
driver. For additional information and details about the
DIC operation and displays seeDIC Operation and
Displays on page 3-50andDIC Warnings and Messages
on page 3-53.
The low tire pressure warning light may come on in cool
weather when the vehicle is �rst started, and then turn off
as you start to drive. This could be an early indicator that
the air pressure in the tire(s) is low and needs to be
in�ated to the proper pressure.
A Tire and Loading Information label, attached to your
vehicle, shows the size of your vehicle’s original
equipment tires and the correct in�ation pressure for your
vehicle’s tires when they are cold. SeeLoading Your
Vehicle on page 4-35, for an example of the Tire and
Loading Information label and its location on your vehicle.
Also seeInflation - Tire Pressure on page 5-65.
5-69
Page 399 of 472

Notice:If you use abrasive cleaners when cleaning
glass surfaces on your vehicle, you could scratch the
glass and/or cause damage to the rear window
defogger. When cleaning the glass on your vehicle,
use only a soft cloth and glass cleaner.
Many cleaners contain solvents that may become
concentrated in your vehicle’s breathing space. Before
using cleaners, read and adhere to all safety instructions
on the label. While cleaning your vehicle’s interior,
maintain adequate ventilation by opening your vehicle’s
doors and windows.
Dust may be removed from small buttons and knobs
using a small brush with soft bristles.
Your dealer/retailer has a product for cleaning your
vehicle’s glass. Should it become necessary, you can
also obtain a product from your dealer/retailer to remove
odors from your vehicle’s upholstery.
Do not clean your vehicle using:
A knife or any other sharp object to remove a soil
from any interior surface.
A stiff brush. It can cause damage to your vehicle’s
interior surfaces.
Heavy pressure or aggressive rubbing with a
cleaning cloth. Use of heavy pressure can damage
your interior and does not improve the effectiveness
of soil removal.
Laundry detergents or dishwashing soaps with
degreasers can leave residue that streaks and
attracts dirt. For liquid cleaners, about 20 drops per
gallon (3.78 L) of water is a good guide. Use only
mild, neutral-pH soaps.
Too much cleaner that saturates the upholstery.
Organic solvents such as naptha, alcohol, etc. that
can damage your vehicle’s interior.
Fabric/Carpet
Use a vacuum cleaner with a soft brush attachment
frequently to remove dust and loose dirt. A canister
vacuum with a beater bar in the nozzle may only be used
on �oor carpet and carpeted �oor mats. For any soil,
always try to remove it �rst with plain water or club soda.
Before cleaning, gently remove as much of the soil as
possible using one of the following techniques:
For liquids: gently blot the remaining soil with a paper
towel. Allow the soil to absorb into the paper towel
until no more can be removed.
For solid dry soils: remove as much as possible and
then vacuum.
5-101