2008 CHEVROLET TRAIL BLAZER ECO mode
[x] Cancel search: ECO modePage 62 of 472
How Does an Airbag Restrain?
In moderate to severe frontal or near frontal collisions,
even belted occupants can contact the steering wheel
or the instrument panel. In moderate to severe side
collisions, even belted occupants can contact the inside
of the vehicle.
Airbags supplement the protection provided by safety
belts. Frontal airbags distribute the force of the
impact more evenly over the occupant’s upper body,
stopping the occupant more gradually. Roof-rail airbags
distribute the force of the impact more evenly over
the occupant’s upper body.
Rollover capable roof-rail airbags are designed to help
contain the head and chest of occupants in the
outboard seating positions in the �rst and second rows.
The rollover capable roof-rail airbags are designed to
help reduce the risk of full or partial ejection in rollover
events, although no system can prevent all such
ejections.
But airbags would not help in many types of collisions,
primarily because the occupant’s motion is not
toward those airbags. SeeWhen Should an Airbag
Inflate? on page 1-56for more information.
Airbags should never be regarded as anything more
than a supplement to safety belts.
What Will You See After an
Airbag In�ates?
After the frontal airbags in�ate, they quickly de�ate, so
quickly that some people may not even realize an
airbag in�ated. Roof-rail airbags may still be at least
partially in�ated for some time after they deploy.
Some components of the airbag module may be hot for
several minutes. For location of the airbag modules,
seeWhat Makes an Airbag Inflate? on page 1-57.
The parts of the airbag that come into contact with you
may be warm, but not too hot to touch. There may
be some smoke and dust coming from the vents in the
de�ated airbags. Airbag in�ation does not prevent
the driver from seeing out of the windshield or being
able to steer the vehicle, nor does it prevent people from
leaving the vehicle.
1-58
Page 80 of 472
Five seconds after the last door is closed, all the doors
will lock. You can lock the doors immediately by
using the power door lock switch or by pressing the lock
button on the optional remote keyless entry transmitter
a second time.
If the key is inserted in the ignition, this feature will not
lock the doors. SeeLockout Protection on page 2-11.
You can turn the delayed locking feature on or off. If the
feature is turned off, the doors will lock immediately
when a power door lock switch or remote keyless entry
transmitter lock button is pressed.
Programming Delayed Locking
To turn the delayed locking feature on or off, do the
following:
1. Press and hold the power door lock switch on the
driver’s door in the lock position.
2. Press the remote keyless entry transmitter unlock
button twice.
If the delayed locking feature was on, it will now be off.
If the feature was off, it will now be on.
Programmable Automatic Door
Locks
Your vehicle is equipped with an automatic lock/unlock
feature which enables you to program your vehicle’s
power door locks. You can program this feature through
the Driver Information Center (DIC), or by the following
method. SeeDIC Vehicle Customization on page 3-58.
Programmable Locking Feature
Following are the two locking modes that can be
programmed:
Mode 1:All doors lock when the transmission is shifted
out of PARK (P).
Mode 2:All doors lock when the vehicle speed is
greater than 8 mph (13 km/h).
The automatic door locks were pre-programmed at the
factory to lock all the doors when the transmission
is shifted into gear. The following instructions detail how
to program your door locks differently than the factory
setting. Choose one of the two programming options
listed previously before entering the program mode.
2-8
Page 81 of 472
To enter the program mode, do the following:
1. Begin with the ignition off. Then pull the turn
signal/multifunction lever toward you and hold
it there while you perform the next step.
2. Turn the key to RUN and LOCK twice. Then, with the
key in LOCK, release the turn signal/multifunction
lever. Once you do this, you will hear the lock switch
lock and unlock, the horn will chirp twice, and a
30-second program timer will begin.
3. You are now ready to program the automatic door
locks. Select one of the two programming options
listed previously, and press the lock side of the
power door lock switch to cycle through the
lock options. You will have 30 seconds to begin
programming. If you exceed the 30-second limit,
the locks will automatically lock and unlock and the
horn will chirp twice to indicate that you have left
the program mode. If this occurs, repeat the
procedure beginning with Step 1 to re-enter the
programming mode.
You can exit the program mode any time by turning the
ignition to RUN. The locks will automatically lock and
unlock and the horn will chirp twice to indicate that you
are leaving the program mode. If the lock/unlock switches
are not pressed while in the programming mode, the
current auto lock/unlock setting will not be modi�ed.
See your dealer for more information.Programmable Unlocking Feature
The following is the list of available programming
options:
Mode 1:Driver’s door unlocks when the transmission is
shifted into PARK (P).
Mode 2:All doors unlock when the transmission is
shifted into PARK (P).
Mode 3:All doors unlock when the key is removed
from the ignition.
Mode 4:No automatic door unlock.
The automatic door locks were pre-programmed at
the factory to unlock all doors once the transmission
is shifted to PARK (P). The following instructions detail
how to program your door locks differently than the
factory setting. Choose one of the four programming
options listed previously before entering the
program mode.
2-9
Page 82 of 472
To enter the program mode you need to do the
following:
1. Begin with the ignition off. Then pull the turn
signal/multifunction lever toward you and hold
it there while you perform the next step.
2. Turn the key to RUN and LOCK twice. Then, with the
key in LOCK, release the turn signal/multifunction
lever. Once you do this, you will hear the lock switch
lock and unlock, the horn will chirp twice, and a
30-second program timer will begin.
3. You are now ready to program the automatic door
locks. Select one of the four programming options
listed above, and press the unlock side of the power
door lock switch to cycle through the unlocking
options. You will have 30 seconds to begin
programming. If you exceed the 30-second limit,
the locks will automatically lock and unlock and the
horn will chirp twice to indicate that you have left
the program mode. If this occurs, repeat the
procedure beginning with Step 1 to re-enter the
programming mode.
You can exit the program mode any time by turning the
ignition to RUN. The locks will automatically lock and
unlock and the horn will chirp twice to indicate that you
are leaving the program mode. If the lock/unlock switches
are not pressed while in the programming mode, the
current auto lock/unlock setting will not be modi�ed.
See your dealer for more information.Rear Door Security Locks
Your vehicle may have this feature. You can lock the rear
doors so they cannot be opened from the inside by
passengers. To use one of these locks do the following:
1. Open one of the rear doors. You will �nd a security
lock lever located on the inside edge of each
rear door.
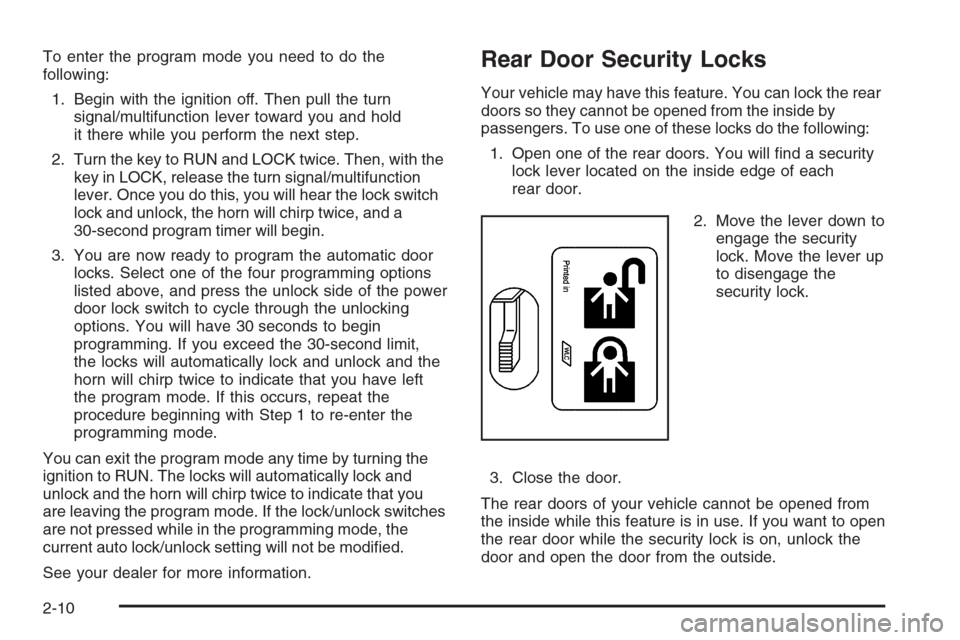
2. Move the lever down to
engage the security
lock. Move the lever up
to disengage the
security lock.
3. Close the door.
The rear doors of your vehicle cannot be opened from
the inside while this feature is in use. If you want to open
the rear door while the security lock is on, unlock the
door and open the door from the outside.
2-10
Page 96 of 472
How long should you keep the coolant heater plugged
in? The answer depends on the outside temperature,
the kind of oil you have, and some other things. Instead
of trying to list everything here, we ask that you
contact your dealer in the area where you will be parking
your vehicle. The dealer/retailer can give you the best
advice for that particular area.
Active Fuel Management™
Your vehicle’s V8 engine may have Active Fuel
Management™. This system allows the engine to
operate on either all or half of its cylinders, depending
on your driving conditions.
When less power is required, such as cruising at a
constant vehicle speed, the system will operate in the
half cylinder mode, allowing your vehicle to achieve
better fuel economy. When greater power demands are
required, such as accelerating from a stop, passing,
or merging onto a freeway, the system will maintain
full-cylinder operation.
Automatic Transmission Operation
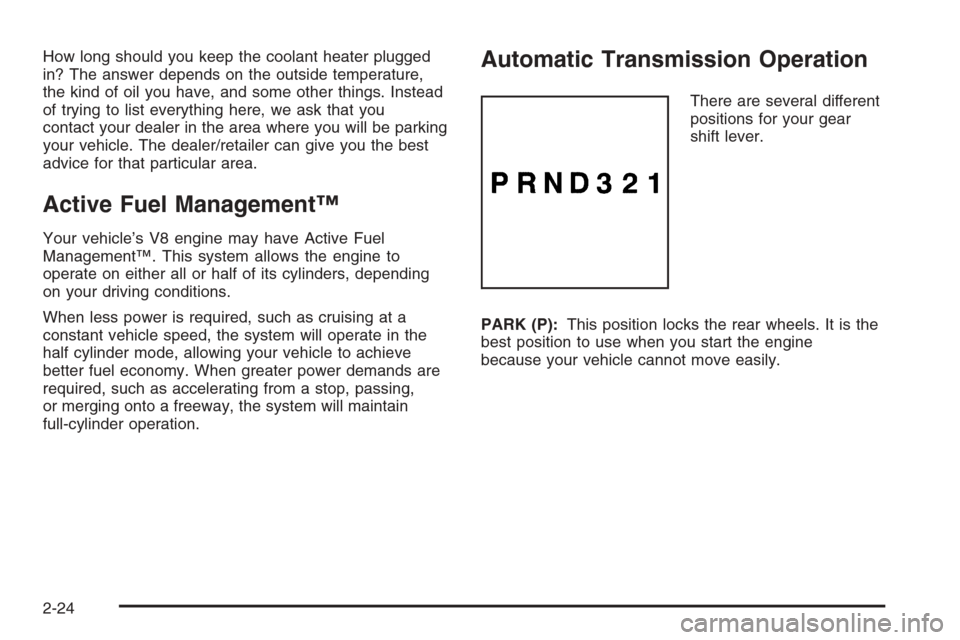
There are several different
positions for your gear
shift lever.
PARK (P):This position locks the rear wheels. It is the
best position to use when you start the engine
because your vehicle cannot move easily.
2-24
Page 100 of 472
Four-Wheel Drive
If your vehicle has four-wheel drive, the engine’s driving
power can be sent to all four wheels for extra traction.
To get the most satisfaction out of four-wheel drive, you
must be familiar with its operation. Read the part that
follows before using four-wheel drive. You should
use Two-Wheel High for most normal driving conditions.
Notice:Driving on clean, dry pavement in
Four-Wheel-Drive High or Four-Wheel-Drive Low for
an extended period of time may cause premature
wear on your vehicle’s powertrain. Do not drive on
clean, dry pavement in Four-Wheel-Drive High or
Four-Wheel-Drive Low for extended periods of time.
Notice:If you continually drive your vehicle with
the transfer case in AUTO or Four-Wheel Drive, you
could shorten the life of the transfer case or the
Four-Wheel Drive system. The selector switch
should be left in Two-Wheel Drive High mode. Only
use AUTO and Four-Wheel Drive when you need
extra traction such as in wet or slippery road
conditions.
Automatic Transfer Case
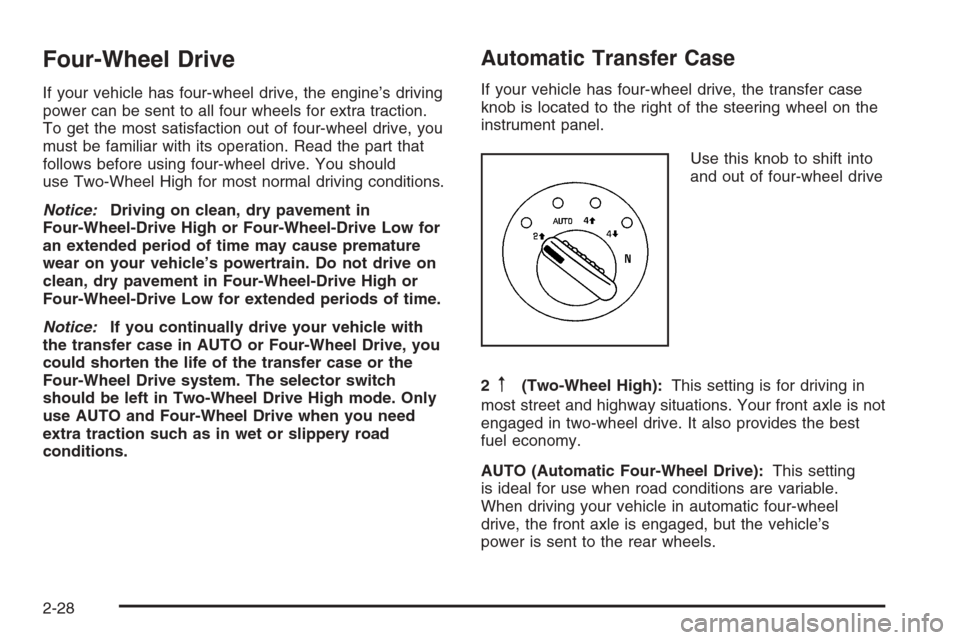
If your vehicle has four-wheel drive, the transfer case
knob is located to the right of the steering wheel on the
instrument panel.
Use this knob to shift into
and out of four-wheel drive
2
m(Two-Wheel High):This setting is for driving in
most street and highway situations. Your front axle is not
engaged in two-wheel drive. It also provides the best
fuel economy.
AUTO (Automatic Four-Wheel Drive):This setting
is ideal for use when road conditions are variable.
When driving your vehicle in automatic four-wheel
drive, the front axle is engaged, but the vehicle’s
power is sent to the rear wheels.
2-28
Page 101 of 472
When the vehicle senses a loss of traction, the system
will automatically engage four-wheel drive. Driving in
this mode results in slightly lower fuel economy
than Two-Wheel High.
4
m(Four-Wheel High):This setting should be used
when you need extra traction, such as on snowy or
icy roads or in most off-road situations. This setting also
engages your front axle to help drive your vehicle.
4
n(Four-Wheel Low):This setting also engages
your front axle and delivers extra torque. It sends
maximum power to all four wheels. You might choose
this setting if you are driving off-road in deep sand, deep
mud, and climbing or descending steep hills.
{CAUTION:
Shifting the transfer case to NEUTRAL can
cause your vehicle to roll even if the
transmission is in PARK (P). You or someone
else could be seriously injured. Be sure to set
the parking brake before placing the transfer
case in NEUTRAL. SeeParking Brake on
page 2-32.NEUTRAL:Shift the vehicle’s transfer case to
NEUTRAL only when towing your vehicle. See
Recreational Vehicle Towing on page 4-42for more
information.
An indicator light in the knob will show you which
position the transfer case is in. The indicator lights will
come on brie�y when you turn on the ignition and
one will stay on. If the lights do not come on, you should
take your vehicle to your dealer for service. An
indicator light will �ash while shifting the transfer case.
It will stay on when the shift is complete. If for some
reason the transfer case cannot make a requested shift,
it will return to the last chosen setting.
If the service Four-Wheel Drive Warning Light on the
instrument panel cluster stays on, you should take your
vehicle to your dealer for service. SeeService
Four-Wheel Drive Warning Light on page 3-47for
further information.Shifting Into Four-Wheel High or Automatic
Four-Wheel Drive
Turn the knob to Four-Wheel High or Automatic
Four-Wheel Drive. This can be done at any speed
unless you are shifting out of Four-Wheel Low. The
indicator light will �ash while shifting. It will remain on
when the shift is complete.
2-29
Page 110 of 472
Manual Rearview Mirror with
OnStar
®
When you are sitting in a comfortable driving position,
adjust the mirror so you can see clearly behind your
vehicle. Hold the mirror in the center to move it up or
down and side to side. The day/night adjustment allows
you to adjust the mirror to avoid glare from the lamps
behind you. Move the lever to the right for nighttime use
and to the left for daytime use.
There may also be three OnStar
®buttons located at the
bottom of the mirror face. See your dealer/retailer for
more information on the system and how to subscribe to
OnStar
®. SeeOnStar®System on page 2-47for more
information on the services OnStar®provides.
Automatic Dimming Rearview Mirror
with OnStar
®and Compass
Your vehicle may have an automatic-dimming rearview
mirror with a compass.
There may be three additional buttons for the OnStar
®
system. See your dealer/retailer for more information
on the system and how to subscribe to OnStar®.
SeeOnStar®System on page 2-47for more information
about the services OnStar®provides.
O(On/Off):This is the on/off button.
Automatic Dimming Mirror Operation
The automatic dimming mirror comes on each time the
ignition is turned to start. To turn the automatic
dimming feature off or back on, press the on/off button.
The indicator light on the mirror is lit when the
automatic dimming feature is on.
Compass Operation
Press the on/off button once to turn the compass on
or off.
There is a compass display in the window in the upper
right corner of the mirror face.
Compass Calibration
Press and hold the on/off button to activate the compass
calibration mode. CAL will be displayed in the compass
window on the mirror.
The compass can be calibrated by driving the vehicle in
circles at 5 mph (8 km/h) or less until the display
reads a direction.
If after a few seconds the display does not show a
compass direction, (N for North for example), there may
be a strong magnetic �eld interfering with the compass.
Such interference may be caused by a magnetic
antenna mount, note pad holder, or similar object. If the
letter C or CAL appears in the compass window, the
compass may need to be reset or calibrated.
2-38