Page 49 of 193

Basic operation47
MMI componentsMMI control consoleMulti-function steering wheelTelephone handsetVoice control
– Starting from any of the audio, TV*, or SETUP menus,
press the control button for Sound �page 41.
– Turn the rotary pushbutton to select an item in the menu
(e.g. Balance �page 46, fig. 37).
– Press the rotary pushbutton. The selected item will
appear larger on the MMI display �fig. 38.
– Turn the rotary pushbutton clockwise or anti-clockwise to
adjust the sound settings.
– Press the rotary pushbutton to confirm your adjustment.
The following sound settings are available:
•Balance: Varies left and right volume levels
•Fader: Varies front and rear volume levels
•Tr e b l e
•Bass
•GALA (speed-dependent volume control)
•Subwoofer* (for extra bass depth)6)
•DSP * �page 47
•DSP Bang & Olufsen* �page 48
•Volume settings for other audio sources �page 46
The settings for treble and bass are effective for the currently
selected function. The settings for balance and fader apply regard-
less of the selected function.
Applies to vehicles: with DSP
Digital Signal Processing (DSP)
With the sound focus function you can achieve three-
dimensional sound effects. GALA adjusts the volume level
and sound settings to the vehicle's speed.
Displaying the DSP menu
– Starting from any of the audio, TV*, or SETUP menus,
press the control button for Sound �page 41.
– Turn the rotary pushbutton to DSP and press to confirm.
The DSP menu will appear on the MMI display �fig. 39.
Sound focus
– Turn the rotary pushbutton to Sound focus and press to
confirm.
6)The subwoofer cannot be adjusted if your vehicle is equipped with the Bang
& Olufsen* sound system.
Fig. 38 Adjusting
balance
Fig. 39 Adjusting
three-dimensional
sound effects (sound
focus)
��
����������������������
��������������
����������������������������
Page 50 of 193

Basic operation 48
– For an evenly distributed sound focus, turn the rotary
pushbutton to SYMMETRIC and press to confirm.
– For an enhanced sound impression on the driver, turn the
rotary pushbutton to DRIVER and press to confirm.
GALA
– Turn the rotary pushbutton to GALA and press to
confirm.
– Turn the rotary pushbutton to on or off.
– Press the rotary pushbutton to confirm your
adjustment.
Applies to vehicles: with DSP Bang & Olufsen surround sound
DSP Bang & Olufsen®
With the sound focus function you can achieve three-
dimensional sound effects. The surround level function
adjusts the volume of the surround effect.
Displaying the DSP Bang & Olufsen menu
– Starting from any of the audio, TV*, or SETUP menus,
press the control button for Sound �page 41.– Turn the rotary pushbutton to DSP Bang & Olufsen and
press to confirm. The DSP Bang & Olufsen menu will
appear on the MMI display�fig. 40.
Sound focus
– Turn the rotary pushbutton to Sound focus and press to
confirm.
– For a sound focus that is evenly distributed throughout
the whole interior of the vehicle, turn the rotary push-
button to all and press to confirm.
– For an enhanced sound impression on the driver, turn the
rotary pushbutton to driver and press to confirm.
– For a sound focus that is evenly distributed throughout
the front interior of the vehicle, turn the rotary push-
button to front and press to confirm.
– For a sound focus that is evenly distributed throughout
the rear interior of the vehicle, turn the rotary push-
button to rear* and press to confirm.
GALA
– Turn the rotary pushbutton to GALA and press to
confirm.
– Turn the rotary pushbutton to on or off.
– Press the rotary pushbutton to confirm your adjustment.
Surround level
– Turn the rotary pushbutton to Surround level and press
to confirm.
– To change the surround effect, turn the rotary push-
button clockwise or anti-clockwise.
Fig. 40 Adjusting
three-dimensional
sound effects (sound
focus)
��
����������������������
��������������
����������������������������
Page 51 of 193

Basic operation49
MMI componentsMMI control consoleMulti-function steering wheelTelephone handsetVoice control
– Press the rotary pushbutton to confirm your
adjustment.
Setting the time
You can choose between a quartz clock and a radio-
controlled clock*. If you have chosen the quartz clock,
you must set the time and date yourself. The radio-
controlled clock* receives the time and date automati-
cally.
Calling up the Time setting menu
– Press the function selector button marked .
– Press the Time control button. The Time setting menu
will appear on the MMI display.
Selecting the time source*
7)
– Turn the rotary pushbutton to Time source and press to
confirm.– Turn the rotary pushbutton to quartz or radio clock* and
press to confirm. When the time source is selected as
radio clock*, the “signal reception symbol” appears on
the rev counter display.
Setting the time (only possible for time source:
quar t z)
– Turn the rotary pushbutton to Time and press to confirm.
The hour display will be highlighted in white on the MMI
display.
– To set the hour, turn the rotary pushbutton clockwise or
anti-clockwise and press it. The minute display will then
be highlighted in white on the MMI display.
– To set the minutes, turn the rotary pushbutton clockwise
or anti-clockwise.
– Confirm the time setting by pressing the rotary push-
button.
Setting the date (only possible for time source:
quar t z)
– Turn the rotary pushbutton to Date and press the rotary
pushbutton. The date display will then be highlighted in
white on the MMI display.
– To set the day, turn the rotary pushbutton clockwise or
anti-clockwise and press it. The month display will then
be highlighted in white on the MMI display.
– To set the month, turn the rotary pushbutton clockwise
or anti-clockwise and press it. The year display will then
be highlighted in white on the MMI display.
– To set the year, turn the rotary pushbutton clockwise or
anti-clockwise.
7)Applies to vehicles with radio-controlled clock
Fig. 41 Time setting
SETUP
��
����������������������
��������������
����������������������������
Page 52 of 193

Basic operation 50
– Confirm the date setting by pressing the rotary push-
button.
Setting the time format
– Turn the rotary pushbutton to Time format and press the
rotary pushbutton.
– Turn the rotary pushbutton to 24h or 12h.
– Press the rotary pushbutton to confirm your adjustment.
Setting the date format
– Turn the rotary pushbutton to Date format and press it.
– To set the date format “Day.Month”, turn the rotary push-
button to DD.MM and press it.
– To set the date format “Month/Day”, turn the rotary push-
button to MM/DD and press it.
Note
If the radio-controlled clock* does not receive a signal for three
days, the time source setting will automatically be changed to the
quartz clock.
Calling up the on-board handbook
The on-board handbook includes the Owner's Manual for
your vehicle and the Operating Manual for the Infotain-
ment / MMI.
Important: The on-board handbook must be loaded into the
CD changer.
– Press the function selector button marked .– Press the control button for Handbook. The on-board
handbook will automatically load in the language that is
set under the option Menu language in the MMI
�page 51.
WARNING
Not paying attention to the road traffic can lead to serious acci-
dents and loss of life.
•Only use the on-board handbook when the traffic conditions
allow you to do so safely. You must maintain proper control of your
vehicle at all times. As the driver, you bear the responsibility for
road safety.
Note
Please note that this On-board Handbook is not a substitute for the
printed Owner's Manual.
Restarting the MMI system (Reset)
You can restart the MMI system and restore full normal
operation by pressing a combination of buttons.
CAR
Fig. 42 Combination of
buttons for restart
��
����������������������
��������������
����������������������������
Page 53 of 193

Basic operation51
MMI componentsMMI control consoleMulti-function steering wheelTelephone handsetVoice control
– Press the button , the rotary pushbutton
and the top right control button simultaneously.
– Then release the buttons. The MMI system will switch off
and then restart.
Other settings
MMI menu language
– Select: Function selector button > control button
Settings > Menu language.
The language of texts shown on the MMI display and the driver
information system as well as the language of the voice guidance*
can be altered.
You can select the languages German, English, French, Italian,
Spanish, Portuguese, Dutch or Russian.
Measurement units
– Select: Function selector button > control button
Settings > Measurement units.
You can alter the measurement units shown on the MMI display, the
driver information system and the air conditioner display.
The units for distance (km or miles), speed (km/h or mph), tempera-
ture (°C or °F) and pressure (bar or psi) can be set.
Applies to vehicles: with speech dialogue system
Speech dialogue system
– Select: Function selector button > control button
Settings > Speech dialogue system.
Repeat command
If Repeat command is activated, the speech dialogue system* will
repeat your commands when switching to another function.
Deleting all name tags
All the name tags (spoken names or telephone numbers) you have
stored will be deleted.
Default settings
– Select: Function selector button > control button
Settings > Default settings.
This function resets the general settings, the sound settings as well
as several of the radio, CD, TV/AV*, telephone* and navigation*
settings to the default settings.
Brightness of the MMI display
– Select: Function selector button > control button
Display > Brightness.
You can alter the brightness of the display by turning the rotary
pushbutton clockwise or anti-clockwise.
SETUPA1A2
A3
SETUP
SETUP
SETUP
SETUP
SETUP
��
����������������������
��������������
����������������������������
Page 54 of 193
Basic operation 52
Ve rs i o n
– Select: Function selector button > control button
Settings > Ve rs i on.
This function displays the software version of the MMI.
SETUP
��
����������������������
��������������
����������������������������
Page 55 of 193

Listening to the radio53
MMI componentsMMI control consoleMulti-function steering wheelTelephone handsetVoice control
Listening to the radio
Introduction
The radio has four wavebands: FM, MW, LW and DAB* (digital radio).
The stations which are currently within reception range are
displayed in a station list and can be selected. Of course you can
tune the radio to the next available station or scan all stations via
the MMI control console. You can store your favourite stations in
any order on a memory list.
FM (very high frequency)
The FM station list (max. 30 stations) is updated automatically. You
can set the station list to display the five radio stations that you listen to most frequently at the top of the station list. Other available
stations will appear further down the list �fig. 43.
Radio stations that appear in grey lettering cannot be selected as
they are not within reception range.
Medium and long wave (MW/LW band)
The MW and LW station lists (max. 30 stations) must be updated
manually �page 54, fig. 46.
When you leave the range of reception the stations in the station
lists will still be displayed, but the reception will be poor.
Digital radio* (DAB frequency)
If you are listening to “Digital Audio Broadcasting”* the station list
shows so-called ensembles. Ensembles cover a specific area (e.g. a
city or region) and comprise various radio stations. The frequency
range can be restricted to regional ensembles �page 62.
The station list (max. 60 stations) must be updated manually. This
may take some time.
If you leave the range of reception, ensembles or radio stations
which can no longer be received are marked with the symbol
�fig. 44. The symbol disappears as soon as the ensemble or radio
station can be received again.
If the MMI has been switched off for more than ten minutes (ignition
key removed), the last five ensembles that you listened to will auto-
matically be checked for reception when the MMI is switched back
on. Any ensembles that are no longer available will not appear in the
station list.
Fig. 43 FM station list
Fig. 44 DAB station list
showing stations no
longer receivedA1
��
����������������������
���������� ���
����������������������������
Page 56 of 193

Listening to the radio 54
Activating radio mode
Important: The MMI system must be switched on
�page 40.
– Press the function selector button marked . The
Last stations menu �fig. 45, the station list or the radio
menu that was last activated will appear on the MMI
display.
The menu that was active when you were last listening to the radio
will appear on the MMI display. Call up the Station list menu by
pressing the function selector button again (while in radio
mode). If the option Last stations is activated �page 60, the five
stations that you listen to most frequently will be displayed in the FM station list. Other available stations will appear further down the
list.
Setting the waveband
The MMI system has four wavebands: FM (very high
frequency), medium wave (MW), long wave (LW) and
digital radio*.
Important: Radio mode must be activated �page 54.
– Press the control button for Waveband.
– Turn the rotary pushbutton to mark the waveband you
wish to select.
– Press the rotary pushbutton to select the waveband. The
current waveband will then appear in the heading of the
MMI display.
Note
The waveband can be set just as easily on the multi-function
steering wheel �page 129.
Fig. 45 Last stations
on FM station list
displaying radio
stations
Fig. 46 Station list for
MW frequency band
RADIO
RADIO
Fig. 47 Wavebands
��
����������������������
��������������
����������������������������
 1
1 2
2 3
3 4
4 5
5 6
6 7
7 8
8 9
9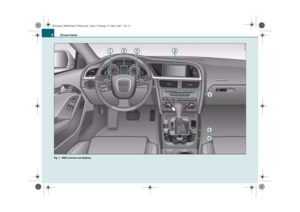 10
10 11
11 12
12 13
13 14
14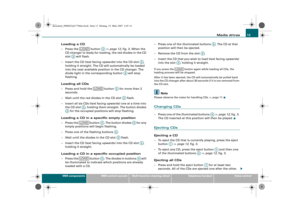 15
15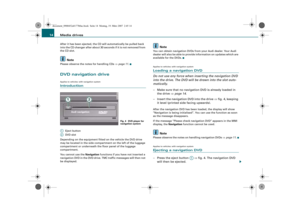 16
16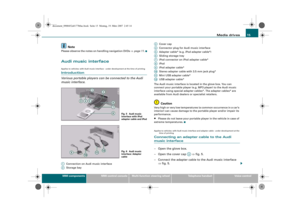 17
17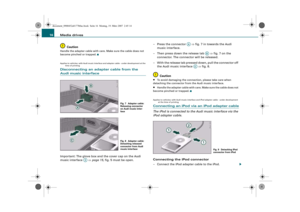 18
18 19
19 20
20 21
21 22
22 23
23 24
24 25
25 26
26 27
27 28
28 29
29 30
30 31
31 32
32 33
33 34
34 35
35 36
36 37
37 38
38 39
39 40
40 41
41 42
42 43
43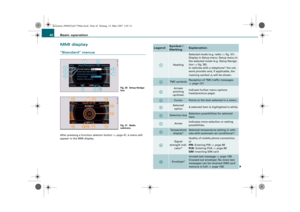 44
44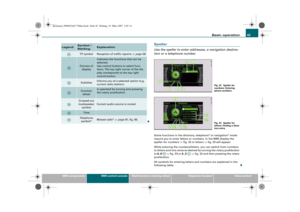 45
45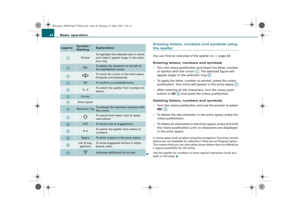 46
46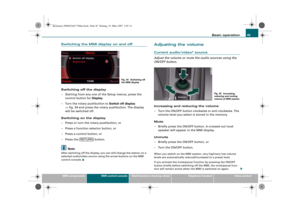 47
47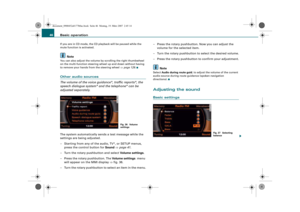 48
48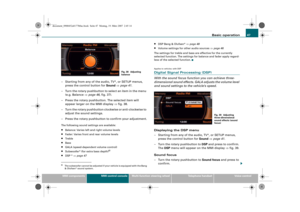 49
49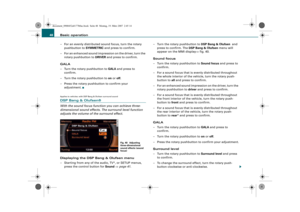 50
50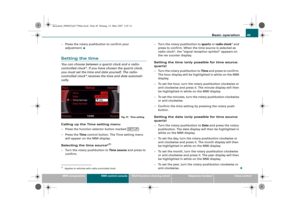 51
51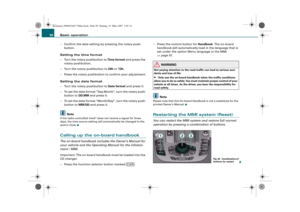 52
52 53
53 54
54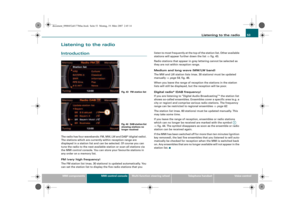 55
55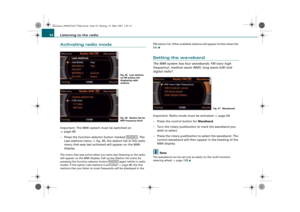 56
56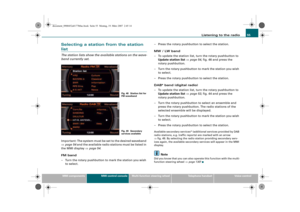 57
57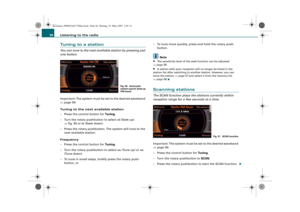 58
58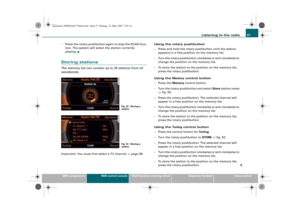 59
59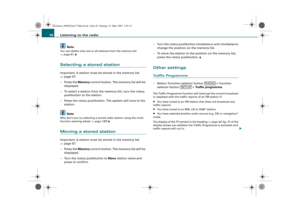 60
60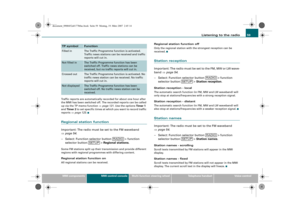 61
61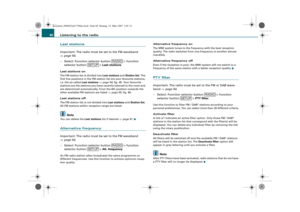 62
62 63
63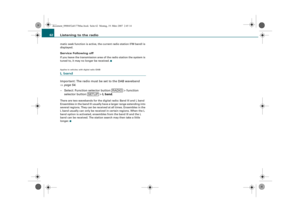 64
64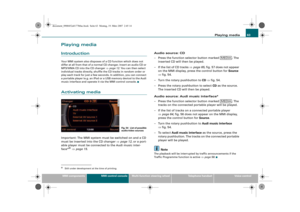 65
65 66
66 67
67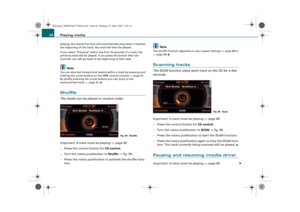 68
68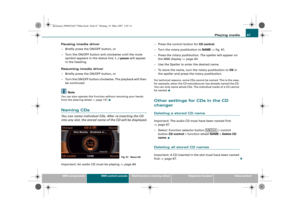 69
69 70
70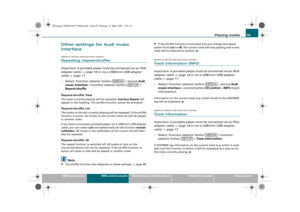 71
71 72
72 73
73 74
74 75
75 76
76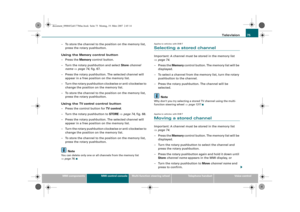 77
77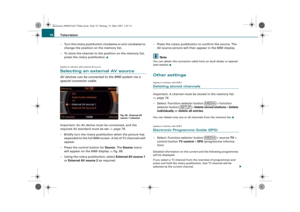 78
78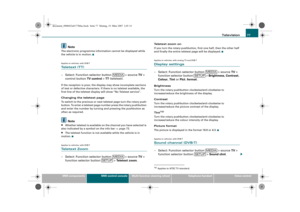 79
79 80
80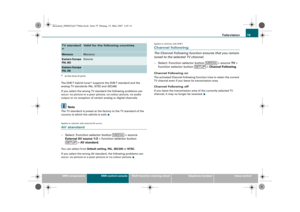 81
81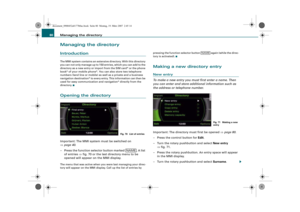 82
82 83
83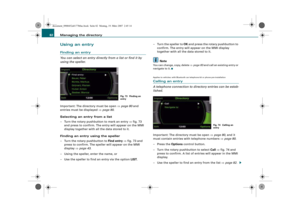 84
84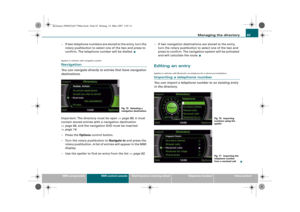 85
85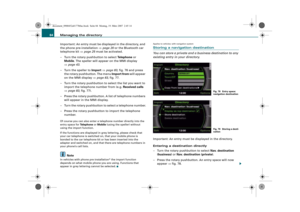 86
86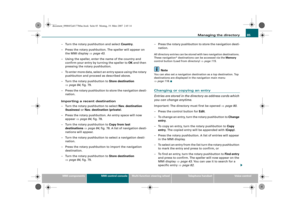 87
87 88
88 89
89 90
90 91
91 92
92 93
93 94
94 95
95 96
96 97
97 98
98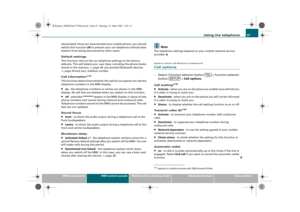 99
99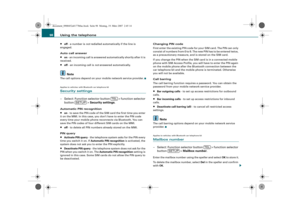 100
100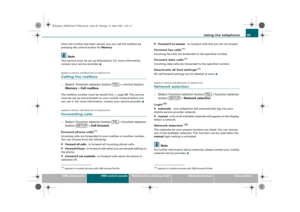 101
101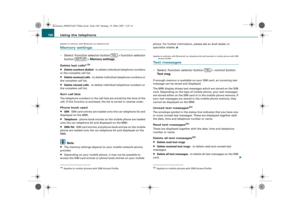 102
102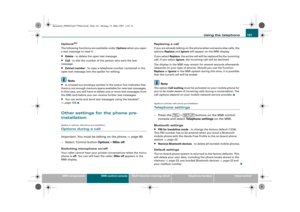 103
103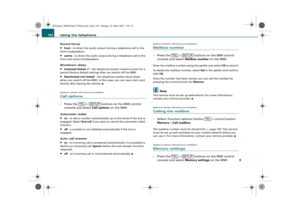 104
104 105
105 106
106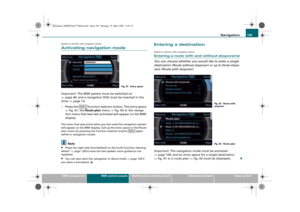 107
107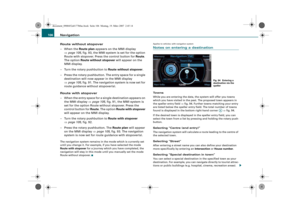 108
108 109
109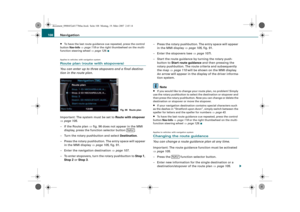 110
110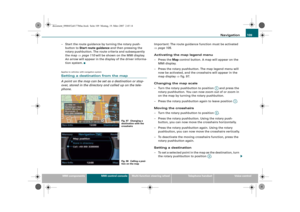 111
111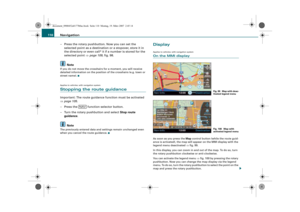 112
112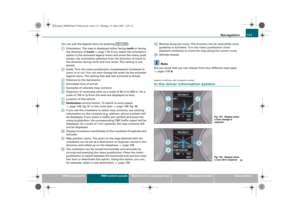 113
113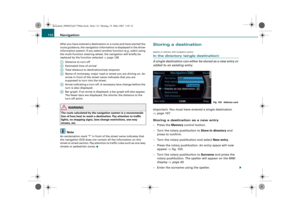 114
114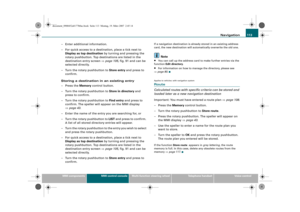 115
115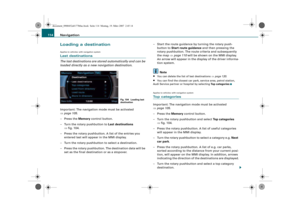 116
116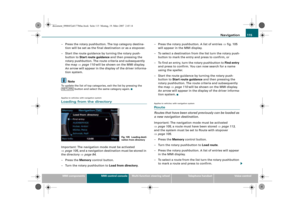 117
117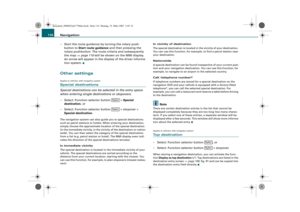 118
118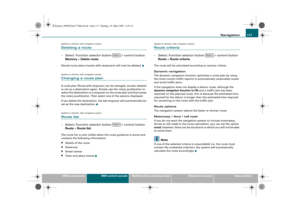 119
119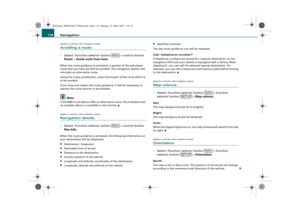 120
120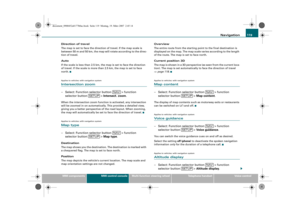 121
121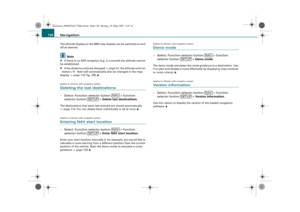 122
122 123
123 124
124 125
125 126
126 127
127 128
128 129
129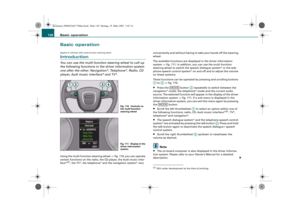 130
130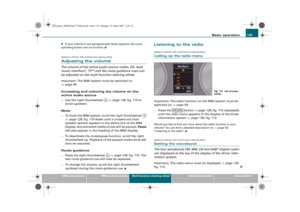 131
131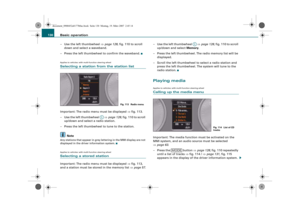 132
132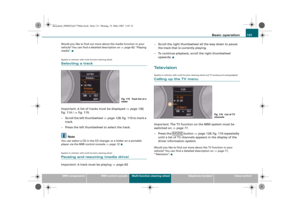 133
133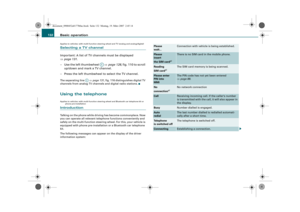 134
134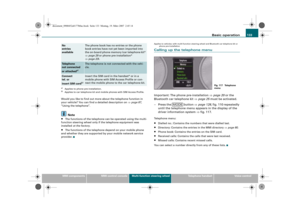 135
135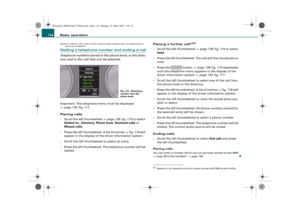 136
136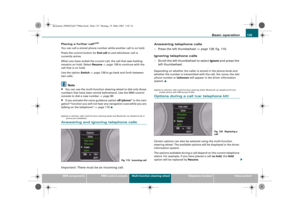 137
137 138
138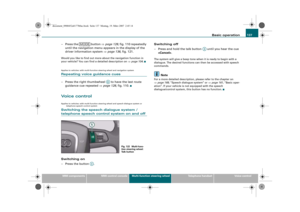 139
139 140
140 141
141 142
142 143
143 144
144 145
145 146
146 147
147 148
148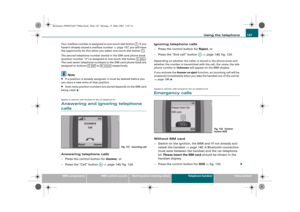 149
149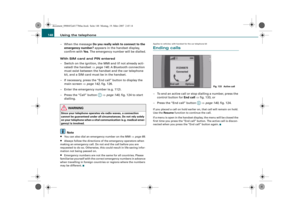 150
150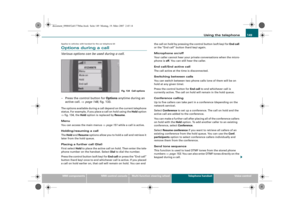 151
151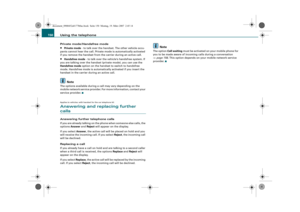 152
152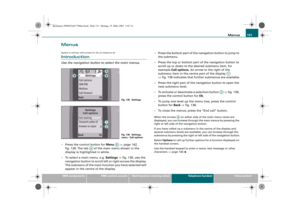 153
153 154
154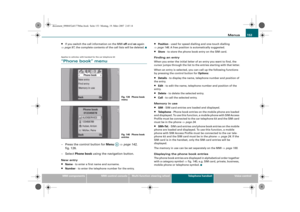 155
155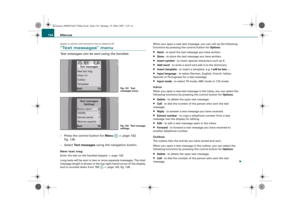 156
156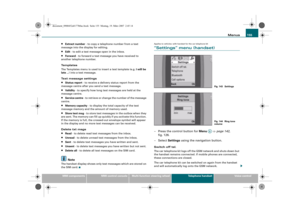 157
157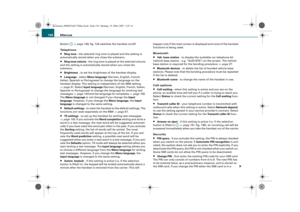 158
158 159
159 160
160 161
161 162
162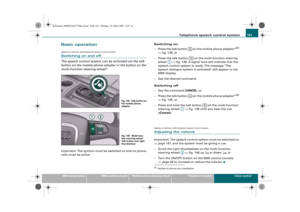 163
163 164
164 165
165 166
166 167
167 168
168 169
169 170
170 171
171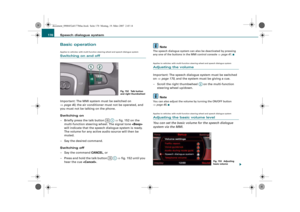 172
172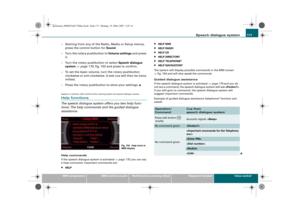 173
173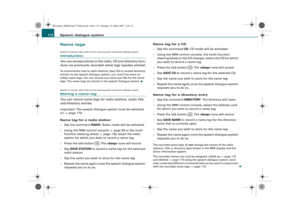 174
174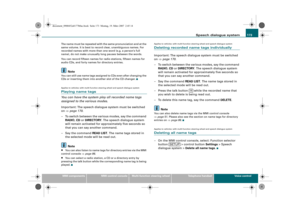 175
175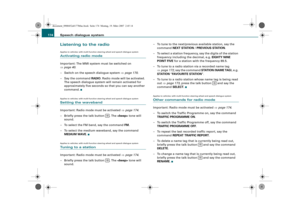 176
176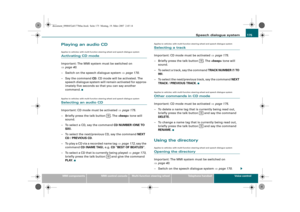 177
177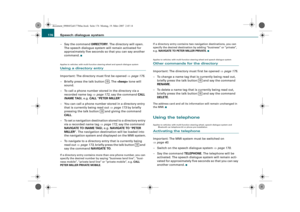 178
178 179
179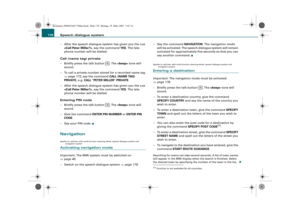 180
180 181
181 182
182 183
183 184
184 185
185 186
186 187
187 188
188 189
189 190
190 191
191 192
192