Page 145 of 193

Basic operation143
MMI componentsMMI control consoleMulti-function steering wheelTelephone handsetVoice control
Applies to vehicles: with handset for the car telephone kit
Entering a text message
Text messages can be entered using the conventional
method or with automatic word recognition (T9).
Entering text (normal method)
–If T9 mode is active �fig. 128, keep pressing the
button until the T9 symbol disappears.
– To enter a text at the position indicated by the cursor,
press one of the buttons marked to �page 140,
fig. 124.
– Keep pressing each button until the desired character
appears in the display.
– For example, press the button once to enter the
letter m.
– Press the button quickly a second time to enter
the letter n.
– With each additional press of the button the
next character assigned to the button is selected.– If you do not press a button again within about one
second, the character is entered and the cursor will flash
at the next position; you can then enter the next char-
acter.
– To enter a special character, hold down the “*” button
and select the character.
– To move the cursor to the left, right, up or down, press
the left, right, top or bottom part of the navigation
button.
– To insert a space, press the button.
– To delete the character to the left of the cursor, select
Delete.
Entering text using automatic word recognition
(T9)
– If T9 mode is not active �fig. 128, keep pressing the
button until the T9 symbol appears.
– Press one of the buttons marked to to start
entering a word.
– Press each button only once for each letter of the word,
even if the exact letter desired does not appear in the
display. The letters you enter are displayed on a grey
background �fig. 128.
– Enter all the letters of the word.
– If the dictionary contains more than one suggested word,
press the button to choose between the different
suggestions. A message, e.g. �fig. 128 appears in
the handset display.
– Press the button if the word in the display is correct.
Fig. 128 Symbols for
entering text
A1#
19
6mno
6mno
6mno
0
A1
#
29
A3
*
A4
0
��
����������������������
����������� ���
����������������������������
Page 146 of 193

Basic operation 144
– To enter a special character, hold down the “*” button
and select the character.
– To move the cursor to the left, right, up or down, press
the left, right, top or bottom part of the navigation
button.
– To insert a space, press the button.
– To delete the character to the left of the cursor, select
Delete.
While you are entering the text, you can use the button to switch
between normal text entry, text entry with automatic word recogni-
tion (T9) and upper/lower case letters.
Entering text (normal method)
When you press a button, the available characters appear briefly at
the bottom of the display. The available characters depend on which
language is selected for input.
If you are entering a text in letter mode and want to enter a number,
hold down the button for the desired number.
Entering text using automatic word recognition (T9)
The handset attempts to recognise each word you enter.
If several words corresponding to the letters you have entered are
available in the dictionary, you can browse through the available
words using the “*” button. For example, 1/4 in the display
�page 143, fig. 128 shows the number of suggested words avail-
able. In the above example, the figure “4” shows the number of
words available for the string of letters entered. The figure “1” is an
orientation aid to help you choose from the list of suggested words.
If a word is not in the dictionary, you can select the control button
for Options and use the Add word function. Type in the word using
the normal method and select Store. The word appears in the text
message and is added to the dictionary.The table below describes the symbols shown in the illustration
�page 143, fig. 128:
0
#
A3
SymbolExplanation
Automatic word recognition T9 is active.
Amount of space still available in the text message
(in characters).
The suggested word (e.g. Audi) is highlighted on a
grey background until you finish the entry.
Index number (e.g. “1”) of the suggested word
shown in the display (for orientation purposes) and
total number of suggested words (e.g. “4”).
Upper/lower case setting
A1
A2
A3
A4
A5
��
����������������������
���������������
����������������������������
Page 147 of 193

Using the telephone145
MMI componentsMMI control consoleMulti-function steering wheelTelephone handsetVoice control
Using the telephone
Applies to vehicles: with handset for the car telephone kit
Placing calls
Placing calls
– Enter the desired number on the keypad.
– If you have entered an incorrect digit, press the control
button for Delete.
– Press the “Call” button �page 140, fig. 124 to start
dialling.
Selecting a number from the “phone book”
– Press the control button for Ph.book �page 142,
fig. 126. The entries stored in the phone book will be
listed.
– To jump to a particular entry in the phone book, enter the
initial letter using the normal text entry method.
– Use the navigation button to scroll up or down to the
desired entry �page 153, fig. 140.– Press the “Call” button �page 140, fig. 124 to start
dialling.
Redial
– Press the “Call” button �page 140, fig. 124 once. The
list of last numbers dialled appears.
– Use the navigation button to scroll up or down to the
desired entry �page 153, fig. 140.
– Press the “Call” button to start dialling.
Hold the reverse side of the handset to your ear (the earpiece and
microphone are located on the reverse side of the handset
�fig. 129).
You can use the handset to make phone calls in private mode or
handsfree mode �page 150.
A microphone integrated in the interior light is used in handsfree
mode. The microphone is directed towards the driver.
You can also select and dial a telephone number from the call lists
�page 152.
Note
Press and hold the button to enter the international network
symbol “+”.
Fig. 129 Earpiece and
microphone on back
A5
A5
A5
A1A2
*+
��
����������������������
���������������
����������������������������
Page 148 of 193

Using the telephone 146
Applies to vehicles: with handset for the car telephone kit
Speed and one-touch dialling
The position number of a SIM card entry is used for speed
dialling and one-touch dialling.
Dialling a SIM card entry (speed dialling)
– Enter the position (e.g. 2) �fig. 130 of the SIM card entry
you want to dial.
– Press the button. The selected SIM card entry is
displayed.
– Press the “Call” button �page 140, fig. 124 to start
dialling.
Dialling a SIM card entry (one-touch dialling)
– Press and hold one of the buttons 2 to 9. The selected
SIM card entry will be displayed.
–Confirm the Really connect? prompt by pressing the
control button for Ye s. The number will be dialled.Dialling the mailbox (one-touch dialling)
– Press and hold button . The phone number you have
stored for your mailbox will be dialled �page 157.
Changing the position of a SIM card entry
– Press the control button for Ph.book. The phone book
entries will be listed �page 153, fig. 140.
– To jump to a particular entry in the phone book, enter the
initial letter using the normal text entry method.
– To select a SIM card entry, use the navigation button to
scroll up or down.
– Press the control button for Ok.
– Select Edit and then press the control button for Ok. You
can now change the information stored in the selected
SIM card entry.
–Scroll to the Position function �fig. 130 using the navi-
gation button.
– Press the control button for Ok.
– To delete the position shown on the display, press the
control button for Delete.
– Enter the desired position on the keypad.
– Press the control button for Ok.
–Scroll to the Store function using the navigation button.
– Press the control button for Ok to save the changes you
have made.
The telephone numbers stored at positions two to nine in the SIM
card phone book can also be used as one-touch dial numbers.
Fig. 130 Position of a
phone book entry
#
A5
1
��
����������������������
�����������!���
����������������������������
Page 149 of 193

Using the telephone147
MMI componentsMMI control consoleMulti-function steering wheelTelephone handsetVoice control Your mailbox number is assigned to one-touch dial button . If you
haven't already stored a mailbox number �page 157, you will have
the opportunity do this when you select one-touch dial button .
The second telephone number stored in the SIM card phone book
(position number “2”) is assigned to one-touch dial button .
The next seven telephone numbers in the SIM card phone book are
assigned to buttons to respectively.
Note
•If a position is already assigned, it must be deleted before you
can store a new entry at that position.
•How many position numbers are stored depends on the SIM card
being used.
Applies to vehicles: with handset for the car telephone kit
Answering and ignoring telephone
calls
Answering telephone calls
– Press the control button for Answer, or
– Press the “Call” button �page 140, fig. 124.Ignoring telephone calls
– Press the control button for Reject, or
– Press the “End call” button �page 140, fig. 124.
Depending on whether the caller is stored in the phone book and
whether the number is transmitted with the call, the name, the tele-
phone number or Unknown will appear on the MMI display.
If you activate the Answer on eject function, an incoming call will be
answered immediately when you take the handset out of the carrier
�page 156.
Applies to vehicles: with handset for the car telephone kit
Emergency calls
Without SIM card
– Switch on the ignition, the MMI and (if not already acti-
vated) the handset �page 140. A Bluetooth connection
must exist between the handset and the car telephone
kit. Please insert the SIM card should be shown in the
handset display.
– Press the control button for SOS �fig. 132.
1
1
2abc
3def9wxyz
Fig. 131 Incoming call
A5
A3
Fig. 132 Control
button SOS
��
����������������������
���������������
����������������������������
Page 150 of 193

Using the telephone 148
– When the message Do you really wish to connect to the
emergency number? appears in the handset display,
confirm with Ye s. The emergency number will be dialled.
With SIM card and PIN entered
– Switch on the ignition, the MMI and (if not already acti-
vated) the handset �page 140. A Bluetooth connection
must exist between the handset and the car telephone
kit, and a SIM card must be in the handset.
– If necessary, press the “End call” button to display the
main screen �page 142, fig. 126.
– Enter the emergency number (e.g. 112).
– Press the “Call” button �page 140, fig. 124 to start
dialling.
WARNING
Since your telephone operates via radio waves, a connection
cannot be guaranteed under all circumstances. Do not rely solely
on your telephone when a vital communication (e.g. medical emer-
gency) is involved.
Note
•You can also dial an emergency number on the MMI �page 89.
•Always follow the directions of the emergency operators when
making an emergency call. Do not end the call before you are
requested to do so. Otherwise, this could result in life-saving infor-
mation not being passed on.
•Emergency numbers are not the same for all countries. Please
familiarise yourself with the correct emergency numbers in advance
when travelling in foreign countries or regions where the numbers
may be different.
Applies to vehicles: with handset for the car telephone kit
Ending calls
– To end an active call or stop dialling a number, press the
control button for End call �fig. 133, or
– Press the “End call” button �page 140, fig. 124.
If you placed a call on hold earlier on, that call will remain on hold.
Use the Resume function to continue the call.
If a menu is open in the handset display, the menu will be closed the
first time you press the “End call” button. The active call is discon-
nected when you press the “End call” button again.
A7
Fig. 133 Active call
A3
��
����������������������
���������������
����������������������������
Page 151 of 193

Using the telephone149
MMI componentsMMI control consoleMulti-function steering wheelTelephone handsetVoice control
Applies to vehicles: with handset for the car telephone kit
Options during a call
Various options can be used during a call.
– Press the control button for Options anytime during an
active call. �page 148, fig. 133.
The options available during a call depend on the current telephone
status. For example, if you place a call on hold using the Hold option
�fig. 134, the Hold option is replaced by Resume.
Menu
You can access the main menus �page 151 while a call is active.
Holding/resuming a call
The Hold and Resume options allow you to hold a call and retrieve it
later from the hold queue.
Placing a further call (Dial)
First select Hold to place the active call on hold. Then enter the tele-
phone number on the handset. Select Dial to dial the number.
Press the control button (soft key) for End call or press the “End call”
button (hard key) once to end whichever call is active. If you placed
a call on hold earlier on, that call will remain on hold. You can end the call on hold by pressing the control button (soft key) for End call
or the “End call” button (hard key) again.
Microphone on/off
Your caller cannot hear your private conversations when the micro-
phone is off. You can still hear the caller.
End call/End active call
The call active at the time is disconnected.
Switching between calls
You can switch between two phone calls (one of them will be on
hold at any given time).
Press the control button for End call to end whichever call is
currently active. The call on hold will remain in the hold queue.
Conference calling
Up to five callers can take part in a conference (depending on the
network service).
Select Conference to set up a conference. The call on hold and the
active call are added to the conference.
You can make a further call after placing all of the conference callers
on hold with the Hold option. To add another caller to an existing
conference, select Conference.
Select Resume conference if you want to retrieve all callers of an
existing conference from the hold queue. You can use the Conf.
participants option to select conference callers individually and
remove them from the conference.
Send tone sequence
This function is used to load DTMF tones from the stored phone
numbers �page 153. You can also enter DTMF tones directly on the
keypad during a call.
Fig. 134 Call options
��
����������������������
���������������
����������������������������
Page 152 of 193

Using the telephone 150
Private mode/Handsfree mode
•Private mode - to talk over the handset. The other vehicle occu-
pants cannot hear the call. Private mode is automatically activated
if you remove the handset from the carrier during an active call.
•Handsfree mode - to talk over the vehicle's handsfree system. If
you are talking over the handset (private mode), you can use the
Handsfree mode option on the handset to switch to handsfree
mode. Handsfree mode is automatically activated if you insert the
handset in the carrier during an active call.
Note
The options available during a call may vary depending on the
mobile network service provider. For more information, contact your
service provider.
Applies to vehicles: with handset for the car telephone kit
Answering and replacing further
calls
Answering further telephone calls
If you are already talking on the phone when someone else calls, the
options Answer and Reject will appear on the display.
If you select Answer, the active call will be placed on hold and you
will receive the incoming call. If you select Reject, the incoming call
will be declined.
Replacing a call
If you already have a call on hold and are talking to a second caller
when a third call is received, the options Replace and Reject will
appear on the display.
If you select Replace, the active call will be replaced by the incoming
call. If you select Reject, the incoming call will be declined.
Note
The option Call waiting must be activated on your mobile phone for
you to be made aware of incoming calls during a conversation
�page 156. This option depends on your mobile network service
provider.
��
����������������������
���������������
����������������������������
 1
1 2
2 3
3 4
4 5
5 6
6 7
7 8
8 9
9 10
10 11
11 12
12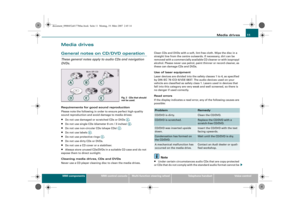 13
13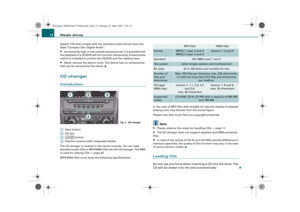 14
14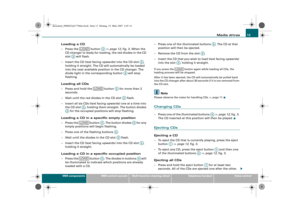 15
15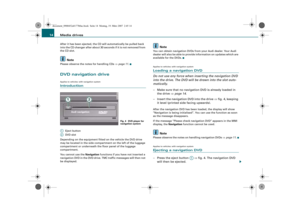 16
16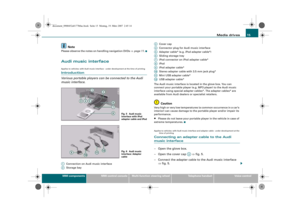 17
17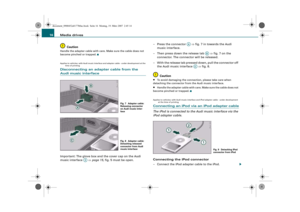 18
18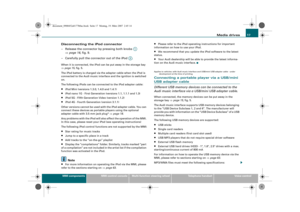 19
19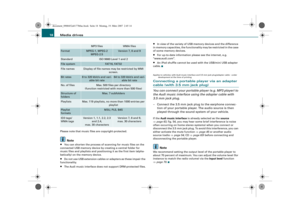 20
20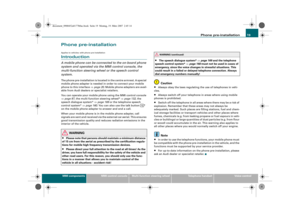 21
21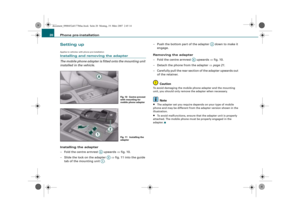 22
22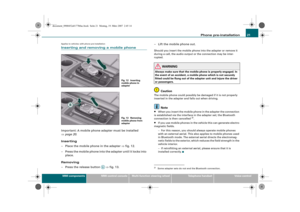 23
23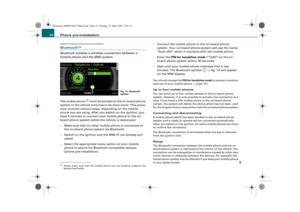 24
24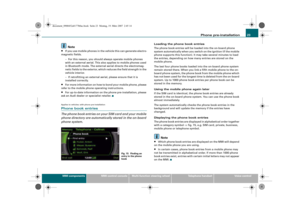 25
25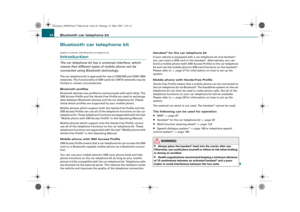 26
26 27
27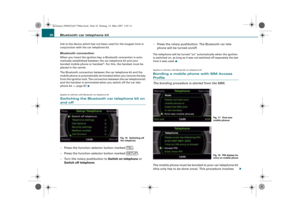 28
28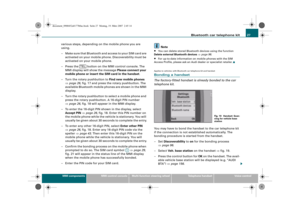 29
29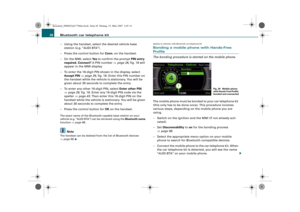 30
30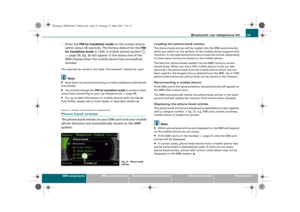 31
31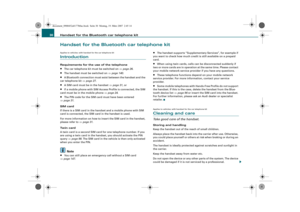 32
32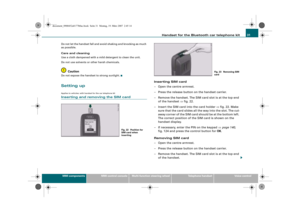 33
33 34
34 35
35 36
36 37
37 38
38 39
39 40
40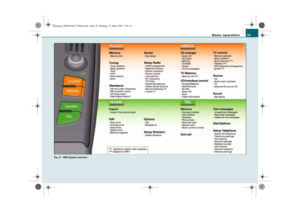 41
41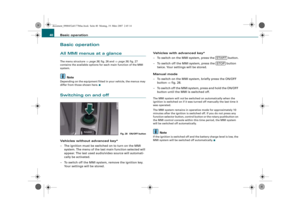 42
42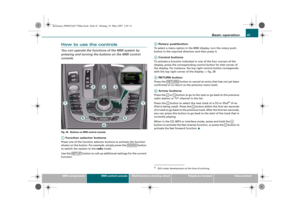 43
43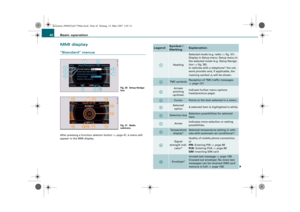 44
44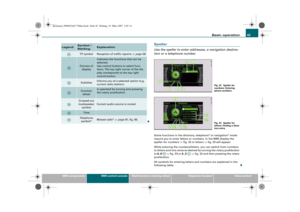 45
45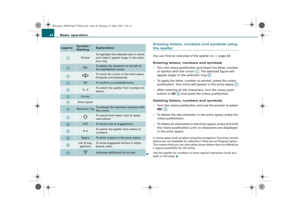 46
46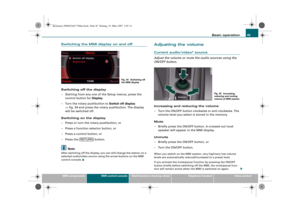 47
47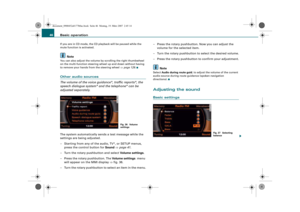 48
48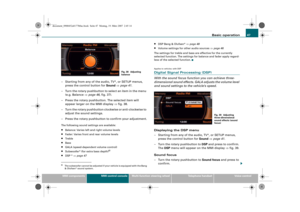 49
49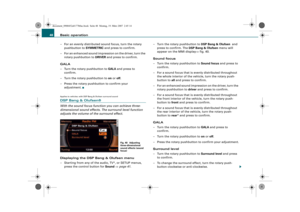 50
50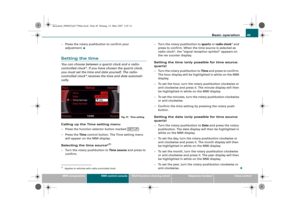 51
51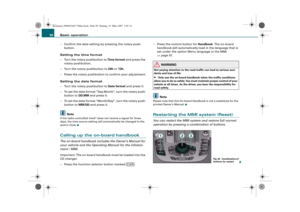 52
52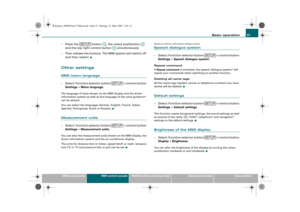 53
53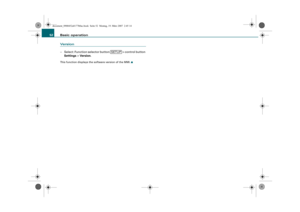 54
54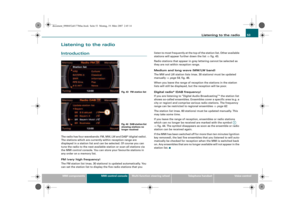 55
55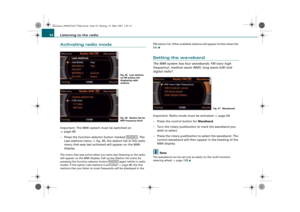 56
56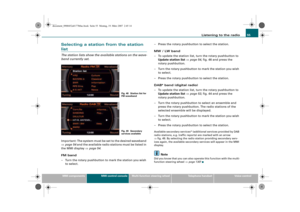 57
57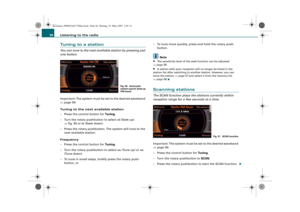 58
58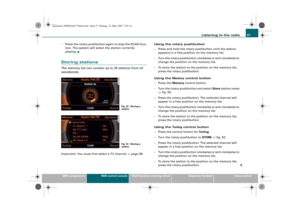 59
59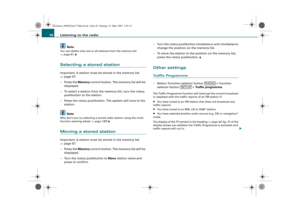 60
60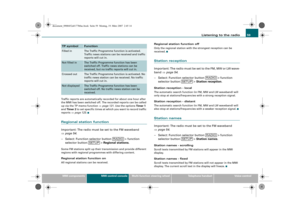 61
61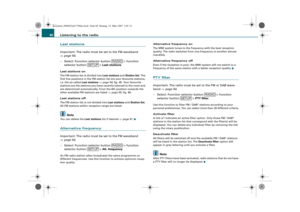 62
62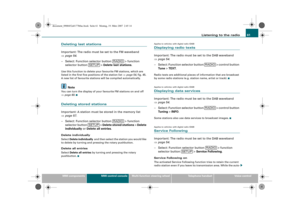 63
63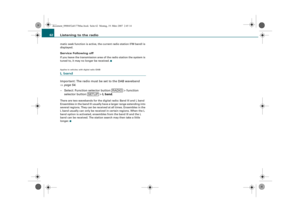 64
64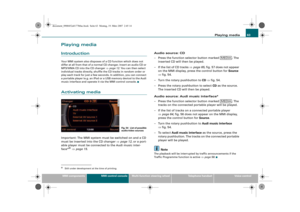 65
65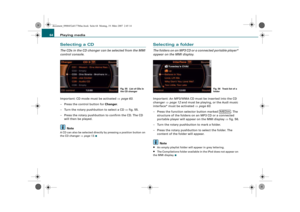 66
66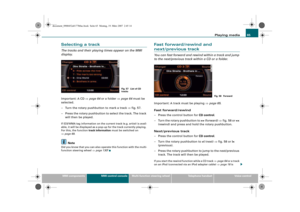 67
67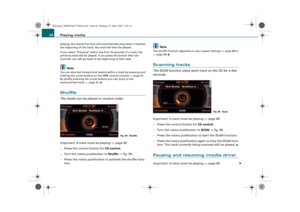 68
68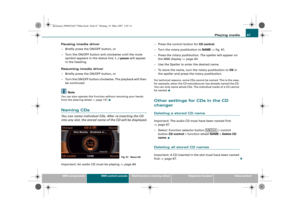 69
69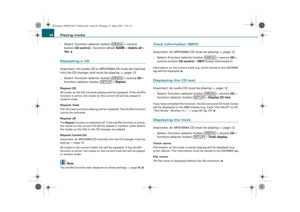 70
70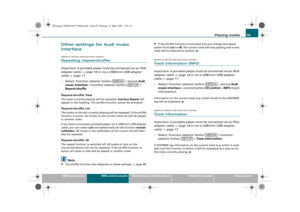 71
71 72
72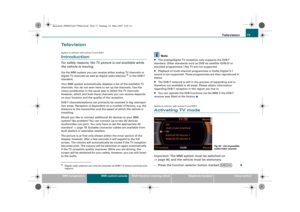 73
73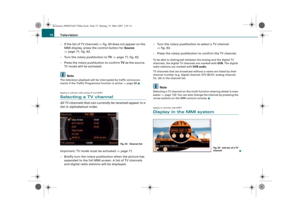 74
74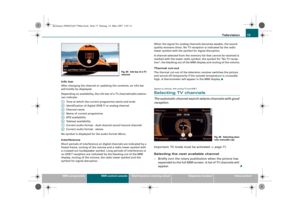 75
75 76
76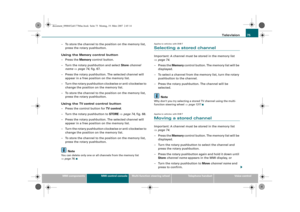 77
77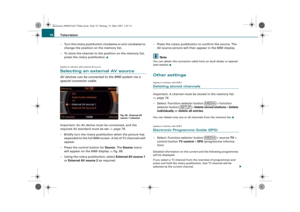 78
78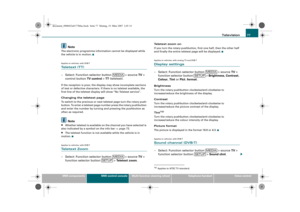 79
79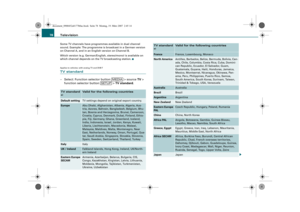 80
80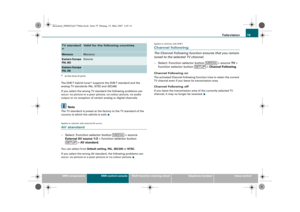 81
81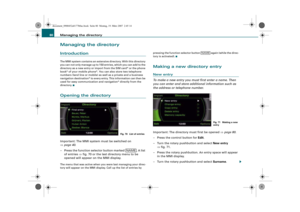 82
82 83
83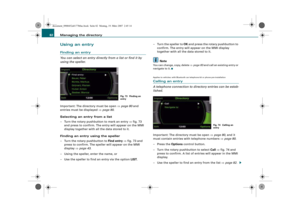 84
84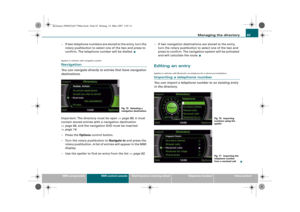 85
85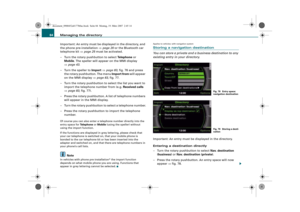 86
86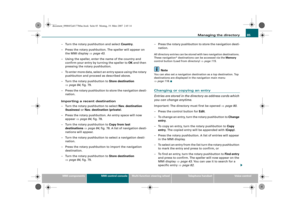 87
87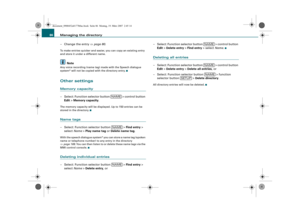 88
88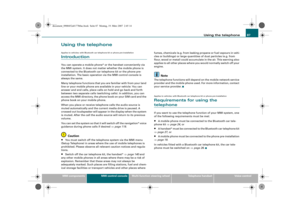 89
89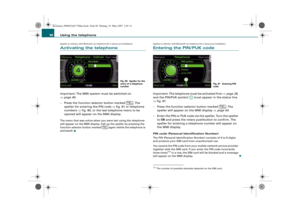 90
90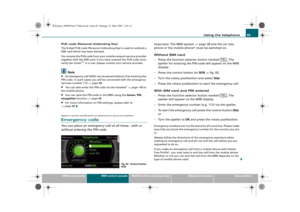 91
91 92
92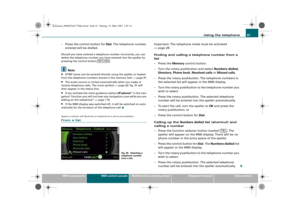 93
93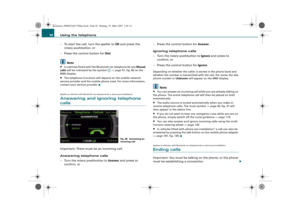 94
94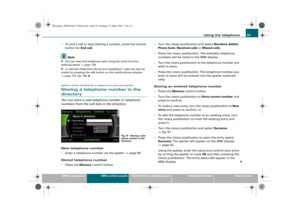 95
95 96
96 97
97 98
98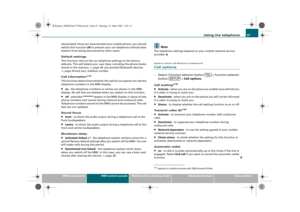 99
99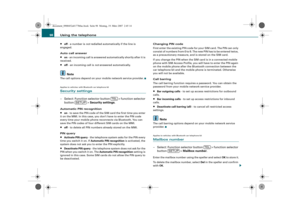 100
100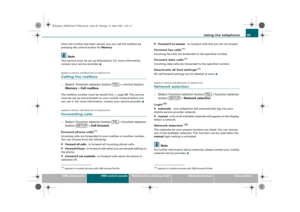 101
101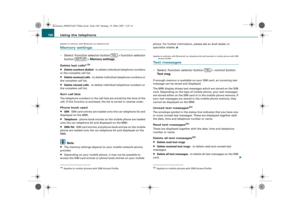 102
102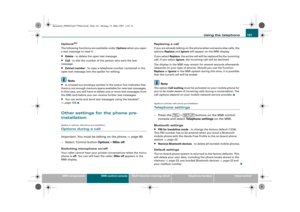 103
103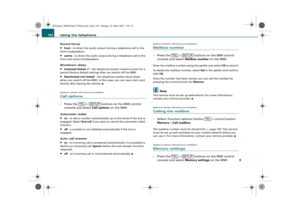 104
104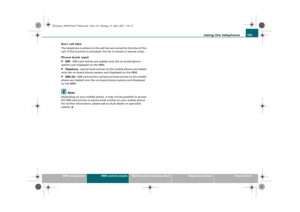 105
105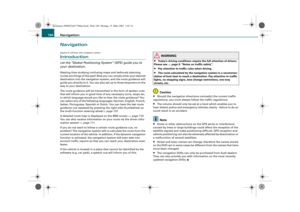 106
106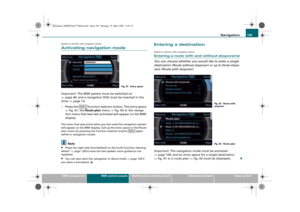 107
107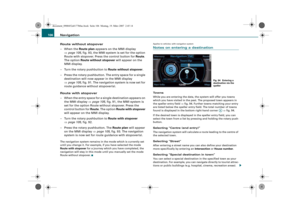 108
108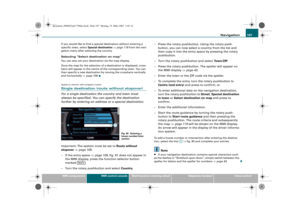 109
109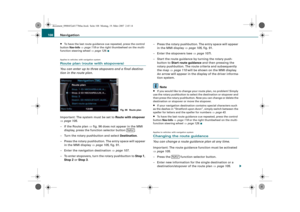 110
110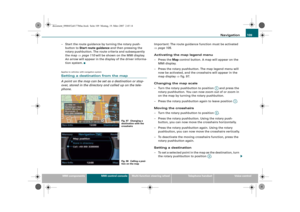 111
111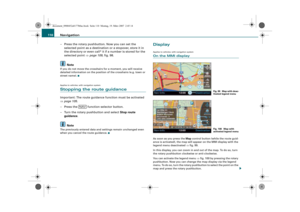 112
112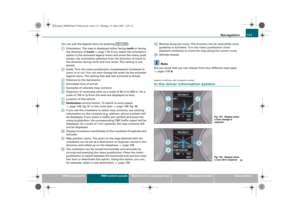 113
113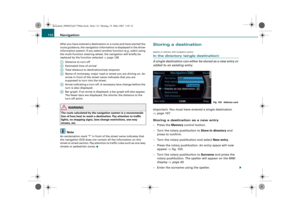 114
114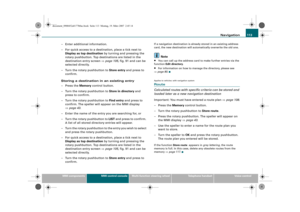 115
115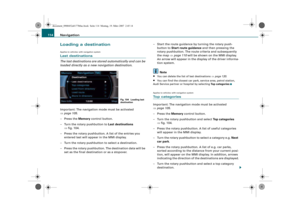 116
116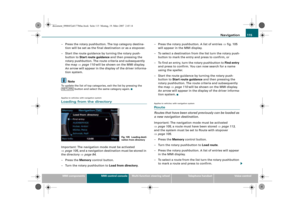 117
117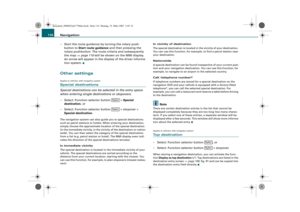 118
118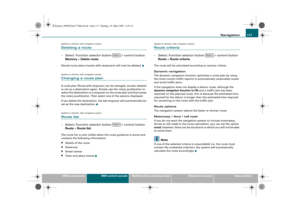 119
119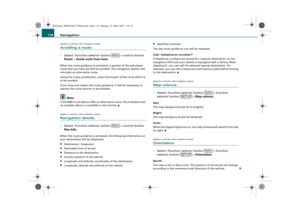 120
120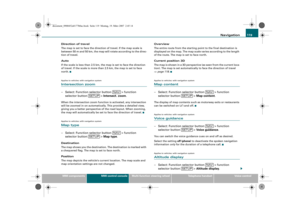 121
121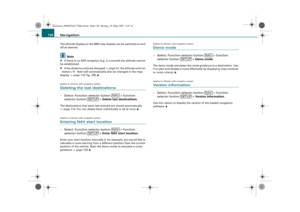 122
122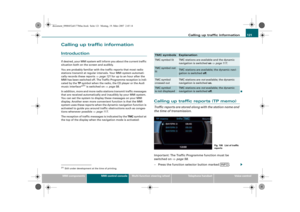 123
123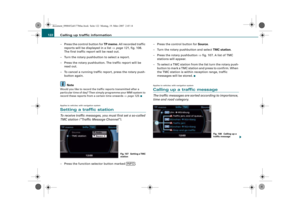 124
124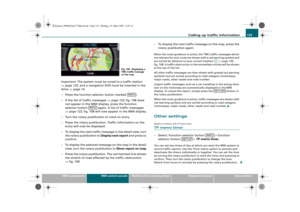 125
125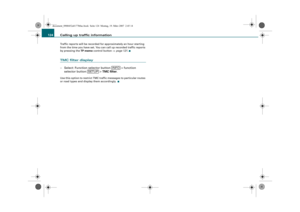 126
126 127
127 128
128 129
129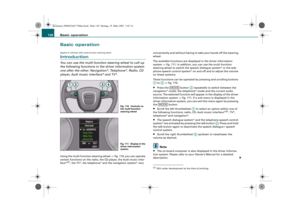 130
130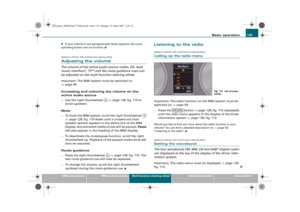 131
131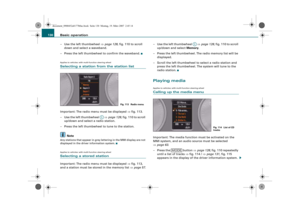 132
132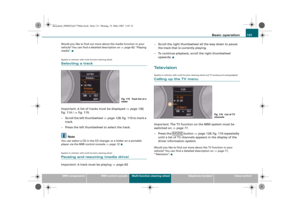 133
133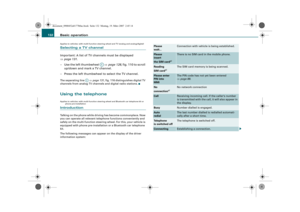 134
134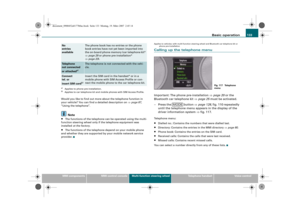 135
135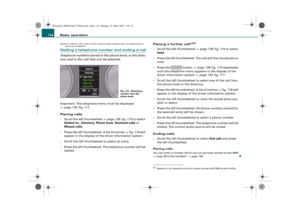 136
136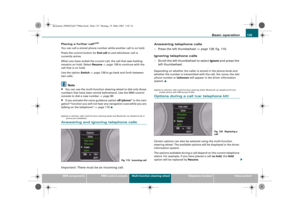 137
137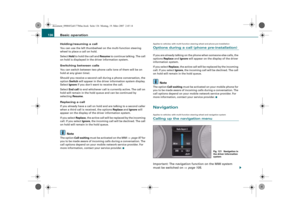 138
138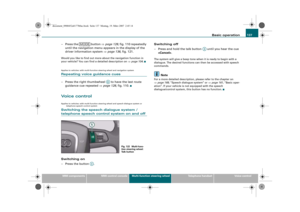 139
139 140
140 141
141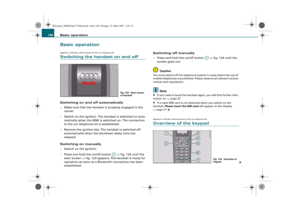 142
142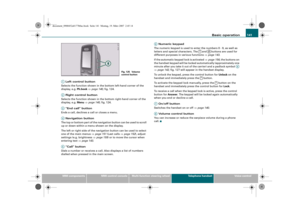 143
143 144
144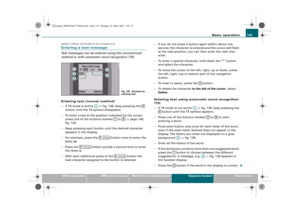 145
145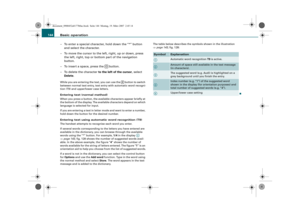 146
146 147
147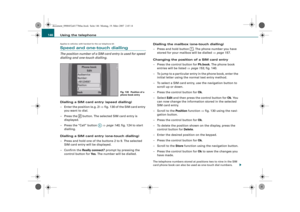 148
148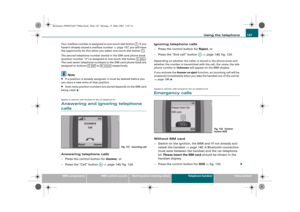 149
149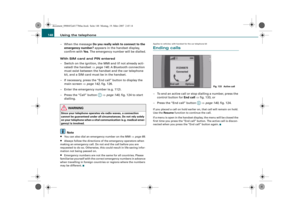 150
150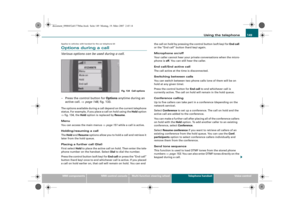 151
151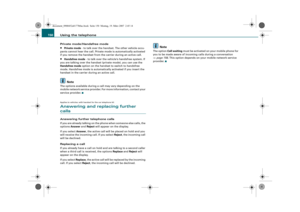 152
152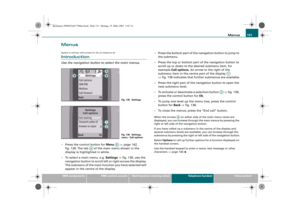 153
153 154
154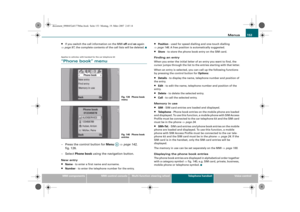 155
155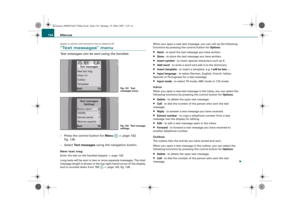 156
156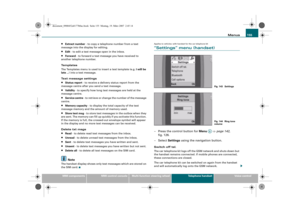 157
157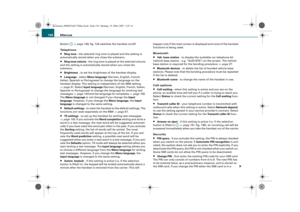 158
158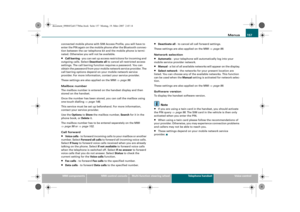 159
159 160
160 161
161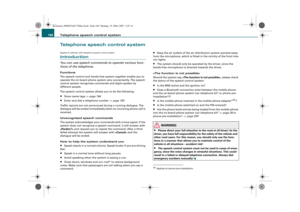 162
162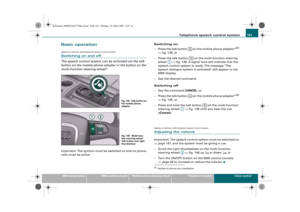 163
163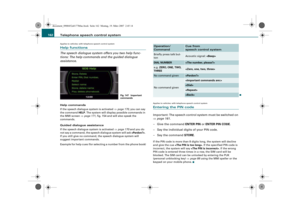 164
164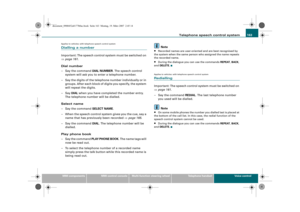 165
165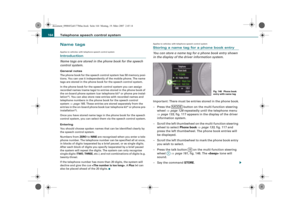 166
166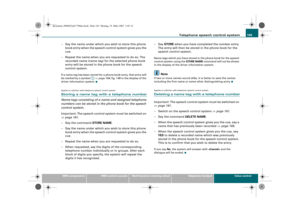 167
167 168
168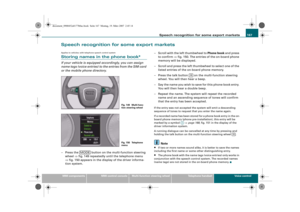 169
169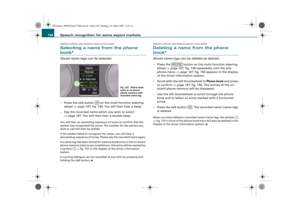 170
170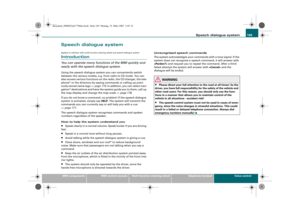 171
171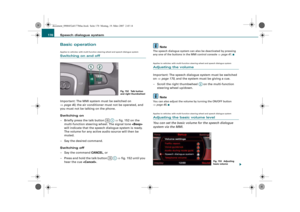 172
172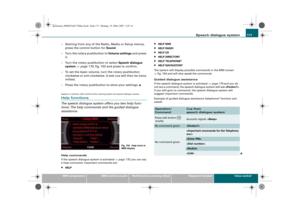 173
173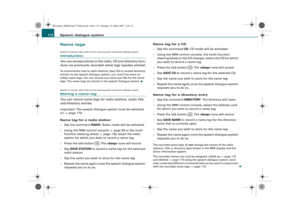 174
174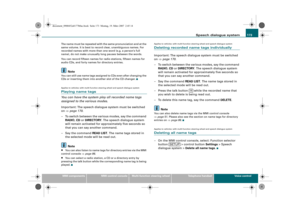 175
175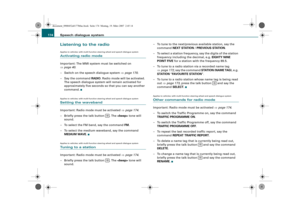 176
176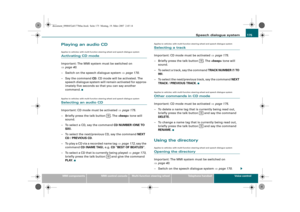 177
177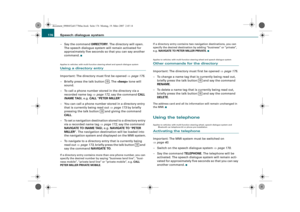 178
178 179
179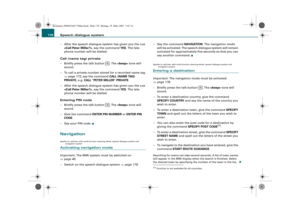 180
180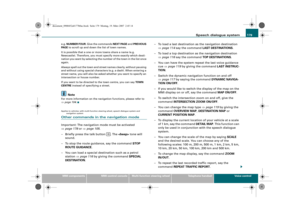 181
181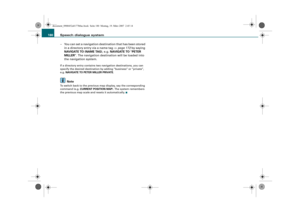 182
182 183
183 184
184 185
185 186
186 187
187 188
188 189
189 190
190 191
191 192
192