Page 438 of 541
Changing the frequency band
FM1
89.9FM
FM2 AM1 AM2
------------------
Fig. 3 main menu : frequenc ies and preset levels are displayed .
on page 3 and the introduction on page
The current frequency is disp layed above the tion .
Ava ilable frequencies and preset levels appear in
the bottom line
of the screen for approximately 5
seconds after sw itching to Radio mode 3.
set leve l a re disp layed 14.
Radio mode,
Press one of the function keys displayed 3 to switch to the corresp onding frequency .
Page 440 of 541

FM1
89.9FM
------------------
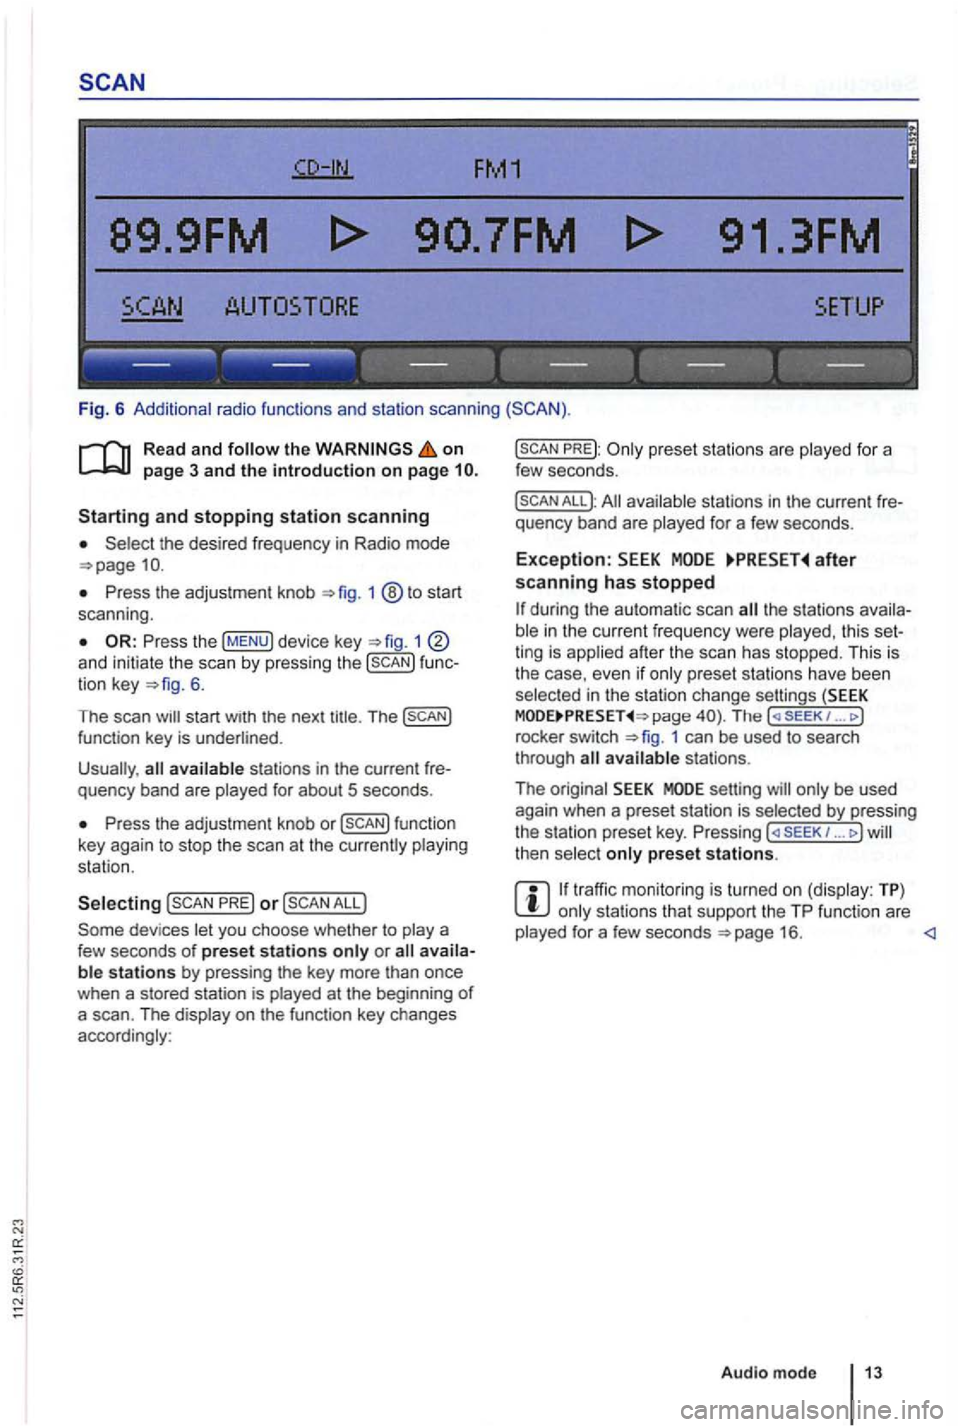
Fig. 6 Additional radio functions and station scanning
the on page 3 and the introduction on page
the desired frequency in Radio mode
Press the adjustment knob 1 ®to start
scan ning .
1 and initiate the scan by press ing the func
tion key 6.
The scan
Press the adjustment knob or
PRE) or
PREJ:
All available stations in the curre nt fre
quency band are played for a few seconds.
Exception: after scanning has stopped
the stations availa
ble in the curr ent fr equency were played , th is set
ting is applied after the scan has stopped. This is
the case, even
if only prese t sta tions have been
selec ted in the stati on change settings (SEEK page The ( SE EK 1 ... J
rocke r switch 1 can be used to search
through
setting will only be used
again when a preset station is selected by pressing
the station preset key. Pressing ... J then select only preset stations.
traffic monitoring is turned on (display: TP) only stations that support the TP function are
played for a few seconds
Page 441 of 541
89.9FM
FM2 AM1 AM2
------------------
Fig. 7 a frequen cy and prese t
on
frequencies (FM , AM , etc.) (in fig . 7 :
fu nction keys for storing and selecting ra di o
sta tions are displayed on each preset
in the text that follows .
When switching to Radio mode, the
7 are displayed first. and afte r proximately 5 seconds the station preset keys of the current preset are displayed 8.
Changing preset in Radio mode
Press the device key to access Radio mode 1 of preset 7.
P ress th e device key agai n to swi tc h to the next
preset
the prese t
14
that are sto red in the statio n preset keys
are displayed after approxima tely 5 seconds
W hen changing the preset the frequency
m ight ch ange as 11.
Page 444 of 541

TP-Traffic Program (Traffic Program)
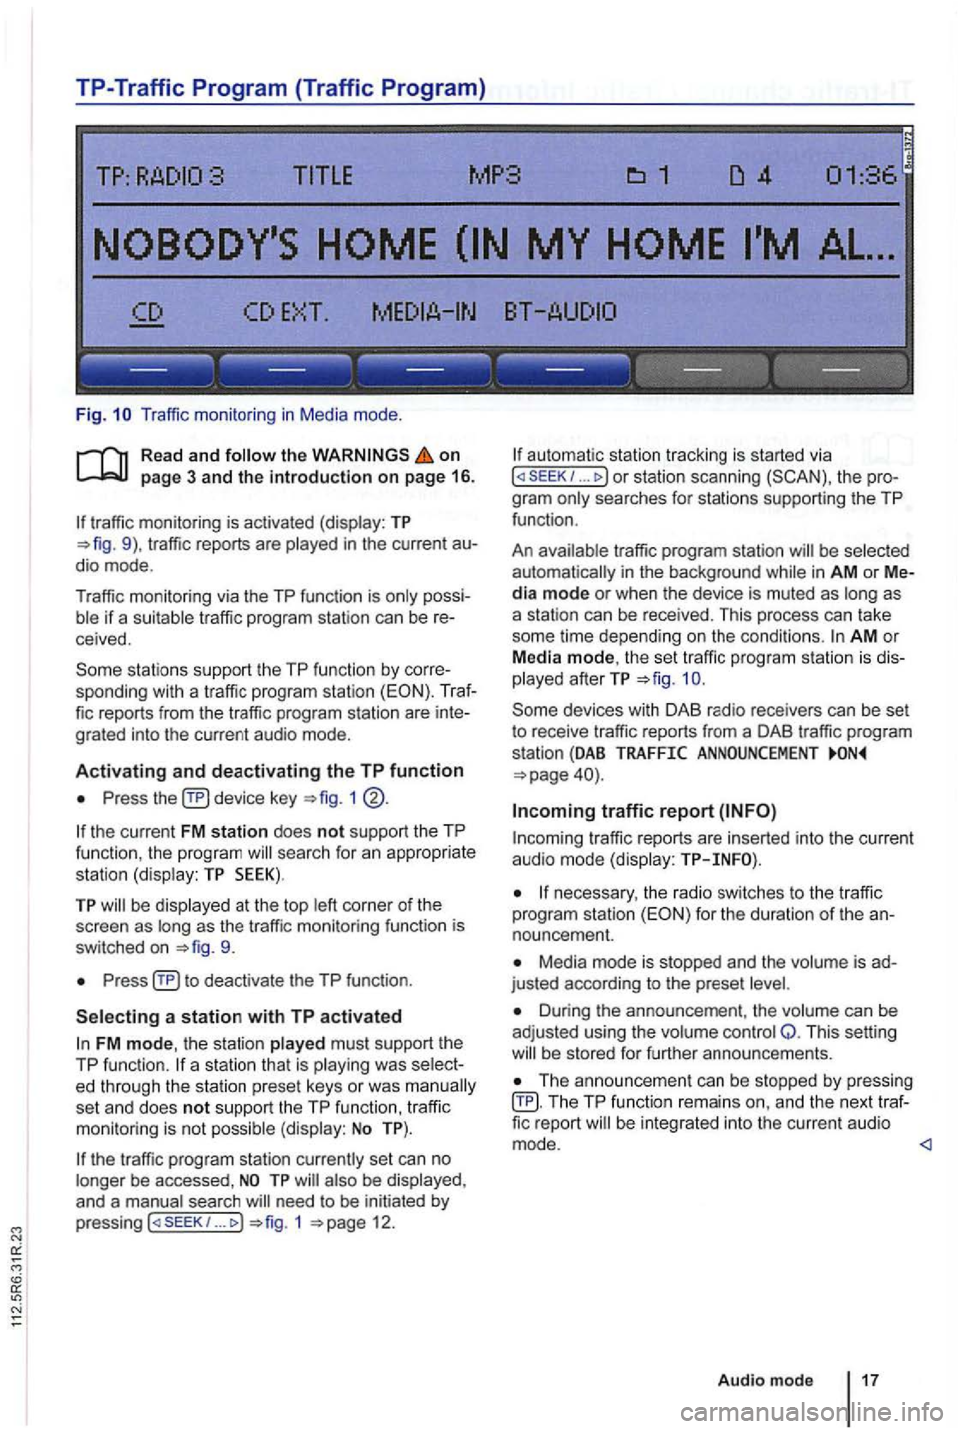
Fig. Traffic monitor ing in Medi a mode .
on page 3 and the introduction on page 16.
traffic monitoring is activated (display: TP traffic reports are
possiif a suitable tra ffic pro gram station can be receive d.
sta tions support the TP function by corre
sponding with a traffic program station (EON). Traf
fic reports from the traffic program station are inte
grated into the curren t a udio mode .
Activating and deactivating the TP function
Press device key 1
the current FM station does not support the TP
func tion , the program searc h for an appropriate
station (dis play: TP SEEK).
TP be disp layed at the top as the tr affic monitoring functio n is
switched on
Press
FM mode, the station played must support th e
TP function.
set an d does not support the TP function , traffi c
monitoring is not possible (display: No TP).
the traffic program station currently set can no
longer be accessed ,
need to be initiated by
p ressing 1 12.
automa tic station tracking is started via I or station scanning the pro
g ra m
traffic program station be selected
automat ically i n the background in AM or Media mode or when the device is muted as as
a station can be received. This process can take
some time depending on the condi
tions. AM o r
Media mode, th e set traffic program station is dis
played afterTP
traffic r eports are in serted into the current audio mode (display:
necessary, the radio switches to the tr affic
program station for the duration of the an
nouncement.
Media mode is stopped and the is ad
justed according to the preset
Duri ng the announcement , th e volume can be
adj usted using the volume control Q. This setting be s tored for further announcements.
Th e announcement can be stopped by pressing TP function remai ns an d the next traffic report
Audio mode 17
Page 448 of 541
the recep tio n is int ermittently interrupted , it may
be that an additiona l station cannot be selected
even though 2nd is displayed.
Activating
TP:DAB
TORE UPDATE
------------------
Fig . 13 Additional DAB functions : and UPDATE (station update).
Read and follow the on
... rocke r switc h.
Press the !MENU) device key 1
13.
Press an d hold until UPDATING ap
pears 13.
The station up da te p rocess is comp leted whe n UPDATING
Audio mod e
Page 450 of 541

on page 3 and the introduction on pa ge 22.
Activating
the key.
The las t sat ellite radio channe l set is displayed and
played if it can st ill be rece ived 1 4 .
Switchin g
press 1 left or right to
switch to the next channel in the selec ted category.
According
to the SEEK sys tem settings, only
preset stations can be selected
Turn the adjustment knob 1 ®to navigate through all channels, rega rdless of the
preselec te d category.
When switchi ng channels , the numbe r
and name
of the channel appear for a few seconds on the
center of the screen 14. The title and artist
are displayed 15 after a short time if DE was selected in the system set
tings
Changing categories
T he category currently selected is displayed at the
t o p right
of the screen (for examp le
Bri efly press the ... rocker switch 1 ®left or right to naviga te thr ough the
available categories.
the category ALL is se lected , the
after switching to Satell ite Rad io
mode , press one of the fun ction to open the corresponding preset leve l
the key to disp lay preset leve ls av ailable in Satellite Radio mode.
The functi ons and operation are the same as those in FM and AM radio modes
Audio mode
Page 452 of 541

Media source Conditions for playback
External audio source.
-3.5 mm jack plug connectab le for audio output =>page 31.
MDI: External media. -Compatible with multimed ia interface =>page 33.
a) Bluelooth ® is a registered trademark or Blueloolh
Limitations and notes
Dirt, high temperatures and mechanical damage
can render a data medium unusable . Please ob
serve data medium manufacturer information.
Quality differences between data media
of different
manufactu rers can cause problems during play
back .
Observe
lega l requirements regarding copy
rights!
not be played if they were recorded in
UDF or direct format. Under Windows Vista®
pay attention to the format.
The data medium configuration or the devices
or programs used for recording can cause individual
tracks or data medium to be unreadable . lnforma-
Audio Data CD
Read and the on page 3 and the introduction on page 24.
Audio files on a data medium
and playlists in order to
define a certain playback sequence . lion
regard ing best practices for the creation
of au
dio files and data media (compression rate,
tag , etc .) can be found on the
audio
are treated as folders and are num
bered according to their order on th e
F igu re =>fig . 16 shows an example of a typ ica l
MP3 CD contain ing tracks fo lders
order:
1 . Track
and in the root folder of the CD (display:
in the first folder F1 of the
root folde r of the CD (display:
in the second subfolder F1.2 of folder F1 (display:
Audio mode 25
Page 454 of 541
Message The playback can skip on poor roads or dur-ing severe vibration .
CD
CHECK CD
TEMPERATURE
in serted.
cannot be played .
A different audio source is
played .
Mechanical defect
in
------------------
Fig. 18 Media selection menu:
the on
18.
Function key: media source
Opening the Media selection menu and selecting a media source
1 to display the Media selection menu again in Me
dia mode
Press the relevant function key to select the de
s ired media source.
Repeatedly press the media sources consecu
tively .
in internal drive 26.
EXT .): External changer
audio source connected to multimedia socket
Externa l media connected to multimedia interface
Bluetooth audio source connected 31.
a p reviously 31 ) .
Audio mode
27