Page 169 of 344

Features of your vehicle160
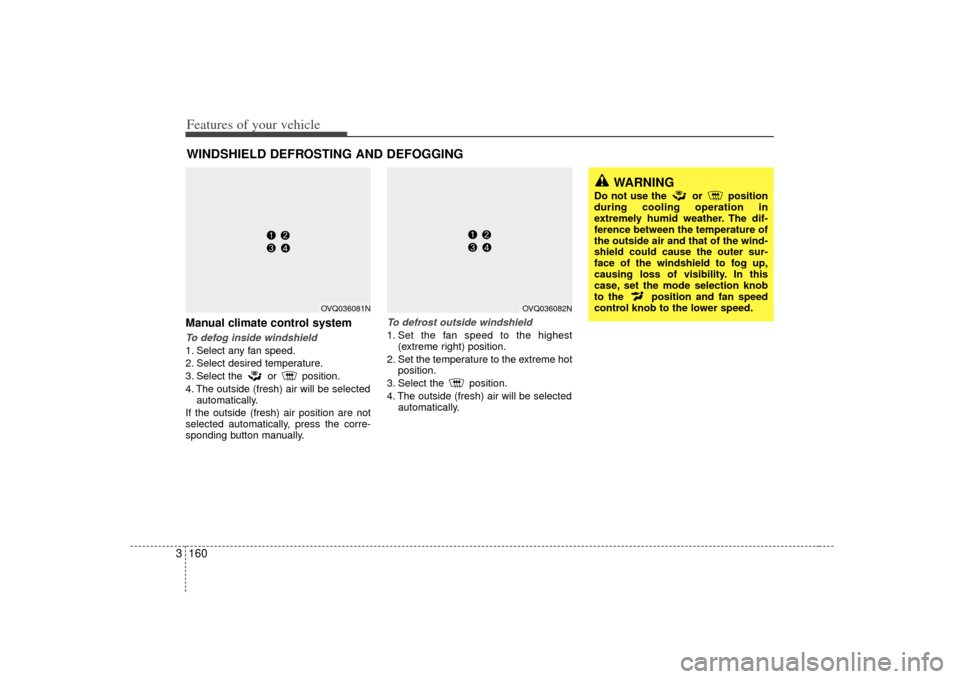
3Manual climate control systemTo defog inside windshield 1. Select any fan speed.
2. Select desired temperature.
3. Select the or position.
4. The outside (fresh) air will be selected
automatically.
If the outside (fresh) air position are not
selected automatically, press the corre-
sponding button manually.
To defrost outside windshield 1. Set the fan speed to the highest (extreme right) position.
2. Set the temperature to the extreme hot position.
3. Select the position.
4. The outside (fresh) air will be selected automatically.
WINDSHIELD DEFROSTING AND DEFOGGING
OVQ036082N
WARNING
Do not use the or position
during cooling operation in
extremely humid weather. The dif-
ference between the temperature of
the outside air and that of the wind-
shield could cause the outer sur-
face of the windshield to fog up,
causing loss of visibility. In this
case, set the mode selection knob
to the position and fan speed
control knob to the lower speed.
OVQ036081N
Page 170 of 344

3 161
Features of your vehicle
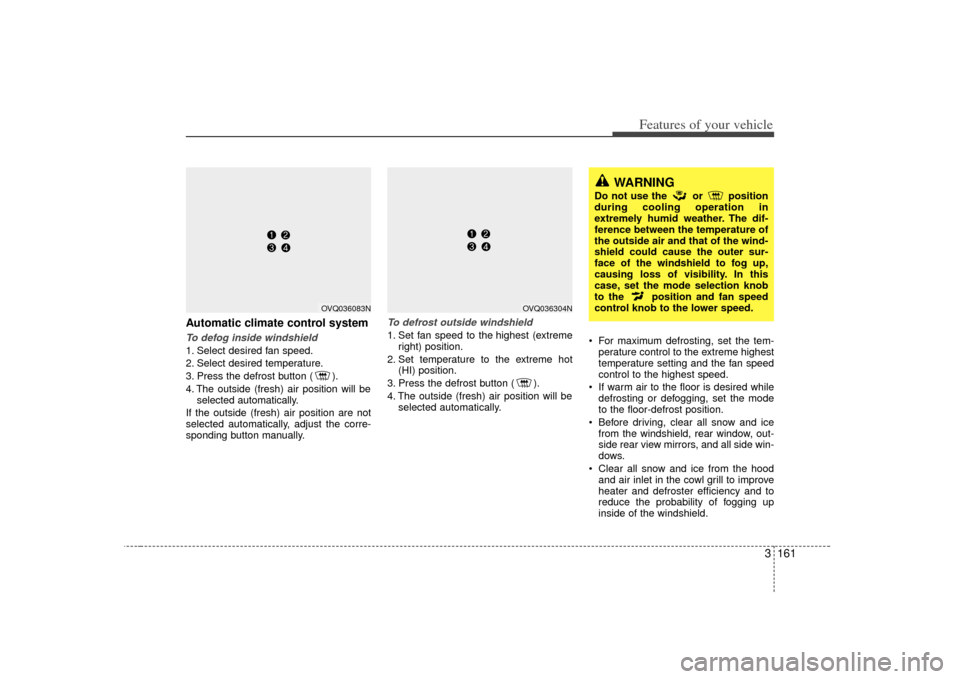
Automatic climate control systemTo defog inside windshield 1. Select desired fan speed.
2. Select desired temperature.
3. Press the defrost button ( ).
4. The outside (fresh) air position will beselected automatically.
If the outside (fresh) air position are not
selected automatically, adjust the corre-
sponding button manually.
To defrost outside windshield 1. Set fan speed to the highest (extreme right) position.
2. Set temperature to the extreme hot (HI) position.
3. Press the defrost button ( ).
4. The outside (fresh) air position will be selected automatically. For maximum defrosting, set the tem-
perature control to the extreme highest
temperature setting and the fan speed
control to the highest speed.
If warm air to the floor is desired while defrosting or defogging, set the mode
to the floor-defrost position.
Before driving, clear all snow and ice from the windshield, rear window, out-
side rear view mirrors, and all side win-
dows.
Clear all snow and ice from the hood and air inlet in the cowl grill to improve
heater and defroster efficiency and to
reduce the probability of fogging up
inside of the windshield.
OVQ036304N
WARNING
Do not use the or position
during cooling operation in
extremely humid weather. The dif-
ference between the temperature of
the outside air and that of the wind-
shield could cause the outer sur-
face of the windshield to fog up,
causing loss of visibility. In this
case, set the mode selection knob
to the position and fan speed
control knob to the lower speed.
OVQ036083N
Page 171 of 344

Features of your vehicle162
3Defogging logicManual climate control systemTo reduce the probability of fogging up
the inside of the windshield, the air intake
control is set to the outside (fresh) air
position automatically if any of following
occur.
The mode is selected to the , or
while the system is activated.
The ignition switch is turned on while the mode is selected to the , or .
The ignition switch is turned off.
The fan is off.
The fan begins to be operated.
Press the air intake control button to
select the recirculated air position while
the ignition switch is on. How to cancel or return defogging logic
of manual climate control system
1. Turn the ignition switch to the “ON”
position.
2. Turn the mode selection knob to the defrost position ( ).
3. Push the air intake control button ( ) at least 5 times within 3 sec-
onds.
The indicator light in the air intake control
button ( ) will blink 3 times with 0.5
second of interval. It indicates that the
defogging logic is canceled or returned to
the programmed status.
If the battery has been discharged or dis-
connected, it is reset as the defog logic
status.
Automatic climate control systemTo reduce the probability of fogging up
inside of the windshield, the air intake
control is set to outside (fresh) air posi-
tion automatically if any of following
occur.
The ignition switch is turned on while the mode is selected to the
,
.
The OFF button is pushed.
The mode is selected to the or position.
Press the air intake control button to
select the recirculated air position while
the ignition switch is on.
OVQ036084N
Page 172 of 344
3 163
Features of your vehicle
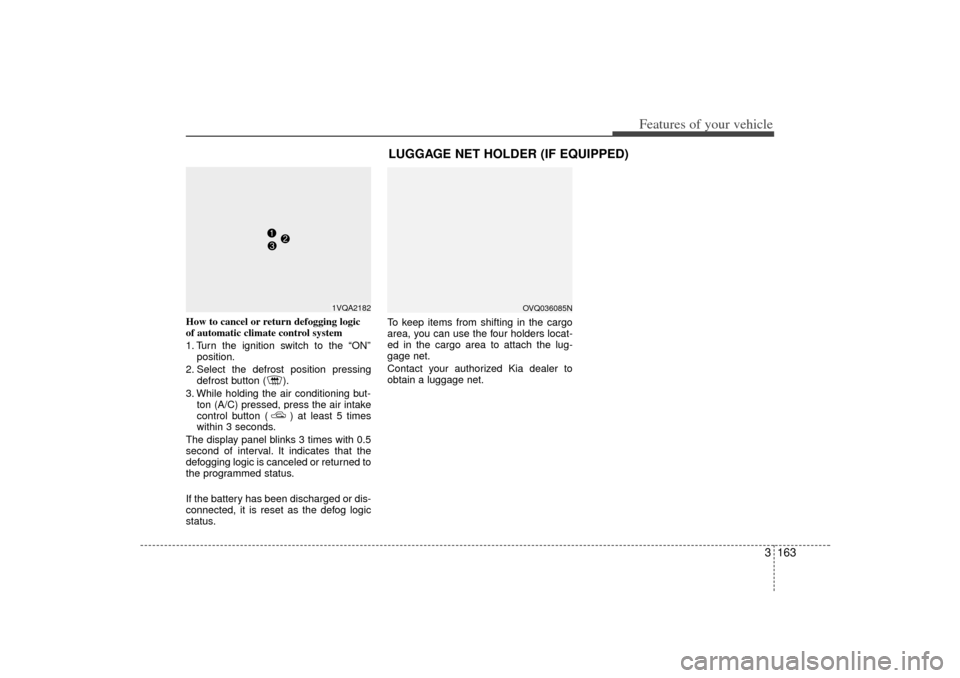
How to cancel or return defogging logic
of automatic climate control system
1. Turn the ignition switch to the “ON”position.
2. Select the defrost position pressing defrost button ( ).
3. While holding the air conditioning but- ton (A/C) pressed, press the air intake
control button ( ) at least 5 times
within 3 seconds.
The display panel blinks 3 times with 0.5
second of interval. It indicates that the
defogging logic is canceled or returned to
the programmed status.
If the battery has been discharged or dis-
connected, it is reset as the defog logic
status. To keep items from shifting in the cargo
area, you can use the four holders locat-
ed in the cargo area to attach the lug-
gage net.
Contact your authorized Kia dealer to
obtain a luggage net.
LUGGAGE NET HOLDER (IF EQUIPPED)
OVQ036085N
1VQA2182
Page 173 of 344

Features of your vehicle164
3If the vehicle has a roof rack, you can
load cargo on top of your vehicle.
Crossbars and fixing components need-
ed to install the roof rack on your vehicle
may be obtained from an authorized Kia
dealer.ROOF RACK (IF EQUIPPED)
1VQA2206
CAUTION
• The crossbars should be placed
in the proper load carrying posi-tions prior to placing items ontothe roof rack.
If the vehicle is equipped with a sunroof, be sure not to positioncargo onto the roof rack in such away that it could interfere with sunroof operation.
(Continued)
WARNING
The following specification is themaximum weight that can be
loaded onto the roof rack.
Distribute the load as evenly as
possible across the crossbars
and roof rack and secure the load
firmly.
The vehicle center of gravity will be higher when items are loaded
onto the roof rack. Avoid sudden
starts, braking, sharp turns,
abrupt maneuvers or high speeds
that may result in loss of vehicle
control or rollover causing an
accident.
(Continued)
(Continued)
Always drive slowly and turn cor-ners carefully when carrying
items on the roof rack. Severe
wind updrafts, caused by passing
vehicles or natural causes, can
cause sudden upward pressure
on items loaded on the roof rack.
This is especially true when car-
rying large, flat items such as
wood panels or mattresses. This
could cause the items to fall off
the roof rack and cause damage
to your vehicle or those around
you.
To prevent damage or loss of cargo while driving, check fre-
quently before or while driving to
make sure the items on the roof
rack are securely fastened.
CAUTION
If the vehicle has a sunroof, do not position the roof rack loadsso that they could not interferewith the sunroof.
Loading cargo or luggage above specification on the roof rack maydamage your vehicle.
(Continued)
When carrying cargo on the roof rack, take the necessary precau-tions to make sure the cargo doesnot damage the roof of the vehicle.
When carrying large objects on the roof rack, make sure they donot exceed the overall roof lengthor width.ROOF 75 kg (165 lbs.)
RACK EVENLY DISTRIBUTED
Page 174 of 344

3 165
Features of your vehicle
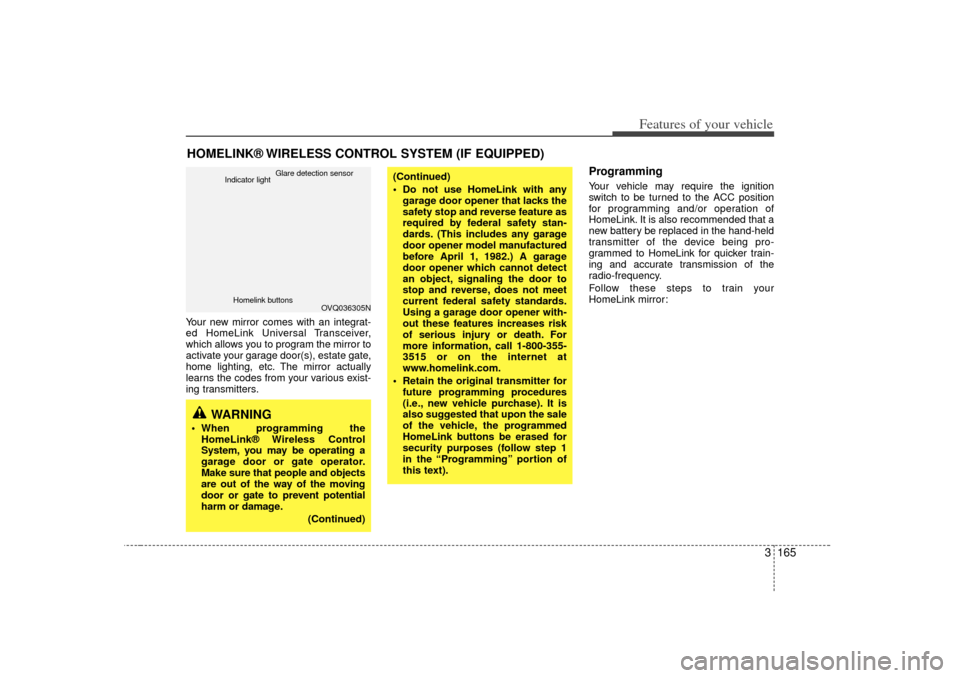
Your new mirror comes with an integrat-
ed HomeLink Universal Transceiver,
which allows you to program the mirror to
activate your garage door(s), estate gate,
home lighting, etc. The mirror actually
learns the codes from your various exist-
ing transmitters.
ProgrammingYour vehicle may require the ignition
switch to be turned to the ACC position
for programming and/or operation of
HomeLink. It is also recommended that a
new battery be replaced in the hand-held
transmitter of the device being pro-
grammed to HomeLink for quicker train-
ing and accurate transmission of the
radio-frequency.
Follow these steps to train your
HomeLink mirror:
HOMELINK® WIRELESS CONTROL SYSTEM (IF EQUIPPED)
WARNING
When programming theHomeLink® Wireless Control
System, you may be operating a
garage door or gate operator.
Make sure that people and objects
are out of the way of the moving
door or gate to prevent potential
harm or damage.
(Continued)
(Continued)
Do not use HomeLink with anygarage door opener that lacks the
safety stop and reverse feature as
required by federal safety stan-
dards. (This includes any garage
door opener model manufactured
before April 1, 1982.) A garage
door opener which cannot detect
an object, signaling the door to
stop and reverse, does not meet
current federal safety standards.
Using a garage door opener with-
out these features increases risk
of serious injury or death. For
more information, call 1-800-355-
3515 or on the internet at
www.homelink.com.
Retain the original transmitter for future programming procedures
(i.e., new vehicle purchase). It is
also suggested that upon the sale
of the vehicle, the programmed
HomeLink buttons be erased for
security purposes (follow step 1
in the “Programming” portion of
this text).
OVQ036305N
Glare detection sensor
Indicator light
Homelink buttons
Page 175 of 344

Features of your vehicle166
31. When programming the buttons for the
first time, press and hold
the left and
center buttons (
,
)simultane-
ously until the indicator light begins to
flash after approximately 20 seconds.
(This procedure erases the factory-set
default codes. Do Not perform this step
to program additional hand-held trans-
mitters.)
✽ ✽ NOTICEFor non rolling code garage door open-
ers, follow steps 2 - 3.
For rolling code garage door openers,
follow steps 2 - 6.
For Canadian Programming, please fol-
low the Canadian Programming section.
For help with determining whether your
garage is non-rolling code or rolling
code, please refer to the garage door
openers owner’s manual or contact
HomeLink customer service at 1-800-
355-3515.
2. Press and hold the button on the
HomeLink system you wish to train
and the button on the transmitter while
the transmitter is approximately 1 to 3
inches away from the mirror. Do not
release the buttons until step 3 has
been completed.
3. The HomeLink indicator light will flash, first slowly and then rapidly. When the
indicator light flashes rapidly, both but-
tons may be released. (The rapid flash-
ing light indicates successful program-
ming of the new frequency signal.)✽ ✽NOTICESome gate operators and garage door
openers may require you to replace step
#3 with the “cycling” procedure noted in
the “Canadian Programming” section
of this document.
OVQ036306N
Flashing
OVQ036307N
Flashing
1-3inches
Transmitter
Page 176 of 344

3 167
Features of your vehicle
Rolling code programmingTo train a garage door opener (or other
rolling code equipped devices) with the
rolling code feature, follow these instruc-
tions after completing the “Programming”
portion of this text. (A second person
may make the following training proce-
dures quicker & easier.)
4. Locate the “learn” or “smart” button onthe device’s motor head unit. Exact
location and color of the button may
vary by product brand. If there is diffi-
culty locating the “learn” or “smart” but-
ton, reference the device’s owner’s
manual or contact HomeLink at 1-800-
355-3515 or on the internet at
www.homelink.com.
5. Press and release the “learn” or “smart” button on the device’s motor
head unit. You have 30 seconds to
complete step number 6.
6. Return to the vehicle and firmly press and release the programmed
HomeLink button up to three times.
The rolling code equipped device
should now recognize the HomeLink
signal and activate when the
HomeLink button is pressed. The
remaining two buttons may now be
programmed if this has not previously
been done. Refer to the
“Programming” portion of this text.
Operating HomeLink To operate, simply press the pro-
grammed HomeLink button. Activation
will now occur for the trained product
(garage door, security system, entry door
lock, estate gate, or home or office light-
ing). For convenience, the hand-held
transmitter of the device may also be
used at any time. The HomeLink
Wireless Controls System (once pro-
grammed) or the original hand-held
transmitter may be used to activate the
device (e.g. garage door, entry door lock,
etc.). In the event that there are still pro-
gramming difficulties, contact HomeLink
at 1-800-355-3515 or on the internet at
www.homelink.com.
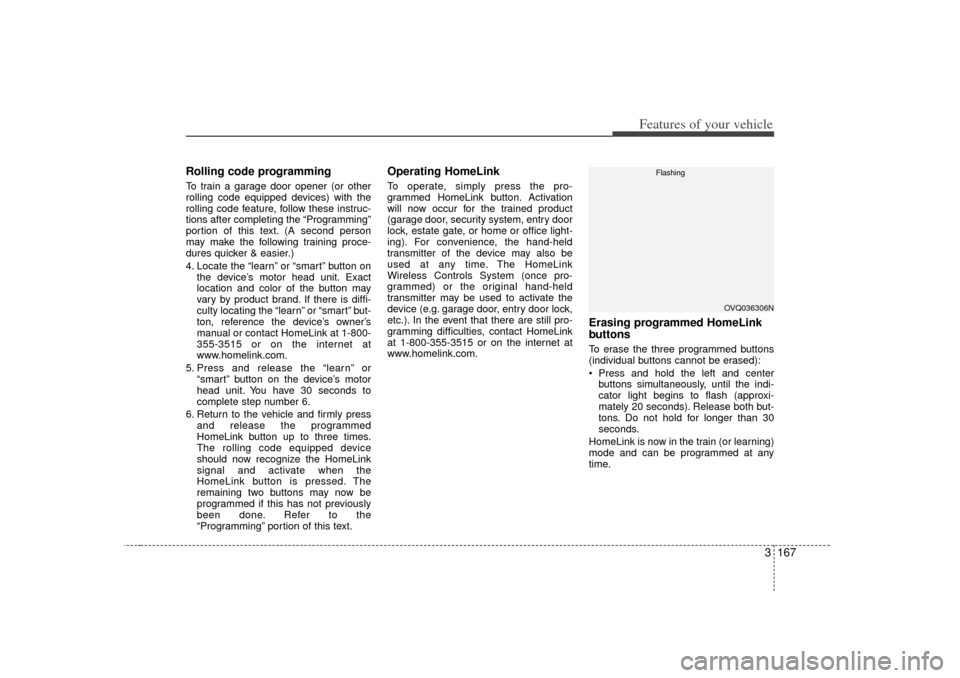
Erasing programmed HomeLink
buttonsTo erase the three programmed buttons
(individual buttons cannot be erased):
Press and hold the left and centerbuttons simultaneously, until the indi-
cator light begins to flash (approxi-
mately 20 seconds). Release both but-
tons. Do not hold for longer than 30
seconds.
HomeLink is now in the train (or learning)
mode and can be programmed at any
time.
OVQ036306N
Flashing