2007 KIA Sedona rear entertainment
[x] Cancel search: rear entertainmentPage 11 of 344

Warnings and indicators / 3-118Interior lights / 3-123Lighting / 3-127
Wipers and washers / 3-130 Horn / 3-133
Defroster / 3-134
Hazard warning flasher / 3-135
Manual climate control system / 3-136
Automatic climate control system / 3-147
Windshield defrosting and defogging / 3-160 Luggage net holder / 3-163Roof rack / 3-164
Homelink® wireless control system / 3-165 Storage compartment / 3-169Interior features / 3-173 Antenna / 3-179
Audio remote control / 3-179 Audio system / 3-180
Rear seat entertainment system / 3-210
Features of your vehicle
3
Page 210 of 344

3 201
Features of your vehicle
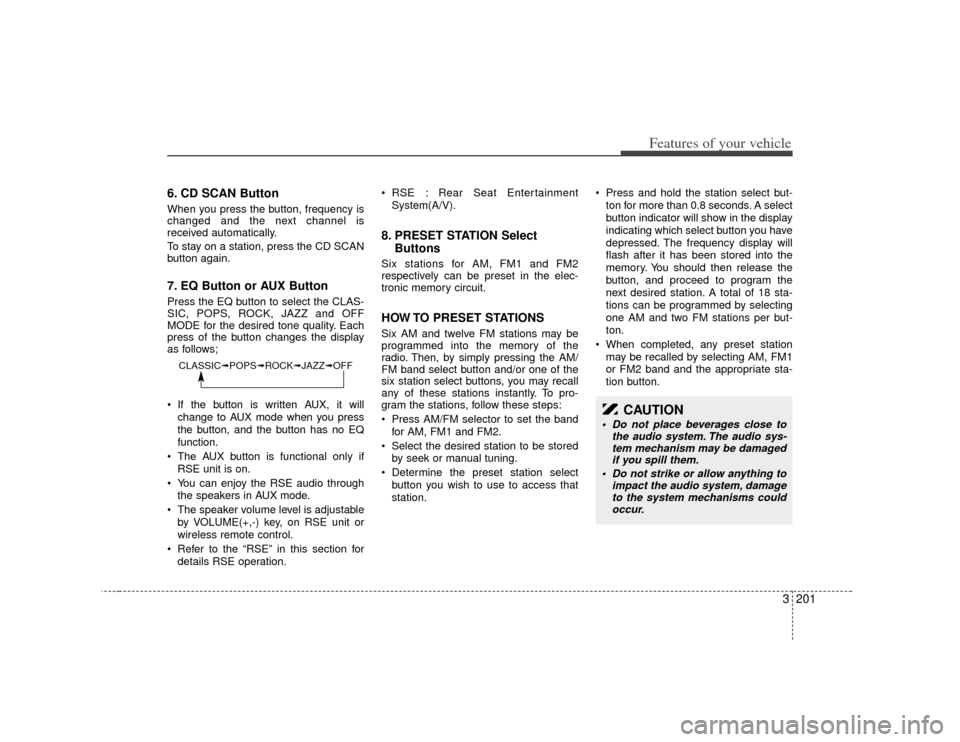
6. CD SCAN ButtonWhen you press the button, frequency is
changed and the next channel is
received automatically.
To stay on a station, press the CD SCAN
button again.7. EQ Button or AUX ButtonPress the EQ button to select the CLAS-
SIC, POPS, ROCK, JAZZ and OFF
MODE for the desired tone quality. Each
press of the button changes the display
as follows;
If the button is written AUX, it willchange to AUX mode when you press
the button, and the button has no EQ
function.
The AUX button is functional only if RSE unit is on.
You can enjoy the RSE audio through the speakers in AUX mode.
The speaker volume level is adjustable by VOLUME(+,-) key, on RSE unit or
wireless remote control.
Refer to the “RSE” in this section for details RSE operation. RSE : Rear Seat Entertainment
System(A/V).
8. PRESET STATION Select ButtonsSix stations for AM, FM1 and FM2
respectively can be preset in the elec-
tronic memory circuit.HOW TO PRESET STATIONSSix AM and twelve FM stations may be
programmed into the memory of the
radio. Then, by simply pressing the AM/
FM band select button and/or one of the
six station select buttons, you may recall
any of these stations instantly. To pro-
gram the stations, follow these steps:
Press AM/FM selector to set the band
for AM, FM1 and FM2.
Select the desired station to be stored by seek or manual tuning.
Determine the preset station select button you wish to use to access that
station. Press and hold the station select but-
ton for more than 0.8 seconds. A select
button indicator will show in the display
indicating which select button you have
depressed. The frequency display will
flash after it has been stored into the
memory. You should then release the
button, and proceed to program the
next desired station. A total of 18 sta-
tions can be programmed by selecting
one AM and two FM stations per but-
ton.
When completed, any preset station may be recalled by selecting AM, FM1
or FM2 band and the appropriate sta-
tion button.
CLASSIC➟ POPS➟ROCK➟ JAZZ➟OFF
CAUTION
Do not place beverages close to
the audio system. The audio sys-tem mechanism may be damagedif you spill them.
Do not strike or allow anything to impact the audio system, damageto the system mechanisms couldoccur.
Page 212 of 344

3 203
Features of your vehicle
1. TAPE PROGRAM Button This allows you to play the reverse sideof the tape by merely depressing the
program button. An arrow will appear in
the display to show tape direction.
Push the TAPE button while the tape is in the tape deck, to turn on that func-
tion without pushing the Power ON-
OFF control knob.2. TAPE EJECT Button When the button is pressed with acassette loaded, the cassette will eject.
When the button is pressed during FF/REW mode, the cassette will eject.3. AUTO MUSIC SEARCH (AMS) ButtonPress the button to find the starting point
of each song in a prerecorded music
tape. The quiet space between songs
(must have at least 4 sec. gap) can be
identified by the AUTO MUSIC SEARCH
button.
Pressing the button will play the
beginning of the next music segment.
Pressing the button will start replay at the beginning of the music just lis-
tened to.
To stop FF or REW action, press the button again.
4. FF/REW Button Forward tape winding starts when the
FF button is pressed during PLAY or
REW mode.
Tape PLAY starts when the FF button is pressed again during FF mode.
Tape rewinding starts when the REW button is pressed during PLAY or FF
mode.
Tape PLAY starts when the REW but- ton pressed again during REW mode.5. REPEAT (RPT) Button To repeat the track you are currentlylistening to, press the RPT button. To
cancel, press again.
If you do not release RPT operation when the track ends, it will automati-
cally be replayed.
This process will be continued until you
push the button again or turn the
power OFF then ON.6. DOLBY ButtonIf you get background noise during tape
PLAY, you can reduce this considerably
by merely pressing the DOLBY button. If
you want to cancel the DOLBY feature,
press the button again.
7. EQ Button or AUX ButtonPress the EQ button to select the CLAS-
SIC, POPS, ROCK, JAZZ and OFF
MODE for the desired tone quality. Each
press of the button changes the display
as follows;
If the button is labeled AUX, it will
change to AUX mode when you press
the button, and the button has no EQ
function.
The AUX button is functional only if RSE unit is on.
You can enjoy the RSE audio through the speakers in AUX mode.
The speaker volume level is adjustable by VOLUME(+,-) key, on RSE unit or
wireless remote control.
* Refer to the “RSE” in this section for details RSE operation.
* RSE : Rear Seat Entertainment System(A/V).CLASSIC➟ POPS➟ROCK➟ JAZZ➟OFF
Page 216 of 344

3 207
Features of your vehicle
✽
✽NOTICEPlayback of MP3 and WMA file formats
are supported. Load to play time for
these formats may be longer due to the
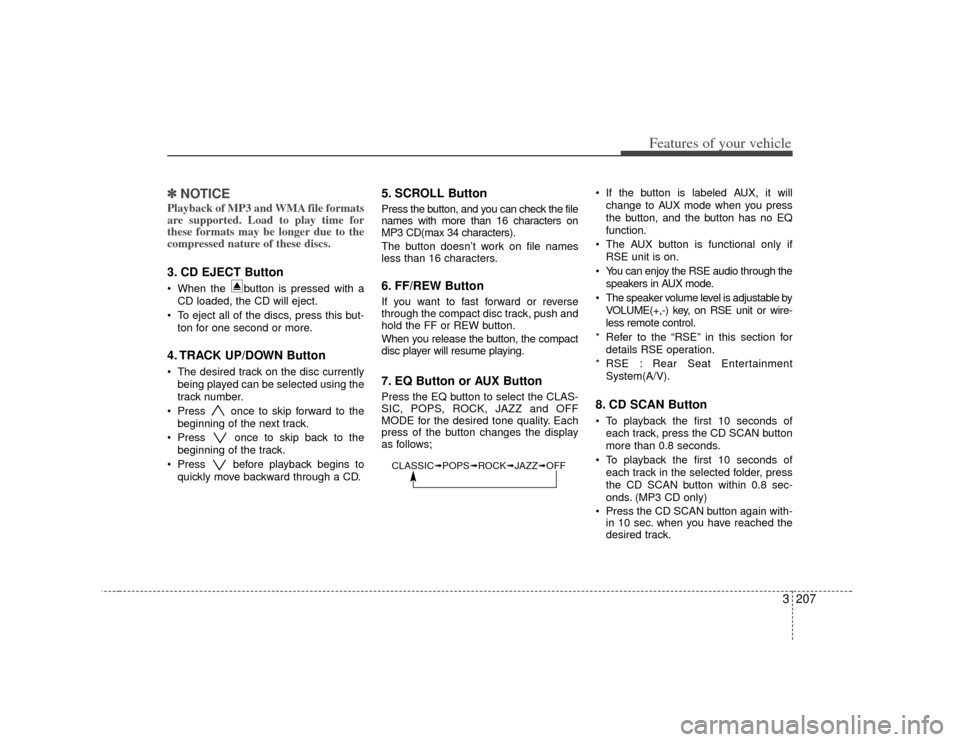
compressed nature of these discs.3. CD EJECT Button When the button is pressed with a
CD loaded, the CD will eject.
To eject all of the discs, press this but- ton for one second or more.4. TRACK UP/DOWN Button The desired track on the disc currentlybeing played can be selected using the
track number.
Press once to skip forward to the beginning of the next track.
Press once to skip back to the beginning of the track.
Press before playback begins to quickly move backward through a CD.
5. SCROLL ButtonPress the button, and you can check the file
names with more than 16 characters on
MP3 CD(max 34 characters).
The button doesn’t work on file names
less than 16 characters.6. FF/REW ButtonIf you want to fast forward or reverse
through the compact disc track, push and
hold the FF or REW button.
When you release the button, the compact
disc player will resume playing.7. EQ Button or AUX ButtonPress the EQ button to select the CLAS-
SIC, POPS, ROCK, JAZZ and OFF
MODE for the desired tone quality. Each
press of the button changes the display
as follows; If the button is labeled AUX, it will
change to AUX mode when you press
the button, and the button has no EQ
function.
The AUX button is functional only if RSE unit is on.
You can enjoy the RSE audio through the speakers in AUX mode.
The speaker volume level is adjustable by VOLUME(+,-) key, on RSE unit or wire-
less remote control.
* Refer to the “RSE” in this section for details RSE operation.
* RSE : Rear Seat Entertainment System(A/V).
8. CD SCAN Button To playback the first 10 seconds ofeach track, press the CD SCAN button
more than 0.8 seconds.
To playback the first 10 seconds of each track in the selected folder, press
the CD SCAN button within 0.8 sec-
onds. (MP3 CD only)
Press the CD SCAN button again with- in 10 sec. when you have reached the
desired track.
CLASSIC➟ POPS➟ROCK➟ JAZZ➟OFF
Page 219 of 344

Features of your vehicle210
3WelcomeThe Rear Seat Entertainment (RSE)
System is a compact, built-in, easy-to-use
entertainment system designed to provide
family fun while you are on the road. Enjoy
great quality sound from the 11 speakers,
or have a private, quiet viewing with the
wireless headphones.
The display unit is mounted to the ceiling
in the rear passenger area of the vehicle,
allowing rear-seat passengers to play
DVD movies, video CDs or music CDs.
Users may also plug in a game platform or
VHS player. Headphones, game car-
tridges and other accessories can be kept
neatly out of the way in the 3rd-row arm-
rest compartment.System OverviewThe RSE System includes a mounted
color monitor with a built-in audio/video
control panel and a DVD player. It also
includes a remote control and two (2)
sets of battery-operated wireless head-
phones (batteries are included).
Connections / SetupThe RSE system is designed to make
your time on the road more enjoyable.
Please follow these instructions carefully
to get the most out of your RSE.
✽ ✽
NOTICERSE operation is prevented during the
first 2 seconds after the ignition switch is
turned to ignition on or accessory mode.The RSE system is already set up and
ready for use. The system is always
“awake” when the vehicle's ignition is
turned on or when the vehicle is in
“accessory power mode.”
REAR SEAT ENTERTAINMENT SYSTEM (IF EQUIPPED)
CAUTION
Refrain from using food or drinks
near the RSE, the wireless head-phones or the remote control.
Direct sunlight may interfere with the headphone's operation andperformance.
Normal RSE operation cannot be guaranteed with unofficial dupli-cated discs.
In order to prevent inadvertent battery discharge, the RSE willremain in standby mode when ignition switch is turn to ignitionON or accessory mode.
Use of rear seat entertainment system without the engine run-ning will reduce battery power.
CAUTION
Disclaimer: The RSE system is pro-grammed to the regional display formats for your region (NTSC orPAL). Please note that your RSE willnot read DVDs from a differentregion.
Page 343 of 344

83
Index
If the engine overheats ··················\
··················\
···············5-5
If you have a flat tire ··················\
··················\
··················\
·5-6
Immobilizer system ··················\
··················\
··················\
···3-9
Instrument cluster ··················\
··················\
··················\
··3-108
Instrument panel overview ··················\
··················\
··········2-3
Interior features··················\
··················\
··················\
······3-173
Interior lights ··················\
··················\
··················\
·········3-123
Interior overview ··················\
··················\
··················\
·······2-2
Key positions ··················\
··················\
··················\
·············4-3
Keys ··················\
··················\
··················\
··················\
·········3-3
Label information ··················\
··················\
··················\
····4-35
Lighting··················\
··················\
··················\
··················\
3-127
Lubricant ··················\
··················\
··················\
··················\
6-42
Lubricants and fluids ··················\
··················\
·················6-16\
Luggage net holder ··················\
··················\
··················\
3-163
Maintenance schedule··················\
··················\
··················\
6-3
Maintenance services ··················\
··················\
··················\
·6-2
Manual climate control system··················\
··················\
3-136
Mirrors ··················\
··················\
··················\
··················\
·3-103Overloading ··················\
··················\
··················\
·············4-34
Owner maintenance ··················\
··················\
··················\
···6-7
Power adjustable pedals··················\
··················\
·············3-58
Power sliding door and power tailgate ··················\
········3-17
Power steering ··················\
··················\
··················\
·········6-17
Rear parking assist system··················\
··················\
·········4-22
Rear seat entertainment system ··················\
·················3-21\
0
Remote keyless entry ··················\
··················\
··················\
·3-4
Road warning ··················\
··················\
··················\
·············5-2
Roof rack ··················\
··················\
··················\
···············3-164
Safety belts··················\
··················\
··················\
···············3-59
Seat··················\
··················\
··················\
··················\
·········3-37
Special driving conditions ··················\
··················\
·········4-26
Starting the engine ··················\
··················\
··················\
·····4-4
Steering wheel···············\
··················\
··················\
···········3-101
Storage compartment ··················\
··················\
···············3-169
Sunroof··················\
··················\
··················\
··················\
···3-33
Theft-alarm system ··················\
··················\
··················\
····3-7IKLM
OPRST