2007 Hyundai H-1 (Grand Starex) warning
[x] Cancel search: warningPage 238 of 284
6VEHICLE MAINTENANCE REQUIREMENTS
12EXPLANATION OF SCHEDULED MAINTENANCE ITEMS
F060M01A-AAT
o Engine Oil and Filter The engine oil and filter should be changed at those intervals specified in the maintenance schedule. If the ve- hicle is being driven in severe condi-tions, more frequent oil and filter changes are required. G080B02P-GAT
o Valve Clearances (Diesel) An incorrect valve clearance will not only result in rough engine operation, but will also cause excessive noiseand reduced engine output.Inspect valve clearance and adjust asrequired while the engine is hot. G080C02P-GAT
o Fuel Lines and Connections
Check the fuel lines and connections
for leakage and damage. Replace any damaged or leaking parts immediately. G080D01P-GAT
o Fuel Filter
A clogged filter can limit the speed at
which the vehicle may be driven, dam-age the emission system and cause hard starting. If an excessive amountof foreign matter accumulates in the fuel tank, the filter may require re- placement more frequently. After installing a new filter, run the
engine for several minutes, and checkfor leaks at the connections.
!WARNING (Diesel only):
Never work on injection system with
engine running or within 30 sec- onds after shutting off engine. High pressure pump, rail, injectors and high pressure pipes are subject to high pressure even after the engine stopped. The fuel jet produced byfuel leaks may cause serious injury, if it touch the body. People using pacemakers should not move than30cm closer to the ECU or wiring harness within the engine room while engine is running, since thehigh currents in the Common Rail system produce considerable mag- netic fields.
Page 253 of 284
8
DO-IT YOURSELF MAINTENANCE
9
!
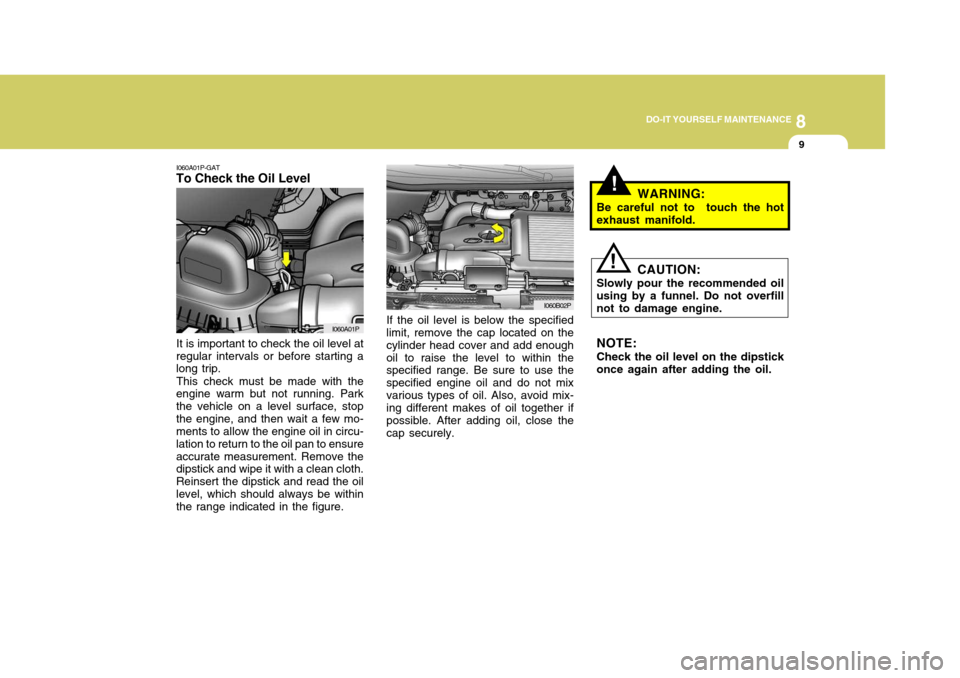
I060A01P-GAT
To Check the Oil Level
If the oil level is below the specified limit, remove the cap located on the cylinder head cover and add enoughoil to raise the level to within the specified range. Be sure to use the specified engine oil and do not mixvarious types of oil. Also, avoid mix- ing different makes of oil together if possible. After adding oil, close thecap securely.
It is important to check the oil level at
regular intervals or before starting a long trip.
This check must be made with the
engine warm but not running. Park the vehicle on a level surface, stopthe engine, and then wait a few mo- ments to allow the engine oil in circu- lation to return to the oil pan to ensureaccurate measurement. Remove the dipstick and wipe it with a clean cloth. Reinsert the dipstick and read the oillevel, which should always be within the range indicated in the figure. WARNING:
Be careful not to touch the hot exhaust manifold.
CAUTION:
Slowly pour the recommended oilusing by a funnel. Do not overfillnot to damage engine. NOTE: Check the oil level on the dipstick once again after adding the oil.
!
I060A01P I060B02P
Page 254 of 284

8DO-IT YOURSELF MAINTENANCE
10CHECKING THE ENGINE COOLANT
G350A01A-GAT ENGINE OIL CONSUMPTION Function of Engine Oil Engine oil has the primary function of lubricating and cooling the inside of the engine. Engine oil consumption It is normal that an engine should consume some engine oil while nor- mal driving. The cause of oil con- sumption in a normal engine are asfollows;
o Engine oil is used to lubricate pis-
tons, piston rings and cylinders. A thin film of oil is left on the cylinder wall when a piston moves downwards in the cylinder. High negative pressure generated dur-ing engine operation sucks some of the oil into the combustion cham- ber.This oil with some oil of the cylin-der wall is burned by the high tem-perature combustion gases during the combustion process. o The engine oil consumption is
strongly effected by the viscosity and quality of oil, engine rpm and driving condition etc. The engine oil is more consumed under severedriving conditions such as high speeds and frequent acceleration and deceleration than normal driv-ing condition. I080A02P-GAT
!WARNING:
Do not remove the radiator cap
when the engine is hot. When the engine is hot, the engine coolant is under pressure and may erupt through the opening if the cap isremoved. You could be seriously burned if you do not observe this precaution. Do not remove theradiator cap until the radiator is cool to the touch.
I080A01P
Page 255 of 284
8
DO-IT YOURSELF MAINTENANCE
11
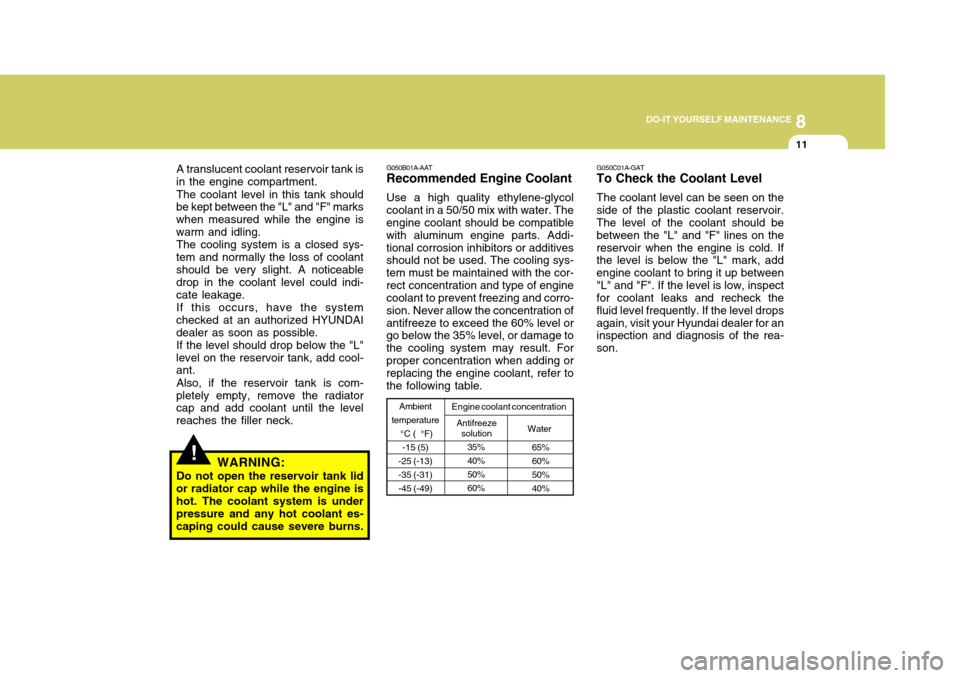
A translucent coolant reservoir tank is
in the engine compartment.
The coolant level in this tank should
be kept between the "L" and "F" marks when measured while the engine iswarm and idling.
The cooling system is a closed sys-
tem and normally the loss of coolant should be very slight. A noticeable drop in the coolant level could indi-cate leakage. If this occurs, have the system
checked at an authorized HYUNDAIdealer as soon as possible. If the level should drop below the "L"
level on the reservoir tank, add cool- ant.
Also, if the reservoir tank is com-
pletely empty, remove the radiatorcap and add coolant until the level reaches the filler neck.
!WARNING:
Do not open the reservoir tank lid
or radiator cap while the engine is hot. The coolant system is under pressure and any hot coolant es-caping could cause severe burns. G050B01A-AAT Recommended Engine Coolant Use a high quality ethylene-glycol coolant in a 50/50 mix with water. The engine coolant should be compatible with aluminum engine parts. Addi-tional corrosion inhibitors or additives should not be used. The cooling sys- tem must be maintained with the cor-rect concentration and type of engine coolant to prevent freezing and corro- sion. Never allow the concentration ofantifreeze to exceed the 60% level or go below the 35% level, or damage to the cooling system may result. Forproper concentration when adding or replacing the engine coolant, refer to the following table.
Water
65% 60%50%40%
35%40%50%60%
Ambient
temperature °C ( °F)-15 (5)
-25 (-13) -35 (-31)-45 (-49) Engine coolant concentration
Antifreezesolution G050C01A-GAT To Check the Coolant Level The coolant level can be seen on the side of the plastic coolant reservoir. The level of the coolant should be between the "L" and "F" lines on thereservoir when the engine is cold. If the level is below the "L" mark, add engine coolant to bring it up between"L" and "F". If the level is low, inspect for coolant leaks and recheck the fluid level frequently. If the level dropsagain, visit your Hyundai dealer for an inspection and diagnosis of the rea- son.
Page 256 of 284

8DO-IT YOURSELF MAINTENANCE
12
!
4. Turn the radiator cap counterclock-
wise without pressing down on it, until it stops. This relieves any pres- sure remaining in the cooling sys- tem. And remove the radiator capby pushing down and turning coun- terclockwise. Now fill the radiator with clean dem- ineralized or distilled water. Con- tinue to add clean demineralized or distilled water in small quantitiesuntil the fluid level stays up in the radiator neck.
5. Start the engine, top off the radia- tor with water and then add engine coolant to the reservoir until thelevel is between "L" and "F".
6. Replace the radiator and reservoir caps and check to be sure thedrain cocks are fully closed and not leaking. WARNING:
The cooling fan is controlled by
engine coolant temperature andmay sometimes operate even when the engine is not running. Useextreme caution when working near the blades of the cooling fan so that you are not injured by a rotat-ing fan blade. As the engine cool- ant temperature decreases, the fan will automatically shut off. This isa normal condition.
G050D02P-AAT To Change the Coolant The coolant should be changed at those intervals specified in the ve- hicle maintenance schedule in Sec- tion 6.
!
CAUTION:
Engine coolant can damage the finish of your car. If you spill en-gine coolant on the car, wash it off thoroughly with clean water.
1. Park the car on level ground, set the parking brake and remove the radia- tor cap when cool.
2. Be sure your drain receptacle is in
place. Open the drain cock on theradiator. Allow all the engine cool- ant to drain from the cooling sys- tem, then securely close the draincock.
3. Check Section 9 for the capacity of the cooling system in your car.Then, following the manufacturer's directions on the engine coolant container, add the appropriatequantity of coolant to the radiator.
Page 257 of 284
8
DO-IT YOURSELF MAINTENANCE
13
D010B02P
CHECKING THE BATTERY
!
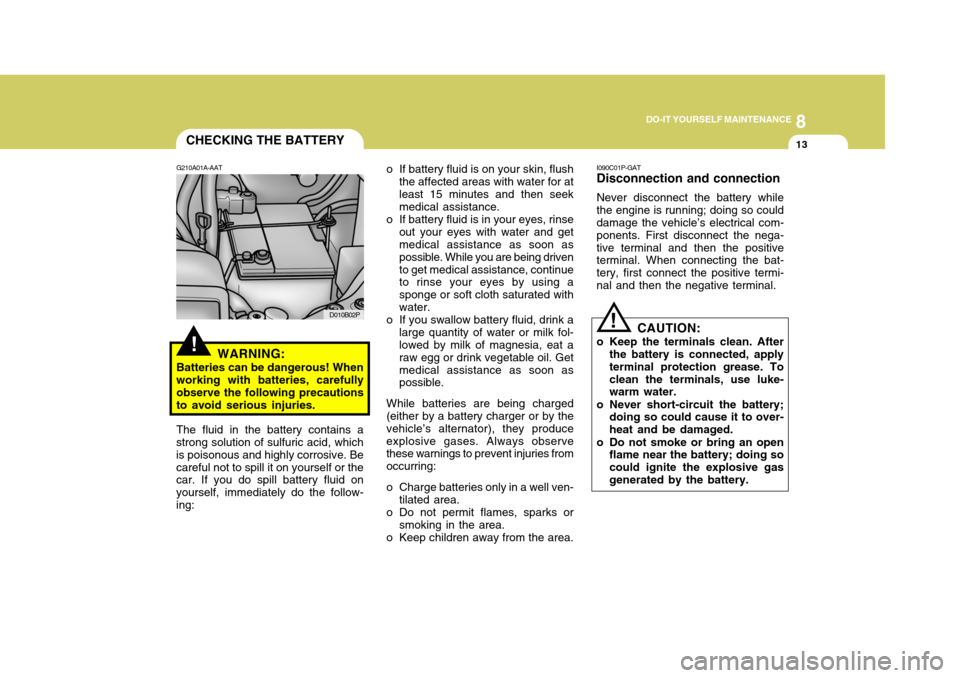
G210A01A-AAT
WARNING:
Batteries can be dangerous! When working with batteries, carefully observe the following precautionsto avoid serious injuries. The fluid in the battery contains a
strong solution of sulfuric acid, which is poisonous and highly corrosive. Becareful not to spill it on yourself or the car. If you do spill battery fluid on yourself, immediately do the follow-ing: o If battery fluid is on your skin, flush
the affected areas with water for atleast 15 minutes and then seek medical assistance.
o If battery fluid is in your eyes, rinse out your eyes with water and getmedical assistance as soon as possible. While you are being drivento get medical assistance, continue to rinse your eyes by using a sponge or soft cloth saturated withwater.
o If you swallow battery fluid, drink a large quantity of water or milk fol- lowed by milk of magnesia, eat a raw egg or drink vegetable oil. Getmedical assistance as soon as possible.
While batteries are being charged(either by a battery charger or by the vehicle’s alternator), they produceexplosive gases. Always observe these warnings to prevent injuries from occurring:
o Charge batteries only in a well ven- tilated area.
o Do not permit flames, sparks or smoking in the area.
o Keep children away from the area. I090C01P-GAT Disconnection and connection Never disconnect the battery while the engine is running; doing so could damage the vehicle’s electrical com- ponents. First disconnect the nega-tive terminal and then the positive terminal. When connecting the bat- tery, first connect the positive termi-nal and then the negative terminal.
CAUTION:
o Keep the terminals clean. After the battery is connected, applyterminal protection grease. Toclean the terminals, use luke- warm water.
o Never short-circuit the battery; doing so could cause it to over- heat and be damaged.
o Do not smoke or bring an open flame near the battery; doing socould ignite the explosive gasgenerated by the battery.
!
Page 258 of 284
8DO-IT YOURSELF MAINTENANCE
14
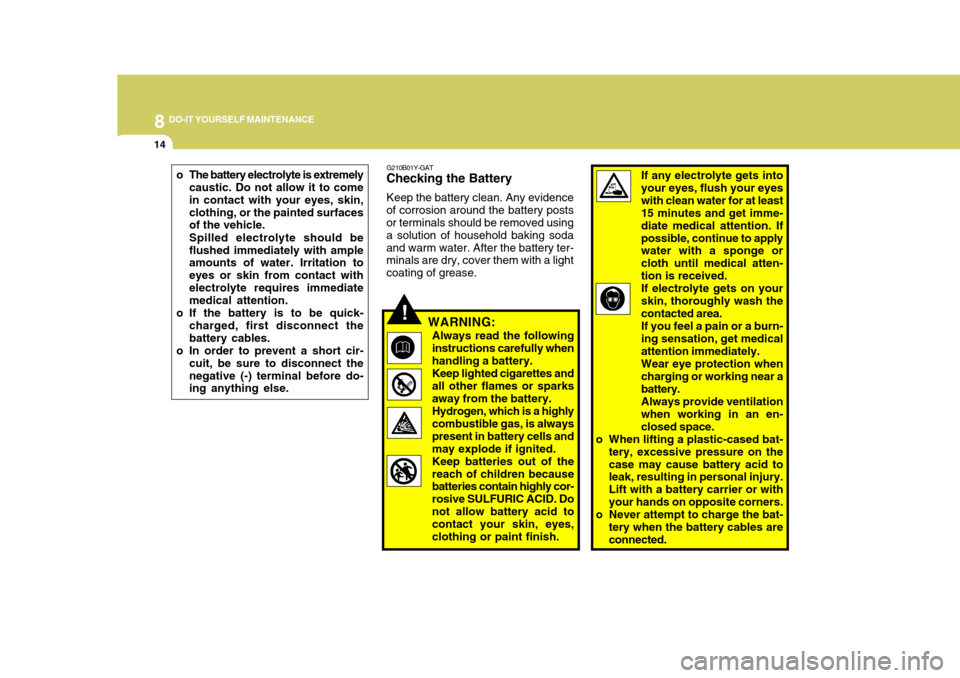
o The battery electrolyte is extremelycaustic. Do not allow it to come in contact with your eyes, skin,clothing, or the painted surfaces of the vehicle. Spilled electrolyte should be flushed immediately with ample amounts of water. Irritation to eyes or skin from contact withelectrolyte requires immediate medical attention.
o If the battery is to be quick- charged, first disconnect the battery cables.
o In order to prevent a short cir- cuit, be sure to disconnect thenegative (-) terminal before do- ing anything else.
If any electrolyte gets into your eyes, flush your eyeswith clean water for at least 15 minutes and get imme- diate medical attention. Ifpossible, continue to apply water with a sponge or cloth until medical atten-tion is received.If electrolyte gets on yourskin, thoroughly wash the contacted area. If you feel a pain or a burn- ing sensation, get medical attention immediately. Wear eye protection when charging or working near a battery. Always provide ventilation when working in an en- closed space.
o When lifting a plastic-cased bat-
tery, excessive pressure on thecase may cause battery acid to leak, resulting in personal injury. Lift with a battery carrier or withyour hands on opposite corners.
o Never attempt to charge the bat-
tery when the battery cables areconnected.G210B01Y-GAT
Checking the Battery
Keep the battery clean. Any evidence
of corrosion around the battery posts or terminals should be removed using a solution of household baking sodaand warm water. After the battery ter- minals are dry, cover them with a light coating of grease.
!WARNING:
Always read the following instructions carefully when handling a battery. Keep lighted cigarettes and all other flames or sparks away from the battery. Hydrogen, which is a highly combustible gas, is always present in battery cells andmay explode if ignited.Keep batteries out of thereach of children because batteries contain highly cor- rosive SULFURIC ACID. Donot allow battery acid to contact your skin, eyes, clothing or paint finish.
Page 262 of 284

8DO-IT YOURSELF MAINTENANCE
18
!
On a vehicle with the brake fluid warn- ing lamp, the brake fluid level is moni-tored by a float. When the brake fluid level falls to below the "MIN" mark, the brake fluid warning lamp lights up.
WARNING:
o Use only the specified brake fluid. Also, the additives in differentbrands may result in a chemical reaction when mixed together, so avoid mixing different brands ifpossible.
o Use extreme caution in filling
the brake fluid because it is toxicand corrosive, and it can harm your eyes and damage painted surface. If the fluid gets in youreyes, flush your eyes with clean water.
CHECKING THE AUTOMATIC TRANSMISSION FLUID
I120A02P-GAT (If installed) Transmission fluid in the automatic transmission should be changed at those intervals specified in the ve- hicle maintenance schedule in Sec-tion 6. NOTE: Automatic transmission fluid is a red color. As driving distance in- creases, the fluid color turns dark-ish red gradually. It is a normal condition and you should not judge the need to replace basedupon the changing color.You must replace the automatictransmission fluid in accordance with intervals specified in the ve- hicle maintenance schedule in sec-tion 6.CHECKING THE CLUTCH FLUID
I110A01P-GAT (If installed) In the case of vehicles with the hy- draulic operating clutch, the reservoir for the clutch fluid also serves as the reservoir for the brake fluid. See theparagraph on the brake fluid.