2007 Hyundai H-1 (Grand Starex) warning
[x] Cancel search: warningPage 147 of 284

3
STARTING AND OPERATING
5
C070C01E-1
C070C01A-AAT To remove the ignition key
1. Turn the ignition key to the "ACC"
position.
2. Simultaneously push and turn the
ignition key counterclockwise from the "ACC" position to the "LOCK" position.
3. The key can be removed in the
"LOCK" position.LOCK
ACC
ON
START
NOTE: Do not hold the key in the "START" position for more than 15 seconds.
o "ON" When the key is in the "ON" position, the ignition is on and all accessoriesmay be turned on. If the engine is not running, the key should not be left in the "ON" position. This will dischargethe battery and may also damage the ignition system.
o "ACC" With the key in the "ACC" position, the some electrical accessories (radio etc.) may be operated.
o "LOCK" The key can be removed or inserted in this position. To protect against theft, the steering wheel locks by removing the key. NOTE: If difficulty is experienced in turning the ignition key to the START posi- tion, turn the steering wheel rightand left to release the tension and then turn the key.
!
STARTING
C050A01A-GAT Starting For The Gasoline Engine
C050A01E-1
WARNING:
Never run the engine in a closed or poorly ventilated area any longerthan is needed to move your car in or out of the area. The carbon mon- oxide gas emitted is odorless andcan cause serious injury or death. LOCK
ON
START
Page 149 of 284
3
STARTING AND OPERATING
7
!WARNING:
Be sure that the clutch is fully de- pressed when starting a manualtransmission vehicle. Otherwise there is the potential to cause dam- age to the vehicle or injury to some-one inside or outside the vehicle as a result of the forward or backward movement of the vehicle that willoccur if the clutch is not depressed when the vehicle is started.
5. Turn the ignition key to the "START" position and release it when theengine starts. D040A01P-GAT Tips for starting
o Do not operate the starter motor
continuously for longer than ten seconds; doing so could run down the battery. If the engine does not start, turn the ignition switch backto "LOCK", wait a few minutes, and then try again.
o If the engine cannot be started be- cause the battery is weak or dead,refer to the emergency starting sec- tion for instructions on EmergencyStarting.
o After starting the engine, do not
keep the engine idling without driv-ing. Once when the atmospheric tem- perature is very low, warm up theengine at a high idling speed to ensure proper circulation of the oil. CAUTION:
o Do not run the engine at high rpm or drive the vehicle at high speed until the engine has had achance to warm up.
o Release the ignition key as soon
as the engine starts to avoiddamaging the starter motor.!
Page 150 of 284
3 STARTING AND OPERATING
8MANUAL TRANSMISSION
!WARNING:
Do not turn the engine off immedi- ately after it has been subjected to a heavy load. Doing so may causesevere damage to the engine or turbo charger unit. D070A02A-GAT
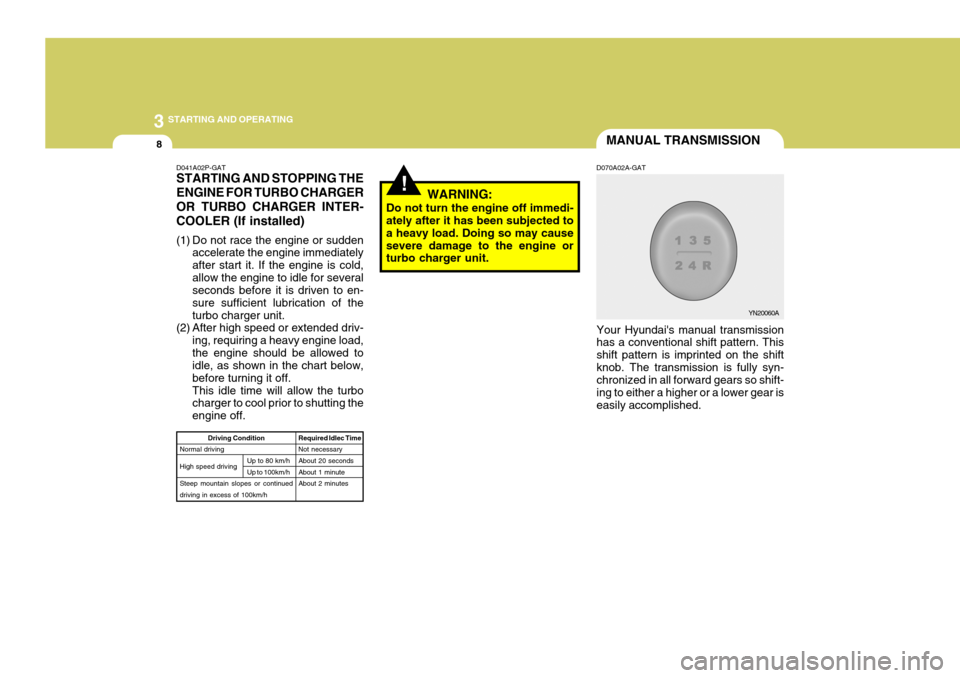
Your Hyundai's manual transmissionhas a conventional shift pattern. This shift pattern is imprinted on the shiftknob. The transmission is fully syn- chronized in all forward gears so shift- ing to either a higher or a lower gear iseasily accomplished.
D041A02P-GAT STARTING AND STOPPING THE ENGINE FOR TURBO CHARGEROR TURBO CHARGER INTER-COOLER (If installed)
(1) Do not race the engine or sudden
accelerate the engine immediately after start it. If the engine is cold,allow the engine to idle for several seconds before it is driven to en- sure sufficient lubrication of theturbo charger unit.
(2) After high speed or extended driv-
ing, requiring a heavy engine load,the engine should be allowed to idle, as shown in the chart below, before turning it off.This idle time will allow the turbo charger to cool prior to shutting the engine off.
Driving Condition
Normal driving High speed drivingSteep mountain slopes or continued driving in excess of 100km/h
Up to 80 km/h Up to 100km/h Required Idlec TimeNot necessary About 20 seconds About 1 minuteAbout 2 minutes
YN20060A
Page 152 of 284
3 STARTING AND OPERATING
10
!
o Slow down before shifting to a lower
gear. This will help avoid over-running the engine, which can cause damage.
o Slow down when you encounter
cross winds. This gives you muchbetter control of your car.
o Be sure the vehicle is completely stopped before you attempt to shiftinto reverse. The transmission can be damaged if you do not. To shiftinto reverse, depress the clutch, move the shift lever to neutral, wait three seconds, then shift to the re-verse position.
o Exercise extreme caution when driv-
ing on a slippery surface. Be espe-cially careful when braking, acceler- ating or shifting gears. On a slippery surface, an abruptchange in engine speed can cause the drive wheels to lose traction and the vehicle to go out of control. WARNING:
o Avoid high cornering speeds.
o Do not make quick steering wheel movements, such as sharp lanechanges or fast, sharp turns.
o Always wear your seat belts. In a collision crash, an unbeltedperson is significantly more likelyto die than a person wearing a seatbelt.
o The risk of rollover is greatly in-
creased if you lose control ofyour vehicle at highway speeds.
o Loss of control often occurs if two or more wheels drop off the roadway and the driver oversteersto reenter the roadway.
o In the event your vehicle leaves
the roadway, do not steer sharply.Instead, slow down before pull- ing back into the travel lanes.
o Never exceed posted speed lim- its.
AUTOMATIC TRANSMISSION
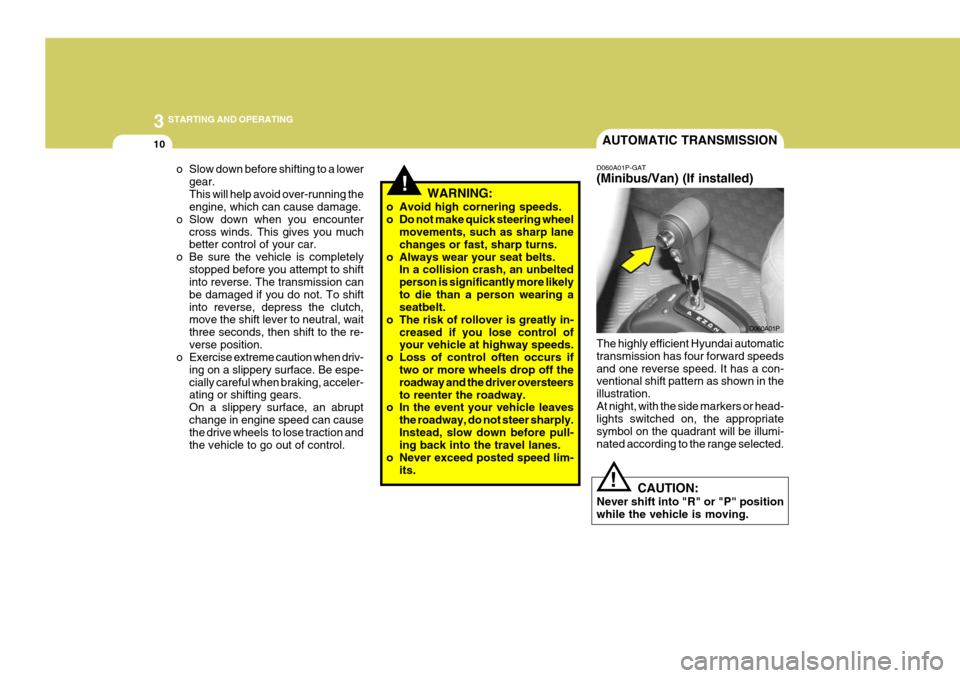
D060A01P-GAT (Minibus/Van) (If installed) The highly efficient Hyundai automatic transmission has four forward speedsand one reverse speed. It has a con- ventional shift pattern as shown in the illustration.At night, with the side markers or head- lights switched on, the appropriate symbol on the quadrant will be illumi-nated according to the range selected. D060A01P
CAUTION:
Never shift into "R" or "P" positionwhile the vehicle is moving.
!
Page 153 of 284
3
STARTING AND OPERATING
11
D060C02P-GAT
o R (Reverse): Use for backing up the vehicle. Bring the vehicle to a complete stop beforeshifting the selector lever to "R" posi- tion. D060D01P-GAT
o N (Neutral): In the "N" position, the transmission is in neutral, which means that no gearsare engaged. The engine can be started with the shift lever in "N" position, although this is not recommended ex-cept if the engine stalls while the car is moving.
HSR3083A D060B01P-GAT The function of each position is as follows:
o P (Park): Use to hold the vehicle in place when parking or while starting the engine;shift the selector lever to the "P" posi- tion. Whenever parking the car, apply the parking brake and shift the selectorlever to the "P" position.
CAUTION:
Never place the selector lever in the"P" position unless the vehicle is fully stopped. Failure to observe this caution willcause severe damage to the trans- mission.
!
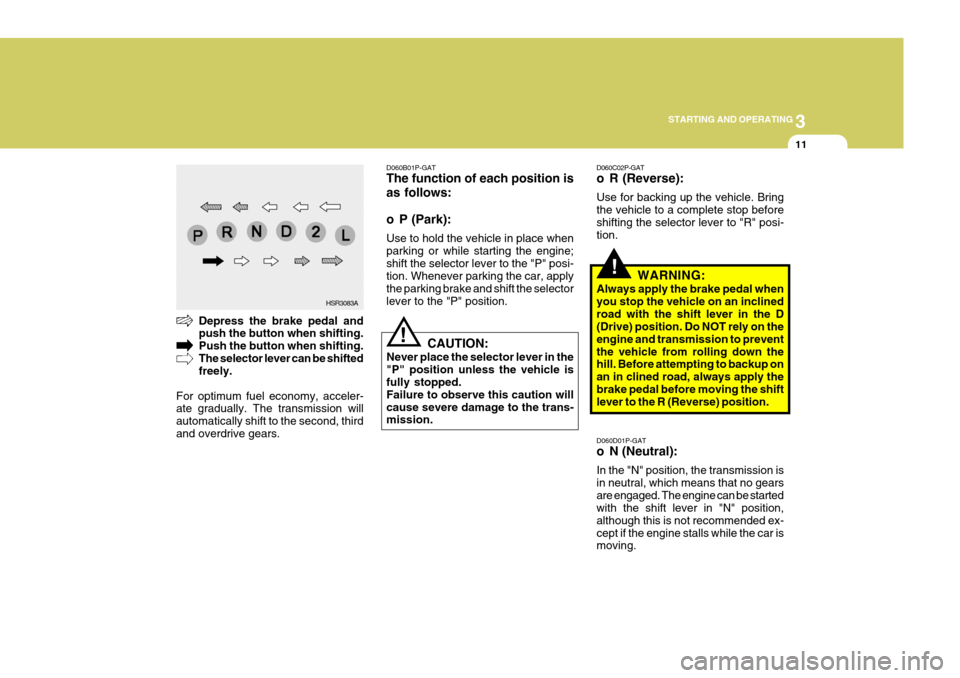
Depress the brake pedal and push the button when shifting. Push the button when shifting.The selector lever can be shifted freely.
For optimum fuel economy, acceler-ate gradually. The transmission will automatically shift to the second, thirdand overdrive gears.
!WARNING:
Always apply the brake pedal when you stop the vehicle on an inclinedroad with the shift lever in the D (Drive) position. Do NOT rely on the engine and transmission to preventthe vehicle from rolling down the hill. Before attempting to backup on an in clined road, always apply thebrake pedal before moving the shift lever to the R (Reverse) position.
Page 158 of 284
3 STARTING AND OPERATING
16
o Always use the parking brake. Do
not depend on placing the transmis- sion in "P" to keep the vehicle from moving.
o Exercise extreme caution when driv-
ing on a slippery surface. Be espe-cially careful when braking, acceler- ating or shifting gears.On a slippery surface, an abrupt change in engine speed can cause the drive wheels to lose traction andthe vehicle to go out of control.
o Do not hold the vehicle on the up-
grade with the accelerator pedal.This can cause the transmission to overheat. Always use the brake pedal or parking brake.
o Optimum vehicle performance and economy is obtained by smoothlydepressing and releasing the accel-erator pedal.
WARNING:
o Avoid high cornering speeds.
o Do not make quick steering wheel movements, such as sharp lane changes or fast, sharp turns.
FOUR-WHEEL DRIVE (4WD)
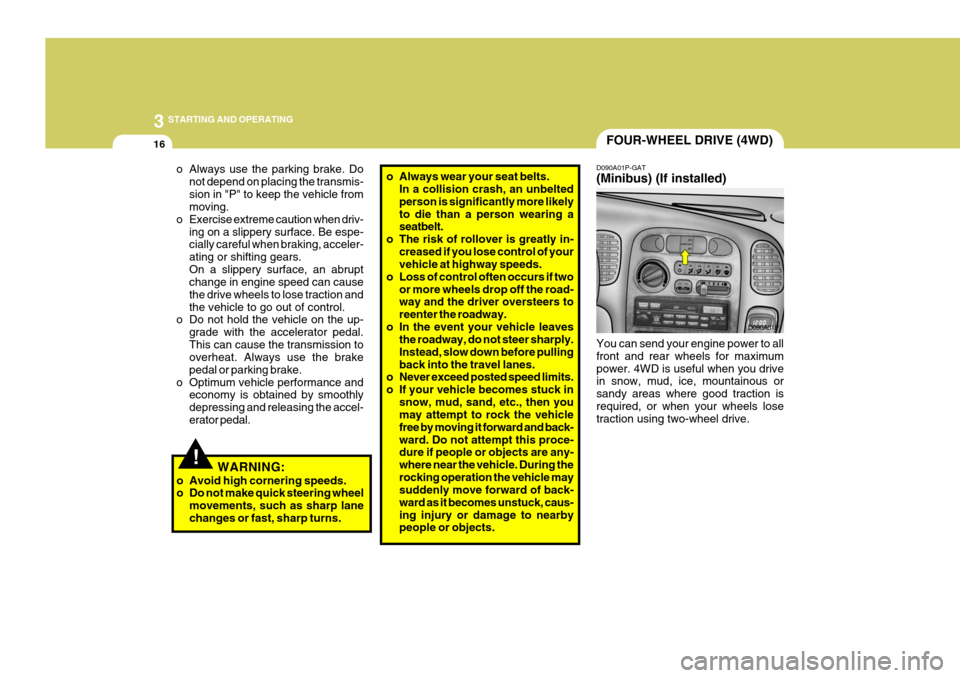
D090A01P-GAT (Minibus) (If installed) You can send your engine power to all front and rear wheels for maximumpower. 4WD is useful when you drive in snow, mud, ice, mountainous or sandy areas where good traction isrequired, or when your wheels lose traction using two-wheel drive. D090A01P
!
o Always wear your seat belts.
In a collision crash, an unbelted person is significantly more likelyto die than a person wearing a seatbelt.
o The risk of rollover is greatly in-
creased if you lose control of yourvehicle at highway speeds.
o Loss of control often occurs if two or more wheels drop off the road-way and the driver oversteers to reenter the roadway.
o In the event your vehicle leaves the roadway, do not steer sharply.Instead, slow down before pullingback into the travel lanes.
o Never exceed posted speed limits.
o If your vehicle becomes stuck in
snow, mud, sand, etc., then you may attempt to rock the vehicle free by moving it forward and back-ward. Do not attempt this proce- dure if people or objects are any- where near the vehicle. During therocking operation the vehicle may suddenly move forward of back- ward as it becomes unstuck, caus-ing injury or damage to nearby people or objects.
Page 162 of 284

3 STARTING AND OPERATING
20BRAKE SYSTEM
D150A01P-GAT All the parts of the brake system are critical to safety. Have the vehicle ser- viced by an authorized HYUNDAI dealer at regular intervals according tothe service standards.
(1) The service brake is divided into two brake circuits so that when one brake circuit fails, the other is avail- able to stop the vehicle. If this oc-curs, however, the brake pedal must be depressed further than usual; stop driving as soon as possibleand have the brake system ser- viced at the nearest authorized HYUNDAI dealer.
(2) Do not place a thick floor mat around the brake pedal; doing so couldprevent the full pedal stroke thatwould be necessary in an emer- gency. Make sure that the pedal can be operated freely at all times.
(3) If the vehicle is equipped with a brake warning lamp, the lamp willlight up if the brake fluid level isabnormally low.
o Do not grip the inside or spokes of
the steering wheel when driving off-road. The steering wheel could jerk and injure your hands. Always firmly hold the outer steering wheel whenyou are driving off-road.
o Drive at lower speeds in strong
crosswinds. Because of yourvehicle’s high center of gravity, its stability will be affected in cross- winds. Slower speeds ensure bettervehicle control.
o Whenever you drive off-road through
sand, mud or water as deep as thewheel hub, more frequent mainte- nance may be required.
o Do not drive in water if the level is higher than the bottom of the wheelhubs.
o Check your brake condition once you are out of mud or water. Pressthe brake several times as you move slowly until your feel normal brakingforces return.
o Four-wheel driving on flat and nor-
mal roads can result in a severebinding condition when turning the steering wheel. Driving on dry paved road and highway Select 2H(2WD) to drive on dry paved roads. Especially on dry highway, neverselect the 4H or 4L(4WD). Driving on snowy or icy roads Select the 4H or 4L in accordance with the road conditions, and then gradu- ally depress the accelerator pedal for a smooth start. Driving on sandy or muddy roads Select the 4H or 4L and then gradually depress the accelerator pedal for a smooth start. Keep the pressure on the accelerator pedal constant as pos-sible, and drive at low speed. Climbing sharp grades Select the 4L to maximize use the engine torque. Descending sharp grades Select 4L, use the engine brake and descend slowly.
Page 163 of 284
3
STARTING AND OPERATING
21
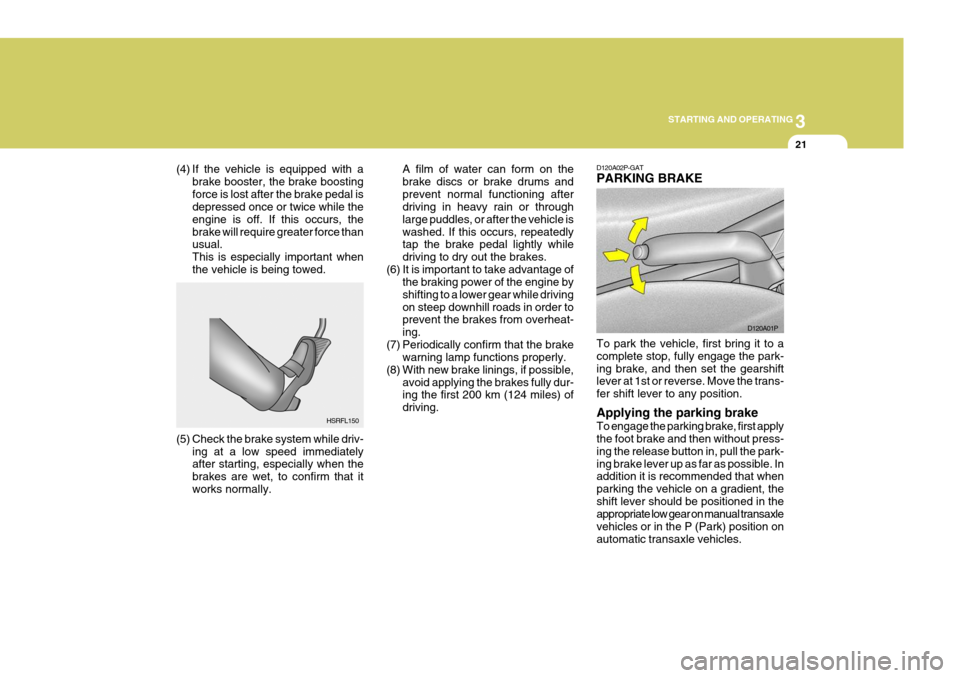
(4) If the vehicle is equipped with a
brake booster, the brake boosting force is lost after the brake pedal is depressed once or twice while the engine is off. If this occurs, thebrake will require greater force than usual. This is especially important whenthe vehicle is being towed. A film of water can form on thebrake discs or brake drums andprevent normal functioning after driving in heavy rain or through large puddles, or after the vehicle iswashed. If this occurs, repeatedly tap the brake pedal lightly while driving to dry out the brakes.
(6) It is important to take advantage of the braking power of the engine byshifting to a lower gear while drivingon steep downhill roads in order to prevent the brakes from overheat- ing.
(7) Periodically confirm that the brake warning lamp functions properly.
(8) With new brake linings, if possible, avoid applying the brakes fully dur- ing the first 200 km (124 miles) of driving.
HSRFL150
(5) Check the brake system while driv- ing at a low speed immediately after starting, especially when the brakes are wet, to confirm that itworks normally. D120A02P-GAT PARKING BRAKE To park the vehicle, first bring it to a complete stop, fully engage the park-ing brake, and then set the gearshift lever at 1st or reverse. Move the trans- fer shift lever to any position. Applying the parking brake To engage the parking brake, first apply the foot brake and then without press- ing the release button in, pull the park-ing brake lever up as far as possible. In addition it is recommended that when parking the vehicle on a gradient, theshift lever should be positioned in the appropriate low gear on manual transaxle vehicles or in the P (Park) position onautomatic transaxle vehicles.
D120A01P