2007 CHEVROLET MALIBU MAXX ECO mode
[x] Cancel search: ECO modePage 158 of 510
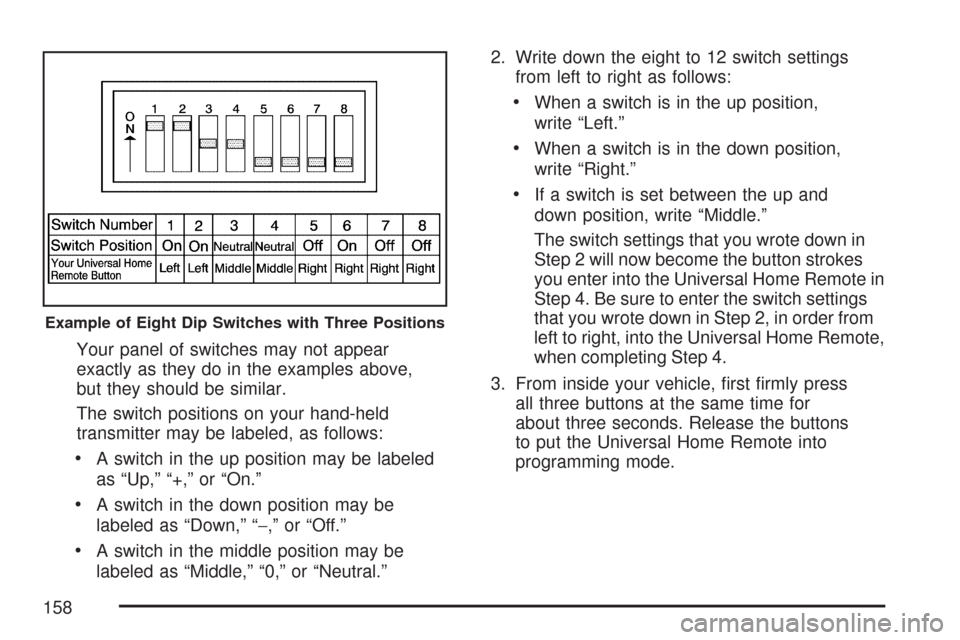
Your panel of switches may not appear
exactly as they do in the examples above,
but they should be similar.
The switch positions on your hand-held
transmitter may be labeled, as follows:
A switch in the up position may be labeled
as “Up,” “+,” or “On.”
A switch in the down position may be
labeled as “Down,” “−,” or “Off.”
A switch in the middle position may be
labeled as “Middle,” “0,” or “Neutral.”2. Write down the eight to 12 switch settings
from left to right as follows:
When a switch is in the up position,
write “Left.”
When a switch is in the down position,
write “Right.”
If a switch is set between the up and
down position, write “Middle.”
The switch settings that you wrote down in
Step 2 will now become the button strokes
you enter into the Universal Home Remote in
Step 4. Be sure to enter the switch settings
that you wrote down in Step 2, in order from
left to right, into the Universal Home Remote,
when completing Step 4.
3. From inside your vehicle, �rst �rmly press
all three buttons at the same time for
about three seconds. Release the buttons
to put the Universal Home Remote into
programming mode.
Example of Eight Dip Switches with Three Positions
158
Page 174 of 510
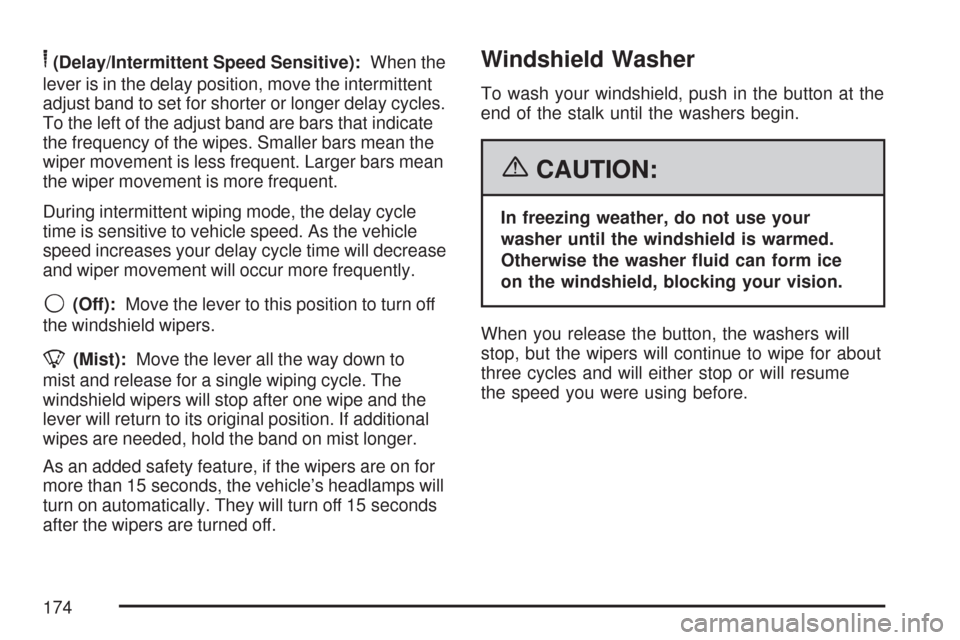
6(Delay/Intermittent Speed Sensitive):When the
lever is in the delay position, move the intermittent
adjust band to set for shorter or longer delay cycles.
To the left of the adjust band are bars that indicate
the frequency of the wipes. Smaller bars mean the
wiper movement is less frequent. Larger bars mean
the wiper movement is more frequent.
During intermittent wiping mode, the delay cycle
time is sensitive to vehicle speed. As the vehicle
speed increases your delay cycle time will decrease
and wiper movement will occur more frequently.
9(Off):Move the lever to this position to turn off
the windshield wipers.
8(Mist):Move the lever all the way down to
mist and release for a single wiping cycle. The
windshield wipers will stop after one wipe and the
lever will return to its original position. If additional
wipes are needed, hold the band on mist longer.
As an added safety feature, if the wipers are on for
more than 15 seconds, the vehicle’s headlamps will
turn on automatically. They will turn off 15 seconds
after the wipers are turned off.
Windshield Washer
To wash your windshield, push in the button at the
end of the stalk until the washers begin.
{CAUTION:
In freezing weather, do not use your
washer until the windshield is warmed.
Otherwise the washer �uid can form ice
on the windshield, blocking your vision.
When you release the button, the washers will
stop, but the wipers will continue to wipe for about
three cycles and will either stop or will resume
the speed you were using before.
174
Page 185 of 510
Entry/Exit Lighting
When you open any door, the lamps inside of
your vehicle will go on. These lamps will fade
out 20 seconds after the last door is closed,
or when the ignition is turned on after all doors
have been closed. These lamps will also go
on when you press the trunk release button,
the unlock button or the panic button on the
remote keyless entry transmitter.
The lamps inside of your vehicle will turn on
for about 10 seconds after your key is removed
from the ignition to provide an illuminated exit.
Parade Dimming
Parade dimming is a separate lighting mode
of operation that is activated if the park lamps
are turned on during the day. Usually when
the park lamps are turned on during the day,
the display’s illumination and LEDs become lower
and the backlighting is activated. To avoid this
condition, backlighting is turned off, and the
displays and LEDs are set to a high predetermined
intensity when daylight conditions are detected
to enhance the display’s visibility during daytime.
Front Reading Lamps
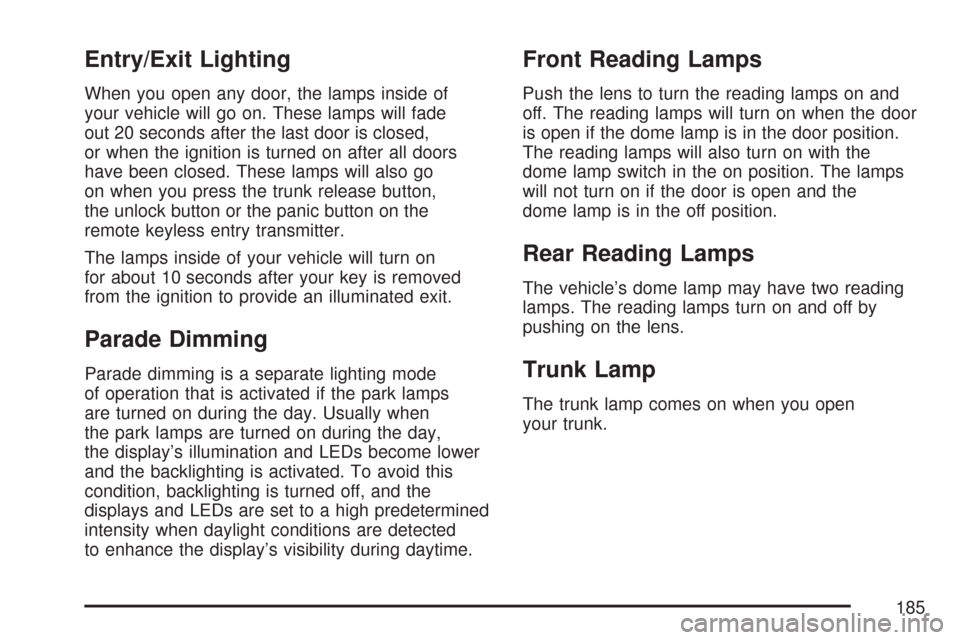
Push the lens to turn the reading lamps on and
off. The reading lamps will turn on when the door
is open if the dome lamp is in the door position.
The reading lamps will also turn on with the
dome lamp switch in the on position. The lamps
will not turn on if the door is open and the
dome lamp is in the off position.
Rear Reading Lamps
The vehicle’s dome lamp may have two reading
lamps. The reading lamps turn on and off by
pushing on the lens.
Trunk Lamp
The trunk lamp comes on when you open
your trunk.
185
Page 190 of 510
Maximum Air Conditioning
On hot days, open the windows to let hot inside
air escape; then close them. This helps to reduce
the time it takes for your vehicle to cool down.
It also helps the system to operate more efficiently.
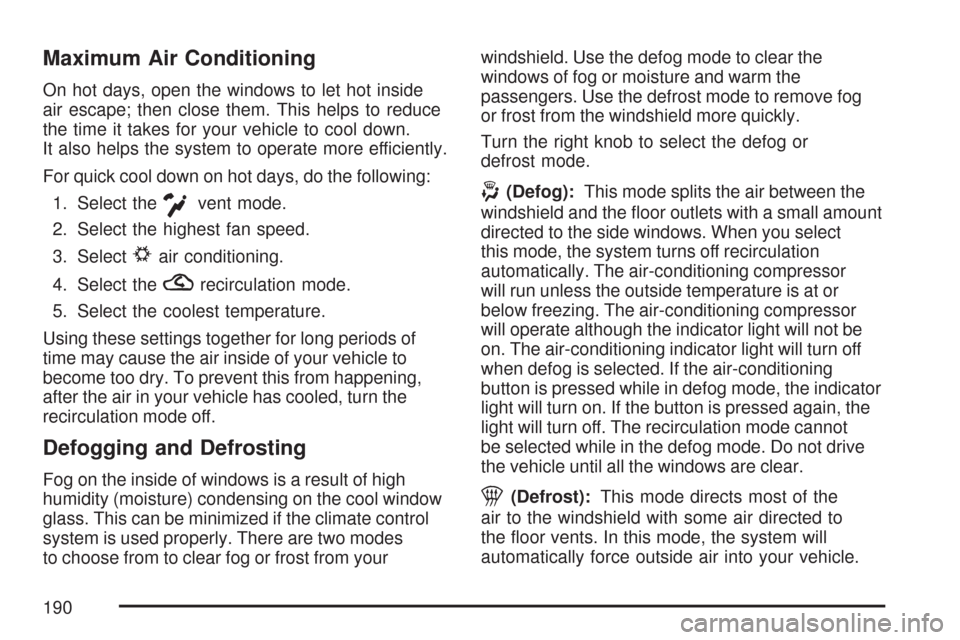
For quick cool down on hot days, do the following:
1. Select the
Cvent mode.
2. Select the highest fan speed.
3. Select
#air conditioning.
4. Select the
?recirculation mode.
5. Select the coolest temperature.
Using these settings together for long periods of
time may cause the air inside of your vehicle to
become too dry. To prevent this from happening,
after the air in your vehicle has cooled, turn the
recirculation mode off.
Defogging and Defrosting
Fog on the inside of windows is a result of high
humidity (moisture) condensing on the cool window
glass. This can be minimized if the climate control
system is used properly. There are two modes
to choose from to clear fog or frost from yourwindshield. Use the defog mode to clear the
windows of fog or moisture and warm the
passengers. Use the defrost mode to remove fog
or frost from the windshield more quickly.
Turn the right knob to select the defog or
defrost mode.
-(Defog):This mode splits the air between the
windshield and the �oor outlets with a small amount
directed to the side windows. When you select
this mode, the system turns off recirculation
automatically. The air-conditioning compressor
will run unless the outside temperature is at or
below freezing. The air-conditioning compressor
will operate although the indicator light will not be
on. The air-conditioning indicator light will turn off
when defog is selected. If the air-conditioning
button is pressed while in defog mode, the indicator
light will turn on. If the button is pressed again, the
light will turn off. The recirculation mode cannot
be selected while in the defog mode. Do not drive
the vehicle until all the windows are clear.
1(Defrost):This mode directs most of the
air to the windshield with some air directed to
the �oor vents. In this mode, the system will
automatically force outside air into your vehicle.
190
Page 218 of 510
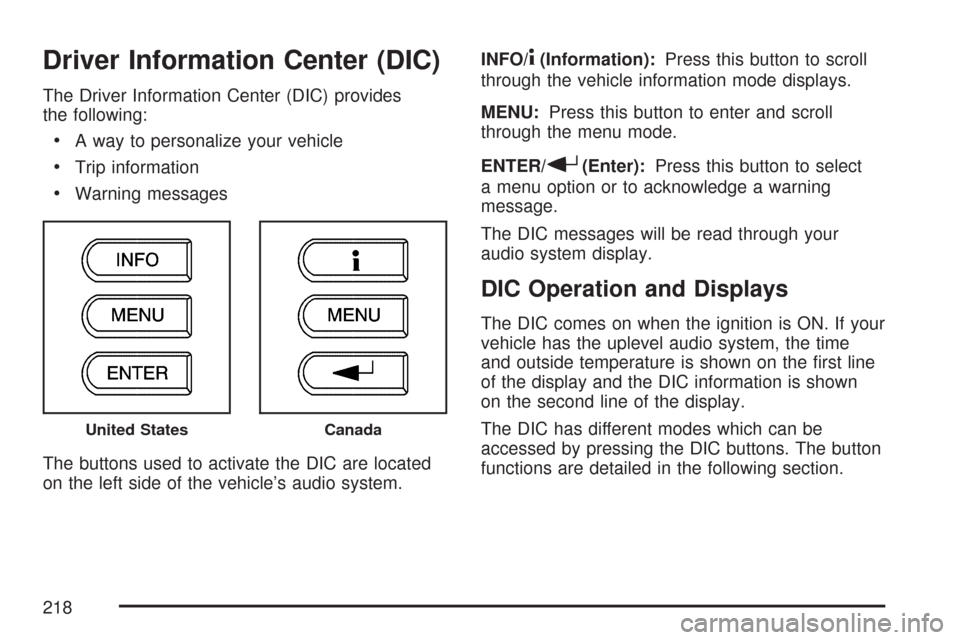
Driver Information Center (DIC)
The Driver Information Center (DIC) provides
the following:
A way to personalize your vehicle
Trip information
Warning messages
The buttons used to activate the DIC are located
on the left side of the vehicle’s audio system.INFO/
4(Information):Press this button to scroll
through the vehicle information mode displays.
MENU:Press this button to enter and scroll
through the menu mode.
ENTER/
r(Enter):Press this button to select
a menu option or to acknowledge a warning
message.
The DIC messages will be read through your
audio system display.
DIC Operation and Displays
The DIC comes on when the ignition is ON. If your
vehicle has the uplevel audio system, the time
and outside temperature is shown on the �rst line
of the display and the DIC information is shown
on the second line of the display.
The DIC has different modes which can be
accessed by pressing the DIC buttons. The button
functions are detailed in the following section.
United StatesCanada
218
Page 219 of 510
Information Mode
INFO/4(Information):Press this button to scroll
through the vehicle information mode displays
in the following order:
TRIP A
TRIP B
FUEL RANGE (Fuel Range Until Empty)
ECON (Average Fuel Economy)
AV SPEED (Average Vehicle Speed)
OIL LIFE (Engine Oil Life System)
TRIP A or TRIP B:Press the information
button until TRIP A or TRIP B is displayed.
This shows the current distance traveled since
the last reset for each trip odometer in either
miles (mi) or kilometers (km). Both odometers
can be used at the same time. Each trip odometer
can be reset to zero separately by pressing and
holding the enter button for a few seconds
while the desired trip odometer is displayed.FUEL RANGE:Press the information button
until FUEL RANGE is displayed. This shows
the remaining distance you can drive without
refueling. It is based on fuel economy and
the fuel remaining in the tank.
When the fuel level is low, FUEL RANGE LOW
displays.
The fuel economy data used to determine fuel
range is an average of recent driving conditions.
As your driving conditions change, this data is
gradually updated. Fuel range cannot be reset.
ECON (Economy):Press the information
button until ECON is displayed. Average fuel
economy is how many miles per gallon (mpg) or
liters per 100 kilometers (L/100 km) your vehicle
is getting based on current and past driving
conditions.
Press and hold the enter button while ECON is
displayed to reset the average fuel economy.
Average fuel economy will then be calculated
starting from that point. If the average fuel
economy is not reset, it will be continually
updated each time you drive.
219
Page 221 of 510
Exterior Light Flash During Remote Keyless
Entry Locking or Unlocking
Delayed Locking
Automatic Vehicle Unlocking: Speci�c Doors
Automatic Vehicle Unlocking: When Key is Off
or When Shift To Park
Exterior Perimeter Lighting During Remote
Keyless Entry Unlock
Select Language: (English, French, Spanish
or German)
When the desired option is reached, press the
enter button to toggle between the modes of
that option. To make a selection, press the
MENU button again.If no selection is made within 10 seconds,
the display reverts back to the previous
information displayed.
The MENU mode is exited when the information
button is pressed, a 10 second time period
has elapsed, the ignition is turned to OFF, or the
end of the MENU list is reached.
SeeDIC Vehicle Personalization on page 225for
more information on the personalization options.Enter
ENTER/r(Enter):Press this button to reset
certain functions and to turn off or acknowledge
messages on the DIC display. This button
also toggles through the options available in
each personalization menu.
221
Page 230 of 510
Setting the Time for Radios with
Radio Data Systems (RDS)
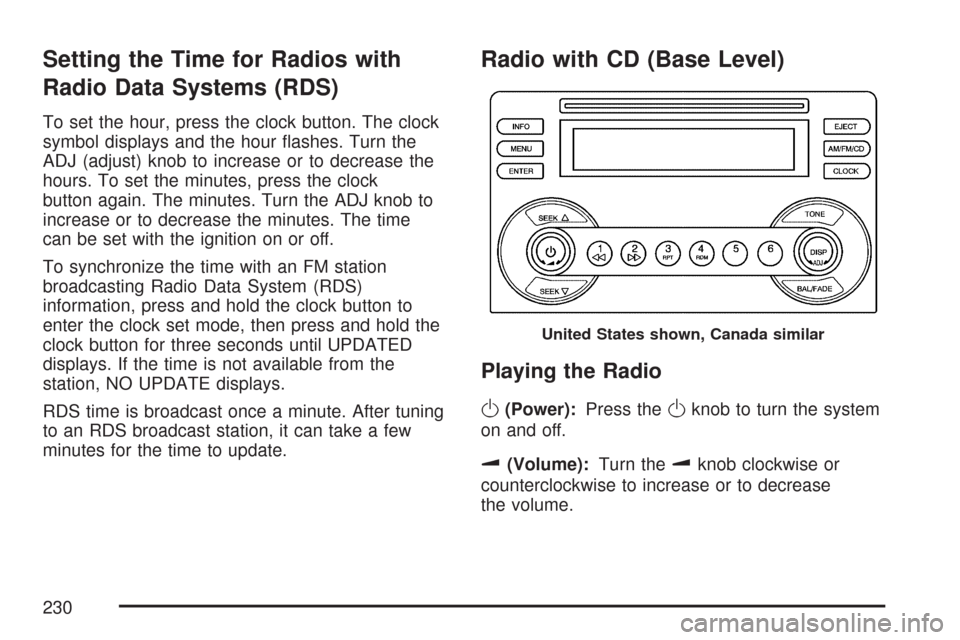
To set the hour, press the clock button. The clock
symbol displays and the hour �ashes. Turn the
ADJ (adjust) knob to increase or to decrease the
hours. To set the minutes, press the clock
button again. The minutes. Turn the ADJ knob to
increase or to decrease the minutes. The time
can be set with the ignition on or off.
To synchronize the time with an FM station
broadcasting Radio Data System (RDS)
information, press and hold the clock button to
enter the clock set mode, then press and hold the
clock button for three seconds until UPDATED
displays. If the time is not available from the
station, NO UPDATE displays.
RDS time is broadcast once a minute. After tuning
to an RDS broadcast station, it can take a few
minutes for the time to update.
Radio with CD (Base Level)
Playing the Radio
O
(Power):Press theOknob to turn the system
on and off.
u(Volume):Turn theuknob clockwise or
counterclockwise to increase or to decrease
the volume.
United States shown, Canada similar
230