2007 CHEVROLET MALIBU MAXX ECO mode
[x] Cancel search: ECO modePage 3 of 510
GENERAL MOTORS, GM, the GM Emblem,
CHEVROLET, the CHEVROLET Emblem,
the MALIBU Emblem, and the names MALIBU
and MALIBU MAXX are registered trademarks
of General Motors Corporation.
This manual includes the latest information at
the time it was printed. We reserve the right
to make changes after that time without further
notice. For vehicles �rst sold in Canada, substitute
the name “General Motors of Canada Limited”
for Chevrolet Motor Division whenever it appears
in this manual.
This manual describes features that may be
available in this model, but your vehicle may not
have all of them. For example, more than oneentertainment system may be offered or your
vehicle may have been ordered without a
front passenger or rear seats.
Keep this manual in the vehicle, so it will be there
if it is needed while you are on the road. If the
vehicle is sold, leave this manual in the vehicle.Canadian Owners
A French language copy of this manual can be
obtained from your dealer/retailer or from:
Helm, Incorporated
P.O. Box 07130
Detroit, MI 48207
How to Use This Manual
Many people read the owner manual from
beginning to end when they �rst receive their
new vehicle. If this is done, it can help you learn
about the features and controls for the vehicle.
Pictures and words work together in the owner
manual to explain things.
Litho in U.S.A.
Part No. 15864103 B Second Printing
©2006 General Motors Corporation. All Rights Reserved.
3
Page 114 of 510
Disarming the System
You can disarm the system by doing any one of
the following:
Press the remote keyless entry transmitter
unlock button.
Turn the ignition on.
Turn the driver’s door key lock cylinder
counterclockwise.
Once the system is disarmed, the security light
will stop �ashing.
How the System Alarm is Activated
If the system is armed, it can be activated
by either:
Opening the driver’s door or liftgate
(MAXX model). This will cause a
ten second pre-alarm chirp followed by a
thirty second full alarm of horn and lights.
Opening any other door. This will immediately
cause a full alarm of horn and lights for
thirty seconds.
When an alarm event has �nished, the system
will re-arm itself automatically.
How to Turn Off the System Alarm
To turn off the system alarm, do one of the
following:
Press the lock button on the remote keyless
entry transmitter. The system will then
re-arm itself.
Press the unlock button on the remote keyless
entry transmitter. This will also disarm the
system.
Insert the key in the driver’s door key lock
cylinder and turn it counterclockwise.
This will also disarm the system.
Insert the key in the ignition and turn it on.
This will also disarm the system.
How to Detect a Tamper Condition
If you hear three chirps when you press the
unlock or lock buttons on the remote keyless
entry transmitter, it means that the content theft
security system alarm was triggered previously.
114
Page 127 of 510
Electronic Range Select Mode
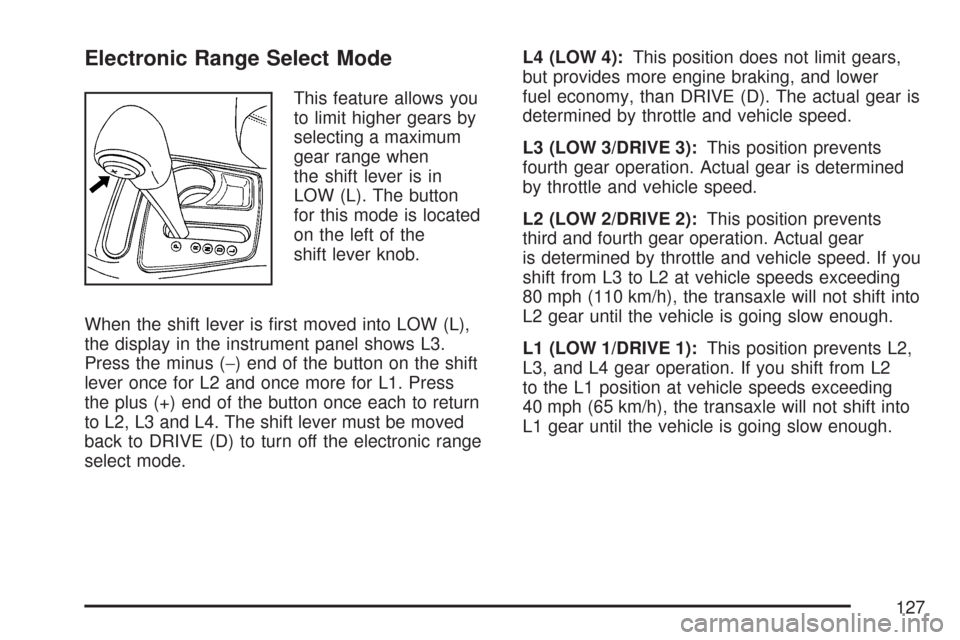
This feature allows you
to limit higher gears by
selecting a maximum
gear range when
the shift lever is in
LOW (L). The button
for this mode is located
on the left of the
shift lever knob.
When the shift lever is �rst moved into LOW (L),
the display in the instrument panel shows L3.
Press the minus (−) end of the button on the shift
lever once for L2 and once more for L1. Press
the plus (+) end of the button once each to return
to L2, L3 and L4. The shift lever must be moved
back to DRIVE (D) to turn off the electronic range
select mode.L4 (LOW 4):This position does not limit gears,
but provides more engine braking, and lower
fuel economy, than DRIVE (D). The actual gear is
determined by throttle and vehicle speed.
L3 (LOW 3/DRIVE 3):This position prevents
fourth gear operation. Actual gear is determined
by throttle and vehicle speed.
L2 (LOW 2/DRIVE 2):This position prevents
third and fourth gear operation. Actual gear
is determined by throttle and vehicle speed. If you
shift from L3 to L2 at vehicle speeds exceeding
80 mph (110 km/h), the transaxle will not shift into
L2 gear until the vehicle is going slow enough.
L1 (LOW 1/DRIVE 1):This position prevents L2,
L3, and L4 gear operation. If you shift from L2
to the L1 position at vehicle speeds exceeding
40 mph (65 km/h), the transaxle will not shift into
L1 gear until the vehicle is going slow enough.
127
Page 130 of 510
DRIVE (D):This position is for normal driving.
It provides the best fuel economy for your vehicle.
If you need more power for passing, and you are:
Going less than 35 mph (55 km/h), push your
accelerator pedal about halfway down.
Going about 35 mph (55 km/h) or more, push
the accelerator all the way down.
MANUAL MODE (M):This position, allows you
to change gears similar to a manual transaxle.
If your vehicle has this feature, see Driver
Shift Control (DSC).
Driver Shift Control (DSC)
This feature allows you to select lower or higher
driving gears when the shift lever is in MANUAL
MODE (M). The button for this mode is located
on the left side of the shift lever knob.
To use this feature, do the following:
1. Move the shift lever from DRIVE (D) rearward
into the MANUAL MODE (M). The vehicle will
be in the MANUAL MODE (M) and a gear
based on the current driving speed.
While driving in MANUAL MODE (M), the
transaxle will remain in the selected drive
gear unless:
A shift is required to protect the engine or
transaxle or,
The vehicle slows almost to a stop
(the vehicle will automatically downshift)
2. Press the plus (+) button to upshift or the
minus (−) button to downshift.
130
Page 131 of 510
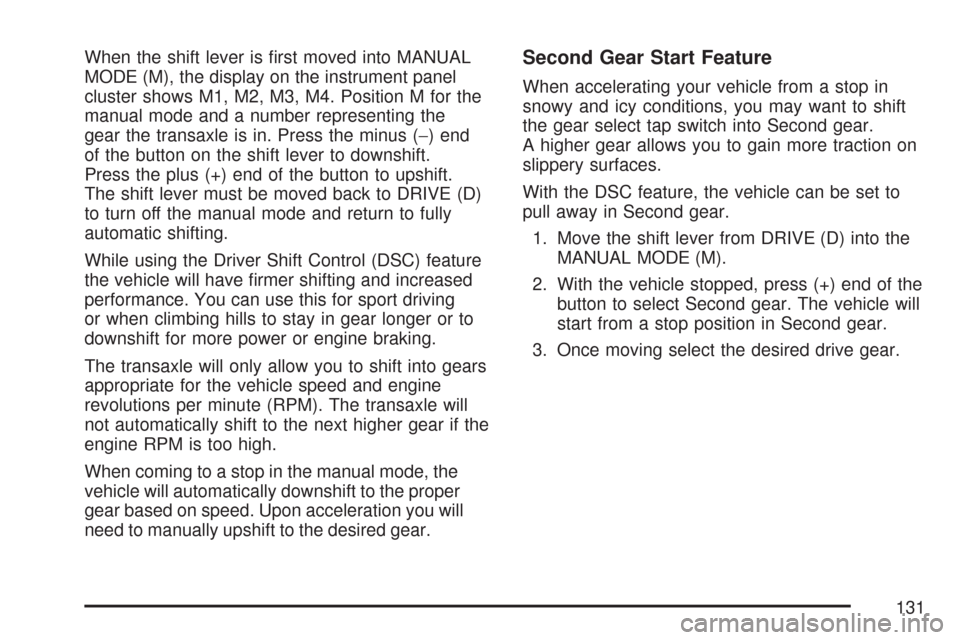
When the shift lever is �rst moved into MANUAL
MODE (M), the display on the instrument panel
cluster shows M1, M2, M3, M4. Position M for the
manual mode and a number representing the
gear the transaxle is in. Press the minus (−) end
of the button on the shift lever to downshift.
Press the plus (+) end of the button to upshift.
The shift lever must be moved back to DRIVE (D)
to turn off the manual mode and return to fully
automatic shifting.
While using the Driver Shift Control (DSC) feature
the vehicle will have �rmer shifting and increased
performance. You can use this for sport driving
or when climbing hills to stay in gear longer or to
downshift for more power or engine braking.
The transaxle will only allow you to shift into gears
appropriate for the vehicle speed and engine
revolutions per minute (RPM). The transaxle will
not automatically shift to the next higher gear if the
engine RPM is too high.
When coming to a stop in the manual mode, the
vehicle will automatically downshift to the proper
gear based on speed. Upon acceleration you will
need to manually upshift to the desired gear.Second Gear Start Feature
When accelerating your vehicle from a stop in
snowy and icy conditions, you may want to shift
the gear select tap switch into Second gear.
A higher gear allows you to gain more traction on
slippery surfaces.
With the DSC feature, the vehicle can be set to
pull away in Second gear.
1. Move the shift lever from DRIVE (D) into the
MANUAL MODE (M).
2. With the vehicle stopped, press (+) end of the
button to select Second gear. The vehicle will
start from a stop position in Second gear.
3. Once moving select the desired drive gear.
131
Page 141 of 510
Automatic Dimming Rearview Mirror
with Compass
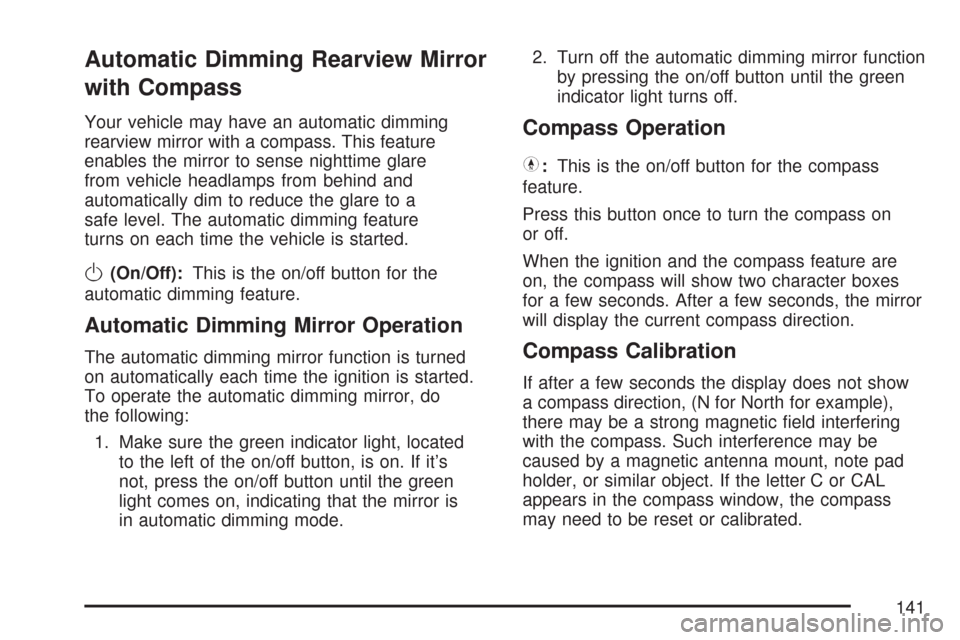
Your vehicle may have an automatic dimming
rearview mirror with a compass. This feature
enables the mirror to sense nighttime glare
from vehicle headlamps from behind and
automatically dim to reduce the glare to a
safe level. The automatic dimming feature
turns on each time the vehicle is started.
O(On/Off):This is the on/off button for the
automatic dimming feature.
Automatic Dimming Mirror Operation
The automatic dimming mirror function is turned
on automatically each time the ignition is started.
To operate the automatic dimming mirror, do
the following:
1. Make sure the green indicator light, located
to the left of the on/off button, is on. If it’s
not, press the on/off button until the green
light comes on, indicating that the mirror is
in automatic dimming mode.2. Turn off the automatic dimming mirror function
by pressing the on/off button until the green
indicator light turns off.
Compass Operation
Y
:This is the on/off button for the compass
feature.
Press this button once to turn the compass on
or off.
When the ignition and the compass feature are
on, the compass will show two character boxes
for a few seconds. After a few seconds, the mirror
will display the current compass direction.
Compass Calibration
If after a few seconds the display does not show
a compass direction, (N for North for example),
there may be a strong magnetic �eld interfering
with the compass. Such interference may be
caused by a magnetic antenna mount, note pad
holder, or similar object. If the letter C or CAL
appears in the compass window, the compass
may need to be reset or calibrated.
141
Page 152 of 510
Gate Operator and Canadian
Programming
Canadian radio-frequency laws require transmitter
signals to time out or quit after several seconds
of transmission. This may not be long enough
for Universal Home Remote to pick up the signal
during programming. Similarly, some U.S. gate
operators are manufactured to time out in
the same manner.
If you live in Canada, or you are having difficulty
programming a gate operator or garage door
opener by using the “Programming Universal
Home Remote” procedures, regardless of where
you live, replace Step 3 under “Programming
Universal Home Remote” with the following:
Continue to press and hold the Universal Home
Remote button while you press and release every
two seconds (cycle) the hand-held transmitter
button until the frequency signal has been
successfully accepted by the Universal Home
Remote. The Universal Home Remote indicator
light will �ash slowly at �rst and then rapidly.
Proceed with Step 4 under “Programming
Universal Home Remote” to complete.
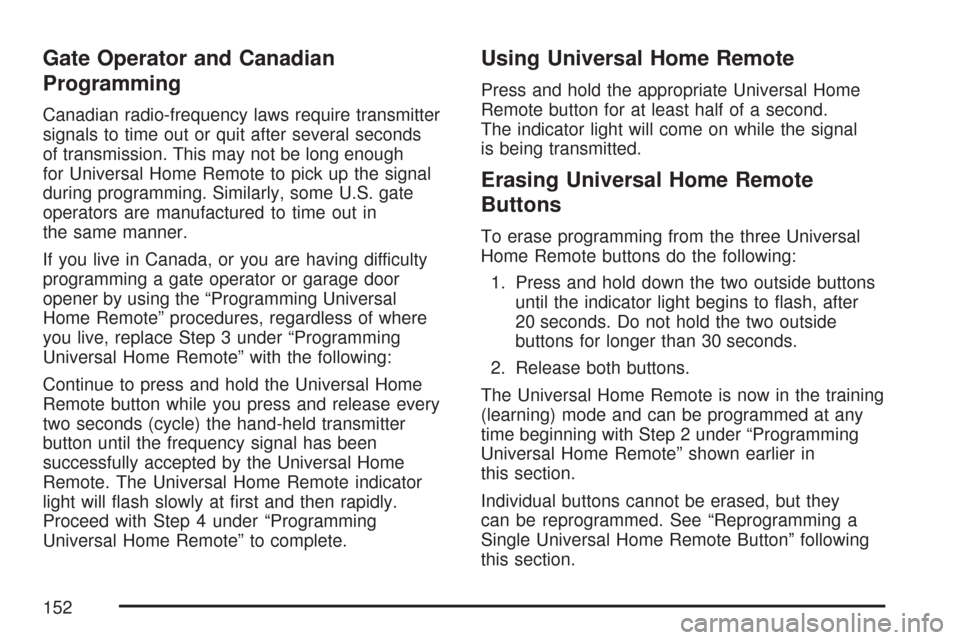
Using Universal Home Remote
Press and hold the appropriate Universal Home
Remote button for at least half of a second.
The indicator light will come on while the signal
is being transmitted.
Erasing Universal Home Remote
Buttons
To erase programming from the three Universal
Home Remote buttons do the following:
1. Press and hold down the two outside buttons
until the indicator light begins to �ash, after
20 seconds. Do not hold the two outside
buttons for longer than 30 seconds.
2. Release both buttons.
The Universal Home Remote is now in the training
(learning) mode and can be programmed at any
time beginning with Step 2 under “Programming
Universal Home Remote” shown earlier in
this section.
Individual buttons cannot be erased, but they
can be reprogrammed. See “Reprogramming a
Single Universal Home Remote Button” following
this section.
152
Page 153 of 510
Reprogramming a Single Universal
Home Remote Button
To program a device to Universal Home Remote
using a Universal Home Remote button
previously trained, follow these steps:
1. Press and hold the desired Universal Home
Remote button. Do not release the button.
2. The indicator light will begin to �ash after
20 seconds. While still holding the Universal
Home Remote button, proceed with Step 2
under “Programming Universal Home Remote”
shown earlier in this section.
For help or information on the Universal Home
Remote System, call the customer assistance
phone number underCustomer Assistance Offices
on page 479.
Universal Home Remote System
Operation (With Three Round LED)
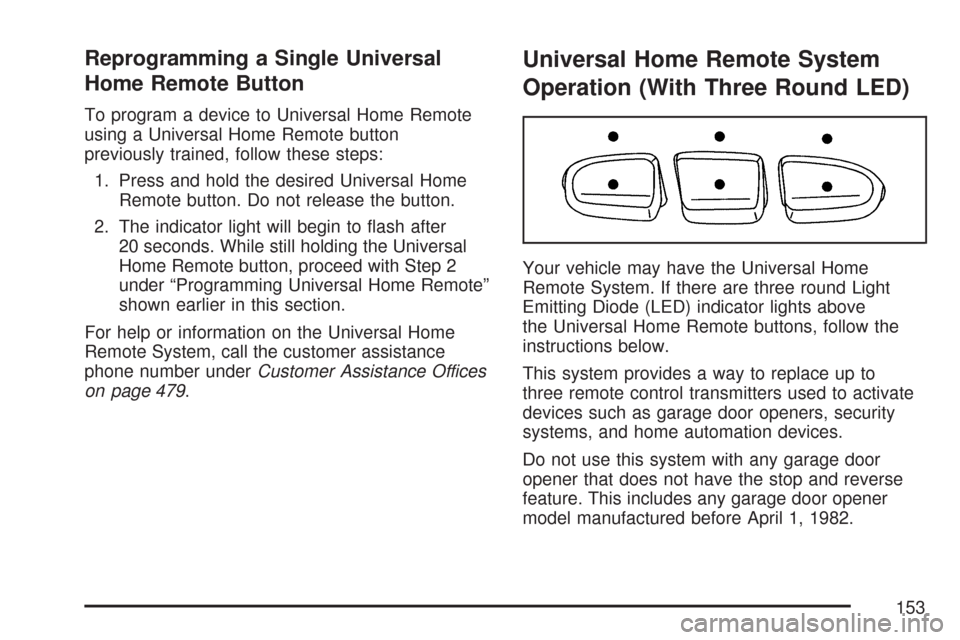
Your vehicle may have the Universal Home
Remote System. If there are three round Light
Emitting Diode (LED) indicator lights above
the Universal Home Remote buttons, follow the
instructions below.
This system provides a way to replace up to
three remote control transmitters used to activate
devices such as garage door openers, security
systems, and home automation devices.
Do not use this system with any garage door
opener that does not have the stop and reverse
feature. This includes any garage door opener
model manufactured before April 1, 1982.
153