Page 2759 of 3383
PS-26
SERVICE DATA AND SPECIFICATIONS (SDS)
Revision: November 20092006 QX56
Inspection After Installation
Steering Outer Socket and Inner SocketEGS000UP
Unit: mm (in)
Range
“A ” 61.3 mm (2.41 in)
WGIA0083E
Tie-rod ball joint outer socketSwinging torque
0.3 − 2.9 N ·m (0.03 − 0.29 kg-m, 3 − 25 in-lb)
Measurement on spring balance�Measuring point: cotter pin hole of stud 4.84
− 46.7 N (0.50 − 4.7 kg, 4 − 34 lb)
Rotating torque 0.3 − 2.9 N ·m (0.03 − 0.29 kg-m, 3 − 25 in-lb)
Axial end play 0.5 mm (0.020 in) or less
Tie-rod ball joint inner socket Swinging torque
1.0 − 7.8 N ·m (0.11 − 0.79 kg-m, 9 − 69 in-lb)
Measurement on spring balance
�Measuring point: "L" mark see above,
"L"=83.2 mm (3.276 in). 12.1
− 93.7 N (1.3 − 9.5 kg, 9 − 69 lb)
Axial end play 0.2 mm (0.08 in) or less
SGIA0358E
Inner socket length “L ” 115.2 (4.54)
SGIA0167E
Page 2760 of 3383
SERVICE DATA AND SPECIFICATIONS (SDS)PS-27
C
DE
F
H I
J
K L
M A
B
PS
Revision: November 2009 2006 QX56
Steering GearEGS000UQ
Oil PumpEGS000UR
Steering FluidEGS000US
Steering gear modelPR26AM
Rack neutral position, dimension “L ” (rack stroke) 85.5 mm (3.36 in)
Rack sliding force At the neutral point:
Range within ±
11.5 mm
( ± 0.453 in) from the neutral
position
(in power ON) Area average value 250.1
− 308.9 N (25.5 − 31.5 kg, 56.2 − 69.5 lb)
Area minimum value 200 N (20.4 kg, 45 lb)
Allowable variation 98 N (10 kg, 22 lb) or less
STC0034D
Relief oil pressure
9.0 − 9.8 mPa (91.77 − 99.93 kg/cm2 , 1305.34 − 1421.37 psi)
Fluid capacity
Approx. 1.0 (1-1/8 US qt, 7/8 Imp qt)
Page 2761 of 3383
PS-28
SERVICE DATA AND SPECIFICATIONS (SDS)
Revision: November 20092006 QX56
Page 2762 of 3383

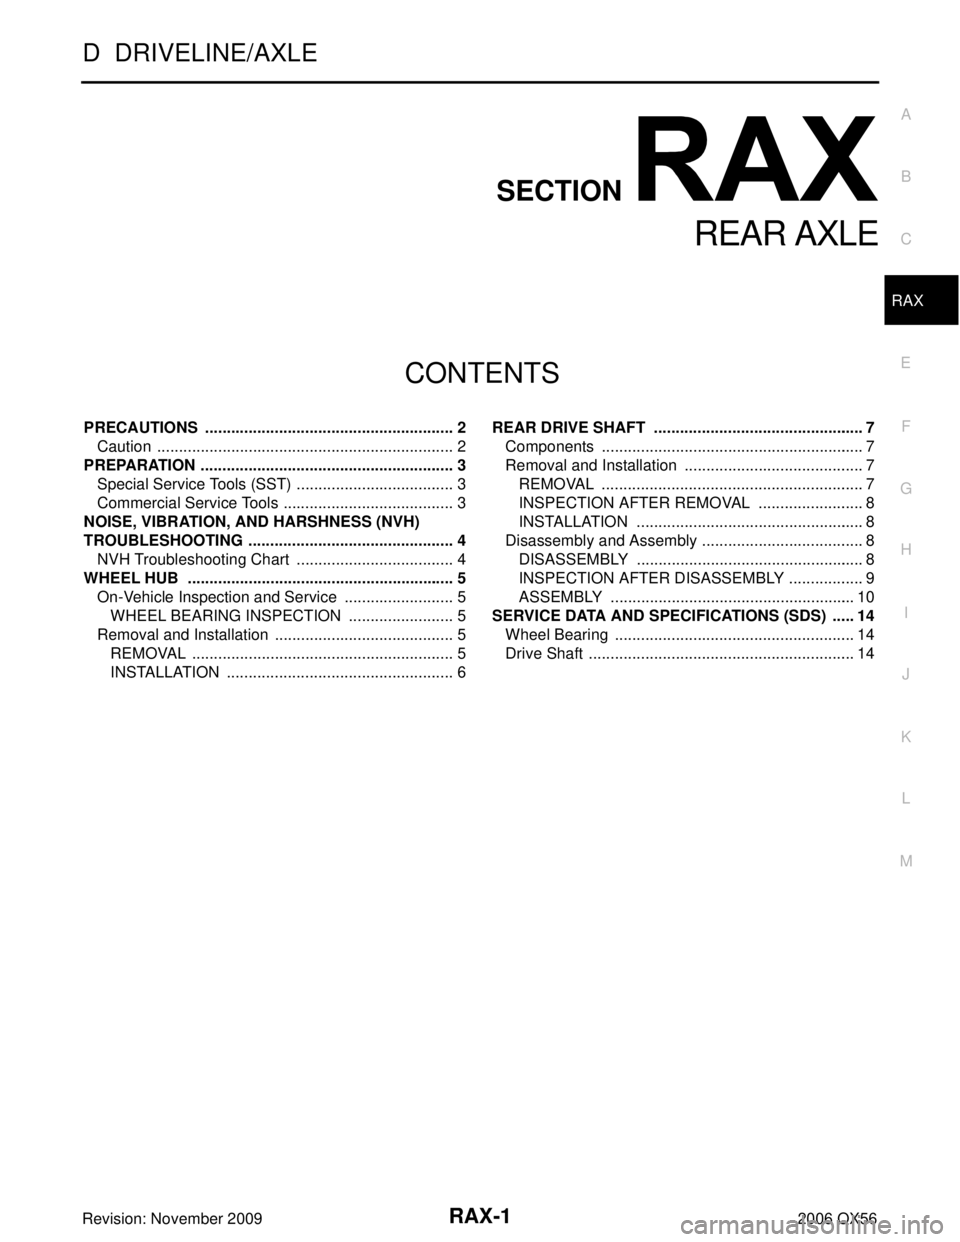
RAX-1
REAR AXLE
D DRIVELINE/AXLE
CONTENTS
CE F
G H
I
J
K L
M
SECTION
A
B
RAX
Revision: November 2009 2006 QX56
PRECAUTIONS .....................................................
..... 2
Caution ................................................................ ..... 2
PREPARATION ...................................................... ..... 3
Special Service Tools (SST) ................................ ..... 3
Commercial Service Tools ................................... ..... 3
NOISE, VIBRATION, AND HARSHNESS (NVH)
TROUBLESHOOTING ........................................... ..... 4
NVH Troubleshooting Chart ................................ ..... 4
WHEEL HUB ......................................................... ..... 5
On-Vehicle Inspection and Service ..................... ..... 5
WHEEL BEARING INSPECTION .................... ..... 5
Removal and Installation ..................................... ..... 5
REMOVAL ........................................................ ..... 5
INSTALLATION ................................................ ..... 6REAR DRIVE SHAFT ............................................
..... 7
Components ........................................................ ..... 7
Removal and Installation ..................................... ..... 7
REMOVAL ........................................................ ..... 7
INSPECTION AFTER REMOVAL .................... ..... 8
INSTALLATION ................................................ ..... 8
Disassembly and Assembly ................................. ..... 8
DISASSEMBLY ................................................ ..... 8
INSPECTION AFTER DISASSEMBLY ............. ..... 9
ASSEMBLY ...................................................... ... 10
SERVICE DATA AND SPECIFICATIONS (SDS) ... ... 14
Wheel Bearing ..................................................... ... 14
Drive Shaft ........................................................... ... 14
Page 2763 of 3383
RAX-2
PRECAUTIONS
Revision: November 20092006 QX56
PRECAUTIONSPFP:00001
CautionEDS001XJ
Observe the following precautions when disassembling and servicing drive shaft.
�Perform work in a location which is as dust-free as possible.
�Before disassembling and servicing, clean the outside of parts.
�Prevention of the entry of foreign objects must be taken into account during disassembly of the service
location.
�Disassembled parts must be carefully reassembled in the correct order. If work is interrupted, a clean
cover must be placed over parts.
�Paper shop cloths must be used. Fabric shop cloths must not be used because of the danger of lint adher-
ing to parts.
�Disassembled parts (except for rubber parts) should be cleaned with kerosene which shall be removed by
blowing with air or wiping with paper shop cloths.
Page 2764 of 3383
PREPARATIONRAX-3
CE F
G H
I
J
K L
M A
B
RAX
Revision: November 2009 2006 QX56
PREPARATIONPFP:00002
Special Service Tools (SST)EDS001XK
The actual shapes of the Kent-Moore tools may differ from those of the special service tools illustrated here.
Commercial Service ToolsEDS001XL
Tool number
(Kent-Moore No.)
Tool nameDescription
KV38100500
(—)
Drift Installing drive shaft plug
a: 80 mm (3.15 in) dia.
b: 60 mm (2.36 in) dia.
KV38102200
(—)
Drift Installing drive shaft plug
a: 90 mm (3.54 in) dia.
b: 31 mm (1.22 in) dia.
ZZA0701D
ZZA0920D
Tool name
Description
Power tools Removing bolts and nuts
PBIC0190E
Page 2766 of 3383

WHEEL HUBRAX-5
CE F
G H
I
J
K L
M A
B
RAX
Revision: November 2009 2006 QX56
WHEEL HUBPFP:43202
On-Vehicle Inspection and ServiceEDS001XN
Inspect the components for any looseness or back lash. Inspect each component for any excessive wear or
damage. Replace any components as necessary.
WHEEL BEARING INSPECTION
�Move the wheel hub and bearing assembly in the axial direction by hand to check the axial end play.
Check that the axial end play is with specification. Replace the wheel hub and bearing assembly as nec-
essary.
�Rotate the wheel hub and bearing assembly to check that there are no unusual noises or other abnormal
conditions. Replace the wheel hub and bearing assembly as necessary.
Removal and InstallationEDS001XO
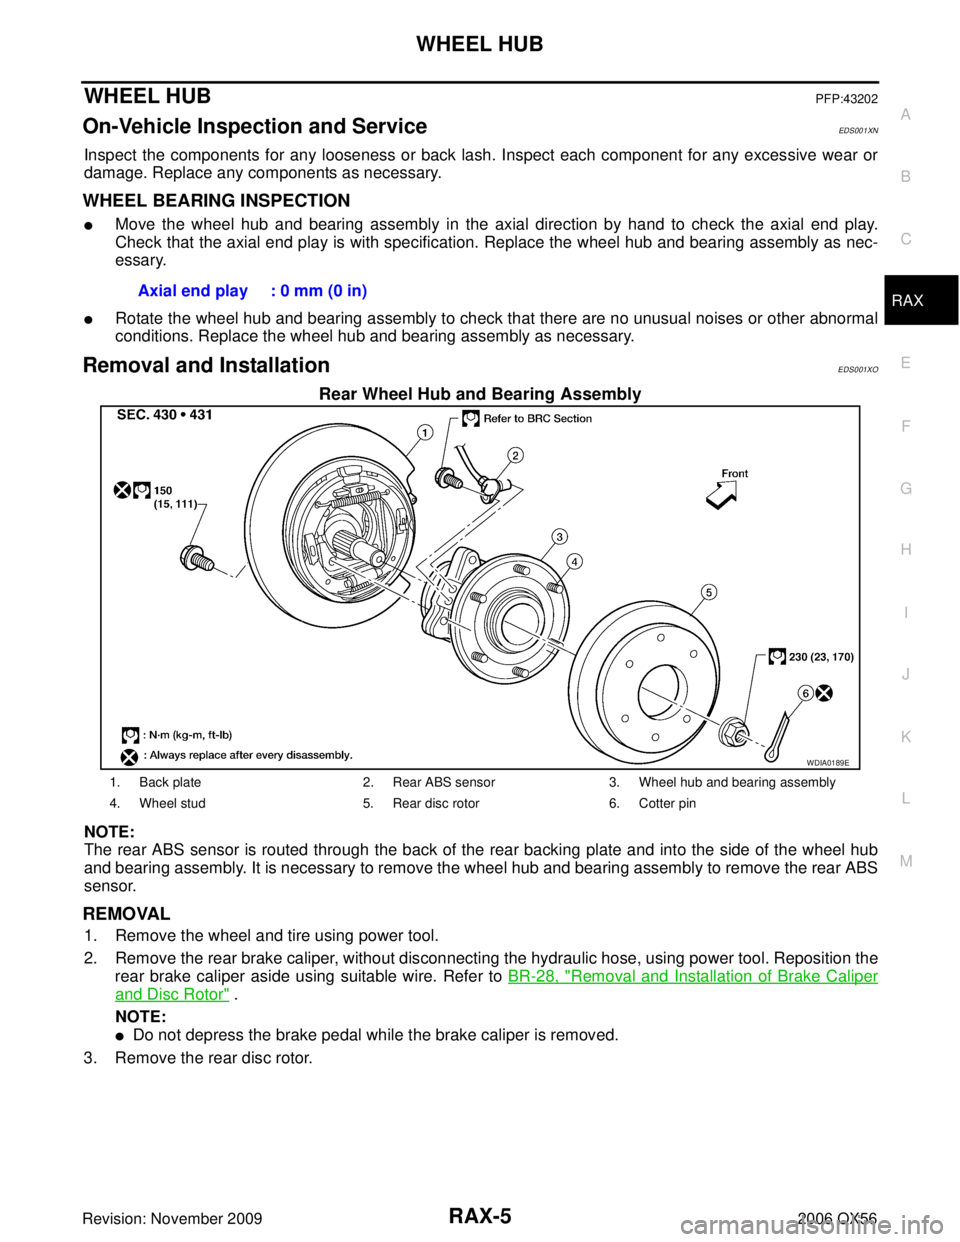
Rear Wheel Hub and Bearing Assembly
NOTE:
The rear ABS sensor is routed through the back of the rear backing plate and into the side of the wheel hub
and bearing assembly. It is necessary to remove the wheel hub and bearing assembly to remove the rear ABS
sensor.
REMOVAL
1. Remove the wheel and tire using power tool.
2. Remove the rear brake caliper, without disconnecting the hydraulic hose, using power tool. Reposition the
rear brake caliper aside using suitable wire. Refer to BR-28, "
Removal and Installation of Brake Caliper
and Disc Rotor" .
NOTE:
�Do not depress the brake pedal while the brake caliper is removed.
3. Remove the rear disc rotor. Axial end play : 0 mm (0 in)
WDIA0189E
1. Back plate
2. Rear ABS sensor3. Wheel hub and bearing assembly
4. Wheel stud 5. Rear disc rotor6. Cotter pin
Page 2775 of 3383
RAX-14
SERVICE DATA AND SPECIFICATIONS (SDS)
Revision: November 20092006 QX56
SERVICE DATA AND SPECIFICATIONS (SDS)PFP:00030
Wheel BearingEDS001XR
Drive ShaftEDS001XS
Measurement of spring scaleLess than 26.6 N (2.7 kg, 5.95 lb)
Axial end play 0 mm (0 in)
JointWheel sideFinal drive side
Grease capacity 140
− 160 g
(4.93 − 5.64 oz) 175
− 195 g
(6.17 − 6.88 oz)
Boot installed length 134.5 mm (5.30 in)147.9 mm (5.82 in)