Page 1989 of 5267

INSPECTION - CONNECTING ROD
Inspect the connecting rod for damage and wear. The
I-Beam section of the connecting rod cannot have
dents or other damage. Damage to this part can
cause stress risers which will progress to breakage.
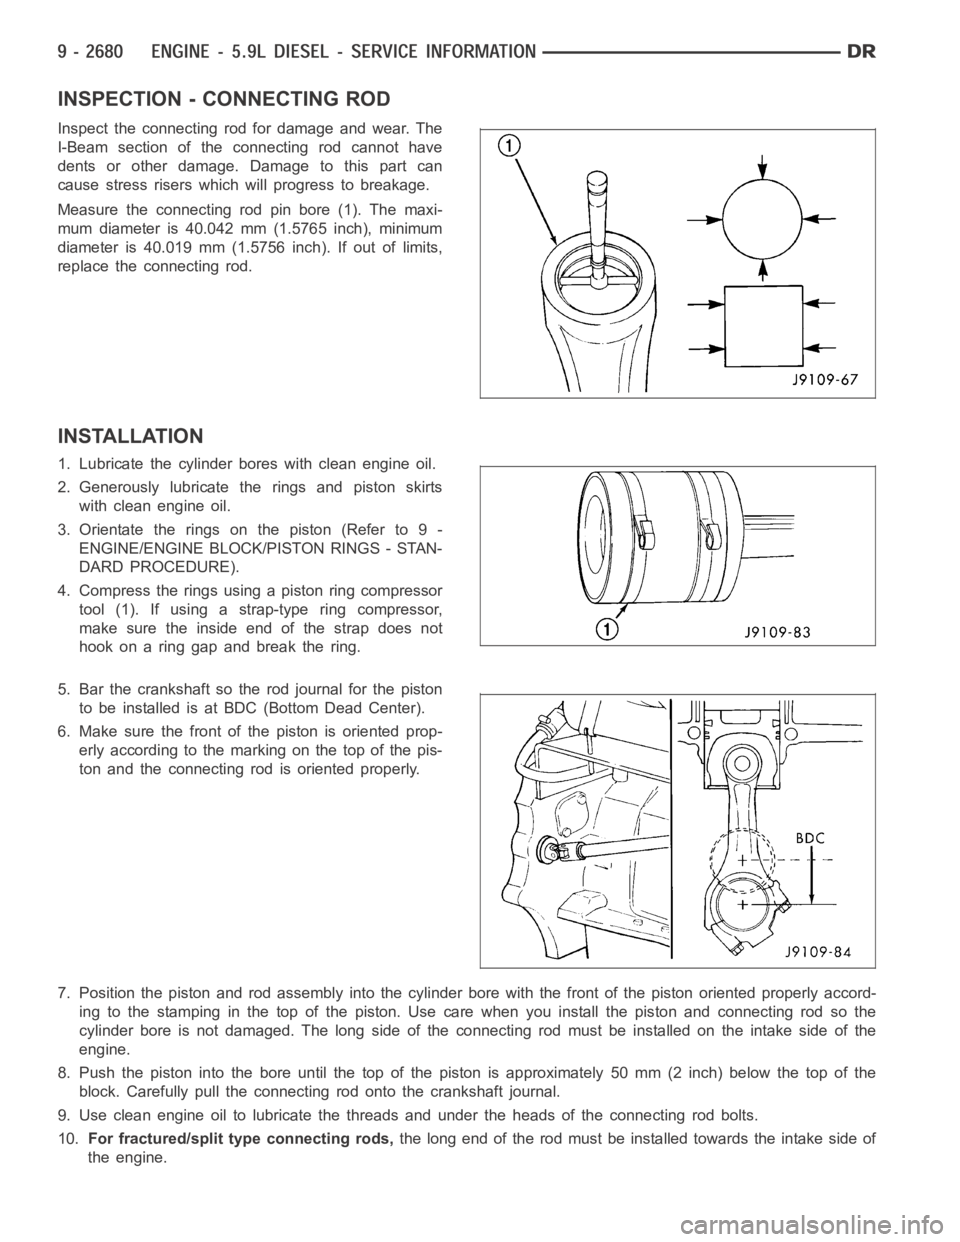
Measure the connecting rod pin bore (1). The maxi-
mum diameter is 40.042 mm (1.5765 inch), minimum
diameter is 40.019 mm (1.5756 inch). If out of limits,
replace the connecting rod.
INSTALLATION
1. Lubricate the cylinder bores with clean engine oil.
2. Generously lubricate the rings and piston skirts
with clean engine oil.
3. Orientate the rings on the piston (Refer to 9 -
ENGINE/ENGINE BLOCK/PISTON RINGS - STAN-
DARD PROCEDURE).
4. Compress the rings using a piston ring compressor
tool(1).Ifusingastrap-typeringcompressor,
make sure the inside end of the strap does not
hook on a ring gap and break the ring.
5. Bar the crankshaft so the rod journal for the piston
to be installed is at BDC(Bottom Dead Center).
6. Make sure the front of the piston is oriented prop-
erly according to the marking on the top of the pis-
ton and the connecting rod is oriented properly.
7. Position the piston and rod assemblyinto the cylinder bore with the front of the piston oriented properly accord-
ing to the stamping in the top of the piston. Use care when you install the piston and connecting rod so the
cylinder bore is not damaged. The long side of the connecting rod must be installed on the intake side of the
engine.
8. Push the piston into the bore until the top of the piston is approximately50 mm (2 inch) below the top of the
block. Carefully pull the connecting rod onto the crankshaft journal.
9. Use clean engine oil to lubricate the threads and under the heads of the connecting rod bolts.
10.For fractured/split type connecting rods,thelongendoftherodmustbeinstalledtowardstheintakesideof
the engine.
Page 1990 of 5267

a. The connecting rod split/face mustface toward the same side as the piston notch feature on the skirt. The
split face will face toward the exhaust side of the engine if properly installed.
11. Install the rod cap and bolts to the connecting rod. Tighten the connecting rod bolts evenly in 3 steps.
Tighten the bolts to 30 Nꞏm (22 ft. lbs.) torque.
Tighten the bolts to 60 Nꞏm (44 ft. lbs.) torque.
Rotate 60° clockwise.
12. The crankshaft must rotate freely. Check for freedom of rotation as thecaps are installed. If the crankshaft does
not rotate freely, check the installation of the rod bearing and the bearingsize.
13. Measure the side clearance between the connecting rod and the crankshaft. DO NOT measure the clearance
between the cap and crankshaft.
14. Install J-jet piston cooling nozzles.
15. Install block stiffener. Torque to 43 Nꞏm (32 ft. lbs.).
16. Install the suction tube and oil pan (Refer to 9 - ENGINE/LUBRICATION/OIL PAN - INSTALLATION).
17. Install the cylinder head onto the engine (Refer to 9 - ENGINE/CYLINDERHEAD - INSTALLATION).
18. Install a new filter and fill the crankcase with new engine oil.Prefill the filter with clean oil.
19. Connect the battery negative cables and start engine.
Page 1994 of 5267
MOUNT - FRONT
REMOVAL
1. Disconnect the battery negative cables.
2. Remove the viscous fan/drive assembly (Refer to 7
- COOLING/ENGINE/RADIATOR FAN -
REMOVAL).
3. Raise vehicle on hoist.
4. Install engine support fixture tool# 8534 and steel
bracket tool # 8534A
5. Loosen the thru-bolt and nut.
6. Lift the engine SLIGHTLY and remove the insulator
to block bolts.
7. Remove the RH insulator (2) from the vehicle.
8. Remove the LH insulator (2) from the vehicle.
Page 1995 of 5267
INSTALLATION
1. With engine raised SLIGHTLY, position the LH
insulator (2) to the mount. Install the bolts and
torque to specification.
2. With engine raised SLIGHTLY, position the RH
insulator (2) to the mount. Install the bolts and
torque to specification.
3. Lower the engine using tool # 8534, while guiding
the mount and thru-bolt into the frame mounted
support cushion brackets.
4. Install the thru bolt nut and tighten the nut to 95
Nꞏm (70 ft. lbs.) torque.
5. Remove the engine support fixture tool # 8534.
6. Lower the vehicle.
7. Install the viscous fan/drive assembly (Refer to 7 -
COOLING/ENGINE/RADIATOR FAN - INSTALLA-
TION).
8. Connect the battery negative cables.
Page 1996 of 5267
MOUNT - REAR
REMOVAL
1. Raise the vehicle on a hoist.
2. Position a transmission jack in place.
3. Remove support cushion stud nuts.
4. Raise rear of transmission and engine SLIGHTLY.
5. Remove the bolts holding the support cushion to the transmission support bracket. Remove the support cushion.
6. If necessary, remove the bolts holding the transmission support bracket to the transmission.
INSTALLATION
1. If removed, position the transmission support bracket to the transmission. Install new attaching bolts and tighten
to 102 Nꞏm (75 ft. lbs.) torque.
2. Position support cushion to transmission support bracket. Install stud nuts and tighten to 47 Nꞏm (35 ft. lbs.)
torque.
3. Using the transmission jack, lower the transmission and support cushion onto the crossmember .
4. Install the support cushion bolts and tighten to 47 Nꞏm (35 ft. lbs.) torque.
5. Remove the transmission jack.
6. Lower the vehicle.
Page 1997 of 5267

LUBRICATION
DESCRIPTION
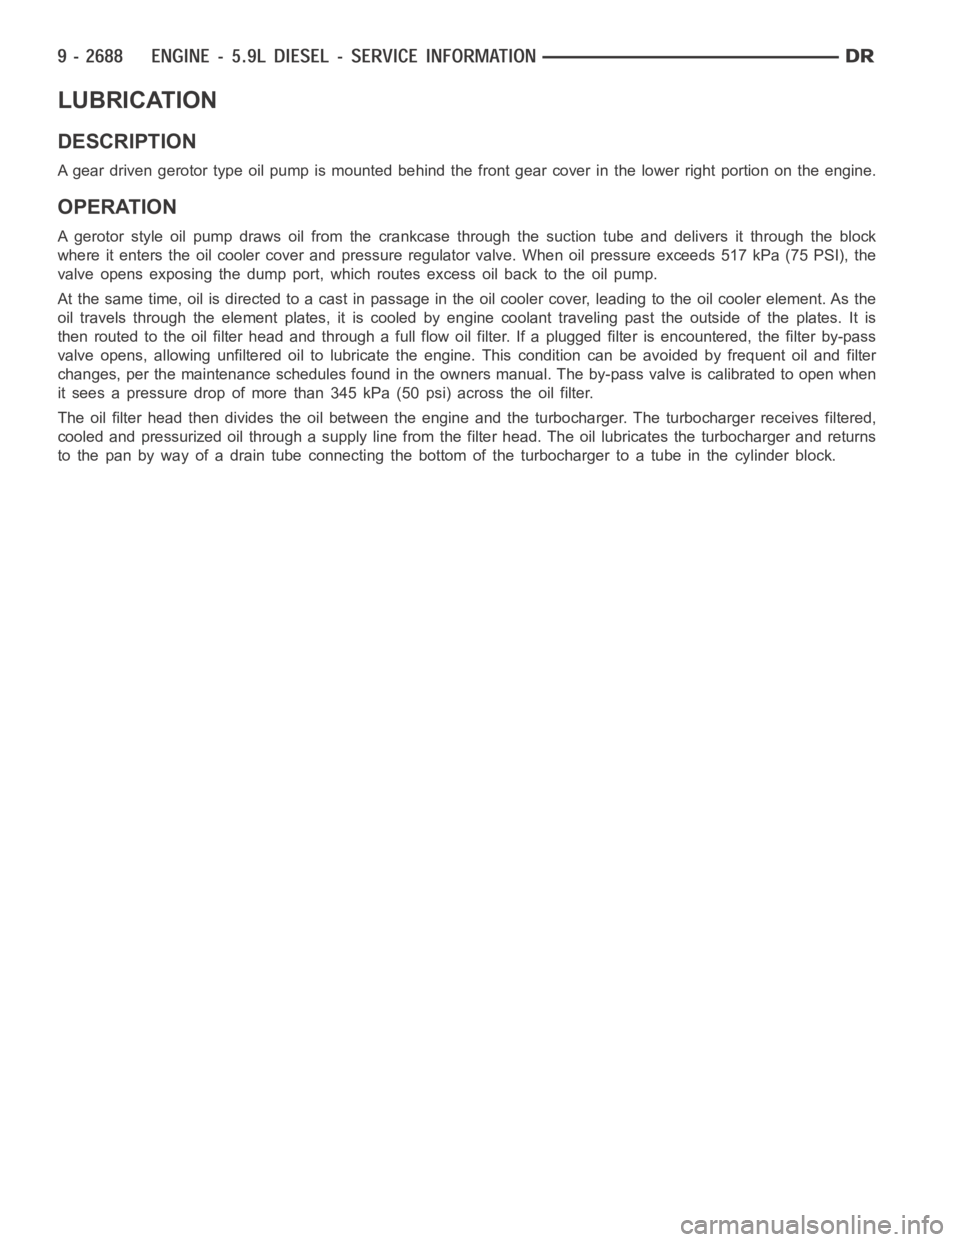
A gear driven gerotor type oil pump is mounted behind the front gear cover inthe lower right portion on the engine.
OPERATION
A gerotor style oil pump draws oil from the crankcase through the suction tube and delivers it through the block
where it enters the oil cooler cover and pressure regulator valve. When oilpressure exceeds 517 kPa (75 PSI), the
valve opens exposing the dump port, which routes excess oil back to the oil pump.
At the same time, oil is directed to a cast in passage in the oil cooler cover,leading to the oil cooler element. As the
oil travels through the element plates, it is cooled by engine coolant traveling past the outside of the plates. It is
then routed to the oil filter head and through a full flow oil filter. If a plugged filter is encountered, the filter by-pass
valve opens, allowing unfiltered oil to lubricate the engine. This condition can be avoided by frequent oil and filter
changes, per the maintenance schedules found in the owners manual. The by-pass valve is calibrated to open when
it sees a pressure drop of more than 345 kPa (50 psi) across the oil filter.
The oil filter head then divides the oil between the engine and the turbocharger. The turbocharger receives filtered,
cooled and pressurized oil through a supply line from the filter head. The oil lubricates the turbocharger and returns
to the pan by way of a drain tube connecting the bottom of the turbocharger toa tube in the cylinder block.
Page 1998 of 5267
CAUTION:
Two different styles of J-jet piston cooling nozzles and nozzle mounting fasteners are used, depending on
engine build date. The two designs are NOT interchangeable. One design uses an all metal piston cooling
nozzle (1) with a fluted mounting capscrew (3). The second design uses a plastic nozzle/body/locating arm
(5) , and a metal nozzle tip (4). The second design nozzle must be used with a banjo bolt (6). When replac-
ing piston cooling nozzles, it is important to replace the cooling nozzle mounting fastener with the same
type that was removed. Do not intermix both designs in the same engine. Severe engine damage can result
if the two designs are intermixed.
Page 2001 of 5267
DIAGNOSIS AND TESTING—ENGINE OIL PRESSURE
1. Remove the 1/8 npt plug from the top of the oil filter housing.
2. Install Oil Pressure Line and Gauge Tool C-3292 with a suitable adapter.
3. Start engine and warm to operating temperature.
4. Record engine oil pressure and compare with engine oil pressure chart.
CAUTION: If engine oil pressure is zero at idle, DO NOT RUN THE ENGINE.
Engine Oil Pressure (MIN)
At Idle 68.9 kPa (10 psi)
At 2500 rpm 206.9 kPa (30 psi)
If minimum engine oil pressure is below these ranges, (Refer to 9 - ENGINE - DIAGNOSIS AND TESTING).
5. Remove oil pressure gauge and install the 1/8 npt plug.