2006 CHEVROLET MALIBU instrument panel
[x] Cancel search: instrument panelPage 77 of 442
Restraint System Check
Checking the Restraint Systems
Now and then, make sure the safety belt reminder light
and all your belts, buckles, latch plates, retractors
and anchorages are working properly. Look for any other
loose or damaged safety belt system parts. If you see
anything that might keep a safety belt system from doing
its job, have it repaired.
Torn or frayed safety belts may not protect you in a
crash. They can rip apart under impact forces. If a belt
is torn or frayed, get a new one right away.
Also look for any opened or broken airbag covers, and
have them repaired or replaced. (The airbag system
does not need regular maintenance.)Notice:If you damage the covering for the driver’s
or the right front passenger’s airbag, or the airbag
covering on the driver’s and right front passenger’s
seatback (if equipped), or the side impact airbag
covering on the garnish trim and ceiling near
the side windows (if equipped), the airbag may not
work properly. You may have to replace the
airbag module in the steering wheel, both the airbag
module and the instrument panel for the right
front passenger’s airbag, the airbag module and
seatback for the driver’s and right front passenger’s
seat-mounted side impact airbags (if equipped),
or the side impact airbag module, garnish trim and
ceiling covering for the roof-mounted side impact
airbags (if equipped). Do not open or break the
airbag coverings.
1-71
Page 93 of 442
Trunk (Sedan)
To unlock the trunk from the outside, use the key or
the remote keyless entry transmitter. When closing the
trunk, close from the center to ensure it fully latches.
{CAUTION:
It can be dangerous to drive with the trunk lid
open because carbon monoxide (CO) gas can
come into your vehicle. You cannot see or smell
CO. It can cause unconsciousness and even
death. If you must drive with the trunk lid open
or if electrical wiring or other cable connections
must pass through the seal between the body
and the trunk lid:
Make sure all other windows are shut.
Turn the fan on your heating or cooling
system to its highest speed and select
the control setting that will force outside
air into your vehicle. See Climate Control
System.
If you have air outlets on or under the
instrument panel, open them all the way.
SeeEngine Exhaust on page 2-36.
Remote Trunk/Liftgate Release
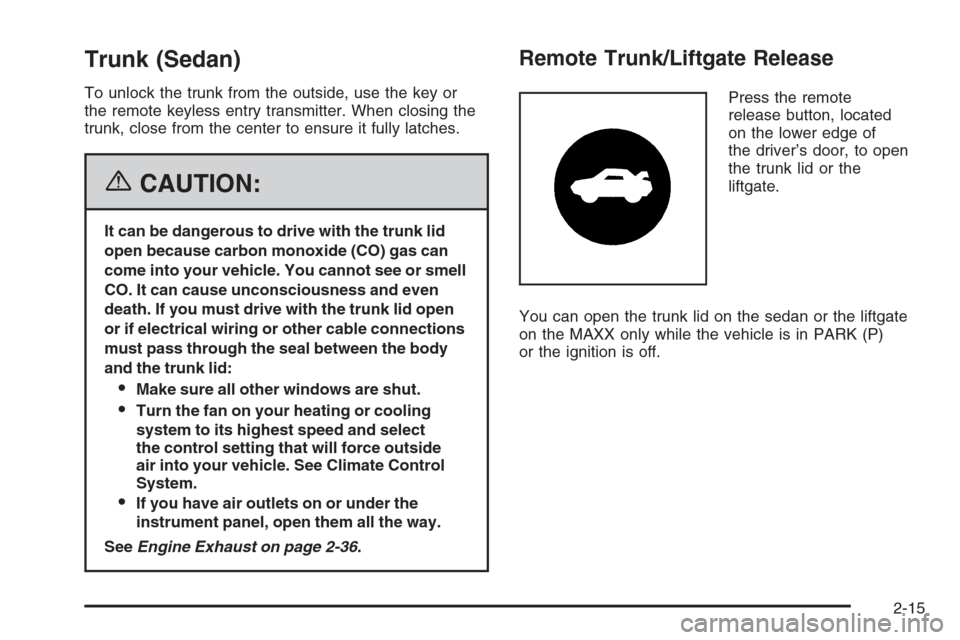
Press the remote
release button, located
on the lower edge of
the driver’s door, to open
the trunk lid or the
liftgate.
You can open the trunk lid on the sedan or the liftgate
on the MAXX only while the vehicle is in PARK (P)
or the ignition is off.
2-15
Page 97 of 442
The system will arm either:
Thirty seconds after all the doors and the
liftgate (MAXX) are closed or,
Sixty seconds with any door open
If you press the lock button on the remote keyless
entry transmitter a second time while all the doors and
liftgate are closed, the system will arm immediately.
The system will still arm in sixty seconds if a door
or liftgate is open. When the opened door or liftgate
is closed, it will also become armed.
The security light, located on the instrument panel
cluster, will turn on to indicate that arming has been
initiated. Once the system is armed, the security light
will �ash once every three seconds.
If the security light is �ashing twice per second, this
means that a door or the liftgate is open.
If you do not want to arm the system, you may lock
the car with the lock knob on the doors.
Disarming the System
You can disarm the system by doing any one of the
following:
Press the remote keyless entry transmitter unlock
button.
Turn the ignition on.
Turn the driver’s door key lock cylinder
counterclockwise.
Once the system is disarmed, the security light will
stop �ashing.
How the System Alarm is Activated
If the system is armed, it can be activated by either:
Opening the driver’s door or liftgate (MAXX model).
This will cause a ten second pre-alarm chirp followed
by a thirty second full alarm of horn and lights.
Opening any other door. This will immediately cause
a full alarm of horn and lights for thirty seconds.
When an alarm event has �nished, the system will
re-arm itself automatically.
2-19
Page 101 of 442
Ignition Positions
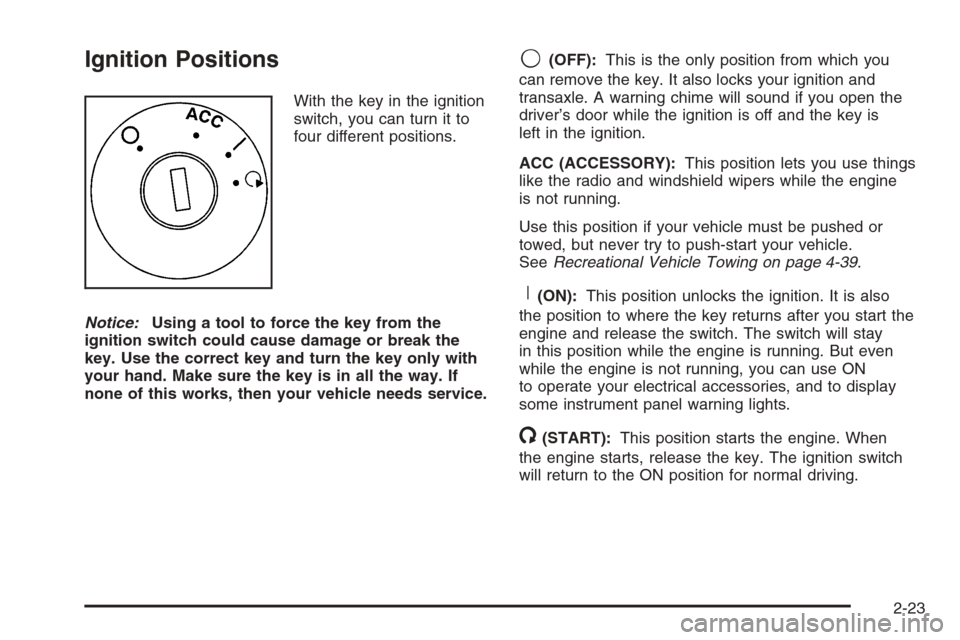
With the key in the ignition
switch, you can turn it to
four different positions.
Notice:Using a tool to force the key from the
ignition switch could cause damage or break the
key. Use the correct key and turn the key only with
your hand. Make sure the key is in all the way. If
none of this works, then your vehicle needs service.
9(OFF):This is the only position from which you
can remove the key. It also locks your ignition and
transaxle. A warning chime will sound if you open the
driver’s door while the ignition is off and the key is
left in the ignition.
ACC (ACCESSORY):This position lets you use things
like the radio and windshield wipers while the engine
is not running.
Use this position if your vehicle must be pushed or
towed, but never try to push-start your vehicle.
SeeRecreational Vehicle Towing on page 4-39.
R(ON):This position unlocks the ignition. It is also
the position to where the key returns after you start the
engine and release the switch. The switch will stay
in this position while the engine is running. But even
while the engine is not running, you can use ON
to operate your electrical accessories, and to display
some instrument panel warning lights.
/(START):This position starts the engine. When
the engine starts, release the key. The ignition switch
will return to the ON position for normal driving.
2-23
Page 103 of 442
Use the same instructions as stated earlier, when
starting your engine in very cold weather. It is
recommended that you use the engine block heater,
if equipped, to assist in starting your engine in very
cold weather.
Notice:Your engine is designed to work with the
electronics in your vehicle. If you add electrical
parts or accessories, you could change the way the
engine operates. Before adding electrical equipment,
check with your dealer. If you do not, your engine
might not perform properly. Any resulting damage
would not be covered by your vehicle’s warranty.
Adjustable Throttle and Brake Pedal
If your vehicle has this feature, you can change the
position of the throttle and brake pedals. This feature is
designed for shorter drivers, since the pedals cannot
move farther away from the standard position, but can
move rearward for better pedal reach.
The vehicle must be in PARK (P) or have the ignition off
for this feature to operate. If the system senses unusually
high resistance while the pedals are being adjusted, such
as a driver’s foot pushing the brake pedal, it is designed
to disable the switch. Simply remove the obstruction and
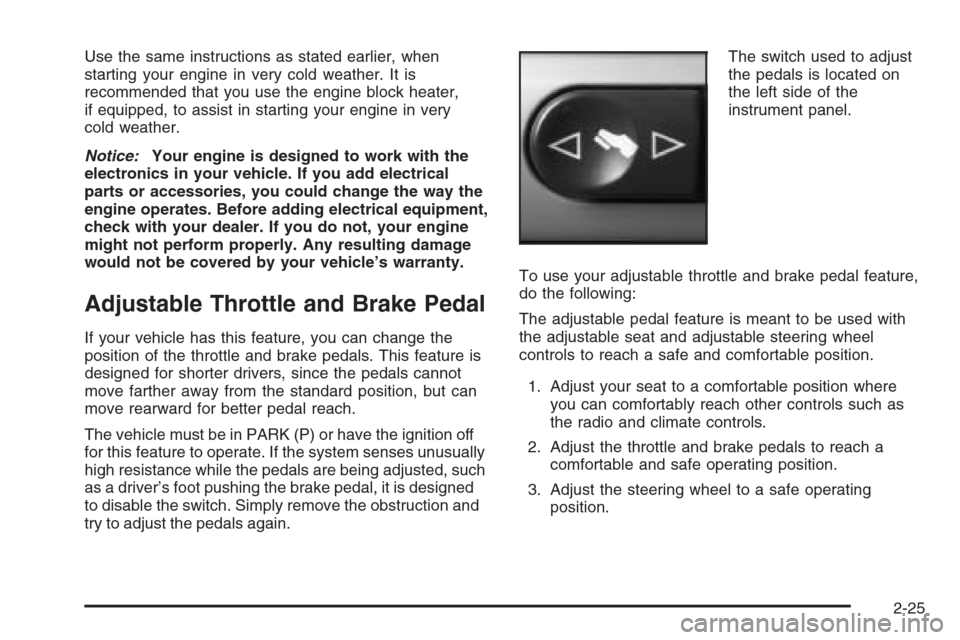
try to adjust the pedals again.The switch used to adjust
the pedals is located on
the left side of the
instrument panel.
To use your adjustable throttle and brake pedal feature,
do the following:
The adjustable pedal feature is meant to be used with
the adjustable seat and adjustable steering wheel
controls to reach a safe and comfortable position.
1. Adjust your seat to a comfortable position where
you can comfortably reach other controls such as
the radio and climate controls.
2. Adjust the throttle and brake pedals to reach a
comfortable and safe operating position.
3. Adjust the steering wheel to a safe operating
position.
2-25
Page 107 of 442
Electronic Range Select Mode
This feature allows you to limit higher gears by
selecting a maximum gear range when the shift lever
is in LOW (L). The button for this mode is located on the
left of the shift lever knob.
When the shift lever is �rst moved into LOW (L),
the display in the instrument panel shows L3. Press
the (−) end of the button on the shift lever once for
L2 and once more for L1. Press the plus (+) end of
the button once each to return to L2, L3 and L4. The
shift lever must be moved back to DRIVE (D) to turn
off the electronic range select mode.
L4 (LOW 4):This position does not limit gears, but
provides more engine braking, and lower fuel economy,
than DRIVE (D). The actual gear is determined by
throttle and vehicle speed.
L3 (LOW 3/DRIVE 3):This position prevents fourth gear
operation. Actual gear is determined by throttle and
vehicle speed.L2 (LOW 2/DRIVE 2):This position prevents third and
fourth gear operation. Actual gear is determined by
throttle and vehicle speed. If you shift from L3 to L2 at
vehicle speeds exceeding 80 mph (110 km/h), the
transaxle will not shift into L2 gear until the vehicle is
going slow enough.
L1 (LOW 1/DRIVE 1):This position prevents
SECOND (2), THIRD (3), and FOURTH (4) gear
operation. If you shift from L2 to the L1 position at
vehicle speeds exceeding 40 mph (65 km/h), the
transaxle will not shift into L1 gear until the vehicle
is going slow enough.
2-29
Page 110 of 442
Driver Shift Control (DSC)
This feature allows you to select lower or higher driving
gears when the shift lever is in MANUAL MODE (M).
The button for this mode is located on the left side of
the shift lever knob.
To use this feature, do the following:
1. Move the shift lever from AUTOMATIC
OVERDRIVE (D) rearward into the MANUAL
MODE (M). The vehicle will be in the MANUAL
MODE (M) and a gear based on the current
driving speed.
While driving in MANUAL MODE (M), the transaxle
will remain in the selected drive gear unless:
A shift is required to protect the engine or
transaxle or,
The vehicle slows almost to a stop (the vehicle
will automatically downshift)
2. Press the plus button to upshift or the minus button
to downshift.When the shift lever is �rst moved into MANUAL
MODE (M), the display on the instrument panel shows
M1, M2, M3, M4. Position M for the manual mode and
a number representing the gear the transaxle is in.
Press the minus (−) end of the button on the shift
lever to downshift. Press the plus (+) end of the button
to upshift. The shift lever must be moved back to
DRIVE (D) to turn off the manual mode and return
to fully automatic shifting.
While using the Driver Shift Control (DSC) feature
the vehicle will have �rmer shifting and increased
performance. You can use this for sport driving or when
climbing hills to stay in gear longer or to downshift for
more power or engine braking.
The transaxle will only allow you to shift into gears
appropriate for the vehicle speed and engine revolutions
per minute (RPM). The transaxle will not automatically
shift to the next higher gear if the engine RPM is
too high.
When coming to a stop in the manual mode, the vehicle
will automatically downshift to the proper gear based
on speed. Upon acceleration you will need to manually
upshift to the desired gear.
2-32
Page 133 of 442
Instrument Panel Overview...............................3-4
Hazard Warning Flashers................................3-6
Other Warning Devices...................................3-6
Horn .............................................................3-6
Tilt and Telescopic Steering Wheel...................3-6
Turn Signal/Multifunction Lever.........................3-7
Turn and Lane-Change Signals........................3-8
Headlamp High/Low-Beam Changer..................3-8
Flash-to-Pass.................................................3-8
Windshield Wipers..........................................3-9
Windshield Washer.......................................3-10
Rear Window Wiper/Washer (MAXX Model)......3-10
Cruise Control..............................................3-11
Exterior Lamps.............................................3-14
Headlamps on Reminder................................3-16
Headlamps Off in PARK (P)...........................3-16
Delayed Headlamps......................................3-16
Daytime Running Lamps (DRL).......................3-16
Automatic Headlamp System..........................3-17
Fog Lamps ..................................................3-18
Instrument Panel Brightness...........................3-19
Dome Lamp .................................................3-19
Entry/Exit Lighting.........................................3-19Parade Dimming...........................................3-19
Front Reading Lamps....................................3-20
Rear Reading Lamps....................................3-20
Trunk Lamp.................................................3-20
Cargo Lamp.................................................3-20
Battery Run-Down Protection..........................3-20
Accessory Power Outlet(s).............................3-21
Cigarette Lighter...........................................3-22
Climate Controls............................................3-22
Climate Control System.................................3-22
Automatic Climate Control System...................3-27
Outlet Adjustment.........................................3-31
Warning Lights, Gages, and Indicators............3-32
Instrument Panel Cluster................................3-33
Speedometer and Odometer...........................3-34
Trip Odometer..............................................3-34
Tachometer.................................................3-34
Safety Belt Reminder Light.............................3-34
Airbag Readiness Light..................................3-35
Charging System Light..................................3-36
Brake System Warning Light..........................3-36
Anti-Lock Brake System Warning Light.............3-37
Section 3 Instrument Panel
3-1