2006 CHEVROLET MALIBU change wheel
[x] Cancel search: change wheelPage 76 of 442
Adding Equipment to Your
Airbag-Equipped Vehicle
Q:Is there anything I might add to the front or
sides of the vehicle that could keep the
airbags from working properly?
A:Yes. If you add things that change your vehicle’s
frame, bumper system, height, front end or side
sheet metal, they may keep the airbag system from
working properly. Also, the airbag system may not
work properly if you relocate any of the airbag
sensors. If you have any questions about this, you
should contact Customer Assistance before you
modify your vehicle. The phone numbers and
addresses for Customer Assistance are in
Step Two of the Customer Satisfaction Procedure
in this manual. SeeCustomer Satisfaction
Procedure on page 7-2.
Q:Because I have a disability, I have to get my
vehicle modi�ed. How can I �nd out whether
this will affect my airbag system?
A:Changing or moving any parts of the front seats,
safety belts, the airbag sensing and diagnostic
module, steering wheel, instrument panel, ceiling
headliner, ceiling and pillar garnish trim,
roof-mounted airbag modules, or airbag wiring can
affect the operation of the airbag system. If you
have questions, call Customer Assistance.
The phone numbers and addresses for Customer
Assistance are in Step Two of the Customer
Satisfaction Procedure in this manual. See
Customer Satisfaction Procedure on page 7-2.
1-70
Page 103 of 442
Use the same instructions as stated earlier, when
starting your engine in very cold weather. It is
recommended that you use the engine block heater,
if equipped, to assist in starting your engine in very
cold weather.
Notice:Your engine is designed to work with the
electronics in your vehicle. If you add electrical
parts or accessories, you could change the way the
engine operates. Before adding electrical equipment,
check with your dealer. If you do not, your engine
might not perform properly. Any resulting damage
would not be covered by your vehicle’s warranty.
Adjustable Throttle and Brake Pedal
If your vehicle has this feature, you can change the
position of the throttle and brake pedals. This feature is
designed for shorter drivers, since the pedals cannot
move farther away from the standard position, but can
move rearward for better pedal reach.
The vehicle must be in PARK (P) or have the ignition off
for this feature to operate. If the system senses unusually
high resistance while the pedals are being adjusted, such
as a driver’s foot pushing the brake pedal, it is designed
to disable the switch. Simply remove the obstruction and
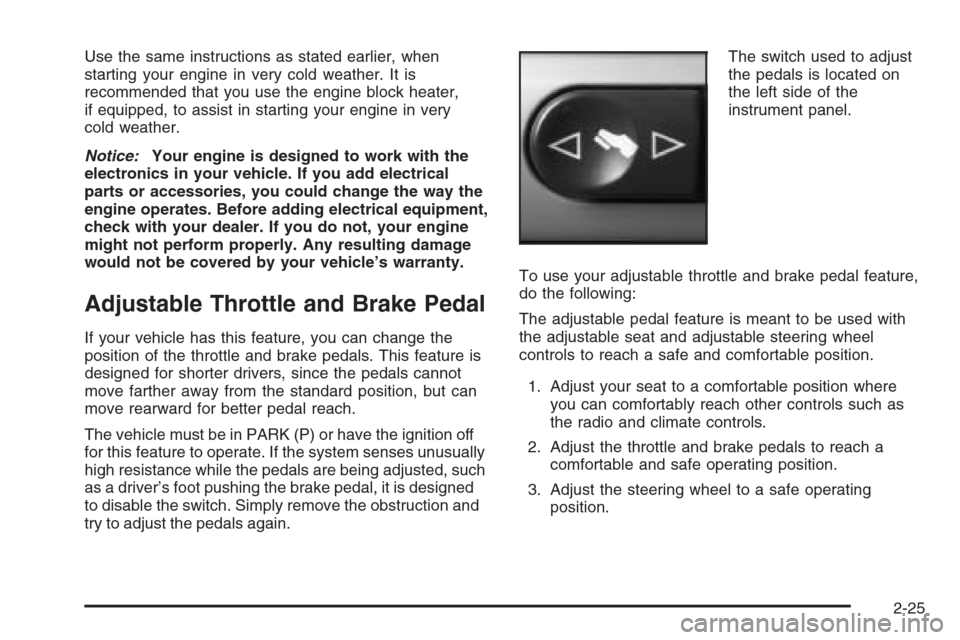
try to adjust the pedals again.The switch used to adjust
the pedals is located on
the left side of the
instrument panel.
To use your adjustable throttle and brake pedal feature,
do the following:
The adjustable pedal feature is meant to be used with
the adjustable seat and adjustable steering wheel
controls to reach a safe and comfortable position.
1. Adjust your seat to a comfortable position where
you can comfortably reach other controls such as
the radio and climate controls.
2. Adjust the throttle and brake pedals to reach a
comfortable and safe operating position.
3. Adjust the steering wheel to a safe operating
position.
2-25
Page 109 of 442
Make sure the shift lever is fully in PARK (P) before
starting the engine. Your vehicle has an automatic
transaxle shift lock control system. You have to apply
your regular brake and press the shift lever button
before you can shift from PARK (P) while the ignition
key is in ON. If you cannot shift out of PARK (P), ease
pressure on the shift lever and push the shift lever
all the way into PARK (P) as you maintain brake
application. Then move the shift lever into another gear.
SeeShifting Out of Park (P) on page 2-35later in
this section.
REVERSE (R):Use this gear to back up.
Notice:Shifting to REVERSE (R) while your vehicle
is moving forward could damage the transaxle.
The repairs would not be covered by your warranty.
Shift to REVERSE (R) only after your vehicle is
stopped.
To rock your vehicle back and forth to get out of snow,
ice, or sand without damaging your transaxle, see
If Your Vehicle is Stuck in Sand, Mud, Ice, or Snow on
page 4-32.
NEUTRAL (N):In this position, your engine does not
connect with the wheels. To restart when you are
already moving, use NEUTRAL (N) only. Also, use
NEUTRAL (N) when your vehicle is being towed.
{CAUTION:
Shifting into a drive gear while your engine is
running at high speed is dangerous. Unless
your foot is �rmly on the brake pedal, your
vehicle could move very rapidly. You could
lose control and hit people or objects. Do not
shift into a drive gear while your engine is
running at high speed.
Notice:Shifting out of PARK (P) or NEUTRAL (N)
while the engine is running at high speed may
damage the transaxle. The repairs would not be
covered by your warranty. Be sure the engine is not
running at high speeds when shifting your vehicle.
AUTOMATIC OVERDRIVE (D):This position is for
normal driving. If you need more power for passing,
and you are:
Going less than 35 mph (55 km/h), push your
accelerator pedal about halfway down.
Going about 35 mph (55 km/h) or more, push
the accelerator all the way down.
MANUAL MODE (M):This position, allows you to
change gears similar to a manual transaxle. If your
vehicle has this feature, see Driver Shift Control (DSC).
2-31
Page 133 of 442
Instrument Panel Overview...............................3-4
Hazard Warning Flashers................................3-6
Other Warning Devices...................................3-6
Horn .............................................................3-6
Tilt and Telescopic Steering Wheel...................3-6
Turn Signal/Multifunction Lever.........................3-7
Turn and Lane-Change Signals........................3-8
Headlamp High/Low-Beam Changer..................3-8
Flash-to-Pass.................................................3-8
Windshield Wipers..........................................3-9
Windshield Washer.......................................3-10
Rear Window Wiper/Washer (MAXX Model)......3-10
Cruise Control..............................................3-11
Exterior Lamps.............................................3-14
Headlamps on Reminder................................3-16
Headlamps Off in PARK (P)...........................3-16
Delayed Headlamps......................................3-16
Daytime Running Lamps (DRL).......................3-16
Automatic Headlamp System..........................3-17
Fog Lamps ..................................................3-18
Instrument Panel Brightness...........................3-19
Dome Lamp .................................................3-19
Entry/Exit Lighting.........................................3-19Parade Dimming...........................................3-19
Front Reading Lamps....................................3-20
Rear Reading Lamps....................................3-20
Trunk Lamp.................................................3-20
Cargo Lamp.................................................3-20
Battery Run-Down Protection..........................3-20
Accessory Power Outlet(s).............................3-21
Cigarette Lighter...........................................3-22
Climate Controls............................................3-22
Climate Control System.................................3-22
Automatic Climate Control System...................3-27
Outlet Adjustment.........................................3-31
Warning Lights, Gages, and Indicators............3-32
Instrument Panel Cluster................................3-33
Speedometer and Odometer...........................3-34
Trip Odometer..............................................3-34
Tachometer.................................................3-34
Safety Belt Reminder Light.............................3-34
Airbag Readiness Light..................................3-35
Charging System Light..................................3-36
Brake System Warning Light..........................3-36
Anti-Lock Brake System Warning Light.............3-37
Section 3 Instrument Panel
3-1
Page 139 of 442
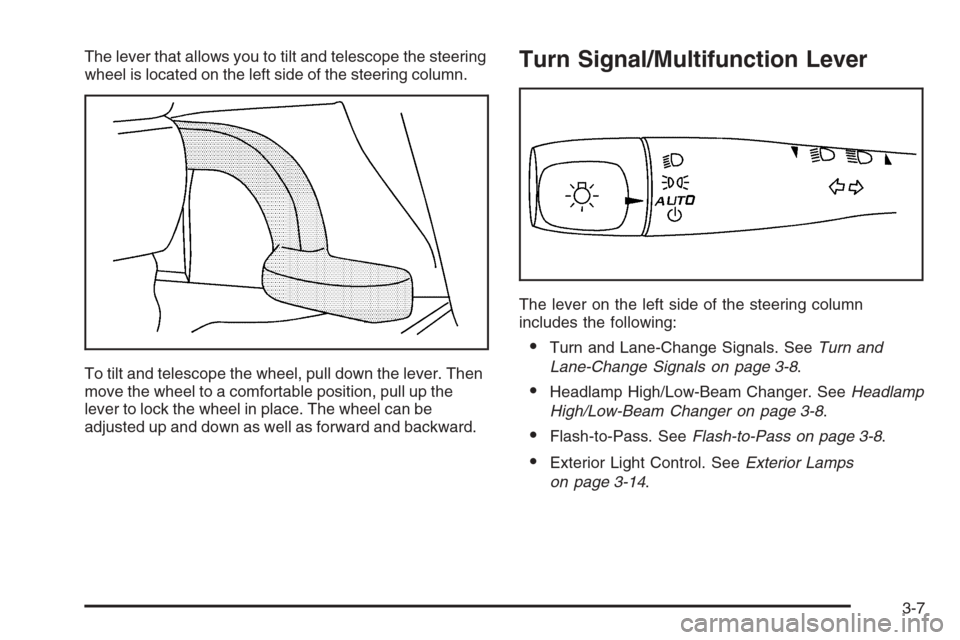
The lever that allows you to tilt and telescope the steering
wheel is located on the left side of the steering column.
To tilt and telescope the wheel, pull down the lever. Then
move the wheel to a comfortable position, pull up the
lever to lock the wheel in place. The wheel can be
adjusted up and down as well as forward and backward.Turn Signal/Multifunction Lever
The lever on the left side of the steering column
includes the following:
Turn and Lane-Change Signals. SeeTurn and
Lane-Change Signals on page 3-8.
Headlamp High/Low-Beam Changer. SeeHeadlamp
High/Low-Beam Changer on page 3-8.
Flash-to-Pass. SeeFlash-to-Pass on page 3-8.
Exterior Light Control. SeeExterior Lamps
on page 3-14.
3-7
Page 143 of 442
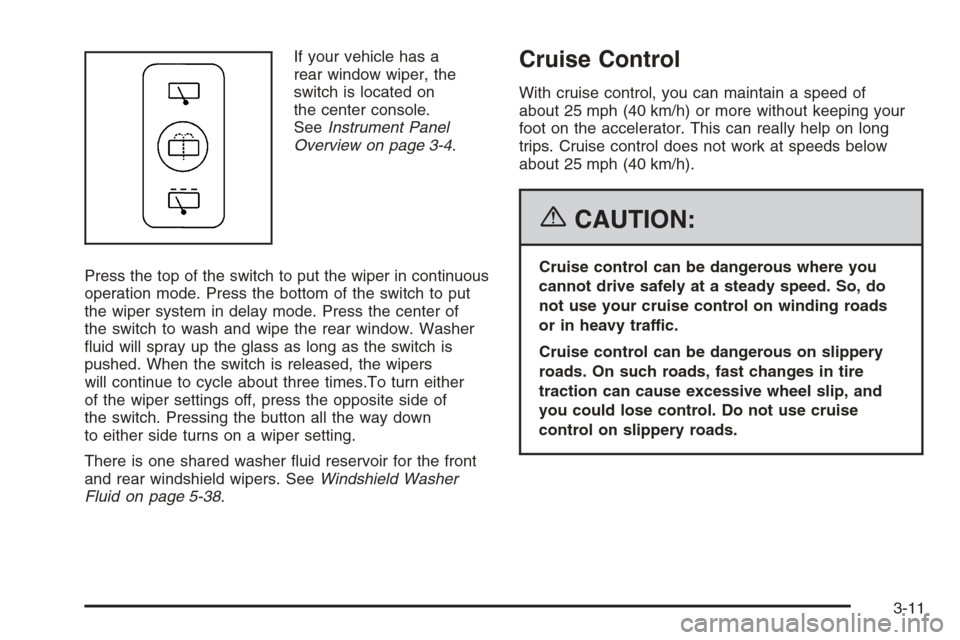
If your vehicle has a
rear window wiper, the
switch is located on
the center console.
SeeInstrument Panel
Overview on page 3-4.
Press the top of the switch to put the wiper in continuous
operation mode. Press the bottom of the switch to put
the wiper system in delay mode. Press the center of
the switch to wash and wipe the rear window. Washer
�uid will spray up the glass as long as the switch is
pushed. When the switch is released, the wipers
will continue to cycle about three times.To turn either
of the wiper settings off, press the opposite side of
the switch. Pressing the button all the way down
to either side turns on a wiper setting.
There is one shared washer �uid reservoir for the front
and rear windshield wipers. SeeWindshield Washer
Fluid on page 5-38.Cruise Control
With cruise control, you can maintain a speed of
about 25 mph (40 km/h) or more without keeping your
foot on the accelerator. This can really help on long
trips. Cruise control does not work at speeds below
about 25 mph (40 km/h).
{CAUTION:
Cruise control can be dangerous where you
cannot drive safely at a steady speed. So, do
not use your cruise control on winding roads
or in heavy traffic.
Cruise control can be dangerous on slippery
roads. On such roads, fast changes in tire
traction can cause excessive wheel slip, and
you could lose control. Do not use cruise
control on slippery roads.
3-11
Page 150 of 442
There is a delay in the transition between the daytime
and nighttime operation of the automatic lamp control
system so that driving under bridges or bright overhead
street lights does not affect the system. The automatic
lamp control system will only be affected when the light
sensor sees a change in lighting lasting longer than
this delay.
If you start your vehicle in a dark garage, the automatic
lamp system will come on immediately. Once you
leave the garage, it will take about one minute for
the automatic lamp system to change to DRL if it is light
outside. During that delay, your instrument panel
cluster may not be as bright as usual. Make sure your
instrument panel brightness control is in the full
bright position. SeeInstrument Panel Brightness on
page 3-19.
To idle your vehicle with the system off, turn the
ignition on and turn the exterior light switch to the
off/on position. For Canadian vehicles, the transaxle
must stay in PARK (P) for this function.
As with any vehicle, you should turn on the regular
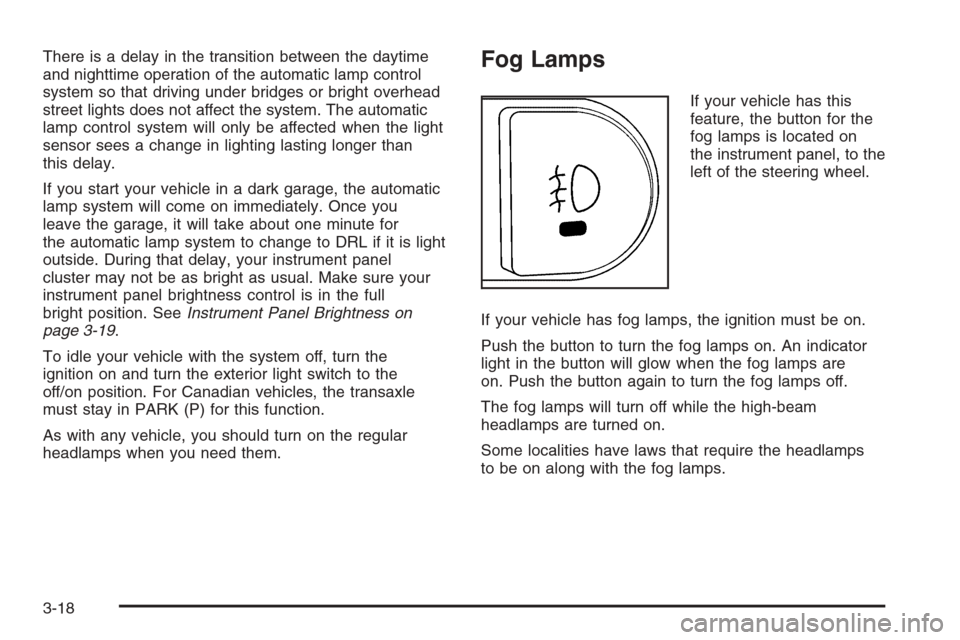
headlamps when you need them.Fog Lamps
If your vehicle has this
feature, the button for the
fog lamps is located on
the instrument panel, to the
left of the steering wheel.
If your vehicle has fog lamps, the ignition must be on.
Push the button to turn the fog lamps on. An indicator
light in the button will glow when the fog lamps are
on. Push the button again to turn the fog lamps off.
The fog lamps will turn off while the high-beam
headlamps are turned on.
Some localities have laws that require the headlamps
to be on along with the fog lamps.
3-18
Page 163 of 442
If your vehicle has the remote start feature, the rear
defogger and heated mirrors will automatically be
turned on if it is cold outside. The indicator light will
not be on. When the vehicle transitions out of remote
start mode the rear defogger and heated mirrors will
turn off.
Notice:Do not use a razor blade or sharp object
to clear the inside rear window. Do not adhere
anything to the defogger grid lines in the rear glass.
These actions may damage the rear defogger.
Repairs would not be covered by your warranty.
Outlet Adjustment
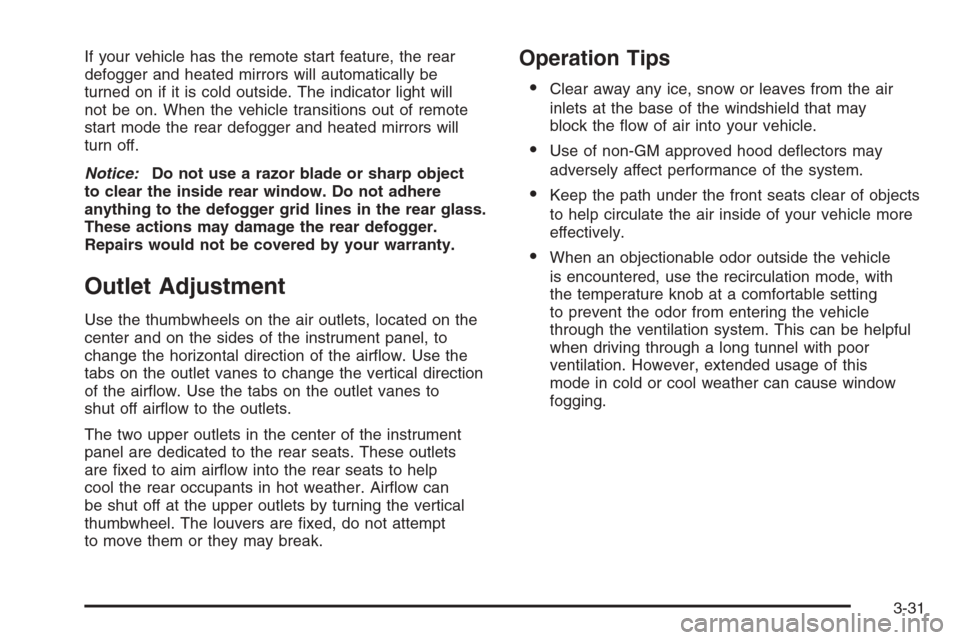
Use the thumbwheels on the air outlets, located on the
center and on the sides of the instrument panel, to
change the horizontal direction of the air�ow. Use the
tabs on the outlet vanes to change the vertical direction
of the air�ow. Use the tabs on the outlet vanes to
shut off air�ow to the outlets.
The two upper outlets in the center of the instrument
panel are dedicated to the rear seats. These outlets
are �xed to aim air�ow into the rear seats to help
cool the rear occupants in hot weather. Air�ow can
be shut off at the upper outlets by turning the vertical
thumbwheel. The louvers are �xed, do not attempt
to move them or they may break.
Operation Tips
Clear away any ice, snow or leaves from the air
inlets at the base of the windshield that may
block the �ow of air into your vehicle.
Use of non-GM approved hood de�ectors may
adversely affect performance of the system.
Keep the path under the front seats clear of objects
to help circulate the air inside of your vehicle more
effectively.
When an objectionable odor outside the vehicle
is encountered, use the recirculation mode, with
the temperature knob at a comfortable setting
to prevent the odor from entering the vehicle
through the ventilation system. This can be helpful
when driving through a long tunnel with poor
ventilation. However, extended usage of this
mode in cold or cool weather can cause window
fogging.
3-31