Page 107 of 426

OnStar®System
OnStar®uses several innovative technologies and live
advisors to provide you with a wide range of safety,
security, information, and convenience services. If your
airbags deploy, the system is designed to make an
automatic call to OnStar
®Emergency where we
can request emergency services be sent to your
location. If you lock your keys in the car, call OnStar
®
at 1-888-4-ONSTAR and they can send a signal to
unlock your doors. If you need roadside assistance,
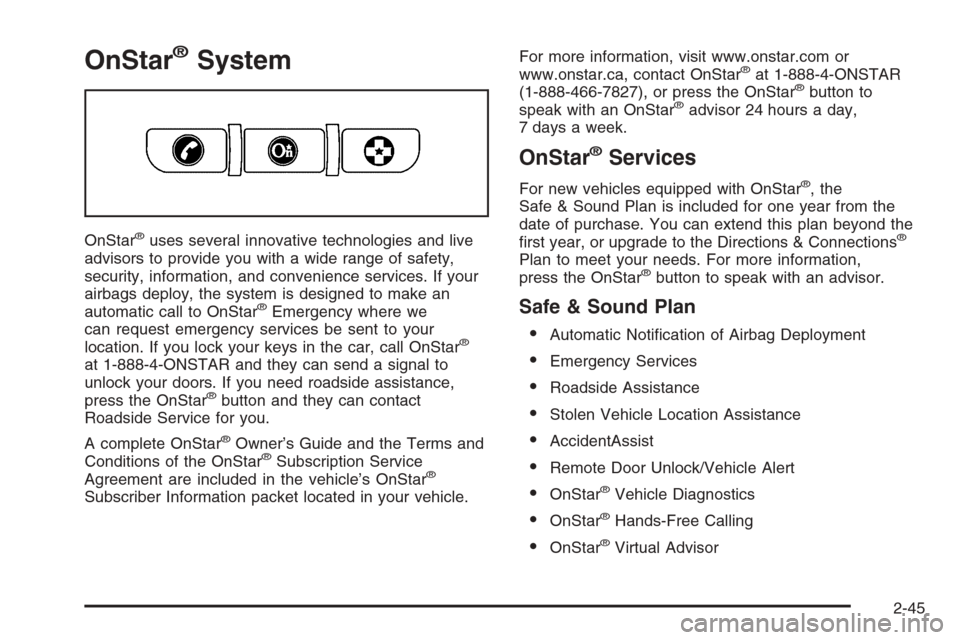
press the OnStar
®button and they can contact
Roadside Service for you.
A complete OnStar
®Owner’s Guide and the Terms and
Conditions of the OnStar®Subscription Service
Agreement are included in the vehicle’s OnStar®
Subscriber Information packet located in your vehicle.For more information, visit www.onstar.com or
www.onstar.ca, contact OnStar
®at 1-888-4-ONSTAR
(1-888-466-7827), or press the OnStar®button to
speak with an OnStar®advisor 24 hours a day,
7 days a week.
OnStar®Services
For new vehicles equipped with OnStar®, the
Safe & Sound Plan is included for one year from the
date of purchase. You can extend this plan beyond the
�rst year, or upgrade to the Directions & Connections
®
Plan to meet your needs. For more information,
press the OnStar®button to speak with an advisor.
Safe & Sound Plan
Automatic Noti�cation of Airbag Deployment
Emergency Services
Roadside Assistance
Stolen Vehicle Location Assistance
AccidentAssist
Remote Door Unlock/Vehicle Alert
OnStar®Vehicle Diagnostics
OnStar®Hands-Free Calling
OnStar®Virtual Advisor
2-45
Page 108 of 426

Directions & Connections®Plan
All Safe & Sound Plan Services
Driving Directions
RideAssist
Information and Convenience Services
OnStar®Hands-Free Calling
OnStar®Hands-Free Calling allows OnStar®subscribers
to make and receive calls using voice commands at
the touch of a button. Hands-Free Calling is fully
integrated into the vehicle, and may be used with
Pre-Paid Minute Packages or linked to a cell phone
through OnStar
®Shared Minutes Plan. To �nd out more,
refer to the OnStar®Owner’s Guide in the vehicle’s
glove box, visit www.onstar.com or www.onstar.ca, or
speak with an OnStar
®advisor by pressing the OnStar®
button or calling 1-888-4-ONSTAR (1-888-466-7827).
OnStar®Virtual Advisor
Your vehicle may have Virtual Advisor. It is a feature of
OnStar®Hands-Free Calling that uses your minutes
to access weather, local traffic reports, and stock quotes.
By pressing the phone button and giving a few simple
voice commands, you can browse through the
various topics. Customize your information pro�le at
www.myonstar.com. See the OnStar
®Owner’s Guide for
more information.
Universal Home Remote
System
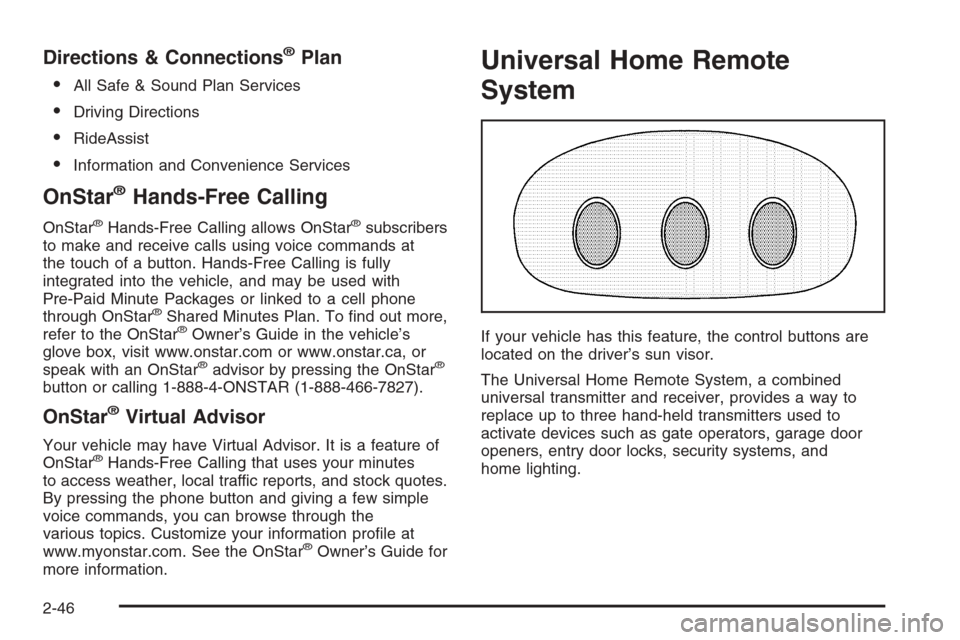
If your vehicle has this feature, the control buttons are
located on the driver’s sun visor.
The Universal Home Remote System, a combined
universal transmitter and receiver, provides a way to
replace up to three hand-held transmitters used to
activate devices such as gate operators, garage door
openers, entry door locks, security systems, and
home lighting.
2-46
Page 113 of 426

Storage Areas
Glove Box
To open the glove box, lift up on the lever. The glove
box is lockable. The glove box has a light inside.
Cupholder(s)
There are two cupholders located on the center console
next to the shift lever. To open it, place your thumb on the
left side of the lid and slide the handle to the right.
Center Console Storage Area
To use this storage area, pull up the lid on the driver’s
side front edge of the console and swing it to the
passenger’s side.
You can use the key to lock and unlock the console.
Do not leave the key in the lock, or it could be damaged
when the driver sits down.
Floor Mats
The �oor mats, if equipped, are specially designed to
remain in position under your feet and out of reach
of the accelerator pedal. The driver’s side �oor mat is
held in place by two locator pins and the passenger’s
side is held in place by one.
Be sure that the driver’s side �oor mat is properly
placed on the �oor so that it does not block the
movement of the accelerator pedal.
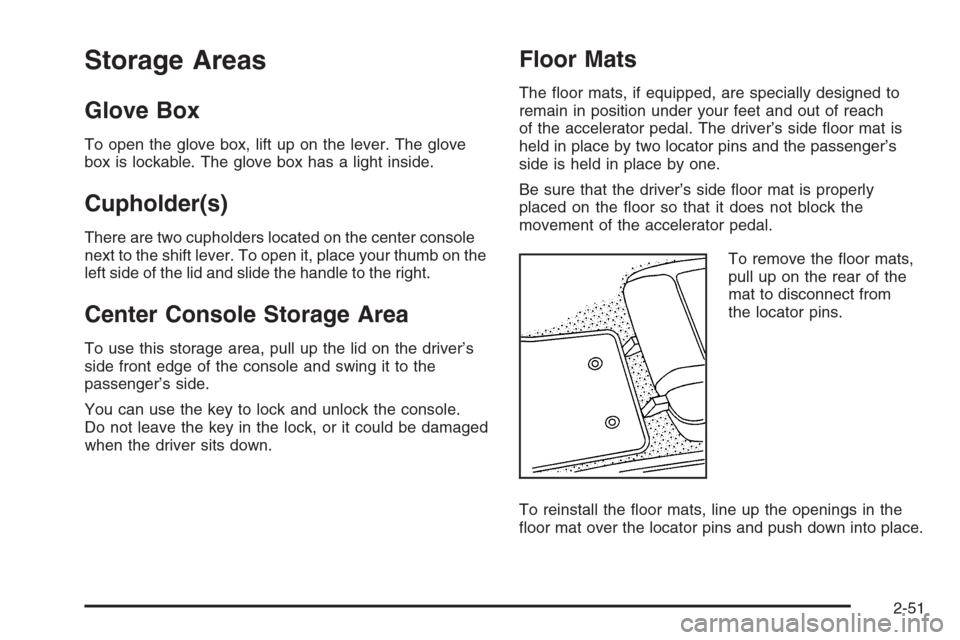
To remove the �oor mats,
pull up on the rear of the
mat to disconnect from
the locator pins.
To reinstall the �oor mats, line up the openings in the
�oor mat over the locator pins and push down into place.
2-51
Page 116 of 426
Convenience Net
If your vehicle has this feature you will see it on the
back wall of the rear area of the vehicle.
Put small loads, like grocery bags, in the net. It can help
keep them from falling over during sharp turns or quick
starts and stops. The convenience net is not for larger,
heavier loads.
You can unhook the net and place it in one of the rear
storage compartments when you are not using it.
Cargo Cover
If your vehicle has this feature, the security shade can
provide hidden storage in the rear area of the vehicle.
The shade is also helpful in blocking the glare from the
removable roof when it is stored in the rear compartment.
Using the Cargo Cover
1. Hook the elastic loops
on the front corners (A)
of the shade to the
T-nuts located on the
front corners of the rear
hatch frame.
2. Hook the elastic loops on the rear corners (B) of the
shade to the hooks recessed inside the rear hatch
frame, near the rear corners.
2-54
Page 118 of 426
Notice:If you drop or rest a roof panel on its edges,
the roof panel, paint and/or weatherstripping may be
damaged. Always place the roof panel in the stowage
receivers after removing it from the vehicle.
1. Park on a level surface and set the parking brake.
Shift an automatic transmission into PARK (P).
Shift a manual transmission into NEUTRAL.
2. Make sure the ignition is turned to OFF.
3. Lower both sun visors.
4. Open the rear hatch and remove any items that may
interfere with proper storage of the roof panel.
5. Lower the windows.
There are two release latches on the front of the
roof panel and one rear release latch on the back
of the roof panel.
6. To unlock the release latches on the front of the
roof panel, grasp each handle with your �ngers
and pull it outward. Driver’s Side Front Roof Panel Release Latch
2-56
Page 119 of 426
The driver’s side handle moves toward the driver’s
door. The passenger’s side handle moves toward
the passenger’s door.7. To unlock the rear of
the roof panel’s rear
release latch, press the
back of the release
handle (B). Then press
the button on the
front of the release
handle, (A) with
your thumb.
Pull down the latch lever with your �ngers.
8. Stand on one side of the vehicle, and if necessary,
have someone stand on the other side. Together,
carefully lift the front edge of the roof panel up
and forward.
9. When the roof panel is loosened from the vehicle,
one person should grasp the roof panel as close to
the center as possible and lift it away from the
vehicle. Driver’s Side Rear Roof Panel Release Hatch
2-57
Page 123 of 426

Notice:Leaving the convertible top down and
exposing the interior of your vehicle to outdoor
conditions may cause damage. Always close
the convertible top if leaving your vehicle outdoors.
Notice:Lowering the convertible top when there are
objects in the storage area could damage it or break
the glass rear window. Always verify that no objects
are in the storage area before lowering the
convertible top.
Notice:Lowering the top if it is damp, wet, or dirty
can cause stains, mildew, and damage to the inside
of your vehicle. Dry off the top before lowering it.
Notice:If you lower the top on your vehicle in cold
weather (0°F/-18°C or lower), you may damage top
components. Do not lower the top in cold weather.
Notice:If you raise or lower the convertible top
while the vehicle is in motion, you could damage the
top or the top mechanism. The repairs would not be
covered by your warranty. Always put an automatic
transmission in PARK (P) or a manual transmission
in NEUTRAL before raising or lowering the
convertible top.Lowering the Manual Convertible Top
1. Park on a level surface. Shift an automatic
transmission into PARK (P) and set the parking
brake. Shift a manual transmission into NEUTRAL
and set the parking brake.
2. Make sure the ignition is turned off.
3. Make sure the trunk is closed and the rear trunk
partition in the rear storage area is in the fastened
upright position. See “Rear Trunk Partition”
underRear Storage Area on page 2-52.
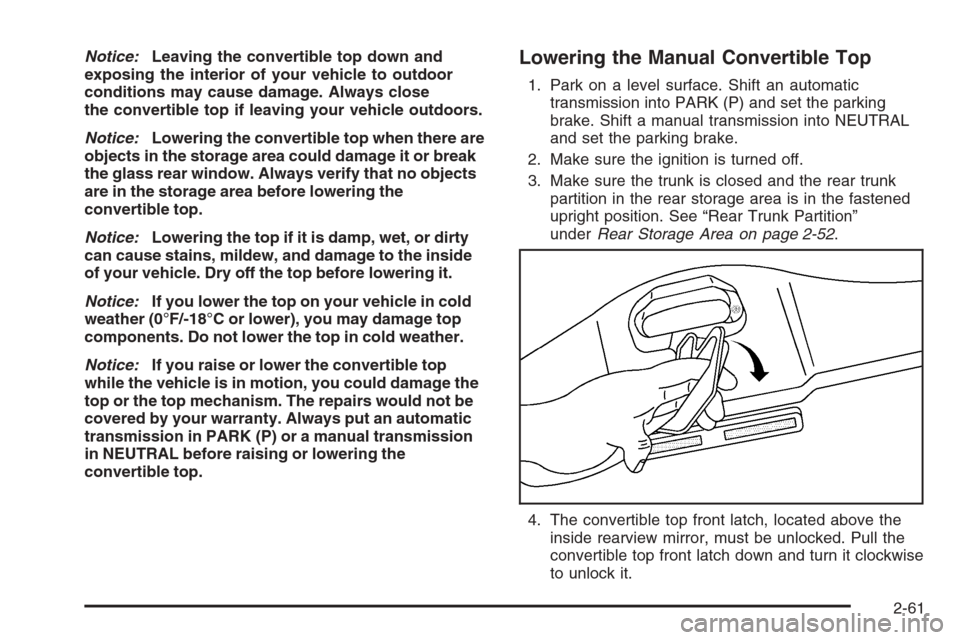
4. The convertible top front latch, located above the
inside rearview mirror, must be unlocked. Pull the
convertible top front latch down and turn it clockwise
to unlock it.
2-61
Page 128 of 426
7. Lift the rear edge (B) of the convertible top to its
full-up position by �rst raising the front edge (A).
8. Close the tonneau cover (C) by pushing it down
with a swift, �rm motion.
9. Lower the rear edge (B) of the convertible top by
�rst slightly pushing the front edge (A) of the
convertible top forward.
10. Push the front edge (A) of the convertible top down
from the outside of the vehicle, or pull the front
edge (A) of the convertible top down from the center
pull-down handle located in the inside of the vehicle.11. Pull the top front latch handle down and turn it
counterclockwise to lock the convertible top.
2-66