Page 4323 of 4731
PS-48
SERVICE DATA AND SPECIFICATIONS (SDS)
Revision: 2005 July 2005 FX
Page 4324 of 4731

RAX-1
REAR AXLE
D DRIVELINE/AXLE
CONTENTS
C E F
G H
I
J
K L
M
SECTION RAX
A
B
RAX
Revision: 2005 July 2005 FX
REAR AXLE
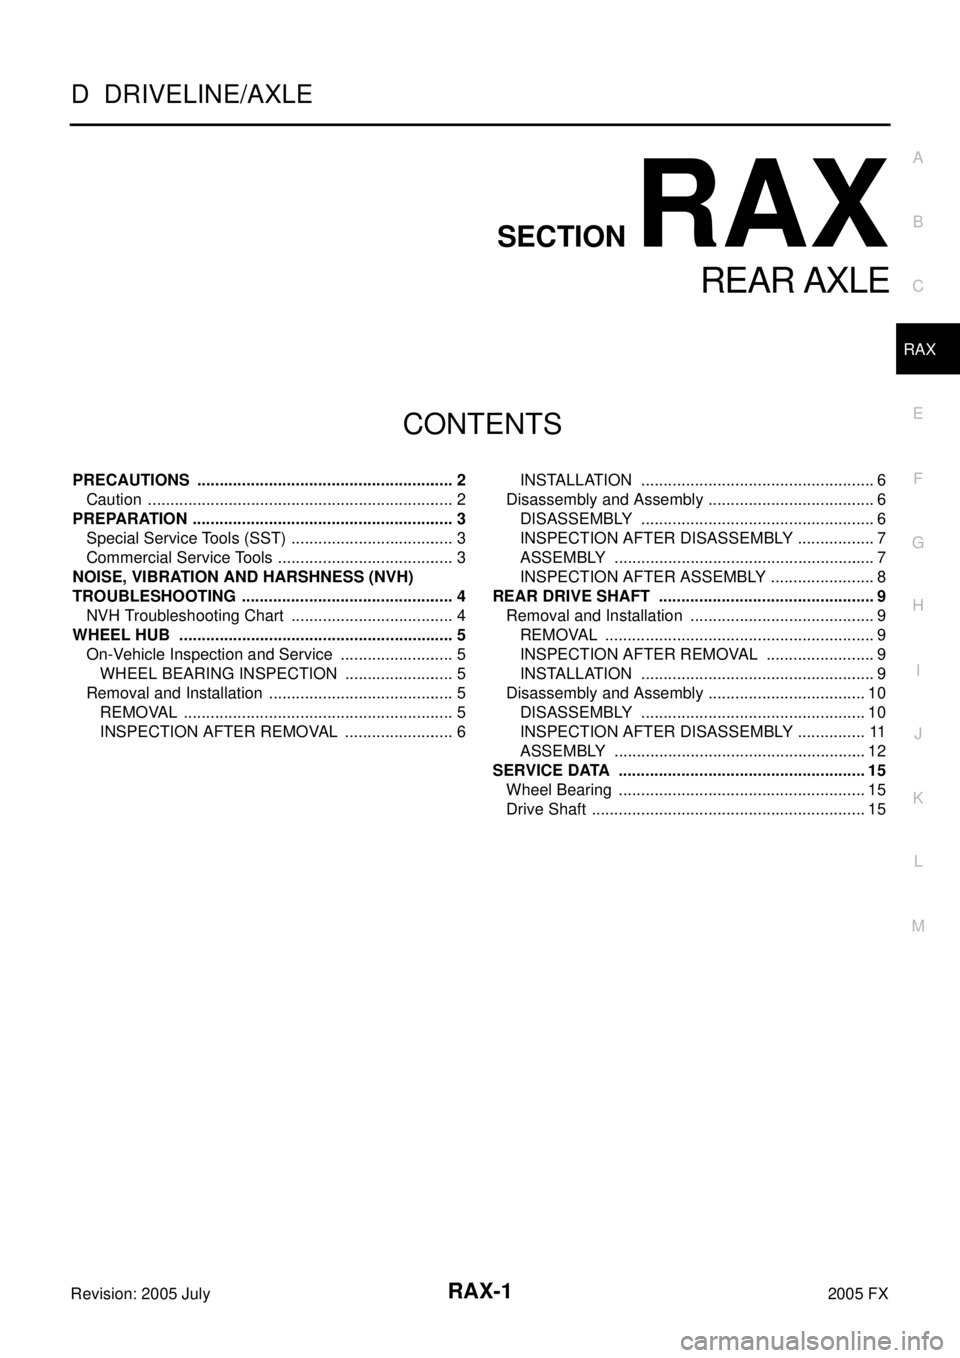
PRECAUTIONS .......................................................... 2
Caution ................................................................ ..... 2
PREPARATION ...................................................... ..... 3
Special Service Tools (SST) ................................ ..... 3
Commercial Service Tools ................................... ..... 3
NOISE, VIBRATION AND HARSHNESS (NVH)
TROUBLESHOOTING ........................................... ..... 4
NVH Troubleshooting Chart ................................ ..... 4
WHEEL HUB ......................................................... ..... 5
On-Vehicle Inspection and Service ..................... ..... 5
WHEEL BEARING INSPECTION .................... ..... 5
Removal and Installation ..................................... ..... 5
REMOVAL ........................................................ ..... 5
INSPECTION AFTER REMOVAL .................... ..... 6 INSTALLATION ................................................
..... 6
Disassembly and Assembly ................................. ..... 6
DISASSEMBLY ................................................ ..... 6
INSPECTION AFTER DISASSEMBLY ............. ..... 7
ASSEMBLY ...................................................... ..... 7
INSPECTION AFTER ASSEMBLY ................... ..... 8
REAR DRIVE SHAFT ............................................ ..... 9
Removal and Installation ..................................... ..... 9
REMOVAL ........................................................ ..... 9
INSPECTION AFTER REMOVAL .................... ..... 9
INSTALLATION ................................................ ..... 9
Disassembly and Assembly ................................. ... 10
DISASSEMBLY ................................................ ... 10
INSPECTION AFTER DISASSEMBLY ............. ... 11
ASSEMBLY ...................................................... ... 12
SERVICE DATA ..................................................... ... 15
Wheel Bearing ..................................................... ... 15
Drive Shaft ........................................................... ... 15
Page 4325 of 4731
RAX-2
PRECAUTIONS
Revision: 2005 July 2005 FX
PRECAUTIONSPFP:00001
CautionADS000C0
Observe the following precautions when disassembling and servicing drive shaft.
�Perform work in a location which is as dust-free as possible.
�Before disassembling and servicing, clean the outside of parts.
�Prevention of the entry of foreign objects must be taken into account during disassembly of the service
location.
�Disassembled parts must be carefully reassembled in the correct order. If work is interrupted, a clean
cover must be placed over parts.
�Paper shop cloths must be used. Fabric shop cloths must not be used because of the danger of lint adher-
ing to parts.
�Disassembled parts (except for rubber parts) should be cleaned with kerosene which shall be removed by
blowing with air or wiping with paper shop cloths.
Page 4326 of 4731

PREPARATION RAX-3
C E F
G H
I
J
K L
M A
B
RAX
Revision: 2005 July 2005 FX
PREPARATIONPFP:00002
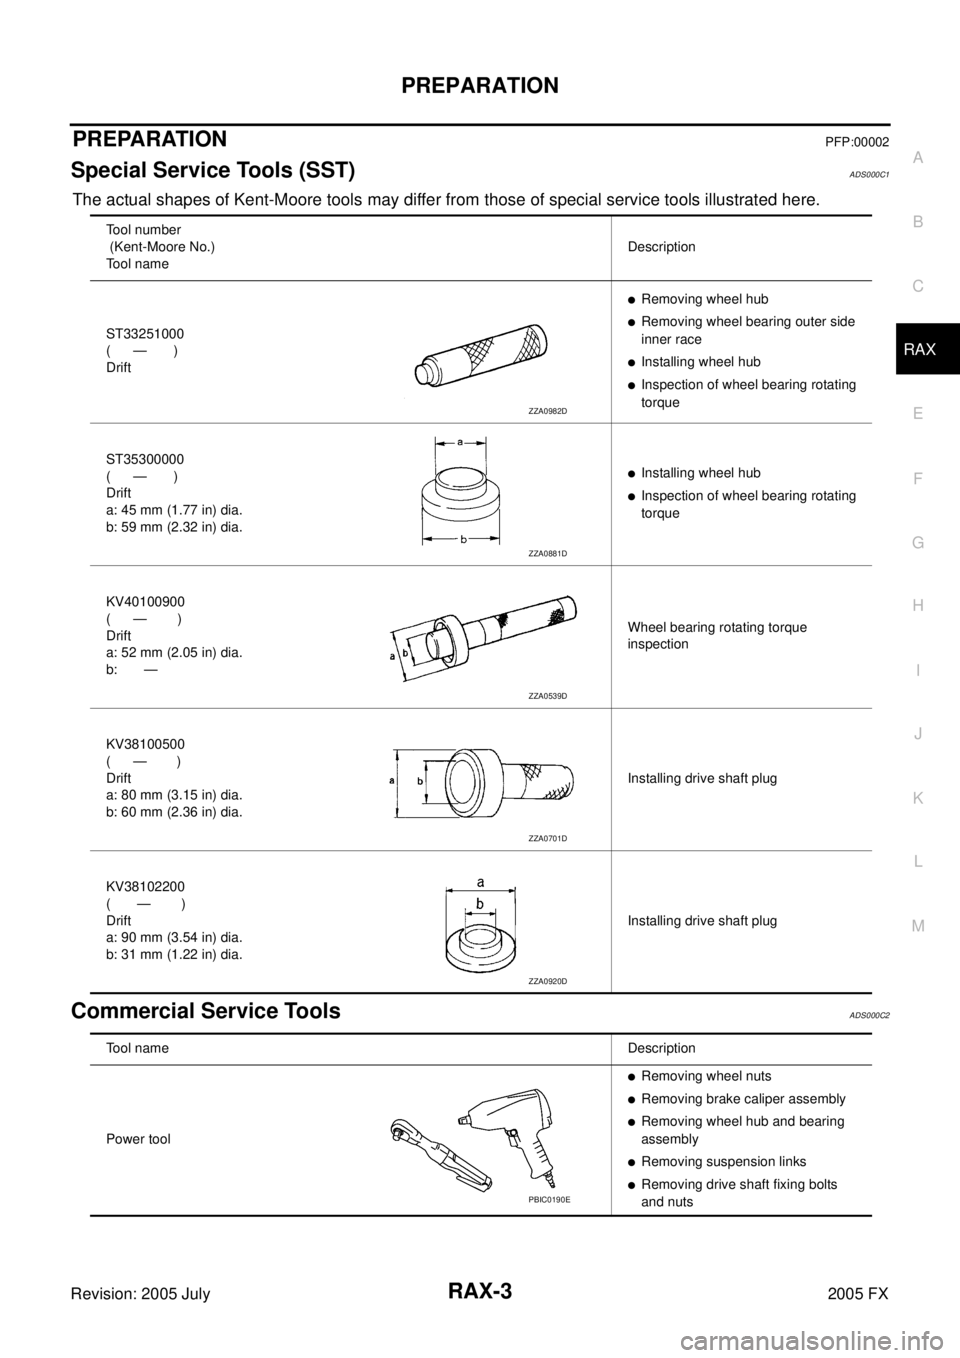
Special Service Tools (SST)ADS000C1
The actual shapes of Kent-Moore tools may differ from those of special service tools illustrated here.
Commercial Service ToolsADS000C2
Tool number
(Kent-Moore No.)
Tool name Description
ST33251000
( — )
Drift
�Removing wheel hub
�Removing wheel bearing outer side
inner race
�Installing wheel hub
�Inspection of wheel bearing rotating
torque
ST35300000
( — )
Drift
a: 45 mm (1.77 in) dia.
b: 59 mm (2.32 in) dia.
�Installing wheel hub
�Inspection of wheel bearing rotating
torque
KV40100900
( — )
Drift
a: 52 mm (2.05 in) dia.
b: — Wheel bearing rotating torque
inspection
KV38100500
( — )
Drift
a: 80 mm (3.15 in) dia.
b: 60 mm (2.36 in) dia. Installing drive shaft plug
KV38102200
( — )
Drift
a: 90 mm (3.54 in) dia.
b: 31 mm (1.22 in) dia. Installing drive shaft plug
ZZA0982D
ZZA0881D
ZZA0539D
ZZA0701D
ZZA0920D
Tool name
Description
Power tool
�Removing wheel nuts
�Removing brake caliper assembly
�Removing wheel hub and bearing
assembly
�Removing suspension links
�Removing drive shaft fixing bolts
and nutsPBIC0190E
Page 4328 of 4731

WHEEL HUB RAX-5
C E F
G H
I
J
K L
M A
B
RAX
Revision: 2005 July 2005 FX
WHEEL HUBPFP:43202
On-Vehicle Inspection and ServiceADS000C4
Make sure the mounting conditions (looseness, back lash) of each component and component status (wear,
damage) are normal.
WHEEL BEARING INSPECTION
�Move wheel hub in the axial direction by hand. Make sure there is no looseness of wheel bearing.
�Rotate wheel hub and make sure there is no unusual noise or other irregular conditions. If there are any
irregular conditions, replace wheel bearings.
Removal and InstallationADS000C5
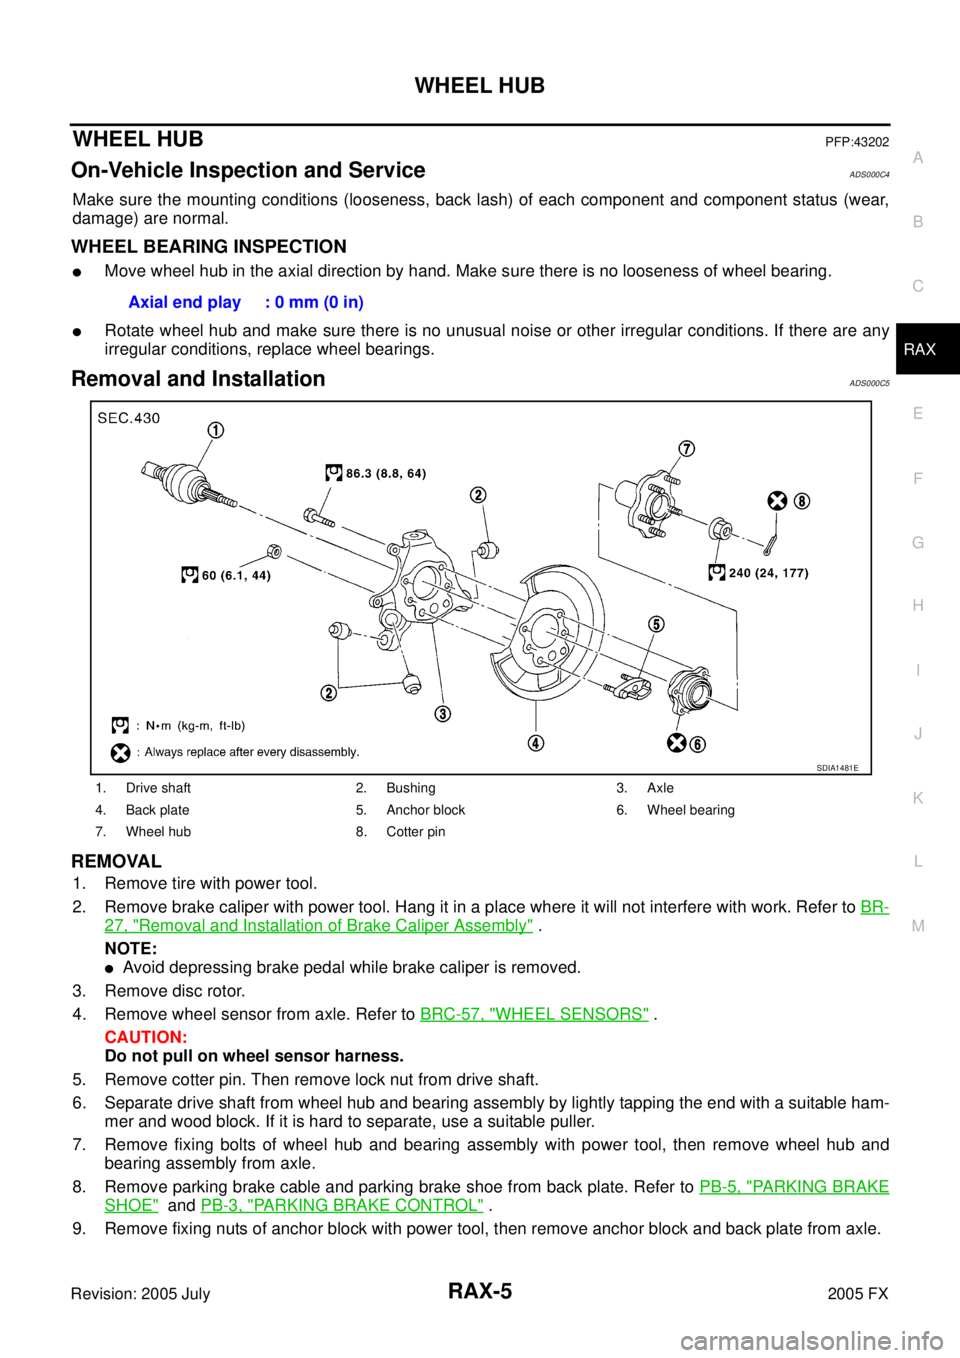
REMOVAL
1. Remove tire with power tool.
2. Remove brake caliper with power tool. Hang it in a place where it will not interfere with work. Refer to BR-
27, "Removal and Installation of Brake Caliper Assembly" .
NOTE:
�Avoid depressing brake pedal while brake caliper is removed.
3. Remove disc rotor.
4. Remove wheel sensor from axle. Refer to BRC-57, "
WHEEL SENSORS" .
CAUTION:
Do not pull on wheel sensor harness.
5. Remove cotter pin. Then remove lock nut from drive shaft.
6. Separate drive shaft from wheel hub and bearing assembly by lightly tapping the end with a suitable ham- mer and wood block. If it is hard to separate, use a suitable puller.
7. Remove fixing bolts of wheel hub and bearing assembly with power tool, then remove wheel hub and bearing assembly from axle.
8. Remove parking brake cable and parking brake shoe from back plate. Refer to PB-5, "
PARKING BRAKE
SHOE" and PB-3, "PARKING BRAKE CONTROL" .
9. Remove fixing nuts of anchor block with power tool, then remove anchor block and back plate from axle. Axial end play : 0 mm (0 in)
1. Drive shaft 2. Bushing 3. Axle
4. Back plate 5. Anchor block 6. Wheel bearing
7. Wheel hub 8. Cotter pin
SDIA1481E
Page 4338 of 4731
SERVICE DATA RAX-15
C E F
G H
I
J
K L
M A
B
RAX
Revision: 2005 July 2005 FX
SERVICE DATAPFP:00030
Wheel BearingADS000C9
Drive ShaftADS000KS
Axial end play0 mm (0 in)
Rotational torque At a load of 49,033 N (5,000 kg, 11,000 lb)
Less than 2.7 N·m (0.28 kg-m, 24 in-lb)
Measurement of spring scale Less than 26.6 N (2.7 kg, 5.95 lb)
Measuring point (Brake caliper installation points)
SDIA0801E
Joint Wheel side Final drive side
Engine model VQ35DE VK45DE VQ35DE VK45DE
Grease quantity 86
− 96 g
(3.03 − 3.39 oz) 140
− 160 g
(4.93 − 5.64 oz) 124
− 134 g
(4.37 − 4.73 oz) 175
− 195 g
(6.17 − 6.88 oz)
Boots installed length 97 mm (3.82 in) 141.5 mm (5.57 in) 93.9 mm (3.697 in) 147.9 mm (5.82 in)
Page 4339 of 4731
RAX-16
SERVICE DATA
Revision: 2005 July 2005 FX
Page 4340 of 4731

RF-1
ROOF
I BODY
CONTENTS
C
D E
F
G H
J
K L
M
SECTION RF
A
B
RF
Revision: 2005 July 2005 FX
ROOF
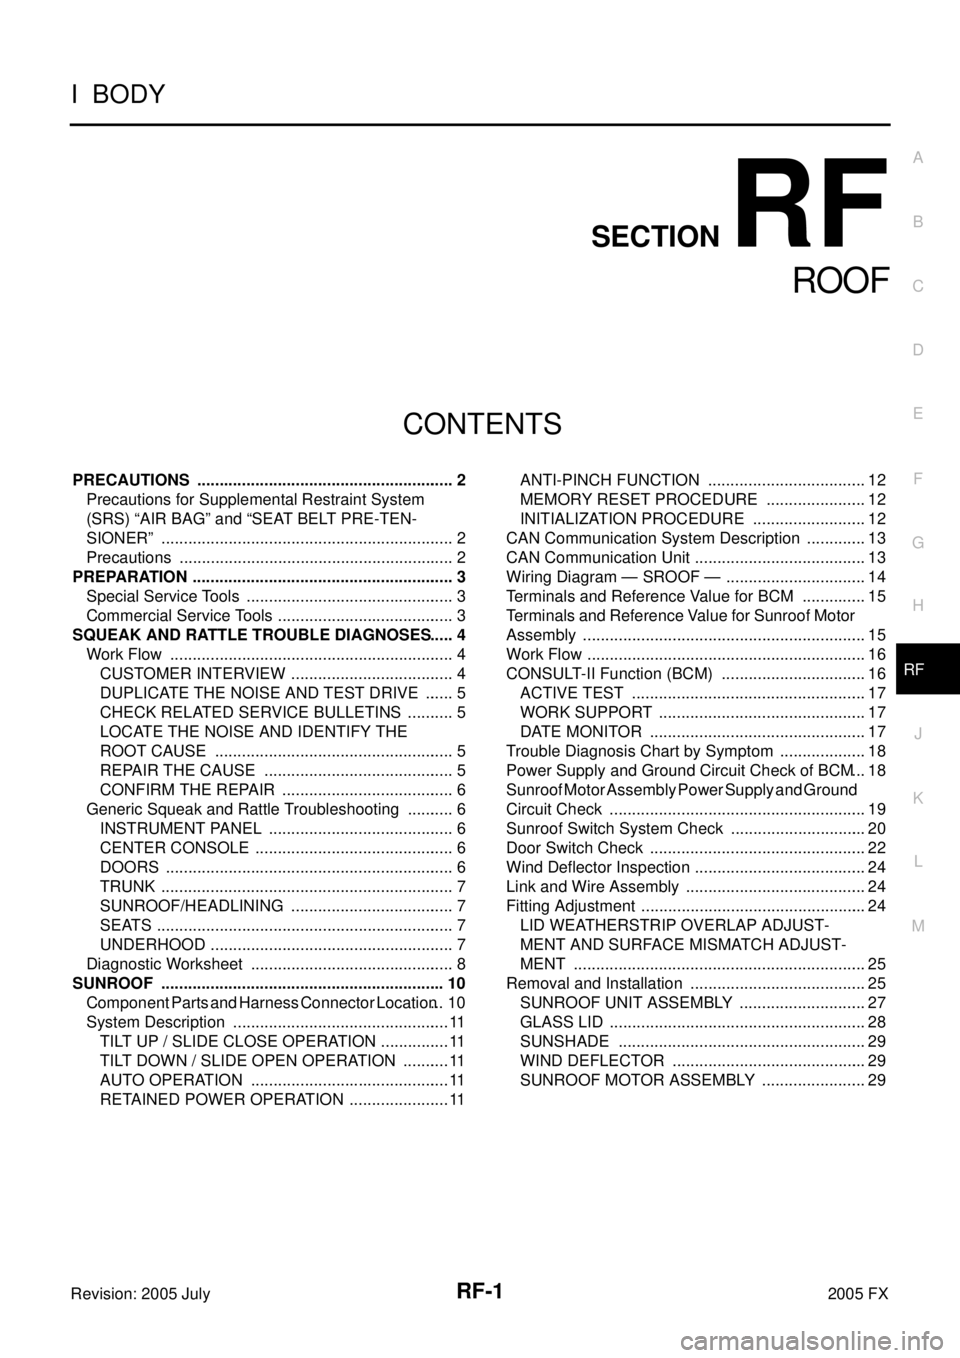
PRECAUTIONS .......................................................... 2
Precautions for Supplemental Restraint System
(SRS) “AIR BAG” and “SEAT BELT PRE-TEN-
SIONER” ............................................................. ..... 2
Precautions ......................................................... ..... 2
PREPARATION ...................................................... ..... 3
Special Service Tools .......................................... ..... 3
Commercial Service Tools ................................... ..... 3
SQUEAK AND RATTLE TROUBLE DIAGNOSES ..... 4
Work Flow ........................................................... ..... 4
CUSTOMER INTERVIEW ................................ ..... 4
DUPLICATE THE NOISE AND TEST DRIVE .. ..... 5
CHECK RELATED SERVICE BULLETINS ...... ..... 5
LOCATE THE NOISE AND IDENTIFY THE
ROOT CAUSE ................................................. ..... 5
REPAIR THE CAUSE ...................................... ..... 5
CONFIRM THE REPAIR .................................. ..... 6
Generic Squeak and Rattle Troubleshooting ...... ..... 6
INSTRUMENT PANEL ..................................... ..... 6
CENTER CONSOLE ........................................ ..... 6
DOORS ............................................................ ..... 6
TRUNK ............................................................. ..... 7
SUNROOF/HEADLINING ................................ ..... 7
SEATS .............................................................. ..... 7
UNDERHOOD .................................................. ..... 7
Diagnostic Worksheet ......................................... ..... 8
SUNROOF ............................................................. ... 10
Component Parts and Harness Connector Location ... 10
System Description ............................................. .... 11
TILT UP / SLIDE CLOSE OPERATION ............ .... 11
TILT DOWN / SLIDE OPEN OPERATION ....... .... 11
AUTO OPERATION ......................................... .... 11
RETAINED POWER OPERATION ................... .... 11 ANTI-PINCH FUNCTION .................................
... 12
MEMORY RESET PROCEDURE .................... ... 12
INITIALIZATION PROCEDURE ....................... ... 12
CAN Communication System Description ........... ... 13
CAN Communication Unit .................................... ... 13
Wiring Diagram — SROOF — ............................. ... 14
Terminals and Reference Value for BCM ............ ... 15
Terminals and Reference Value for Sunroof Motor
Assembly ............................................................. ... 15
Work Flow ............................................................ ... 16
CONSULT-II Function (BCM) .............................. ... 16
ACTIVE TEST .................................................. ... 17
WORK SUPPORT ............................................ ... 17
DATE MONITOR .............................................. ... 17
Trouble Diagnosis Chart by Symptom ................. ... 18
Power Supply and Ground Circuit Check of BCM ... 18
Sunroof Motor Assembly Power Supply and Ground
Circuit Check ....................................................... ... 19
Sunroof Switch System Check ............................ ... 20
Door Switch Check .............................................. ... 22
Wind Deflector Inspection .................................... ... 24
Link and Wire Assembly ...................................... ... 24
Fitting Adjustment ................................................ ... 24
LID WEATHERSTRIP OVERLAP ADJUST-
MENT AND SURFACE MISMATCH ADJUST-
MENT ............................................................... ... 25
Removal and Installation ..................................... ... 25
SUNROOF UNIT ASSEMBLY .......................... ... 27
GLASS LID ....................................................... ... 28
SUNSHADE ..................................................... ... 29
WIND DEFLECTOR ......................................... ... 29
SUNROOF MOTOR ASSEMBLY ..................... ... 29