Page 1940 of 2870
FU(H4DOTC 2.5)-10
FUEL INJECTION (FUEL SYSTEM)
General Description
(1) Clip (11) Fuel pipe ASSY (21) Two-way valve drain hose A
(2) Fuel delivery hose A (12) Grommet (22) Connector
(3) Fuel filter bracket (13) Canister hose A (23) Two-way valve drain hose B
(4) Fuel filter holder (14) Canister (24) Clamp
(5) Fuel filter cup (15) Canister bracket plate (25) Front canister bracket
(6) Fuel filter (16) Cushion
(7) Evaporation hose (17) Canister bracket spacerTightening torque: N·m (kgf-m, ft-lb)
(8) Fuel damper (18) Rear canister bracketT: 23 (2.3, 17.0)
(9) Fuel deliver y hose B (19) Two-way valve return hose
(10) Fuel return hose (20) Two-way valve
Page 1941 of 2870
FU(H4DOTC 2.5)-11
FUEL INJECTION (FUEL SYSTEM)
General Description
6. FUEL FILLER PIPE
(1) Fuel filler pipe ASSY (6) Air vent pipe (11) Filler cap tether
(2) Evaporation hose holder (7) Air vent pipe holder (12) Filler pipe protector
(3) Clip (8) Filler pipe packing
(4) Clamp (9) Filler ringTightening torque: N·m (kgf-m, ft-lb)
(5) Air vent hose (10) Filler capT: 7.5 (0.76, 5.53)
FU-00006
(4)
(2)
(8)
(1)
(12)(11)
(6)
(7)
(9)
(10)
(5)
(3)
(3)
T
T
T
T
T
Page 1942 of 2870

FU(H4DOTC 2.5)-12
FUEL INJECTION (FUEL SYSTEM)
General Description
C: CAUTION
Wear working clothing, including a cap, protec-
tive goggles, and protective shoes during opera-
tion.
Remove contamination including dirt and corro-
sion before removal, installation or disassembly.
Keep the disassembled parts in order and pro-
tect them from dust or dirt.
Before removal, installation or disassembly, be
sure to clarify the failure. Avoid unnecessary re-
moval, installation, disassembly, and replacement. Be careful not to burn yourself, because each
part on the vehicle is hot after running.
Be sure to tighten fasteners including bolts and
nuts to the specified torque.
Place shop jacks or rigid racks at the specified
points.
Before disconnecting electrical connectors of
sensors or units, be sure to disconnect negative
terminal from battery.
Place “NO FIRE” signs near the working area.
Be careful not to spill fuel on the floor.
D: PREPARATION TOOL
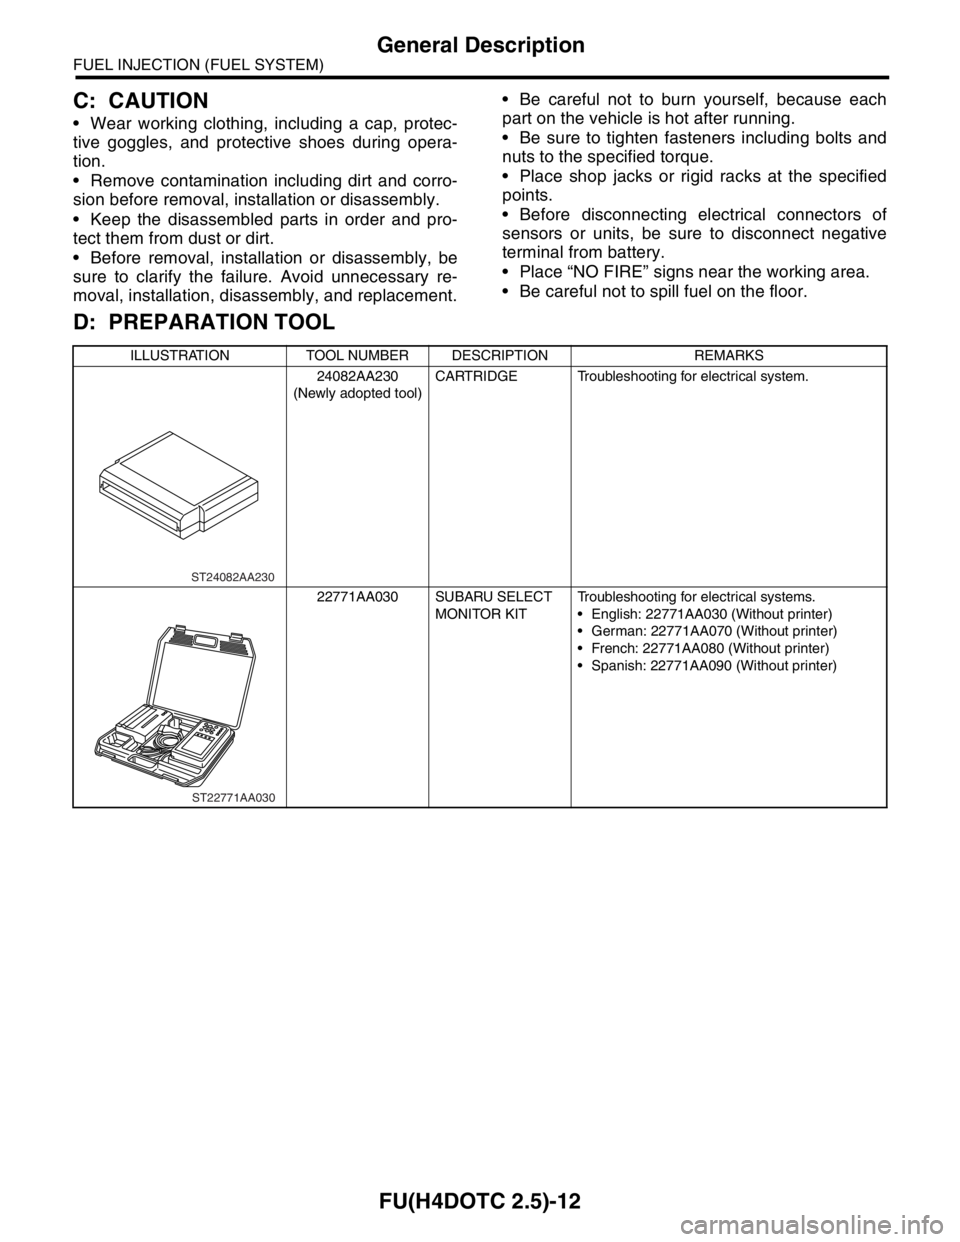
ILLUSTRATION TOOL NUMBER DESCRIPTION REMARKS
24082AA230
(Newly adopted tool)CARTRIDGE Troubleshooting for electrical system.
22771AA030 SUBARU SELECT
MONITOR KITTroubleshooting for electrical systems.
English: 22771AA030 (Without printer)
German: 22771AA070 (Without printer)
French: 22771AA080 (Without printer)
Spanish: 22771AA090 (Without printer)
ST24082AA230
ST22771AA030
Page 1943 of 2870
FU(H4DOTC 2.5)-13
FUEL INJECTION (FUEL SYSTEM)
Throttle Body
2. Throttle Body
A: REMOVAL
1) Disconnect the ground cable from battery.
2) Remove the intercooler.
10, REMOVAL, Intercooler.>
3) Disconnect the connector from the throttle posi-
tion sensor (A) and manifold absolute pressure sen-
sor (B).
4) Disconnect the engine coolant hoses from the
throttle body.
5) Remove the bolts which secure the throttle body
to intake manifold.
B: INSTALLATION
Install in the reverse order of removal.
NOTE:
Always use a new gasket.
Tightening torque:
8 N·m (0.8 kgf-m, 5.8 ft-lb)
FU-00009
FU-01073
(A)
(B)
FU-01074
FU-01075
Page 1944 of 2870

FU(H4DOTC 2.5)-14
FUEL INJECTION (FUEL SYSTEM)
Intake Manifold
3. Intake Manifold
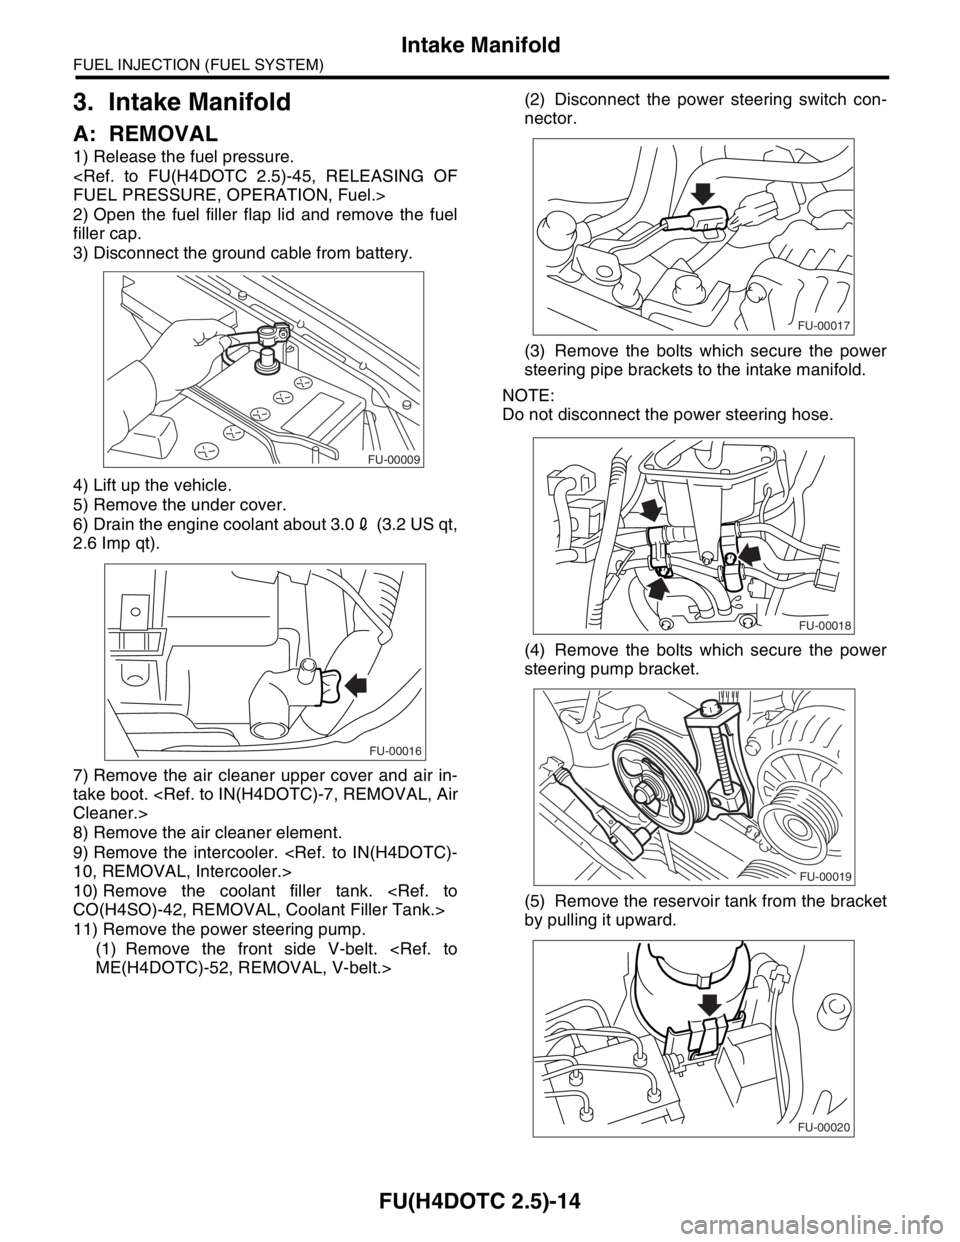
A: REMOVAL
1) Release the fuel pressure.
FUEL PRESSURE, OPERATION, Fuel.>
2) Open the fuel filler flap lid and remove the fuel
filler cap.
3) Disconnect the ground cable from battery.
4) Lift up the vehicle.
5) Remove the under cover.
6) Drain the engine coolant about 3.02 (3.2 US qt,
2.6 Imp qt).
7) Remove the air cleaner upper cover and air in-
take boot.
Cleaner.>
8) Remove the air cleaner element.
9) Remove the intercooler.
10, REMOVAL, Intercooler.>
10) Remove the coolant filler tank.
CO(H4SO)-42, REMOVAL, Coolant Filler Tank.>
11) Remove the power steering pump.
(1) Remove the front side V-belt.
ME(H4DOTC)-52, REMOVAL, V-belt.>(2) Disconnect the power steering switch con-
nector.
(3) Remove the bolts which secure the power
steering pipe brackets to the intake manifold.
NOTE:
Do not disconnect the power steering hose.
(4) Remove the bolts which secure the power
steering pump bracket.
(5) Remove the reservoir tank from the bracket
by pulling it upward.
FU-00009
FU-00016
FU-00017
FU-00018
FU-00019
FU-00020
Page 1945 of 2870
FU(H4DOTC 2.5)-15
FUEL INJECTION (FUEL SYSTEM)
Intake Manifold
(6) Place the power steering pump on the right
side wheel apron.
12) Disconnect the emission hose from the PCV
valve.
13) Disconnect the engine coolant hoses from the
throttle body.
14) Disconnect the brake booster hose.15) Disconnect the pressure hose from the intake
duct.
16) Disconnect the engine harness connectors
from the bulkhead harness connectors.
17) Disconnect the connectors from the engine cool-
ant temperature sensor (A), oil pressure switch (B)
and crankshaft position sensor (C).
FU-00021
FU-00022
FU-01074
FU-00023
FU-00024
FU-00025
FU-00026
(A)
(B)
(C)
FU-00027
Page 1946 of 2870
FU(H4DOTC 2.5)-16
FUEL INJECTION (FUEL SYSTEM)
Intake Manifold
18) Disconnect the knock sensor connector.
19) Disconnect the connector from the camshaft
position sensor.
20) Disconnect the connector from the ignition coil.
RH SIDE
LH SIDE
21) Disconnect the engine harness fixed by clip (A)
from the bracket. RH SIDE
LH SIDE
22) Disconnect the fuel delivery hose, return hose
and evaporation hose.
CAUTION:
Do not spill fuel.
Catch fuel from hoses in a container or cloth.
23) Remove the bolts which secure the intake man-
ifold to the cylinder heads.
24) Remove the intake manifold.
FU-00028
FU-01038
FU-01307
FU-01308
FU-01309 (A)
FU-01310
(A)
FU-00032
FU-01039
Page 1947 of 2870
FU(H4DOTC 2.5)-17
FUEL INJECTION (FUEL SYSTEM)
Intake Manifold
B: INSTALLATION
1) Install the intake manifold onto cylinder heads.
NOTE:
Always use new gaskets.
Tightening torque:
25 N·m (2.5 kgf-m, 18.1 ft-lb)
2) Connect the fuel delivery hose, return hose and
evaporation hose.
3) Connect the connector to the oil pressure switch
(B), crankshaft position sensor (C) and engine cool-
ant temperature sensor (A).4) Connect the connector to the knock sensor.
5) Connect the connector to the camshaft position
sensor.
6) Connect the connector to the ignition coil.
7) Connect the engine harness with clip (A) to the
bracket.
RH SIDE
FU-01039
FU-00032
(A)
(B)
(C)
FU-00027
FU-00028
FU-01038
FU-00030
FU-01309 (A)