Page 66 of 3870

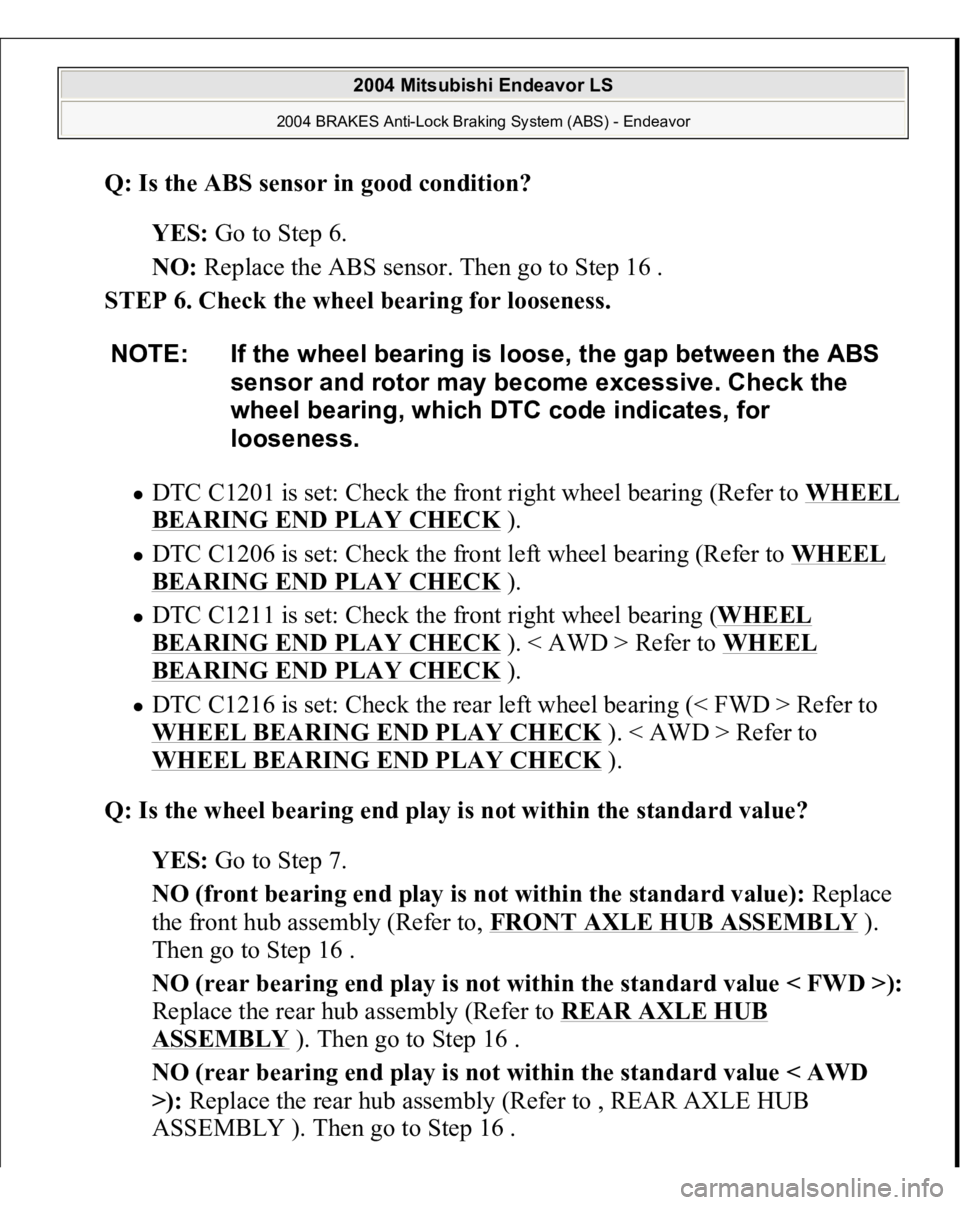
Q: Is the ABS sensor in good condition?
YES: Go to Step 6.
NO: Replace the ABS sensor. Then go to Step 16 .
STEP 6. Check the wheel bearing for looseness.
DTC C1201 is set: Check the front right wheel bearing (Refer to WHEEL BEARING END PLAY CHECK
).
DTC C1206 is set: Check the front left wheel bearing (Refer to WHEEL BEARING END PLAY CHECK
).
DTC C1211 is set: Check the front right wheel bearing (WHEEL BEARING END PLAY CHECK
). < AWD > Refer to WHEEL
BEARING END PLAY CHECK
).
DTC C1216 is set: Check the rear left wheel bearing (< FWD > Refer to
WHEEL BEARING END PLAY CHECK
). < AWD > Refer to
WHEEL BEARING END PLAY CHECK ).
Q: Is the wheel bearing end play is not within the standard value?
YES: Go to Step 7.
NO (front bearing end play is not within the standard value): Replace
the front hub assembly (Refer to, FRONT AXLE HUB ASSEMBLY
).
Then go to Step 16 .
NO (rear bearing end play is not within the standard value < FWD >):
Replace the rear hub assembly (Refer to REAR AXLE HUB
ASSEMBLY
). Then go to Step 16 .
NO (rear bearing end play is not within the standard value < AWD
>): Replace the rear hub assembly (Refer to , REAR AXLE HUB
ASSEMBLY ). Then
go to Ste
p 16. NOTE: If the wheel bearing is loose, the gap between the ABS
sensor and rotor may become excessive. Check the
wheel bearing, which DTC code indicates, for
looseness.
2004 Mitsubishi Endeavor LS
2004 BRAKES Anti-Lock Braking System (ABS) - Endeavor
Page 67 of 3870

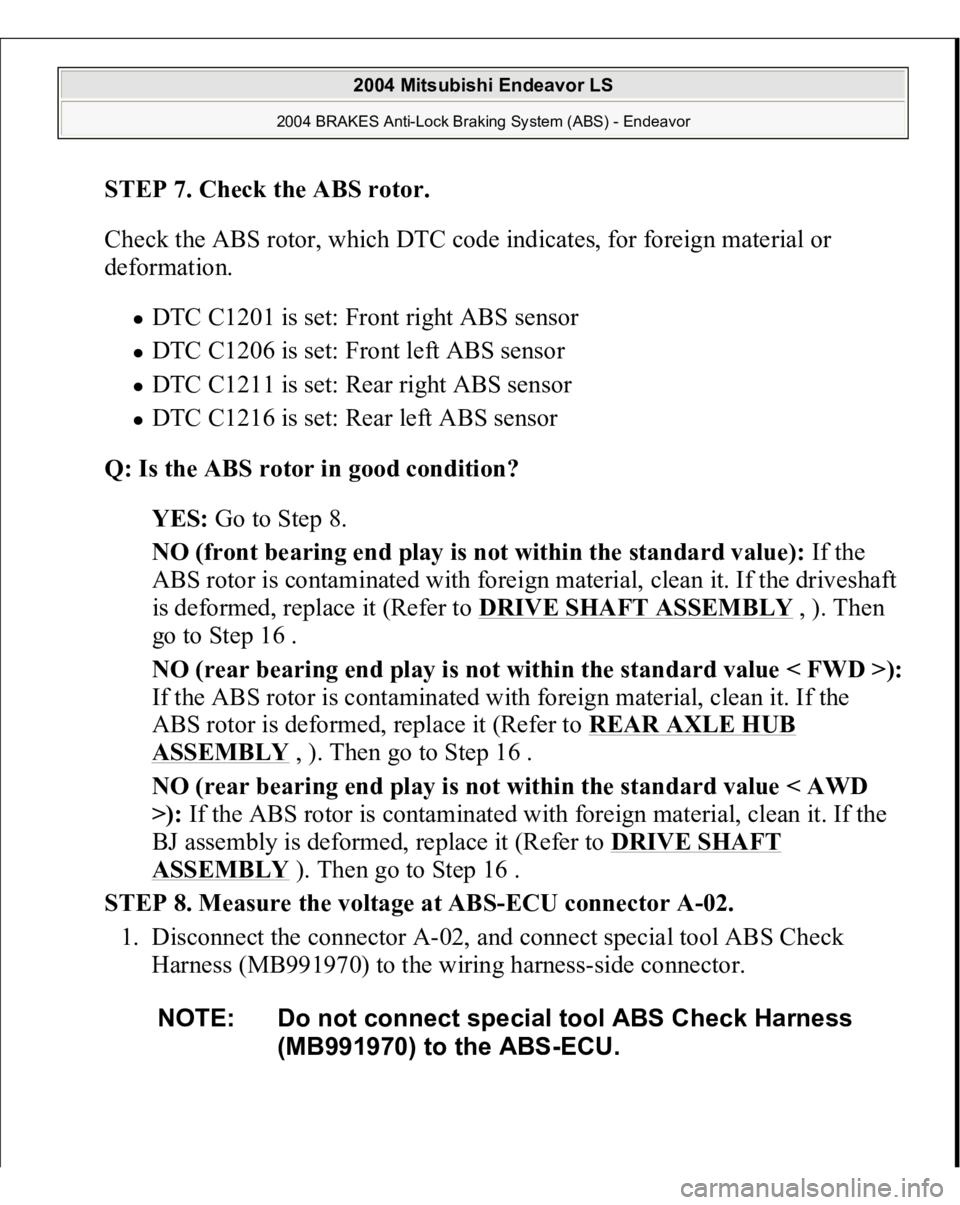
STEP 7. Check the ABS rotor.
Check the ABS rotor, which DTC code indicates, for foreign material or
deformation.
DTC C1201 is set: Front right ABS sensor DTC C1206 is set: Front left ABS sensor DTC C1211 is set: Rear right ABS sensor DTC C1216 is set: Rear left ABS sensor
Q: Is the ABS rotor in good condition?
YES: Go to Step 8.
NO (front bearing end play is not within the standard value): If the
ABS rotor is contaminated with foreign material, clean it. If the driveshaft
is deformed, replace it (Refer to DRIVE SHAFT ASSEMBLY
, ). Then
go to Step 16 .
NO (rear bearing end play is not within the standard value < FWD >):
If the ABS rotor is contaminated with foreign material, clean it. If the
ABS rotor is deformed, replace it (Refer to REAR AXLE HUB
ASSEMBLY
, ). Then go to Step 16 .
NO (rear bearing end play is not within the standard value < AWD
>): If the ABS rotor is contaminated with foreign material, clean it. If the
BJ assembly is deformed, replace it (Refer to DRIVE SHAFT
ASSEMBLY
). Then go to Step 16 .
STEP 8. Measure the voltage at ABS-ECU connector A-02.
1. Disconnect the connector A-02, and connect special tool ABS Check
Harness (MB991970) to the wiring harness-side connector.
NOTE: Do not connect special tool ABS Check Harness
(MB991970) to the ABS-ECU.
2004 Mitsubishi Endeavor LS
2004 BRAKES Anti-Lock Braking System (ABS) - Endeavor
Page 268 of 3870
with a new one if a problem is found.
TOOTHED ABS ROTOR CHECK Check whether the ABS rotor teeth are broken or deformed. Replace the BJ
assembly of the drive shaft, or the rear hub assembly, respectively, if the teeth are
damaged or deformed.
Fig. 163: Locating Tooth ABS Rotor
Courtesy of MITSUBISHI MOTOR SALES OF AMERICA.
G-SENSOR REMOVAL AND INSTALLATION NOTE: When checking for cable damage, remove the cable clamp
part from the body and then gently bend and pull the cable
near the clamp.
CAUTION: Do not drop or apply a shock on the G-sensor.
2004 Mitsubishi Endeavor LS
2004 BRAKES Anti-Lock Braking System (ABS) - Endeavor
Page 491 of 3870
Fig. 35: Removing Thrust Bearing Number 2
Courtesy of MITSUBISHI MOTOR SALES OF AMERICA.
33. Remove the underdrive clutch hub.
2004 Mitsubishi Endeavor XLS
2004 TRANSMISSION Automatic Transaxle Overhaul - Endeavor
Page 492 of 3870
Fig. 36: Removing Underdrive Clutch Hub
Courtesy of MITSUBISHI MOTOR SALES OF AMERICA.
34. Remove the rear cover.
35. Remove thrust race number 8.
36. Remove the seal rings (four pieces).
37. Remove the in
put shaft rear bearin
g.
2004 Mitsubishi Endeavor XLS
2004 TRANSMISSION Automatic Transaxle Overhaul - Endeavor
Page 495 of 3870
Fig. 39: Removing Reverse And Overdrive Clutch And Thrust Bearing Number 7
Courtesy of MITSUBISHI MOTOR SALES OF AMERICA.
40. Remove overdrive clutch hub and thrust bearin
g number 6.
2004 Mitsubishi Endeavor XLS
2004 TRANSMISSION Automatic Transaxle Overhaul - Endeavor
Page 496 of 3870
Fig. 40: Removing Overdrive Clutch Hub And Thrust Bearing Number 6
Courtesy of MITSUBISHI MOTOR SALES OF AMERICA.
41. Remove thrust bearin
g number 5.
2004 Mitsubishi Endeavor XLS
2004 TRANSMISSION Automatic Transaxle Overhaul - Endeavor
Page 552 of 3870
Fig. 97: Installing Snap Ring
Courtesy of MITSUBISHI MOTOR SALES OF AMERICA.
45. Check the installation direction of the thrust bearing number 5, and install it on
the hub of the
planetar
y reverse sun
gear.
CAUTION: Be sure to install the thrust bearing in the correct
direction as shown.
2004 Mitsubishi Endeavor XLS
2004 TRANSMISSION Automatic Transaxle Overhaul - Endeavor