Page 2728 of 3870
If none of the doors or liftgate is opened or the ignition key is not inserted in
the ignition switch within 30 seconds after the doors and liftgate are unlocked
using the transmitter, the ETACS-ECU will relock the doors and liftgate
automatically. This is called "Timer lock function." This timer lock function
prevents accidental unlocking of doors and the liftgate. The adjustment
function allows you to change the timer lock period from 30 seconds (default
setting) to 60, 120 or 180 seconds. For further details on using the multi-center
display (middle grade type) to adjust the timer lock period, see ON
-VEHICLE
SERVICE
.
KEYLESS ENTRY SYSTEM DIAGNOSIS The keyless entry system is controlled by the Simplified Wiring System (SWS).
Refer to SYMPTOM CHART
.
SPECIAL TOOL
a. Horn sounds
b. Horn sounds if doors
are already locked
(default)
c. Horn does not sound
NOTE: The timer lock period begins when the doors and liftgate
are unlocked, and ends when the doors and liftgate is
relocked automatically.
2004 Mitsubishi Endeavor LS
2004 BODY & ACCESSORIES Keyless Entry System - Endeavor
Page 2732 of 3870
KEYLESS ENTRY SYSTEM TIMER LOCK FUNCTION INSPECTION If the doors and liftgate are not locked within 30 seconds after the unlock button is
pressed, refer to SWS DIAGNOSIS
.
ENABLING/DISABLING THE ANSWERBACK FUNCTION When the doors and liftgate are locked or unlocked by using the transmitter, the
dome light will flash/illuminate, the turn-signal lights will flash (hazard
answerback), or the horn will sound (horn answerback) to inform the driver.
The hazard answerback and horn answerback functions can be enabled or disabled
according to the following procedure: ENABLING/DISABLING THE HAZARD ANSWERBACK FUNCTION HOW TO ADJUST HAZARD ANSWERBACK WHEN THE TRANSMITTER IS USED TO LOCK DOORS 1. Remove the ignition key.
2. Push the "LOCK" button while holding the "UNLOCK" button pushed for four
to ten seconds.
3. If the "LOCK" button and "UNLOCK" button are released in that order
, the
1. Horn: Sounds once when the lock button is
pressed.
2. Horn: Sounds once when the lock button is pressed
(initial setting).
3. Horn: Does not sound.
NOTE: If either of the doors is opened or the key is inserted in the
ignition switch within that 30-second period, the timer lock
function will be cancelled.
NOTE: The adjustment function allows you to change the timer
lock period from 30 seconds (initial setting) to 60, 120 or
180 seconds. Prior to this inspection, confirm which setting
is activated.
2004 Mitsubishi Endeavor LS
2004 BODY & ACCESSORIES Keyless Entry System - Endeavor
Page 2733 of 3870
ETACS-ECU tone alarm will sound, indicating that the hazard answerback
function can be enabled or disabled when the doors are locked. Enable the hazard answerback function when the doors are locked: The
ETACS-ECU tone alarm will sound once. Disable the hazard answerback function when the doors are locked: The
ETACS-ECU tone alarm will sound twice.
HOW TO ADJUST HAZARD ANSWERBACK WHEN THE TRANSMITTER IS USED TO UNLOCK DOORS 1. Remove the ignition key.
2. Push the "LOCK" button while holding the "UNLOCK" button pushed for four
to ten seconds.
3. If the "UNLOCK" button and "LOCK" button are released in that order, the
ETACS-ECU tone alarm will sound, indicating that the hazard answerback
function can be enabled or disabled when the door are unlocked.
Enable the hazard answerback function when the doors are unlocked:
The ETACS-ECU tone alarm will sound once. Disable the hazard answerback function when the doors are
unlocked: The ETACS-ECU tone alarm will sound twice.
ENABLING/DISABLING THE HORN ANSWERBACK FUNCTION 1. Remove the ignition key.
2. Push the "UNLOCK" button while holding the "LOCK" button down for four
to ten seconds.
3. If both the "LOCK" button and "UNLOCK" button are released, the ETACS-
ECU tone alarm will sound, indicating that the horn answerback function can
be enabled or disabled.
Enable the horn answerback function*: The ETACS-ECU tone alarm
will sound once. Disable the horn answerback function: The ETACS-ECU tone alarm
will sound twice. Enable the horn answerback function**: The ETACS-ECU tone
alarm will sound three times.
2004 Mitsubishi Endeavor LS
2004 BODY & ACCESSORIES Keyless Entry System - Endeavor
Page 2734 of 3870
HOW TO REGISTER SECRET CODE Required Special Tools:
MB991958: MUT-III Sub Assembly MB991824: Vehicle Communication Interface (V.C.I.) MB991910: MUT-III Main harness A
Each individual secret code is registered inside the transmitter, and so it is
necessary to resister these codes with the EEPROM inside the receiver in the
following cases. When the transmitter or ETACS-ECU is replaced If more transmitters are to be used If it appears that a problem is occurring because of faulty registration of a code.
A maximum of four different codes can be stored in the EEPROM memory (four
different transmitters can be used). When the code for the first transmitter is
registered, the previously registered codes for all transmitters are cleared.
Therefore, if you are using four transmitters or are adding more transmitters, the
codes for all transmitters must be registered at the same time.
WHEN SPECIAL TOOL MB991824 (V.C.I.) IS USED 1. Check that the doors lock normally when the key is used.
2. Insert the ignition key. NOTE: *: The horn will sound if "LOCK" button is pressed with the
doors and liftgate locked.
**: The horn will sound if the doors and liftgate are locked
with the keyless entry system.
CAUTION: To prevent damage to special tool MB991824
(V.C.I.), always turn the ignition switch to
"LOCK" (OFF) position before connecting or
disconnecting special tool MB991824 (V.C.I.).
2004 Mitsubishi Endeavor LS
2004 BODY & ACCESSORIES Keyless Entry System - Endeavor
Page 2737 of 3870
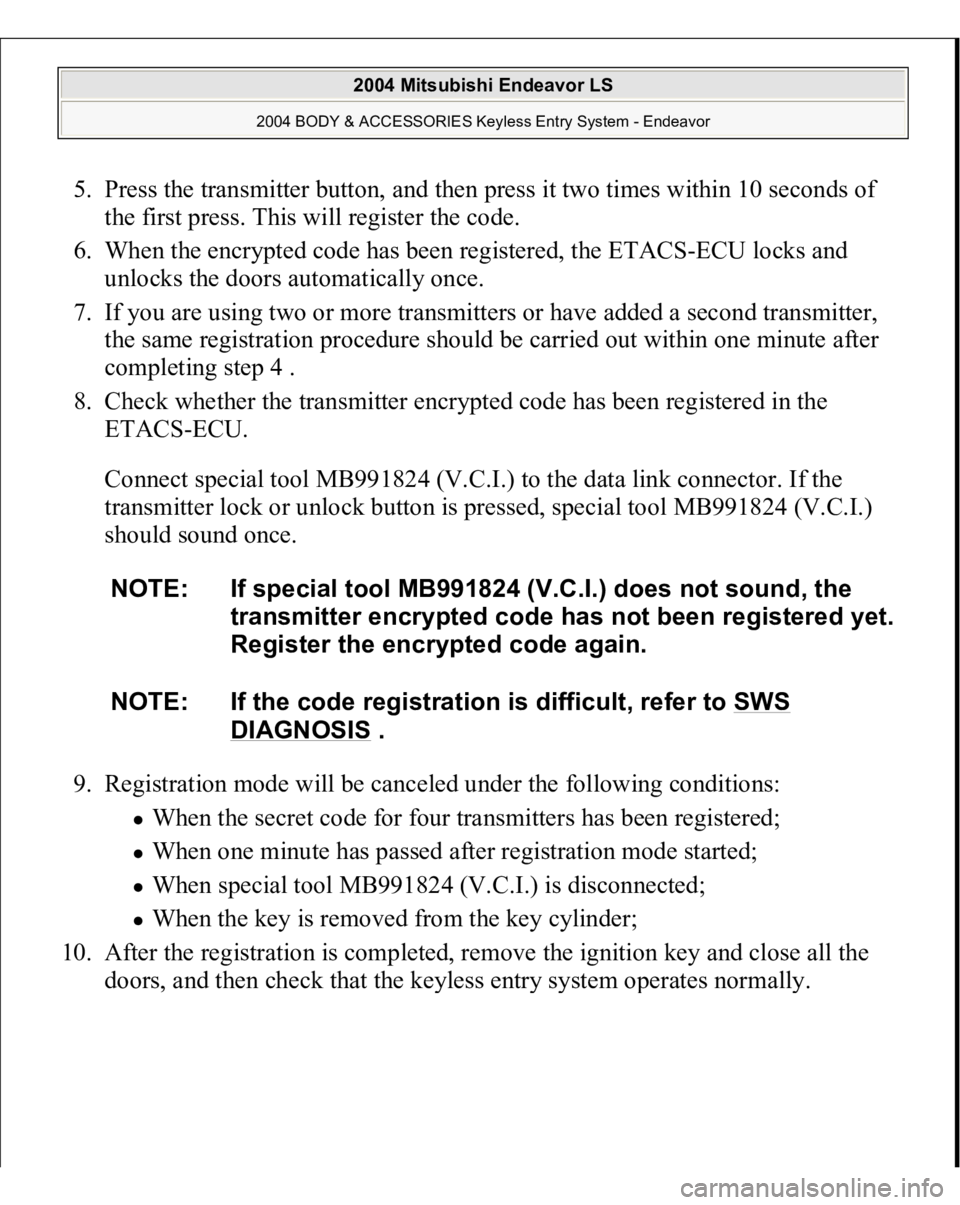
5. Press the transmitter button, and then press it two times within 10 seconds of
the first press. This will register the code.
6. When the encrypted code has been registered, the ETACS-ECU locks and
unlocks the doors automatically once.
7. If you are using two or more transmitters or have added a second transmitter,
the same registration procedure should be carried out within one minute after
completing step 4 .
8. Check whether the transmitter encrypted code has been registered in the
ETACS-ECU.
Connect special tool MB991824 (V.C.I.) to the data link connector. If the
transmitter lock or unlock button is pressed, special tool MB991824 (V.C.I.)
should sound once.
9. Registration mode will be canceled under the following conditions:
When the secret code for four transmitters has been registered; When one minute has passed after registration mode started; When special tool MB991824 (V.C.I.) is disconnected; When the key is removed from the key cylinder;
10. After the registration is completed, remove the ignition key and close all the
doors, and then check that the ke
yless entr
y system o
perates normall
y.
NOTE: If special tool MB991824 (V.C.I.) does not sound, the
transmitter encrypted code has not been registered yet.
Register the encrypted code again.
NOTE: If the code registration is difficult, refer to SWS
DIAGNOSIS
.
2004 Mitsubishi Endeavor LS
2004 BODY & ACCESSORIES Keyless Entry System - Endeavor
Page 2738 of 3870
2004 BODY & ACCESSORIES
Door Mirror - Endeavor
GENERAL DESCRIPTION REMOTE CONTROLLED MIRROR OPERATION
The mirror glass on the remote controlled mirror moves up/down and left/right
by operating the remote controlled door mirror switch when the ignition switch
is in the "ON" or "ACC" position.
DOOR MIRROR HEATER OPERATION
The defogger relay switch is activated (ON) by turning on the A/C-ECU built-
in defogger switch when the ignition switch is in the "ON" position. When the
defogger relay is turned ON, power is supplied to the defogger and remote
controlled mirror, and the heater of the remote controlled mirror (heated door
mirror) starts operations. The defogger comes with a timer function and will
automatically turn OFF the switch approximately 11 minutes after the defogger
switch is turned ON. The door mirror heater operations are also terminated
along with the defogger, at this time.
HEATED DOOR MIRROR DIAGNOSIS TROUBLESHOOTING STRATEGY Diagnosis should be carried out by the following procedures.
1. Gather the information from the customer.
2. Verify that the condition described by the customer exists.
3. Find the malfunction by the following Symptom Chart.
4. Verify the malfunction is eliminated. TROUBLE SYMPTOM CHART TROUBLE SYMPTOM REFERENCE SYMPTOMS
INSPECTION
PROCEDURE
REFERENCE PAGE
2004 Mitsubishi Endeavor LS
2004 BODY & ACCESSORIES Door Mirror - Endeavor
2004 Mitsubishi Endeavor LS
2004 BODY & ACCESSORIES Door Mirror - Endeavor
Page 2741 of 3870
If both of the door mirror heaters do not operate normally it may be due to a
malfunction in the defogger system. TROUBLESHOOTING HINTS
Malfunction of the defogger system The wiring harness or connectors may have loose, corroded, or damaged
terminals, or terminals pushed back in the connector.
DIAGNOSIS Required Special Tools:
MB991223: Test Harness Set
STEP 1. Check the rear window defogger.
Check that the rear window defogger works normally as follows.
1. Turn the ignition switch to the "ON" position.
2. Push the rear window defogger switch to operate the rear window
defogger.
Q: Does the defogger work normally?
YES: Go to Step 2.
NO: Because malfunction of the rear window defogger, carry out the
troubleshooting (Refer to MANUAL A/C DIAGNOSIS
).
STEP 2. Check joint connector (2) C-104 and junction block connector C-
211 for loose, corroded or dama
ged terminals, or terminals
pushed back in
the connector
.
2004 Mitsubishi Endeavor LS
2004 BODY & ACCESSORIES Door Mirror - Endeavor
Page 2855 of 3870
1. Raise and support the front wheels.
2. Disconnect the return hose connection, and then connect a vinyl hose to the
return hose, and drain the fluid into a container.
Fig. 23: Disconnecting Return Hose Connection
Courtesy of MITSUBISHI MOTOR SALES OF AMERICA.
3. Disconnect the ignition coil connectors (Refer to IGNITION COIL
).
4. While operating the starter motor intermittently, turn the steering wheel all the
way to the left and right several times to drain all of the fluid.
5. Connect the return hose securely, and then secure with the clip.
6. Fill the oil reservoir with GENUINE MITSUBISHI POWER STEERING
FLUID up to the lower mark of the reservoir, and then bleed the air.
POWER STEERING SYSTEM AIR BLEEDIN
G
2004 Mitsubishi Endeavor LS
2004 STEERING Power Steering - Endeavor