Page 1412 of 3870
1. Cut the valve seat from the inside to thin the wall thickness. Then, remove the
valve seat.
Fig. 89: Cutting Valve Seat
Courtesy of MITSUBISHI MOTOR SALES OF AMERICA.
2. Rebore the valve seat hole in the cylinder head to a selected oversize valve seat
diameter.
SEAT RING HOLE DIAMETER:
Intake valve
0.3 oversize 37.80 - 37.83 (1.4882 - 1.4894 inches)
0.6 oversize 38.10 - 38.13 mm (1.5000 - 1.5012 inches)
Exhaust valve
0.3 oversize 34.80 - 34.83 mm (1.3701 - 1.3713 inches)
2004 Mitsubishi Endeavor Limited 2004 ENGINE Engine Overhaul - Endeavor
Page 1569 of 3870
Fig. 57: Identifying Installation Position Of Valve Spring Compressor Special Tool
Courtesy of MITSUBISHI MOTOR SALES OF AMERICA.
INSTALLATION SERVICE POINTS >>A<< VALVE STEM SEAL INSTALLATION 1. Apply a small amount of engine oil to the valve stem seal.
2. Use special tool MD998774 to fill a new valve stem seal in the valve guide
using the valve stem area as a guide. NOTE: Installation position of valve sprin
g compressor special tool
(MD998772) is different between exhaust side and intake
side.
CAUTION:
Valve stem seals cannot be reused. Special tool MD998774 must be used to
install the valve stem seal. Improper
installation could result in oil leaking past the
valve guide.
2004 Mitsubishi Endeavor Limited
2004 ENGINE Engine - Endeavor
Page 2692 of 3870
Fig. 10: Removing And Installing Crankshaft Position Sensor
Courtesy of MITSUBISHI MOTOR SALES OF AMERICA.
KNOCK SENSOR REMOVAL AND INSTALLATION Pre-removal and Post-installation Operation
Intake Manifold Removal and Installation (Refer to REMOVAL AND INSTALLATION
).
2004 Mitsubishi Endeavor Limited 2004 ENGINE Ignition System - Endeavor
Page 2706 of 3870

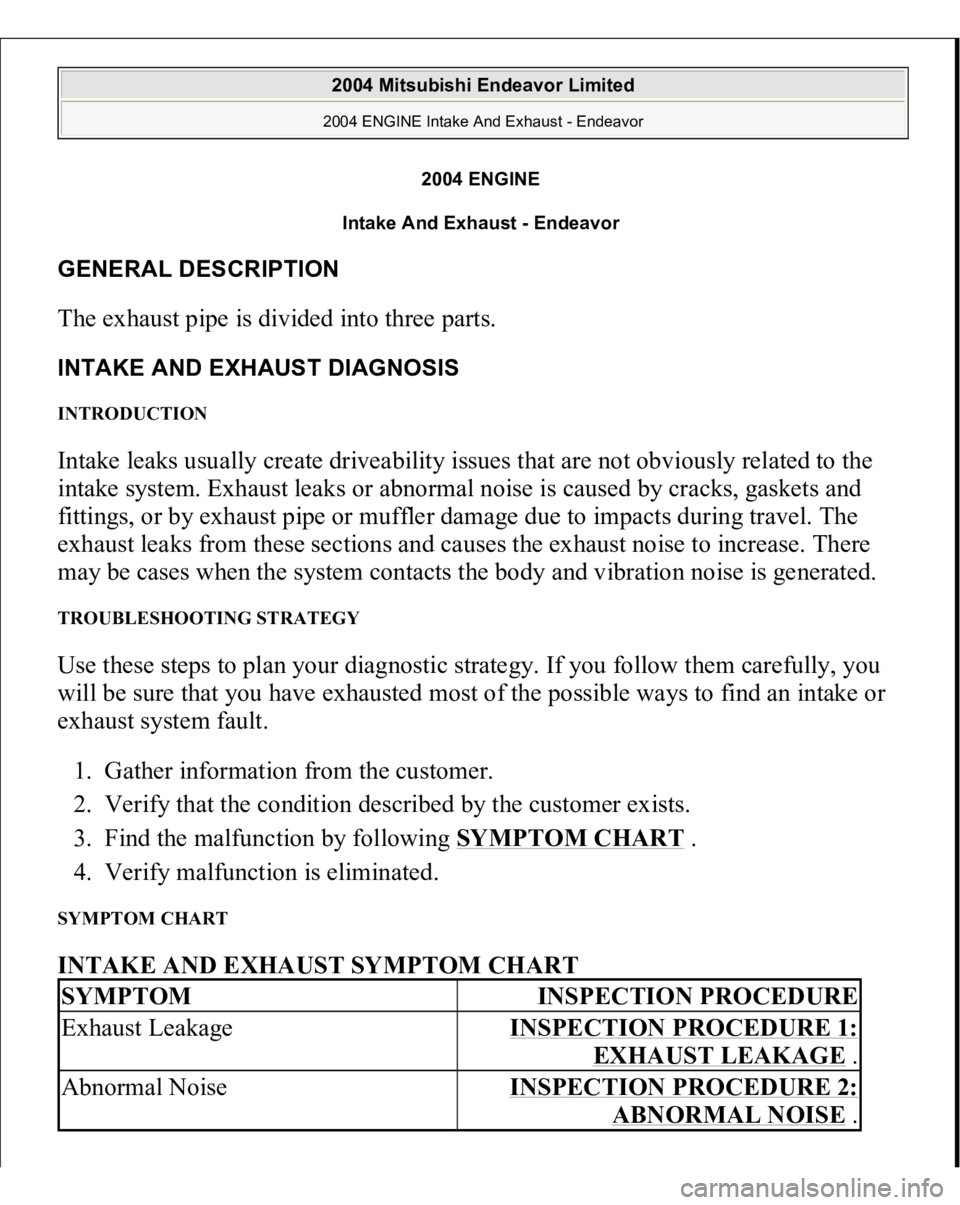
2004 ENGINE
Intake And Exhaust - Endeavor
GENERAL DESCRIPTION The exhaust pipe is divided into three parts. INTAKE AND EXHAUST DIAGNOSIS INTRODUCTION Intake leaks usually create driveability issues that are not obviously related to the
intake system. Exhaust leaks or abnormal noise is caused by cracks, gaskets and
fittings, or by exhaust pipe or muffler damage due to impacts during travel. The
exhaust leaks from these sections and causes the exhaust noise to increase. There
may be cases when the system contacts the body and vibration noise is generated. TROUBLESHOOTING STRATEGY Use these steps to plan your diagnostic strategy. If you follow them carefully, you
will be sure that you have exhausted most of the possible ways to find an intake or
exhaust system fault.
1. Gather information from the customer.
2. Verify that the condition described by the customer exists.
3. Find the malfunction by following SYMPTOM CHART
.
4. Verify malfunction is eliminated.
SYMPTOM CHART INTAKE AND EXHAUST SYMPTOM CHART SYMPTOM
INSPECTION PROCEDURE
Exhaust Leakage
INSPECTION PROCEDURE 1:
EXHAUST LEAKAGE
.
Abnormal Noise
INSPECTION PROCEDURE 2:
ABNORMAL NOISE
.
2004 Mitsubishi Endeavor Limited 2004 ENGINE Intake And Exhaust - Endeavor
2004 Mitsubishi Endeavor Limited 2004 ENGINE Intake And Exhaust - Endeavor
Page 2707 of 3870

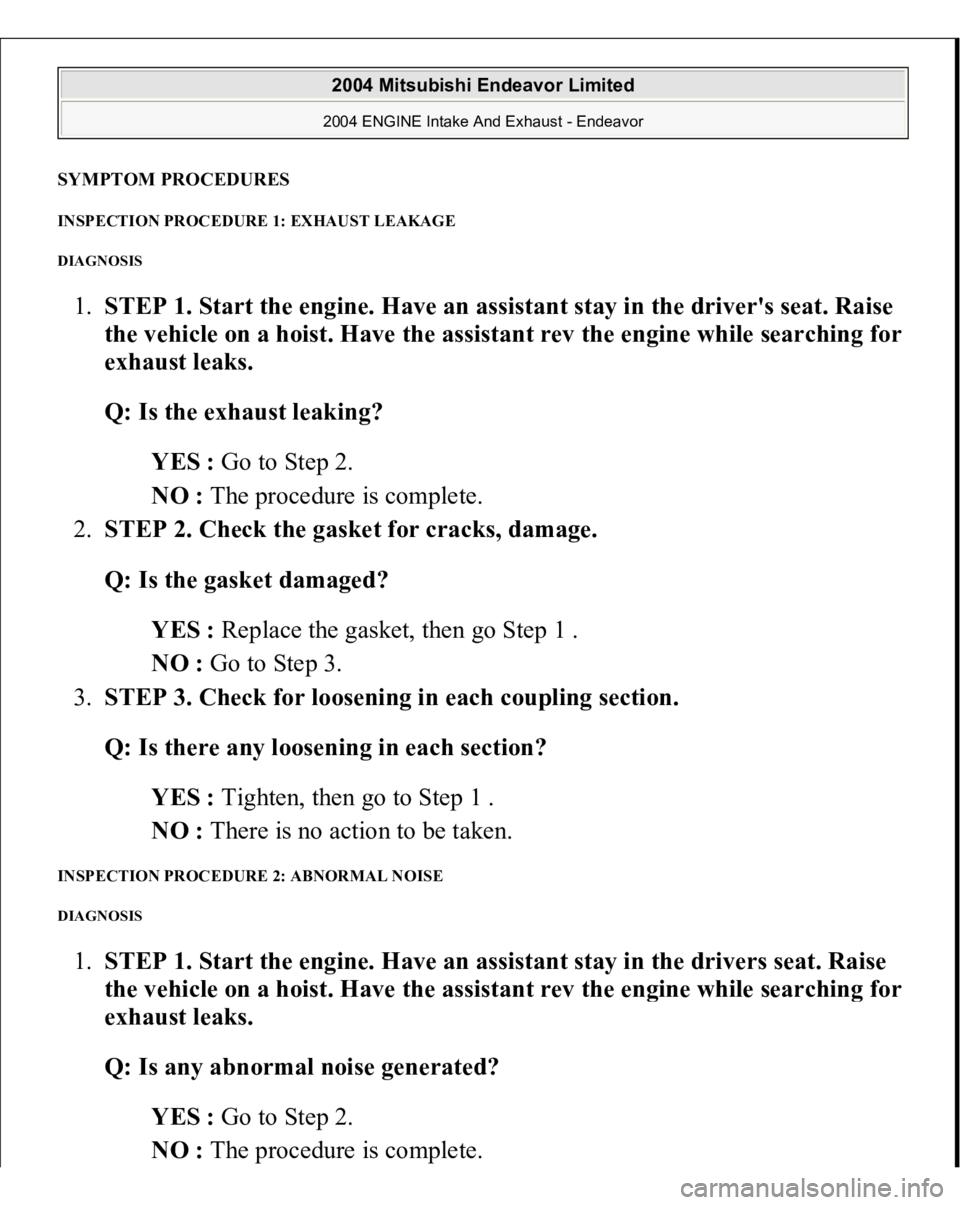
SYMPTOM PROCEDURES INSPECTION PROCEDURE 1: EXHAUST LEAKAGE DIAGNOSIS 1.STEP 1. Start the engine. Have an assistant stay in the driver's seat. Raise
the vehicle on a hoist. Have the assistant rev the en
gine while searchin
g for
exhaust leaks.
Q: Is the exhaust leaking?
YES : Go to Step 2.
NO : The procedure is complete.
2.STEP 2. Check the gasket for cracks, damage.
Q: Is the gasket damaged?
YES : Replace the gasket, then go Step 1 .
NO : Go to Step 3.
3.STEP 3. Check for loosening in each coupling section.
Q: Is there any loosening in each section?
YES : Tighten, then go to Step 1 .
NO : There is no action to be taken.
INSPECTION PROCEDURE 2: ABNORMAL NOISE DIAGNOSIS 1.STEP 1. Start the engine. Have an assistant stay in the drivers seat. Raise
the vehicle on a hoist. Have the assistant rev the en
gine while searchin
g for
exhaust leaks.
Q: Is any abnormal noise generated?
YES : Go to Step 2.
NO : The
procedure is com
plete.
2004 Mitsubishi Endeavor Limited 2004 ENGINE Intake And Exhaust - Endeavor
Page 2708 of 3870
2.STEP 2. Check for missing parts in the muffler. Tap the muffler lightly to
check for loose baffles, etc.
Q: Are there any missing parts in the muffler?
YES : Replace, then go to Step 1 .
NO : Go to Step 3.
3.STEP 3. Check the hanger for cracks.
Q: Is the hanger cracked?
YES : Replace, then go to Step 1 .
NO : Go to Step 4.
4.STEP 4. Check for interference of the pipes and muffler with the body.
Q: Are the pipes and muffler interfering with the body?
YES : Repair, then go to Step 1 .
NO : Go to Step 5.
5.STEP 5. Check the heat protectors.
Q: Are any heat protectors loose or damaged?
YES : Tighten or replace, then go to Step 1 .
NO : Go to Step 6.
6.STEP 6. Check the pipes and muffler for damage.
Q: Are the pipes and muffler damaged?
YES : Replace, then go to Step 1 .
NO : There is no action to be taken. SPECIAL TOOL
2004 Mitsubishi Endeavor Limited 2004 ENGINE Intake And Exhaust - Endeavor
Page 2709 of 3870
Fig. 1: Identifying Special Tool
Courtesy of MITSUBISHI MOTOR SALES OF AMERICA.
AIR CLEANER REMOVAL AND INSTALLATION
2004 Mitsubishi Endeavor Limited 2004 ENGINE Intake And Exhaust - Endeavor
Page 2710 of 3870
Fig. 2: Removing And Installing Air Cleaner
Courtesy of MITSUBISHI MOTOR SALES OF AMERICA.
INTAKE MANIFOLD PLENUM REMOVAL AND INSTALLATION
2004 Mitsubishi Endeavor Limited 2004 ENGINE Intake And Exhaust - Endeavor