Page 996 of 3870
YES: Go to Step 3.
NO: Repair or replace door sash, then go to Step 4 .
STEP 3. Inspect the window regulator assembly.
Q: Is the window regulator assembly in good condition?
YES: Go to Step 4.
NO: Repair or replace the window regulator assembly, then go to Step 4.
STEP 4. Retest the system.
Q: Does the door window operate correctly?
YES: The procedure is complete.
NO: Return to Step 1 .
INSPECTION PROCEDURE 3: Water Leak Through Door Edge DIAGNOSIS
STEP 1. Check the weatherstrip.
Q: Is the weatherstrip in good condition?
YES: Go to Step 2.
NO: Replace the weatherstrip, then go to Step 3 .
STEP 2. Check the door fit (alignment).
Q: Is the door fit (alignment) correct?
YES: Go to Step 3.
NO: Adjust the door fit. (Refer to DOOR FIT ADJUSTMENT
). Then
go to Step 3.
STEP 3. Retest the system.
Q: Is any water leaking?
YES: Return to Ste
p 1 .
2004 Mitsubishi Endeavor LS
2004 BODY & ACCESSORIES Door - Endeavor
Page 997 of 3870
NO: The procedure is complete.
INSPECTION PROCEDURE 4: Water Leak from Door Center DIAGNOSIS
STEP 1. Check the drain hole.
Q: Is the drain hole clogged?
YES: Clean the drain hole, then go to Step 3 .
NO: Go to Step 2.
STEP 2. Check the weatherstrip.
Q: Is the weatherstrip in good condition?
YES: Go to Step 3.
NO: Repair or replace the weatherstrip, then go to Step 3.
STEP 3. Retest the system.
Q: Is any water leaking?
YES: Return to Step 1 .
NO: The procedure is complete.
INSPECTION PROCEDURE 5: Door Hard to Open DIAGNOSIS
STEP 1. Adjust the latch and striker engagement.
Refer to ON
-VEHICLE SERVICE
.
Q: Is the latch and striker engagement adjusted?
YES: Go to Step 2.
NO: Adjust the latch and striker (Refer to ON
-VEHICLE SERVICE
).
Then
go to Ste
p 4 .
2004 Mitsubishi Endeavor LS
2004 BODY & ACCESSORIES Door - Endeavor
Page 998 of 3870
STEP 2. Check for lock cable damage.
Q: Is the lock rod damaged?
YES: Repair or replace the lock cable, then go to Step 4 .
NO: Go to Step 3.
STEP 3. Check the door handle flexibility (amount of movement of handle
required to open door).
Q: Is the door handle flexibility good?
YES: Go to Step 4.
NO: Check the door outside handle and inside handle (Refer to DOOR
OUTSIDE HANDLE PLAY CHECK
and DOOR INSIDE HANDLE
PLAY CHECK
). Then go to Step 4.
STEP 4. Retest the system.
Q: Does the door open easily?
YES: The procedure is complete.
NO: Return to Step 1 .
INSPECTION PROCEDURE 6: Door Does Not Open or Close Completely DIAGNOSIS
STEP 1. Check the door hinge position.
Q: Is the door hinge correct?
YES: Go to Step 2.
NO: Adjust the door hinge (Refer to DOOR FIT ADJUSTMENT
).
Then go to Step 4 .
STEP 2. Check the door for damage.
Q: Is the door in
good condition?
2004 Mitsubishi Endeavor LS
2004 BODY & ACCESSORIES Door - Endeavor
Page 999 of 3870
YES: Go to Step 3.
NO: Repair or replace the door, then go to Step 4 .
STEP 3. Check lubrication.
Q: Are the door check and door hinge sufficiently lubricated?
YES: Go to Step 4.
NO: Apply grease, then go to Step 4.
STEP 4. Retest the system.
Q: Does the door open and close completely?
YES: The procedure is complete.
NO: Return to Step 1 .
INSPECTION PROCEDURE 7: Uneven Gap Between Body DIAGNOSIS Adjust the door fit (Refer to ON
-VEHICLE SERVICE
). Then check that the gap
has been improved.
INSPECTION PROCEDURE 8: Wind Noise Around Door DIAGNOSIS
STEP 1. Check the weatherstrip for holding condition.
Q: Is the weatherstrip holding firmly?
YES: Go to Step 2.
NO: Adjust fit of door (Refer to GLASS SLIDING MECHANISM
CHECK AND ADJUSTMENT
). Then go to Step 5 .
STEP 2. Check the weatherstrip for installation condition.
Q: Is the weatherstrip installed properly?
YES: Go to Ste
p 3.
2004 Mitsubishi Endeavor LS
2004 BODY & ACCESSORIES Door - Endeavor
Page 1015 of 3870

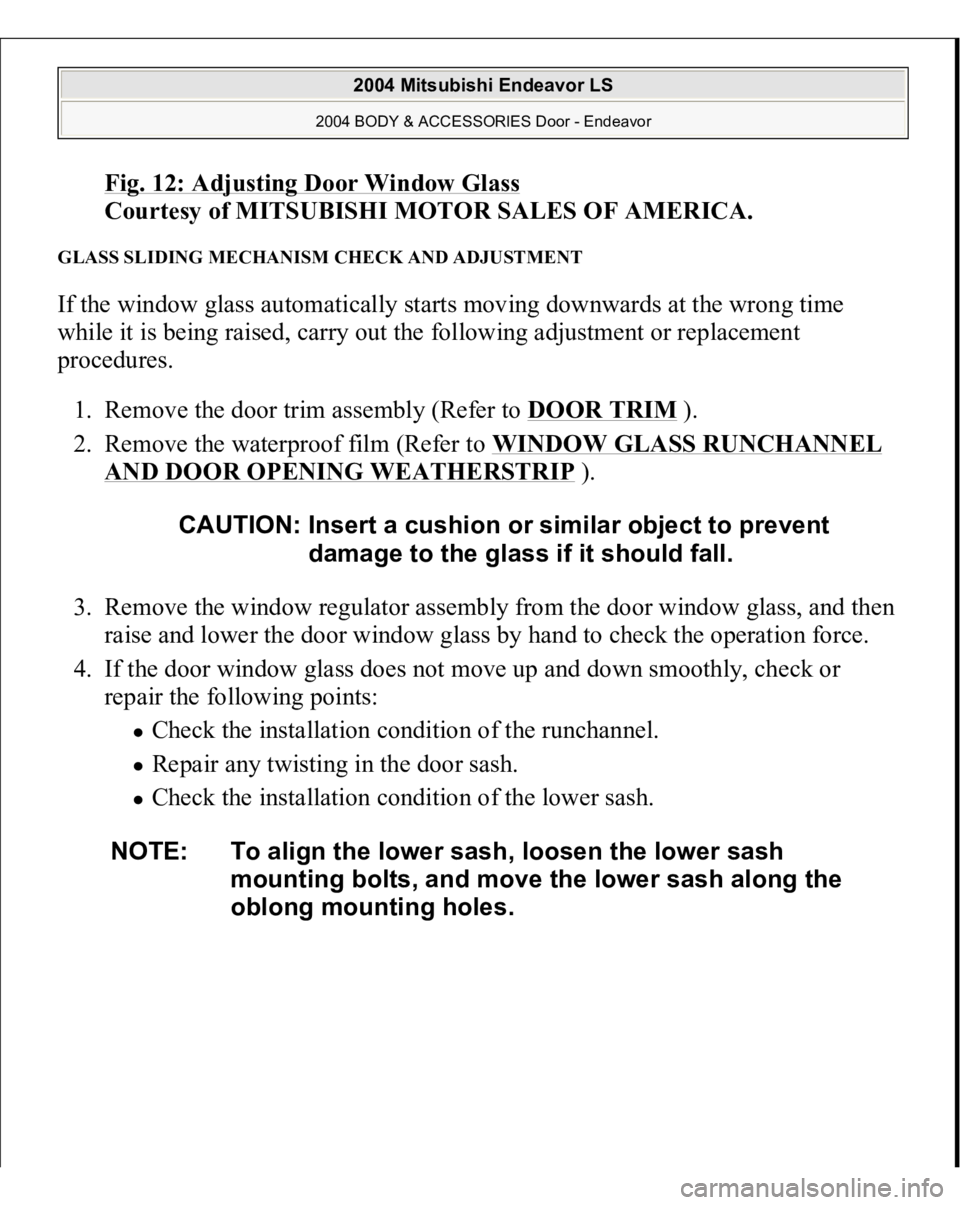
Fig. 12: Adjusting Door Window Glas
s
Courtesy of MITSUBISHI MOTOR SALES OF AMERICA.
GLASS SLIDING MECHANISM CHECK AND ADJUSTMENT If the window glass automatically starts moving downwards at the wrong time
while it is being raised, carry out the following adjustment or replacement
procedures.
1. Remove the door trim assembly (Refer to DOOR TRIM
).
2. Remove the waterproof film (Refer to WINDOW GLASS RUNCHANNEL
AND DOOR OPENING WEATHERSTRIP
).
3. Remove the window regulator assembly from the door window glass, and then
raise and lower the door window glass by hand to check the operation force.
4. If the door window glass does not move up and down smoothly, check or
repair the following points:
Check the installation condition of the runchannel. Repair any twisting in the door sash. Check the installation condition of the lower sash.
CAUTION: Insert a cushion or similar object to prevent
damage to the glass if it should fall.
NOTE: To align the lower sash, loosen the lower sash
mounting bolts, and move the lower sash along the
oblong mounting holes.
2004 Mitsubishi Endeavor LS
2004 BODY & ACCESSORIES Door - Endeavor
Page 1188 of 3870
2004 ENGINE
Engine Cooling - Endeavor
GENERAL DESCRIPTION The cooling system is designed to keep every part of the engine at appropriate
temperature in whatever condition the engine may be operated. The cooling method
is of the water-cooled, pressure forced circulation type in which the water pump
pressurizes coolant and circulates it throughout the engine. If the coolant
temperature exceeds the prescribed temperature, the thermostat opens to circulate
the coolant through the radiator as well so that the heat absorbed by the coolant may
be radiated into the air. The water pump is of the centrifugal type and is driven by
the drive belt from the crankshaft. The radiator is the corrugated fin, down flow
type. CONSTRUCTION DIAGRAM Fig. 1: Identifying Engine Cooling Construction Diagram
2004 Mitsubishi Endeavor Limited 2004 ENGINE Engine Cooling - Endeavor
2004 Mitsubishi Endeavor Limited 2004 ENGINE Engine Cooling - Endeavor
Page 1190 of 3870

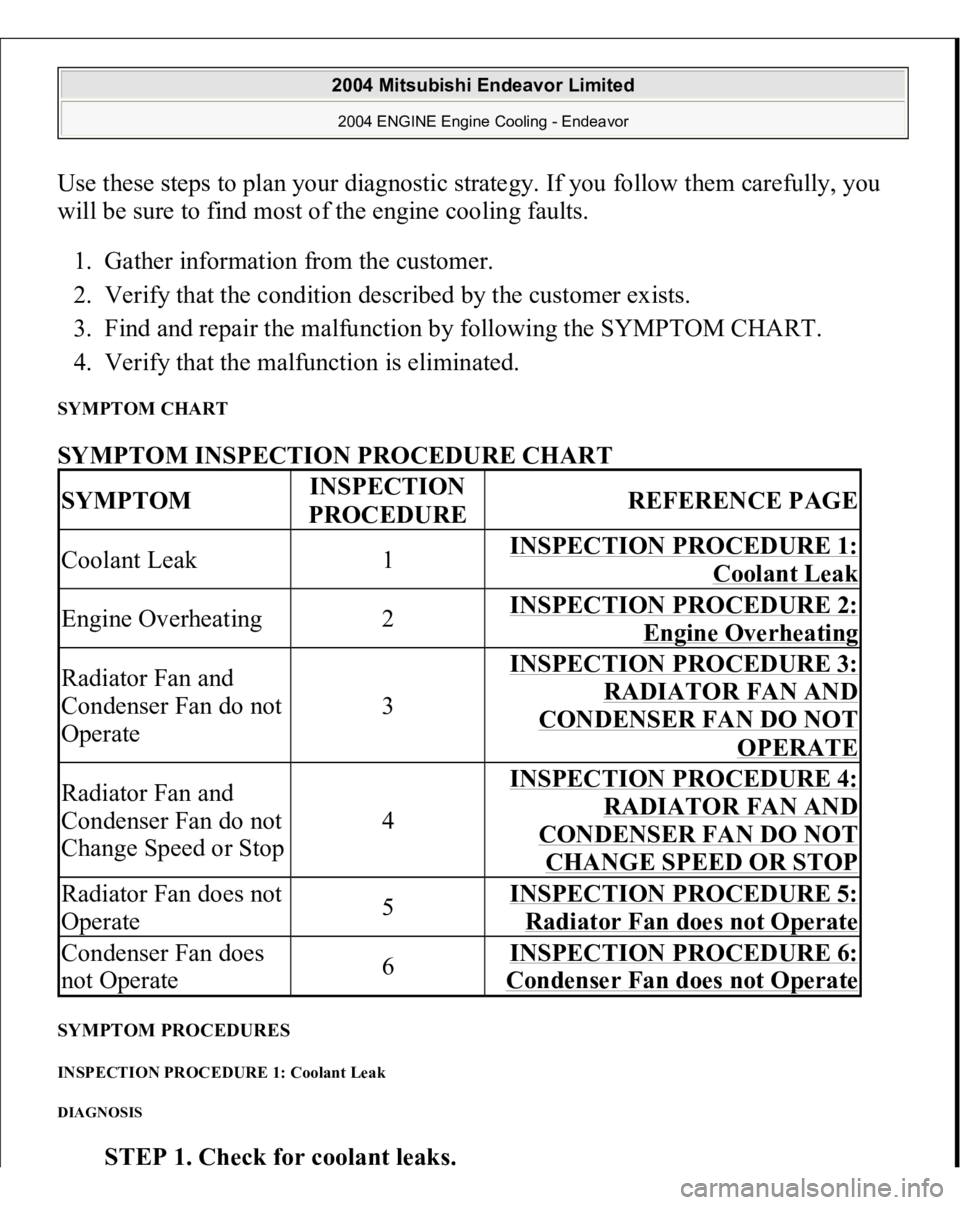
Use these steps to plan your diagnostic strategy. If you follow them carefully, you
will be sure to find most of the engine cooling faults.
1. Gather information from the customer.
2. Verify that the condition described by the customer exists.
3. Find and repair the malfunction by following the SYMPTOM CHART.
4. Verify that the malfunction is eliminated. SYMPTOM CHART SYMPTOM INSPECTION PROCEDURE CHART SYMPTOM PROCEDURES INSPECTION PROCEDURE 1: Coolant Leak DIAGNOSIS
STEP 1. Check for coolant leaks
.
SYMPTOM
INSPECTION
PROCEDURE
REFERENCE PAGE
Coolant Leak
1
INSPECTION PROCEDURE 1:
Coolant Leak
Engine Overheating
2
INSPECTION PROCEDURE 2:
Engine Overheating
Radiator Fan and
Condenser Fan do not
Operate
3
INSPECTION PROCEDURE 3:
RADIATOR FAN AND
CONDENSER FAN DO NOT
OPERATE
Radiator Fan and
Condenser Fan do not
Change Speed or Stop
4
INSPECTION PROCEDURE 4:
RADIATOR FAN AND
CONDENSER FAN DO NOT CHANGE SPEED OR STOP
Radiator Fan does not
Operate
5
INSPECTION PROCEDURE 5: Radiator Fan does not Operate
Condenser Fan does
not Operate
6
INSPECTION PROCEDURE 6: Condenser Fan does not Operate
2004 Mitsubishi Endeavor Limited 2004 ENGINE Engine Cooling - Endeavor
Page 1205 of 3870
Fig. 13: Identifying Connector A
-13
Courtesy of MITSUBISHI MOTOR SALES OF AMERICA.
Q: Are the connectors and terminals in good condition?
YES: Go to Step 7.
NO: Repair or replace the damaged components.
STEP 7. Check for harness damage between MFI relay connector B-16X
and fan control relay connector A-10X.
2004 Mitsubishi Endeavor Limited 2004 ENGINE Engine Cooling - Endeavor